
Why have one battery when you can have two?I’m a big believer in being prepared for the worst case scenario; anything from preparing for civil unrest to making sure I always have enough toilet paper. I like having my own insurance policy on life and my vehicles. Proper maintenance is obviously step one for keeping a vehicle reliable, both off road and on, but what about when you accidentally keep the headlights on or play the radio too long with the engine off? Now you’re up shit creek, without a paddle. This is where a second battery can come in handy; no need for jumper cables or even a second person to jump you. Isolation is key; you want to isolate the house battery from the start battery.
What’s the difference? The house battery is where you wire up all your accessories that the jeep doesn’t need to operate. (Light Bars, Winch, Subwoofer, Air Compressors, etc.) The start battery is just that – it’s the battery that is dedicated to starting and operating the jeep. Basically, anything that came stock with the jeep runs off the start battery and anything you add runs off the house battery.
I have plans to add other accessories to my jeep, so I’m installing the second battery to keep everything separate and give me the comfort of knowing I can always start my jeep. The way you you keep the batteries separated is with a battery isolator; I’m using a Battery Doctor isolator with a smart charger. The isolator will keep the two batteries isolated from each other except when the house battery voltage drops below 13.6 volts, or if you push the Override button to jump start the start battery with the house battery. I mounted mine on the highest point in the firewall.

I ran the ground wire for the unit down to the intake manifold ground I made.
Now that the isolator is in, I moved on to the the battery mount. First thing to do was to remove the air box from the fender well.
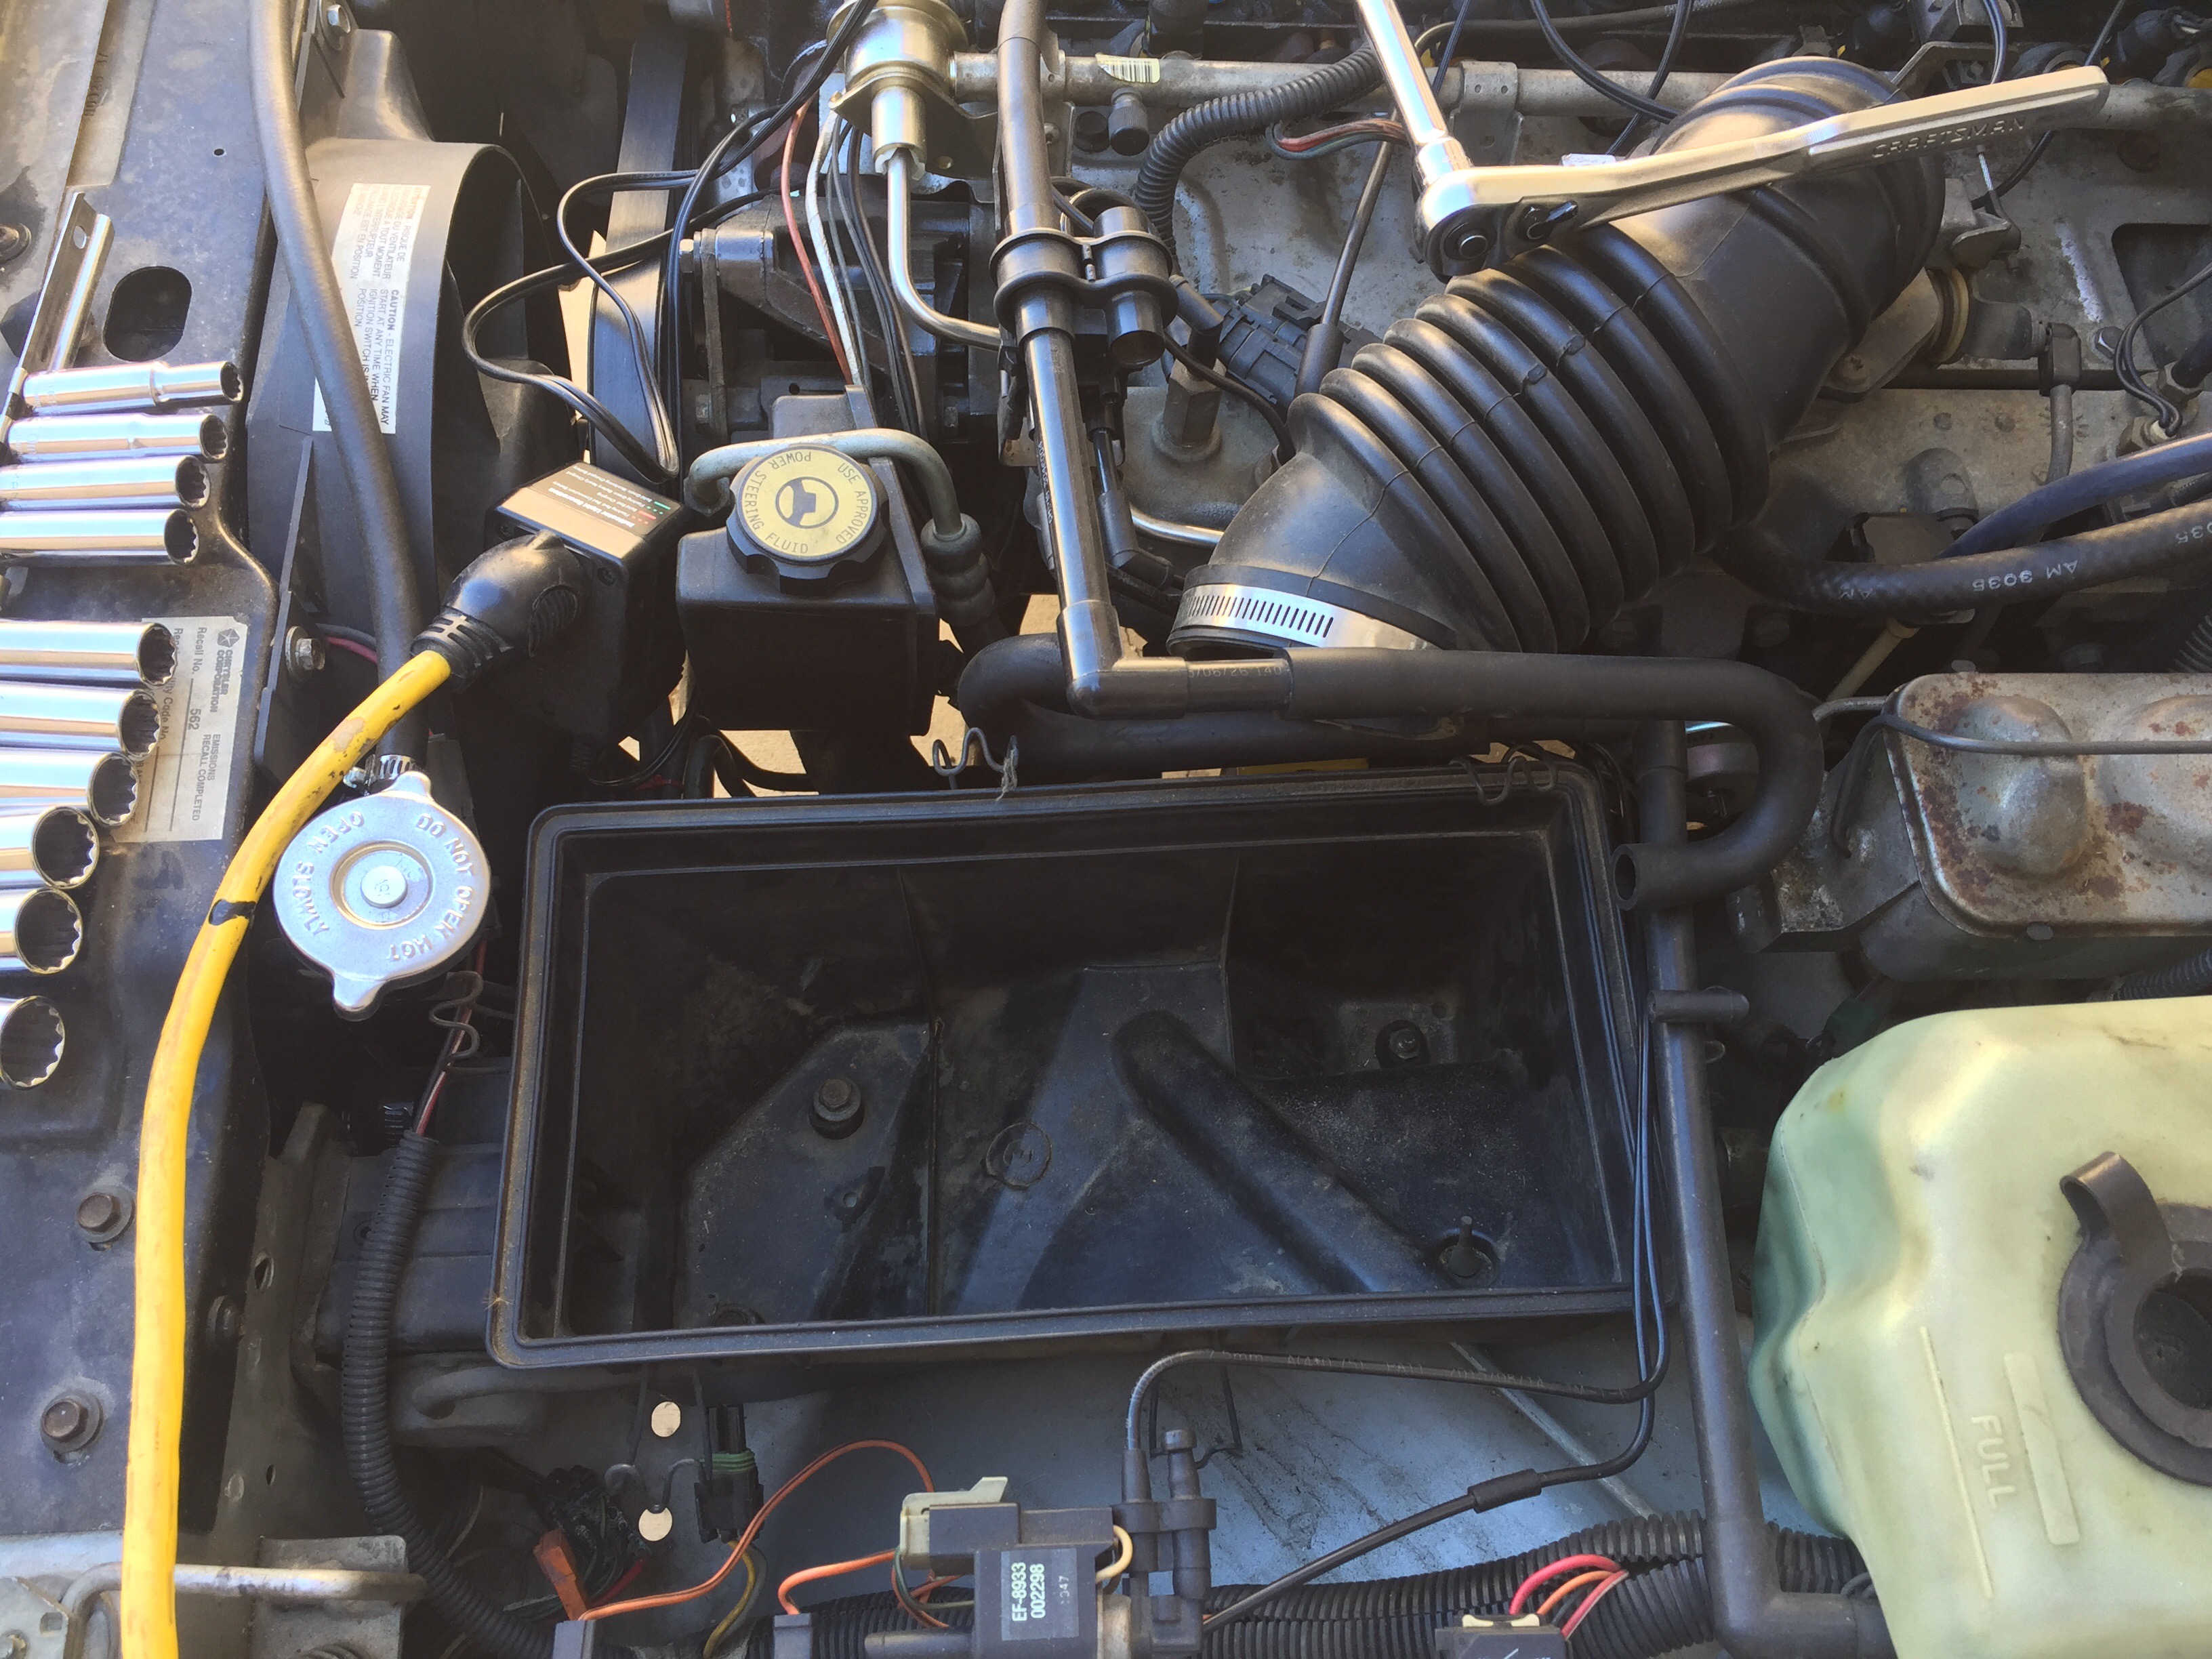
There were two bolts and a stud holding the air box in. Once those are removed, the air box pulls right out. I test fit the the new tray in and matched two factory holes up. Then, I drilled a third hole for a little extra security. Overkill probably, but why not. The red circle shows the factory holes I used. The smaller hole I drilled out to 3/8″.

The box didn’t sit completely flat on where I mounted it and there are some gussets that needed to be grounded down to clear the lower radiator hose. I also ground the battery tray drain off to use as a mounting point. I used five 3/8″ flat washers on each hole to shim the tray level and clear the lower radiator hose. I put the hold down bolts on the tray and bolted the tray in place.

I put the battery in with the negative side closest to the core support, in case it ever made contact.
 Now that both batteries were in and mounted, it was time to start installing the 1/0 AWG Battery Cable Kit. I started with the alternator fuse, that is replacing the fusible link, going to the alternator. If you read the Cable Management write up, at the end of the article, I showed you how to use the old relay bracket to mount the fuse holder to the fender well.


Next, I removed all the old battery cables and terminals from the jeep. I started with cleaning all my ground terminals. The engine block grounds are the most important to clean of all gunk and oxidation. Most grounding problems can be traced back to this ground location being in poor quality.

There are two ring terminals that have to be reinstalled after I run the new ground wire. I cleaned all the terminals with a green Scotch-Brite pad and used Ox-GARD to ensure a solid connection.

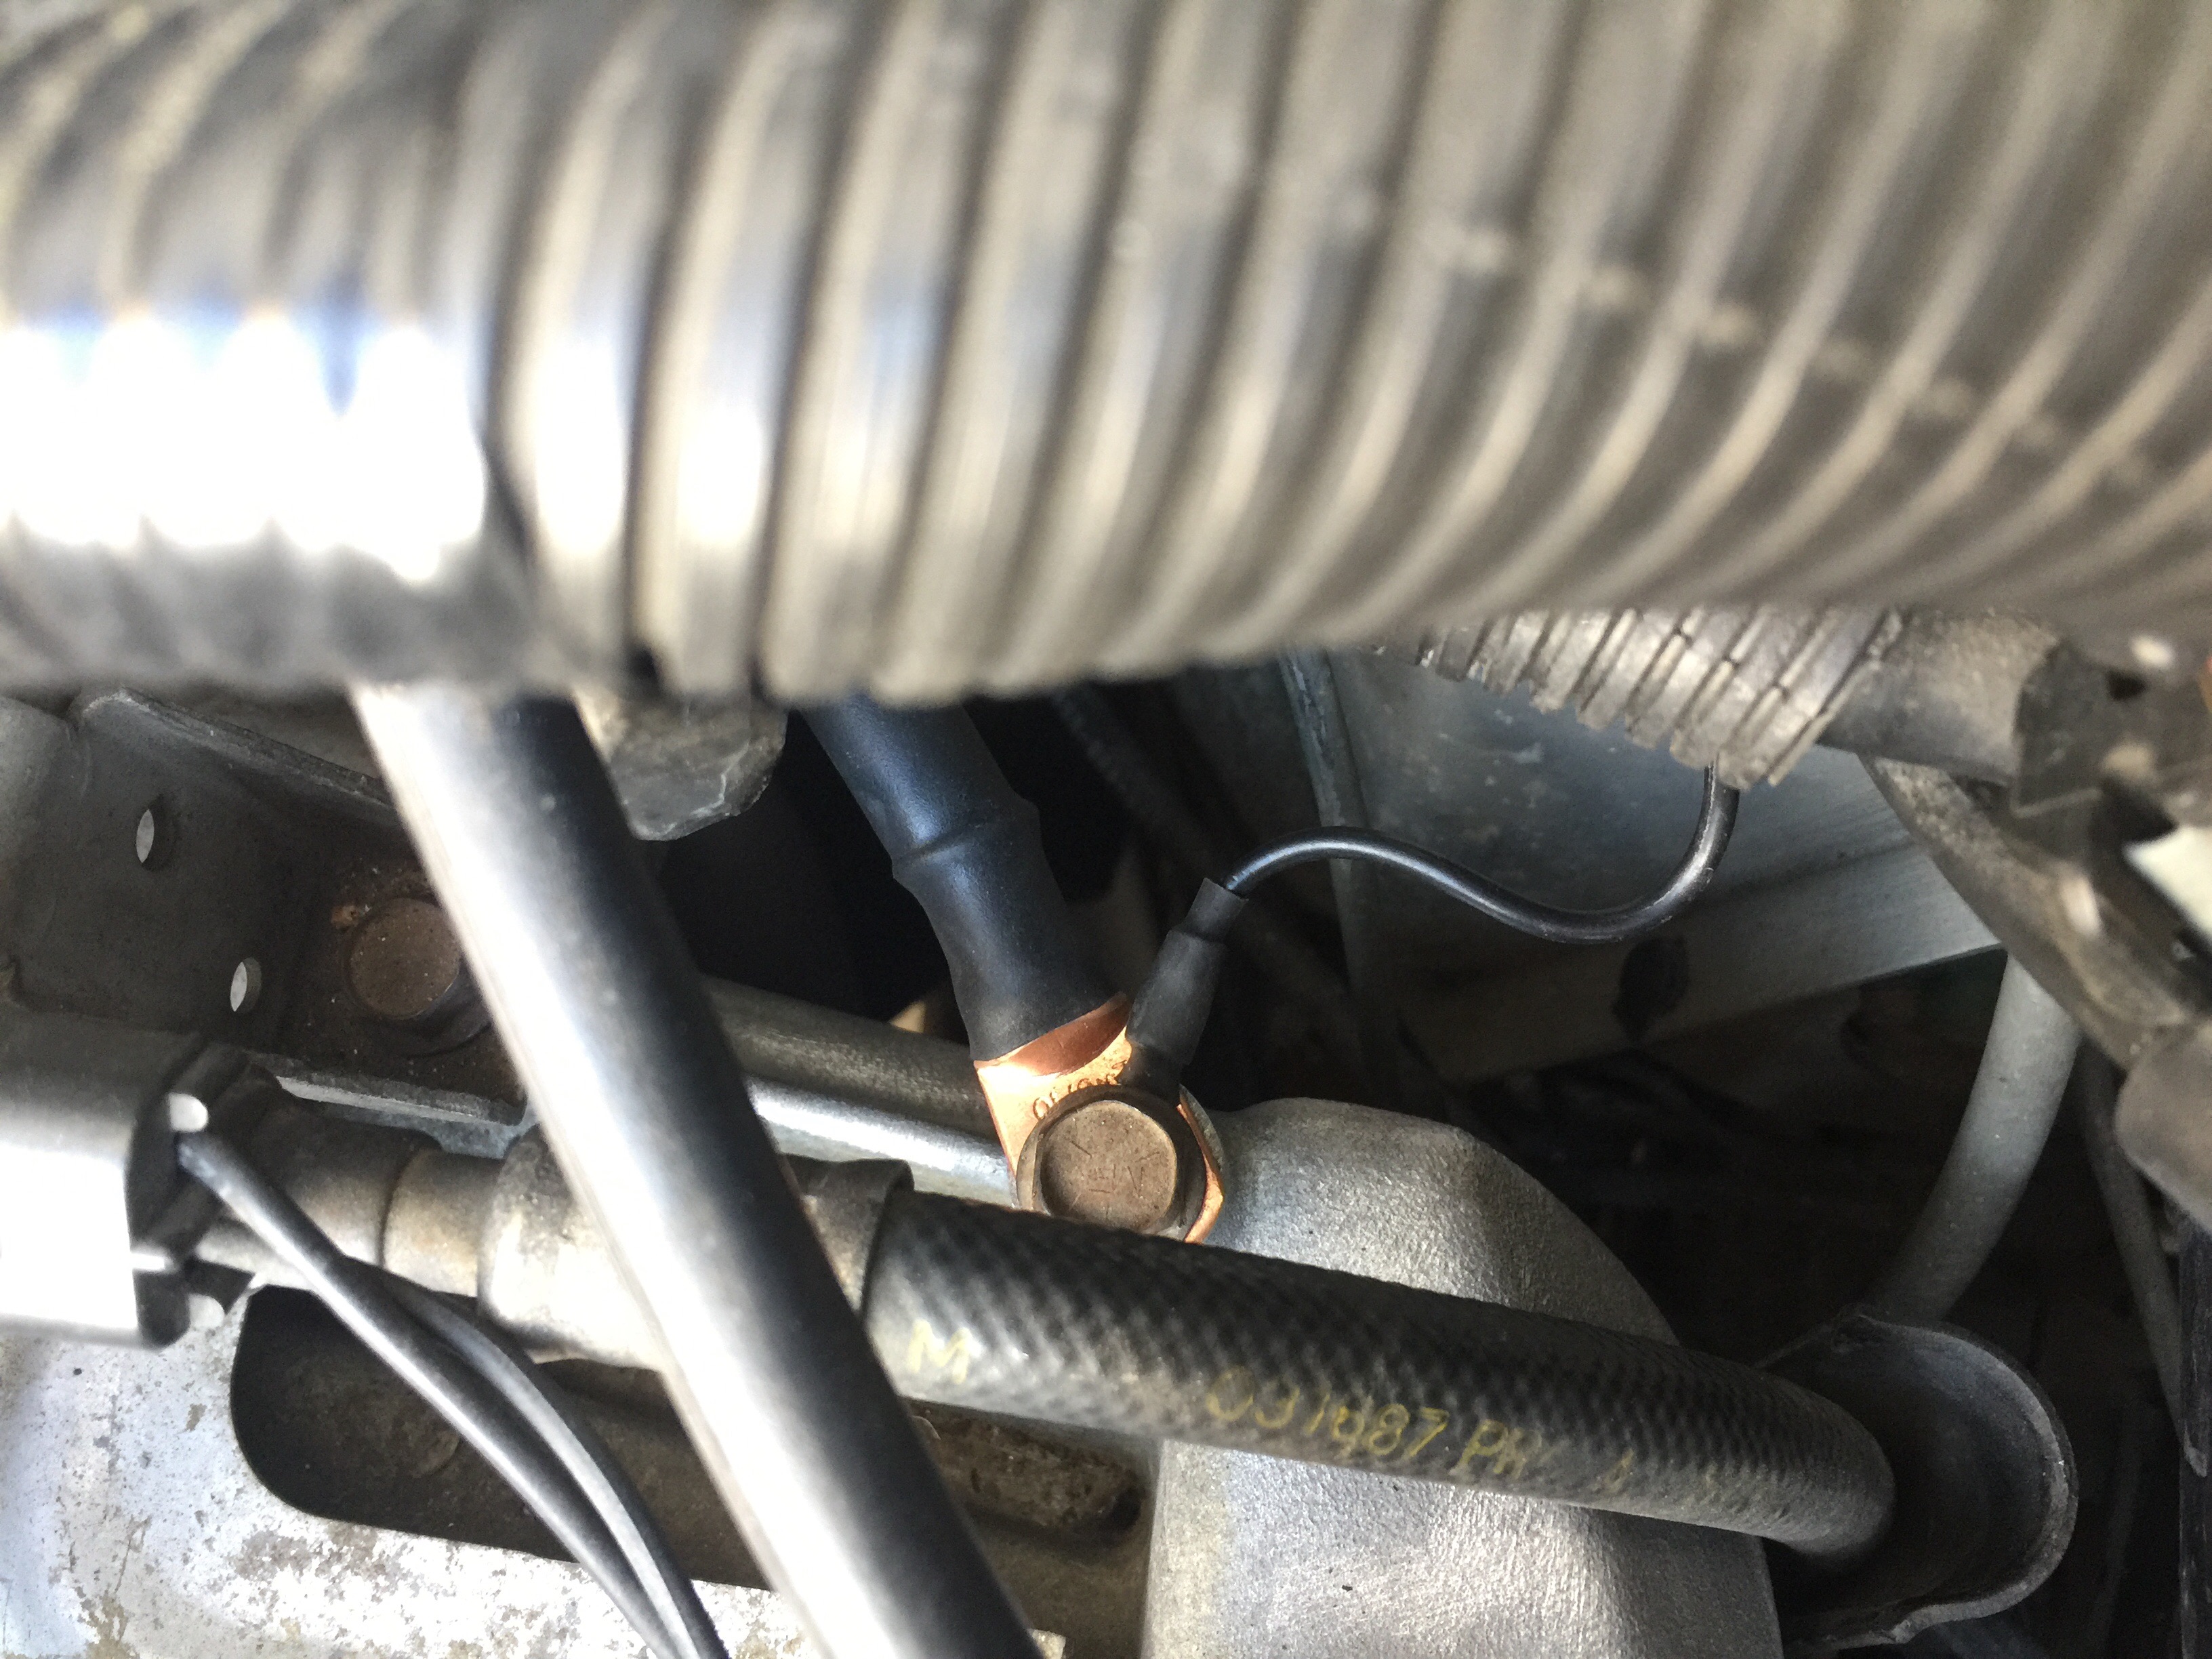
I ran the first 1/0 black cable from the battery to the engine ground post.

I also ran an additional 2AWG ground wire from the battery to the passenger side fender. I cleared the paint from the fender and again put Ox-GARD on the connection.

The next ground is not necessary but recommended. There’s a factory ground strap from the firewall to the rear stud on the head – this ground strap serves two purposes: one is a regular ground and two is supposed to be that the braided strap helps keep the radio free from interference. I chose to keep it installed. However, I also installed another 1/0 black wire from the firewall to an empty, threaded mounting hole on the intake manifold.

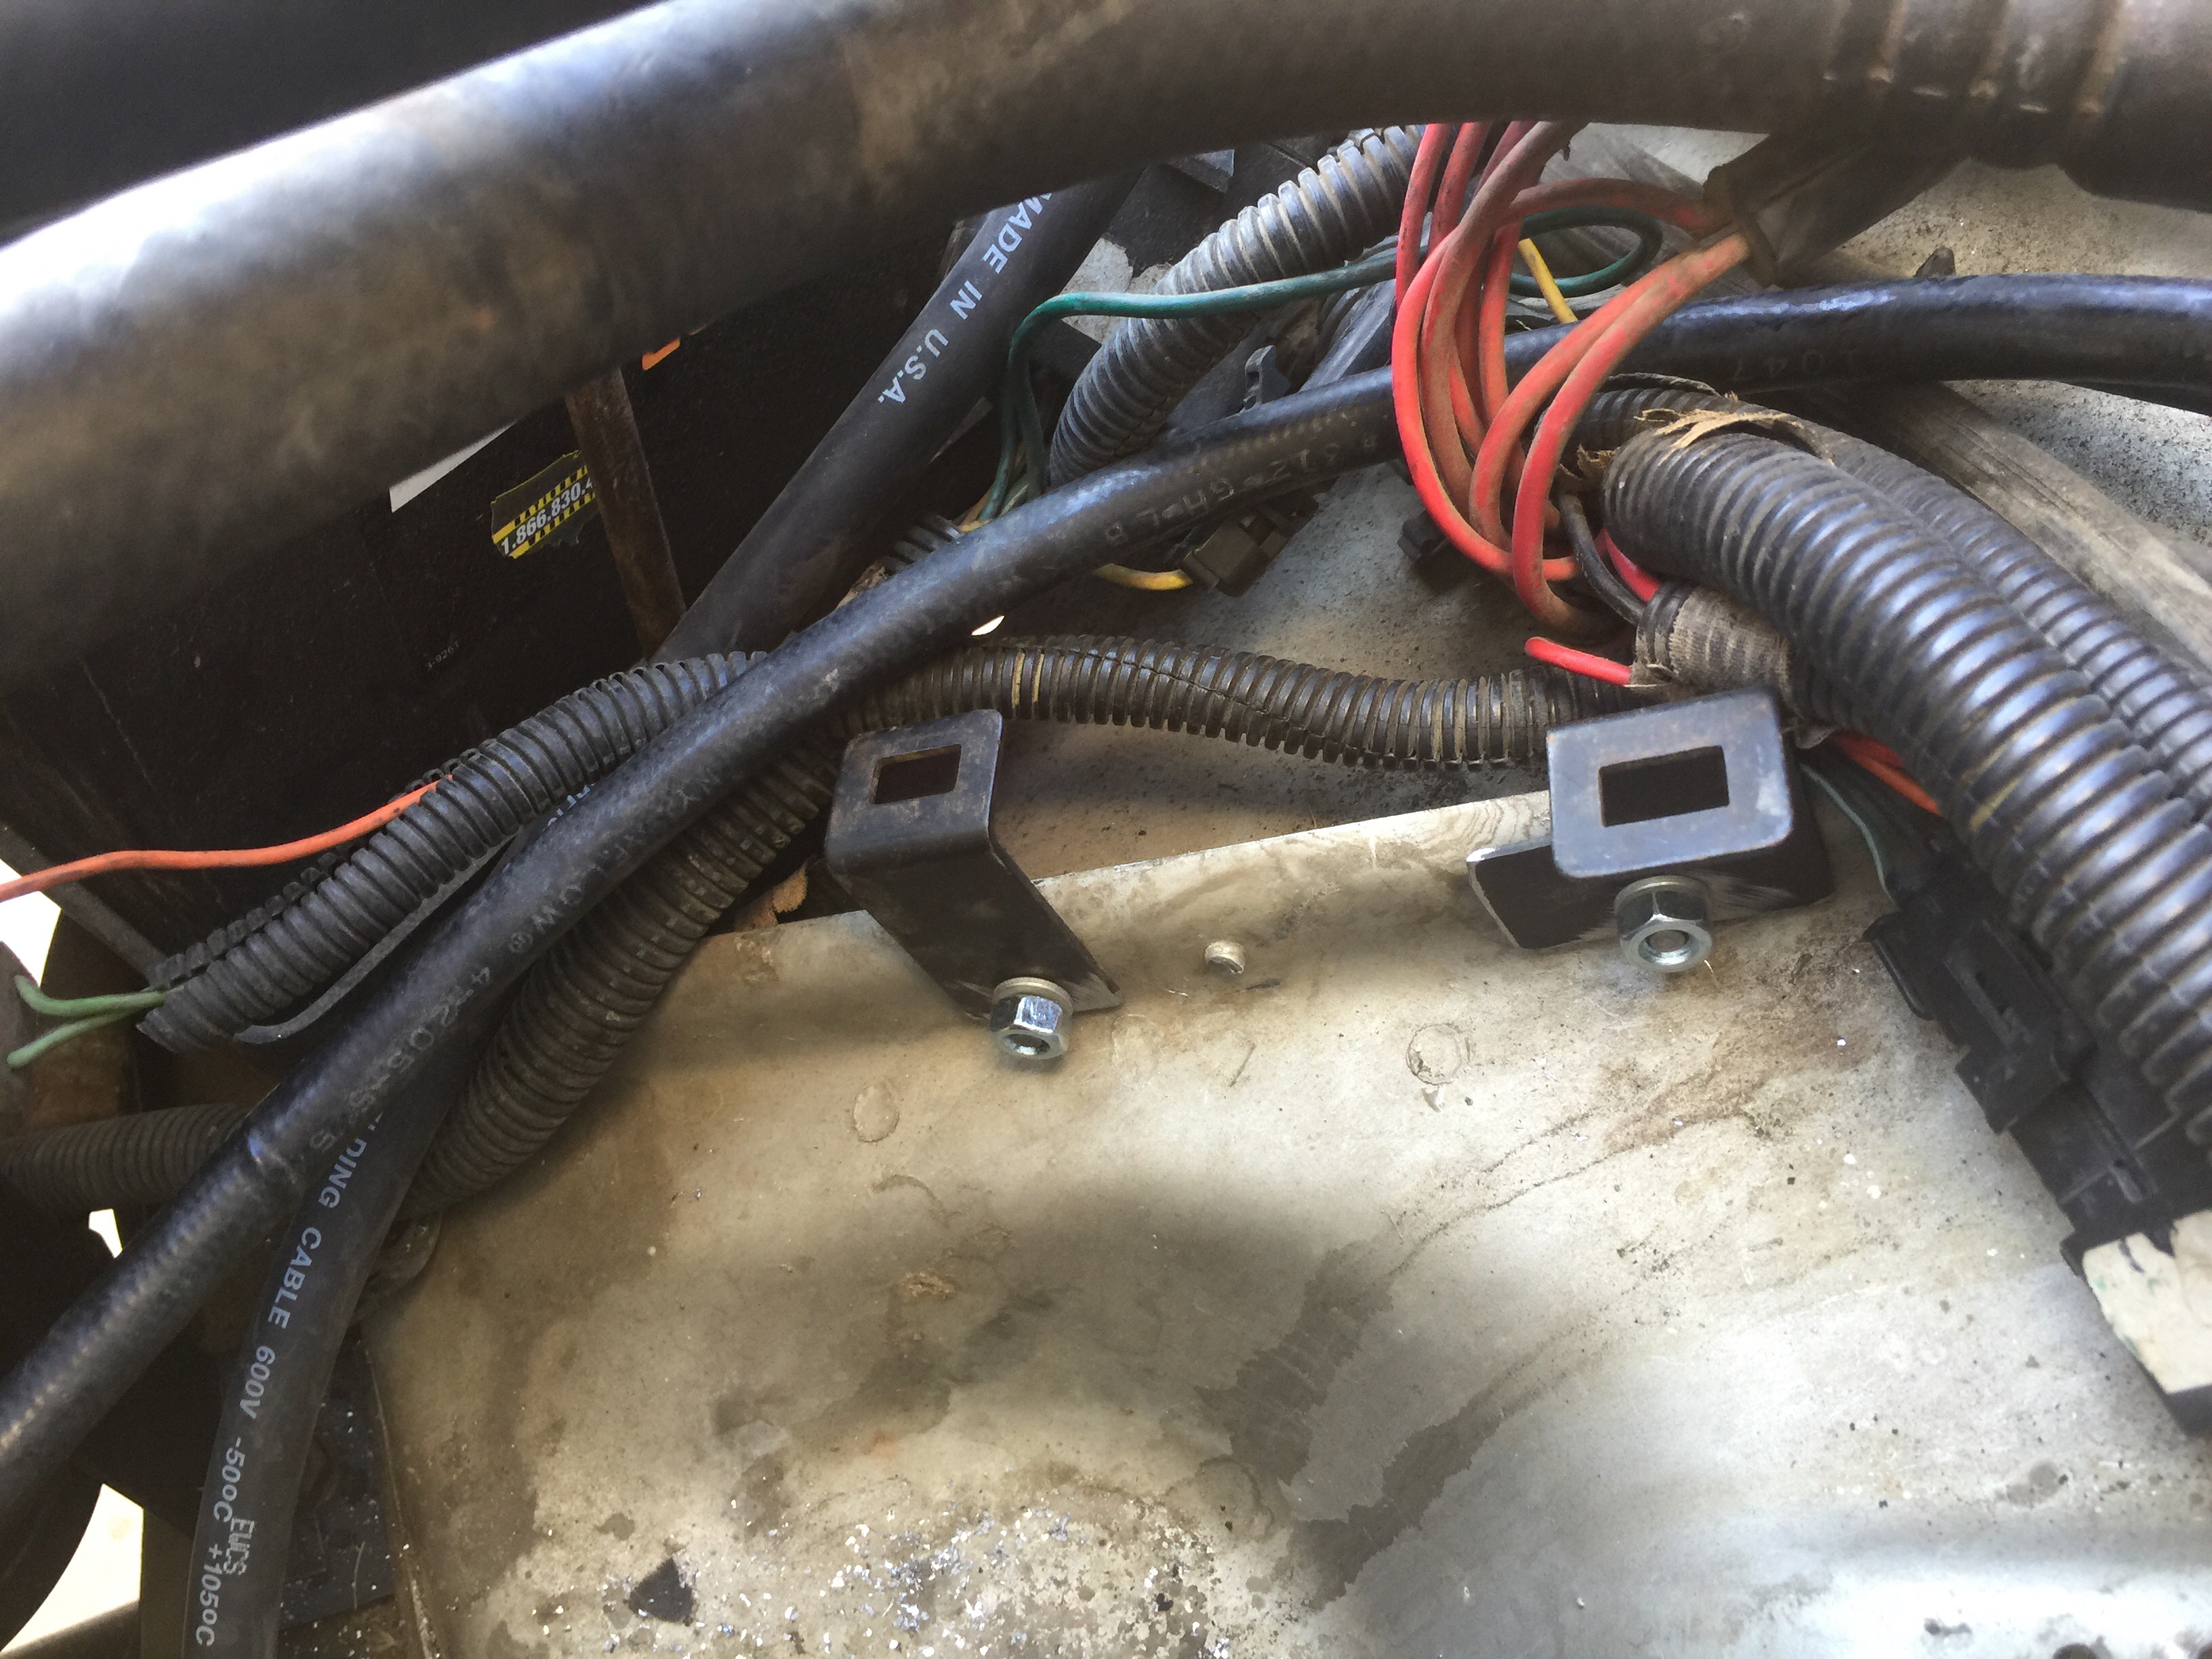
Next, it was time to run the ground wire for the Aux. battery. I simply ran the ground wire behind the washer fluid bottle, up and over the Power Brake Booster and attached it to the same intake manifold ground terminal.

Ok, half the job is done. Now to install all the positive wiring. The first 1/0 Red cable I ran was from the alternator to the alternator fuse. I inserted the cable into split loom and tape the entire run with electrical tape.

The second 1/0 Red cable was from the alternator fuse to the ignition relay.

Next, from the Ignition relay, I ran another 1/0 Red cable to the battery. Once that was wired I ran my starter wire. The starter wire is 2AWG and is inserted in split loom and wrapped in electrical tape. The starter wire goes from the battery to the positive terminal on the starter. I retained the rubber terminal cover from the factory wire. Installed the cables and torqued everything down, except the battery terminals themselves.


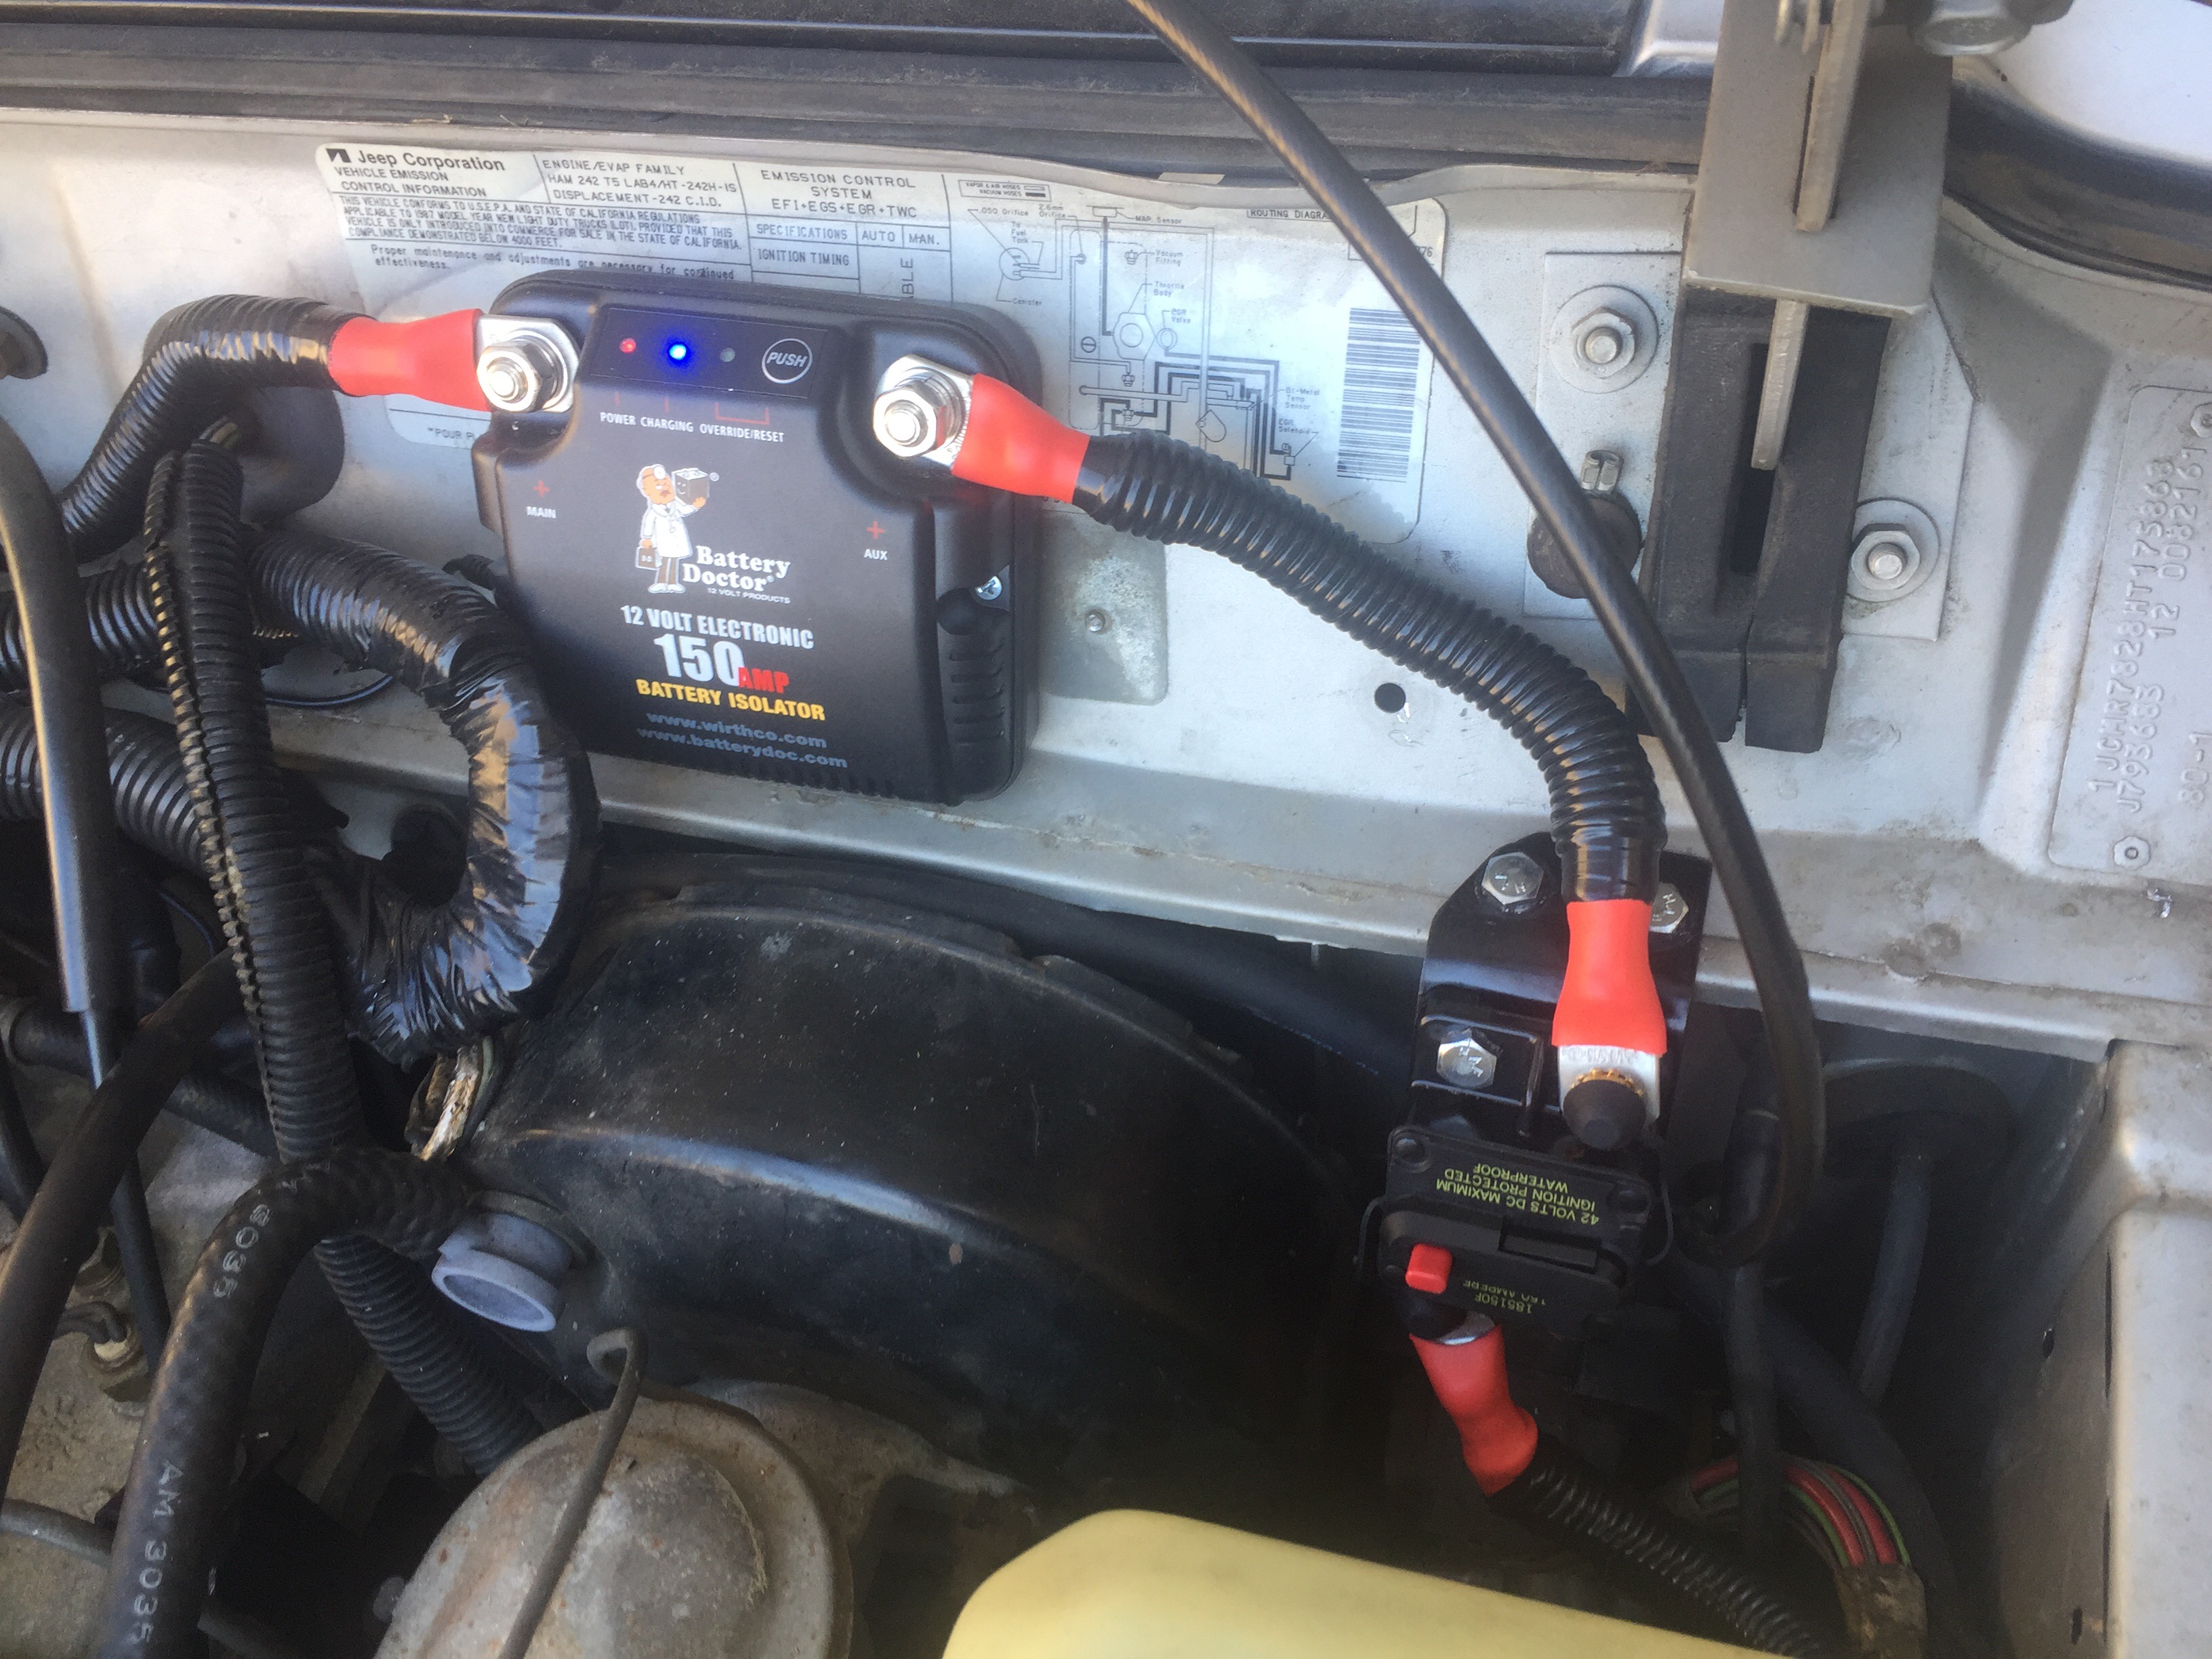
After that, we cable goes from the main battery positive terminal to the battery isolator. Before I inserted it into split loom, I routed it to the isolator to ensure the length was correct.


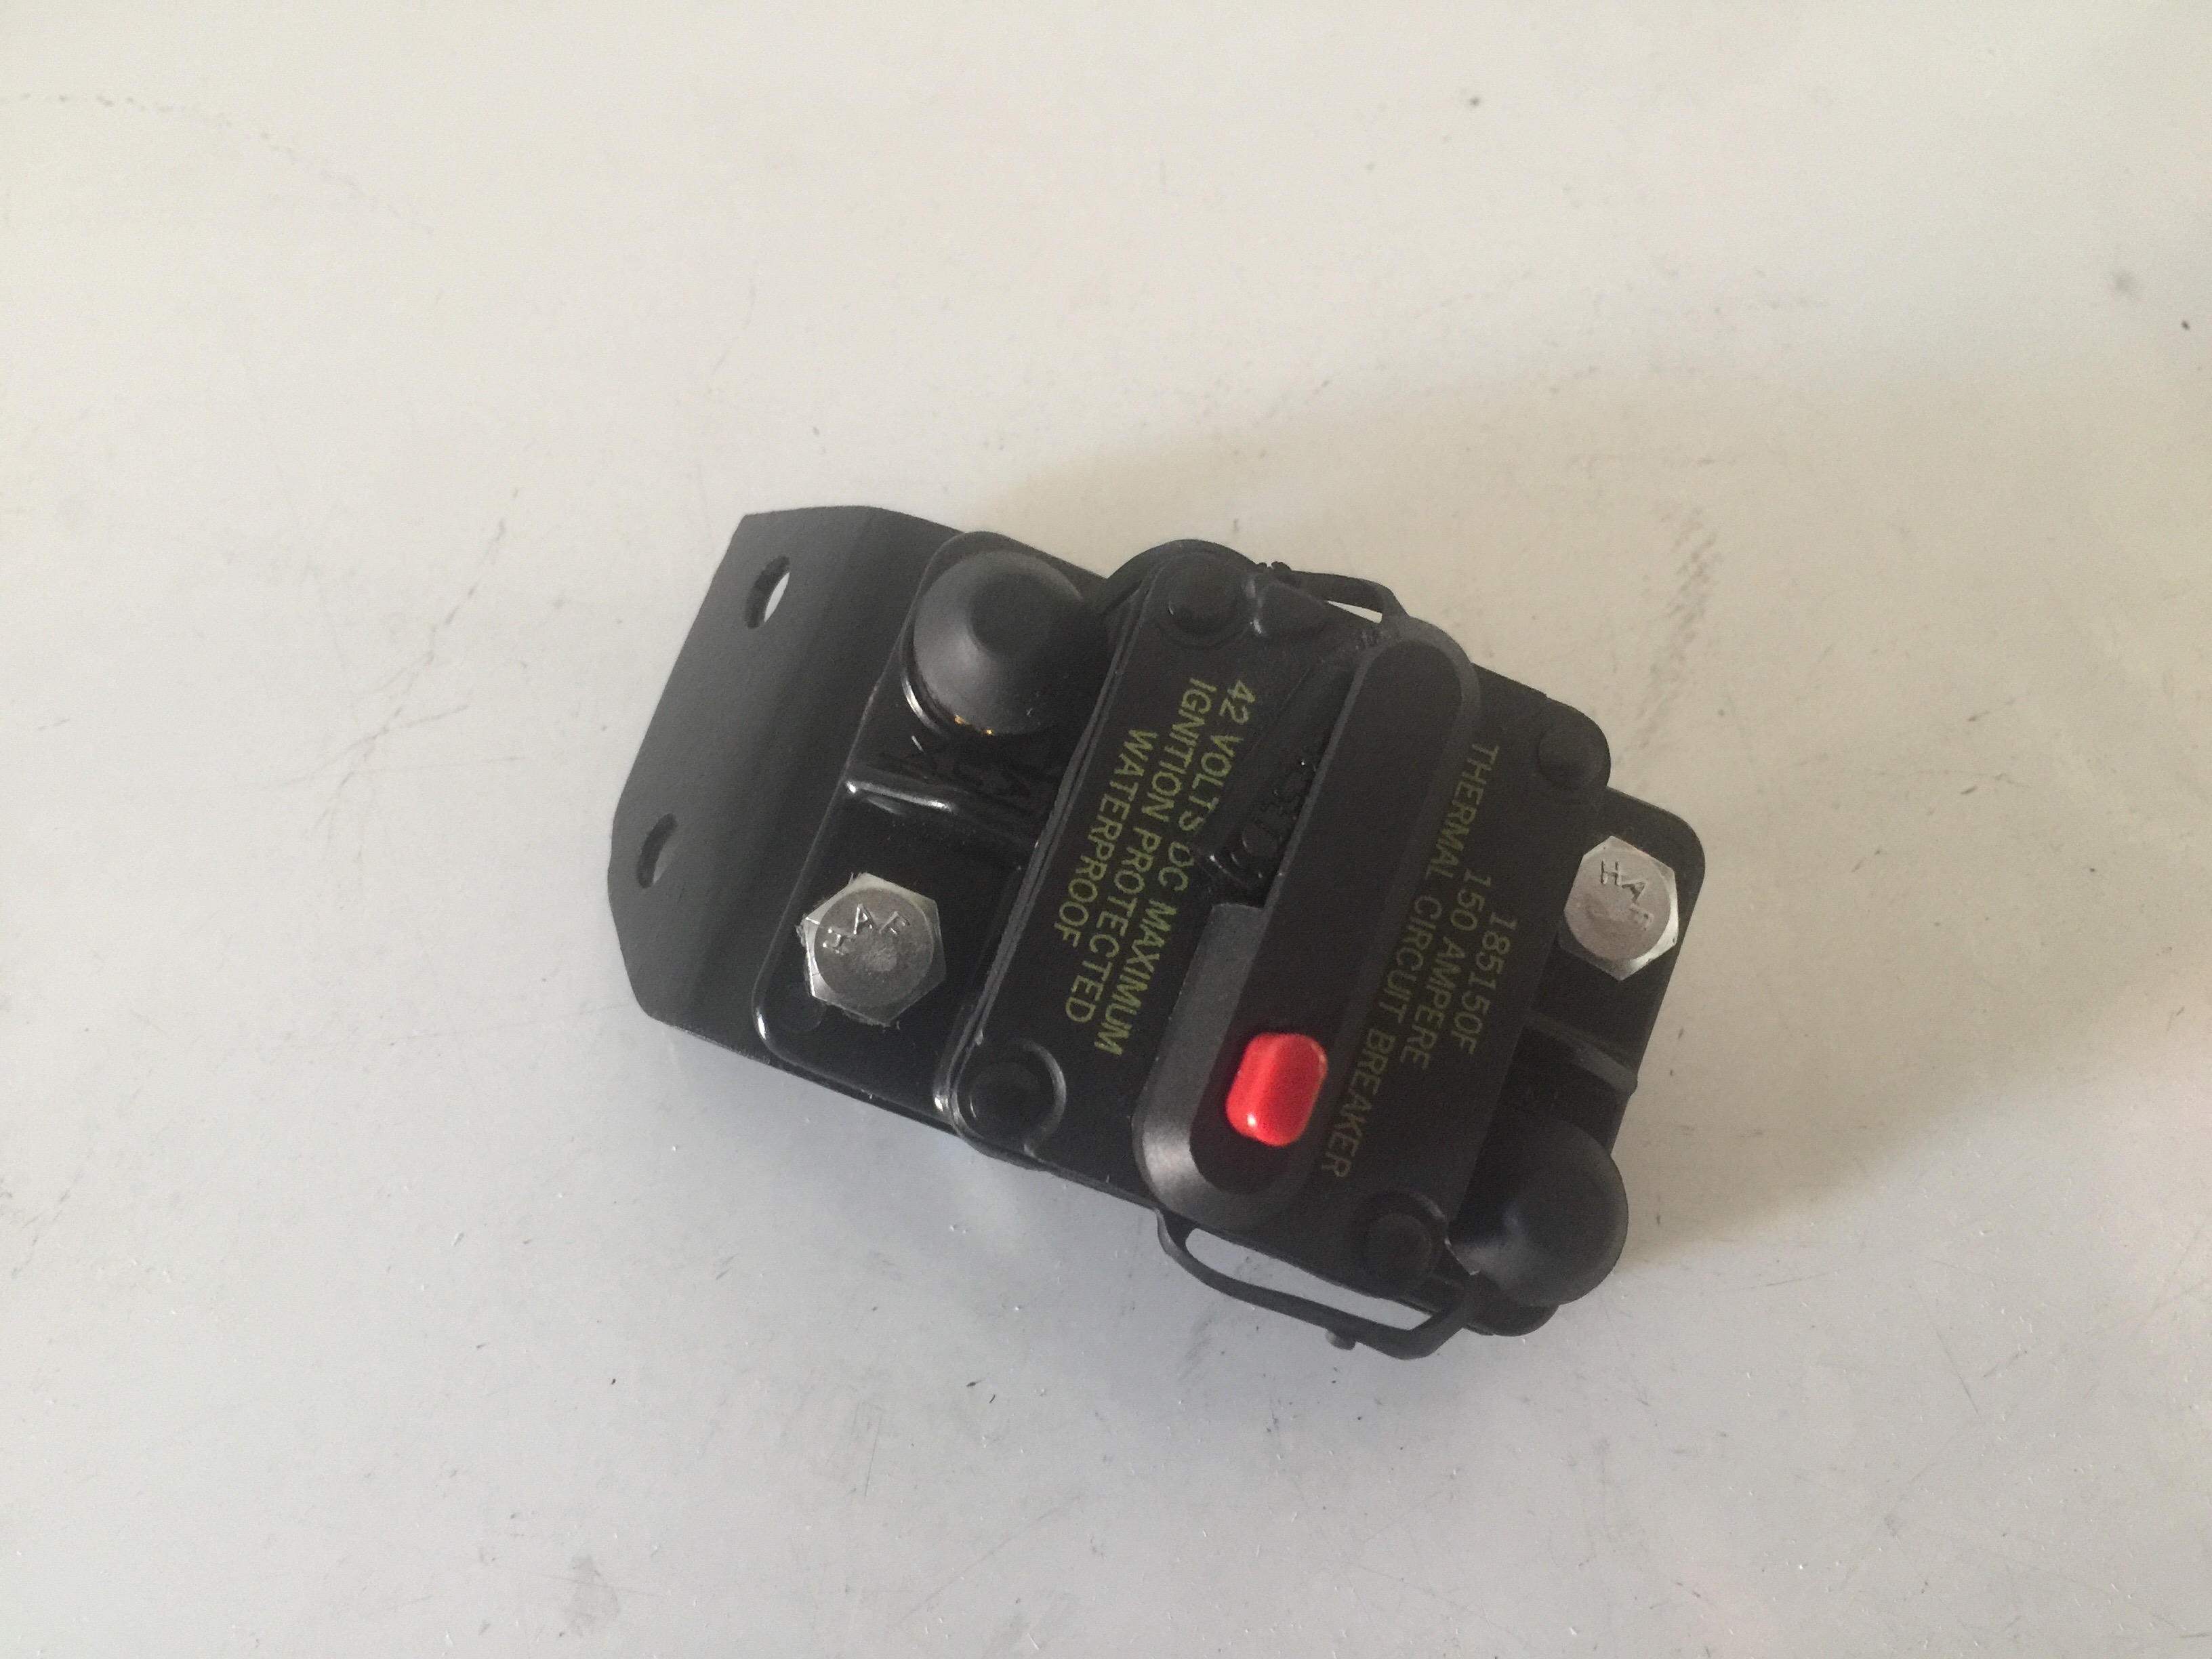
The length was perfect so next was the 1/0 positive cable of the aux battery to the circuit breaker. The Battery Doctor calls for a 150amp circuit breaker or fuse on the aux. battery side only. I made a custom mounting bracket out of some scrap metal to hold the circuit breaker.


Lastly, I ran the 1/0 positive cable from the circuit breaker to the battery isolator.
I tested everything to make sure it all was working properly. Once I confirmed that, I removed the cables going to the isolator and inserted them into split loom and taped them both for a cleaner look and to protect the insulation from cuts or damage on any sharp edges. (These last photos don’t show the circuit breaker installed but it is.)


Great information, appreciate the pictures and the explanation!! Hoping to do your same mods
LikeLike
Thanks. I appreciate you checking it out. Good luck with your build.
LikeLike