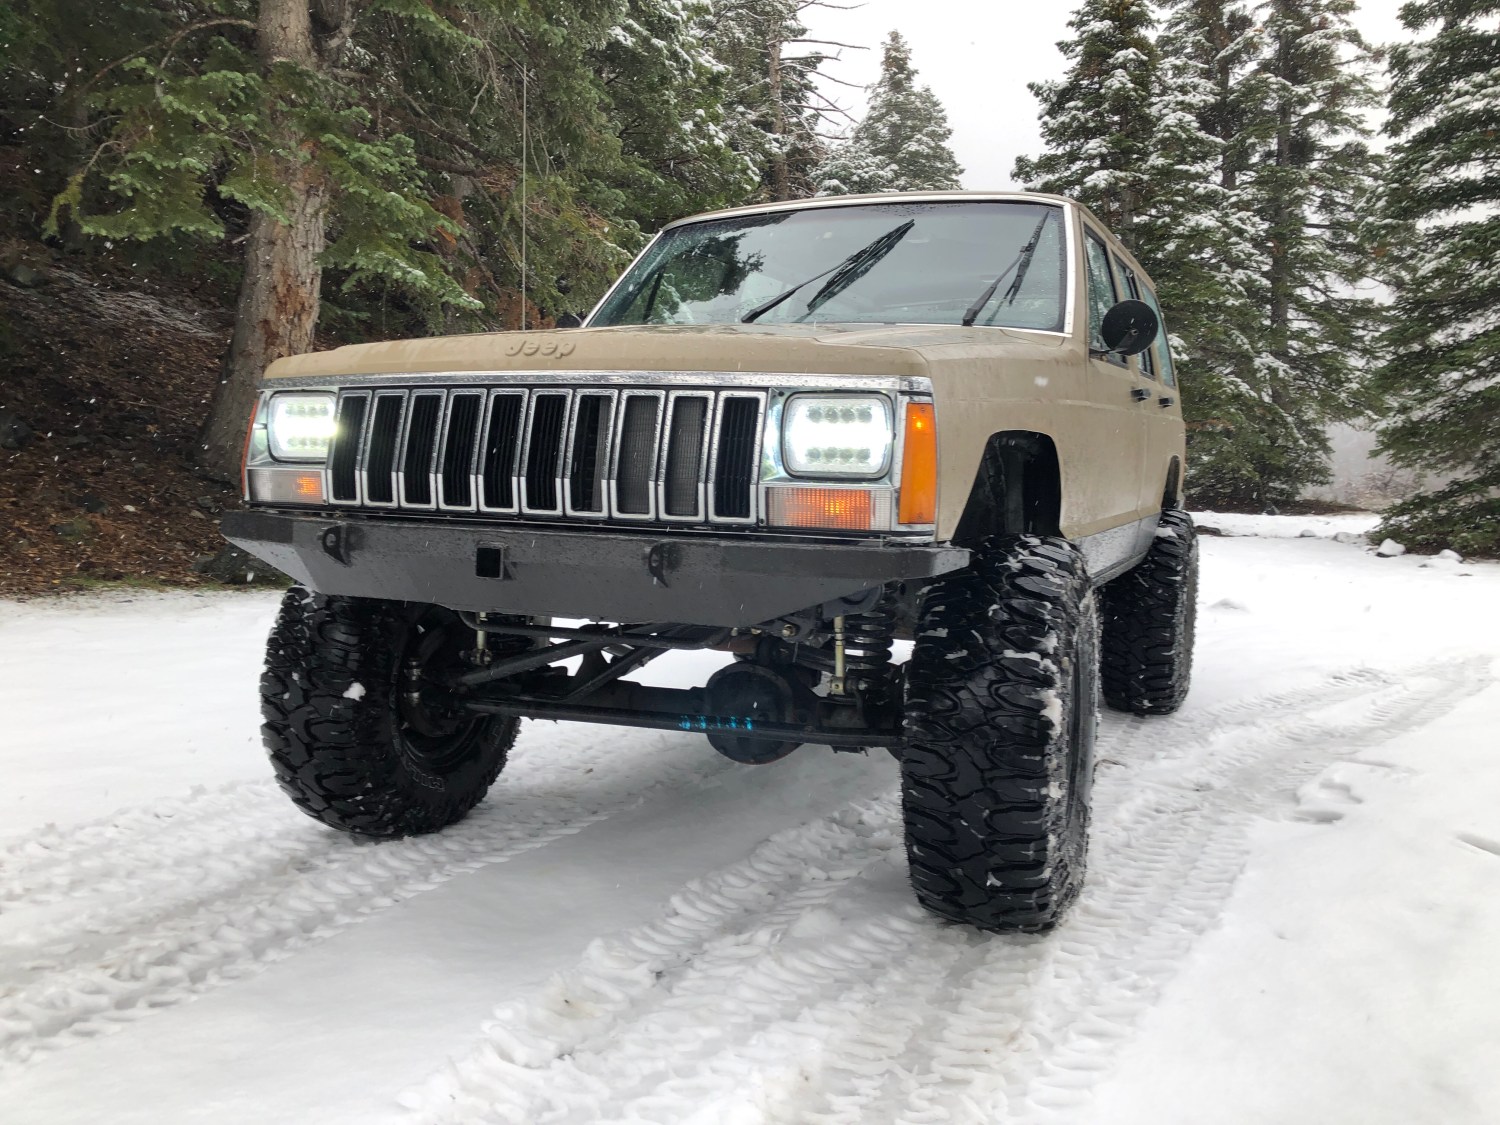
What would an Off road vehicle be without a lift? Probably not going very far on a trail. It’s true, you don’t need a lift to go off roading but the extra flex and ground clearance definitely helps you get through the obstacles better. There are many debates on how high to go, what company has the more superior kit, long arm or short arm, etc. I tend to go with what I’ve tried and found true. In the past I’ve ran Rough Country, Rubicon Express and even BDS long arm kits. For the price and quality, I decided to go with Rusty’s Off Road – 4.5″ Long Arm Kit.
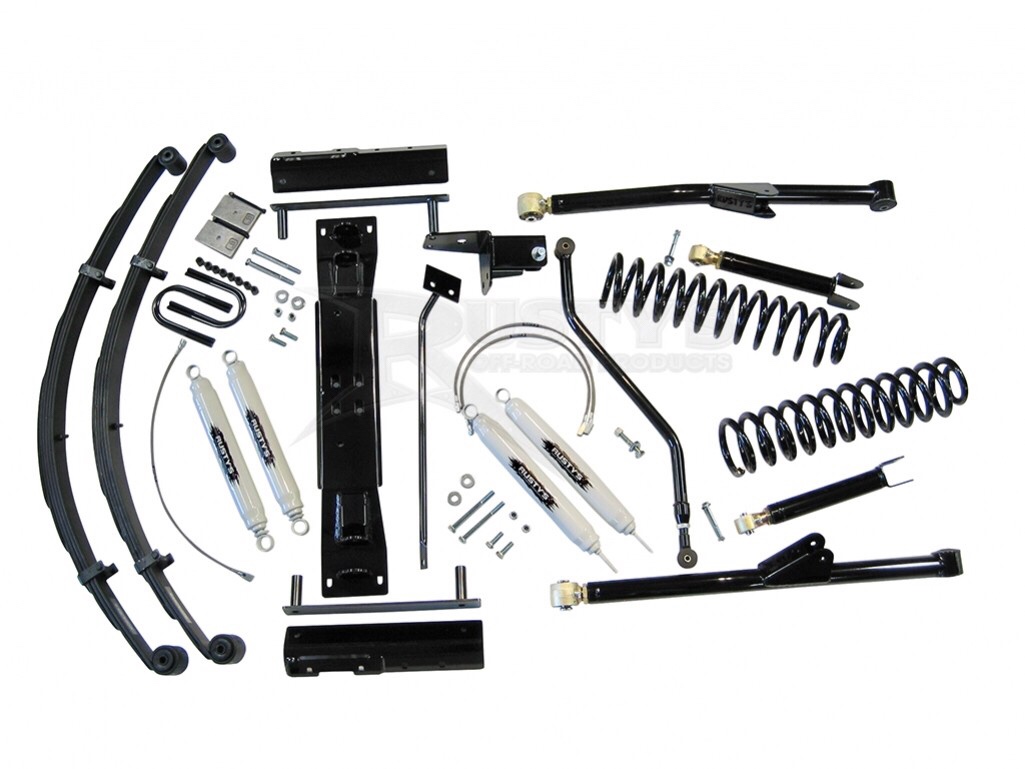
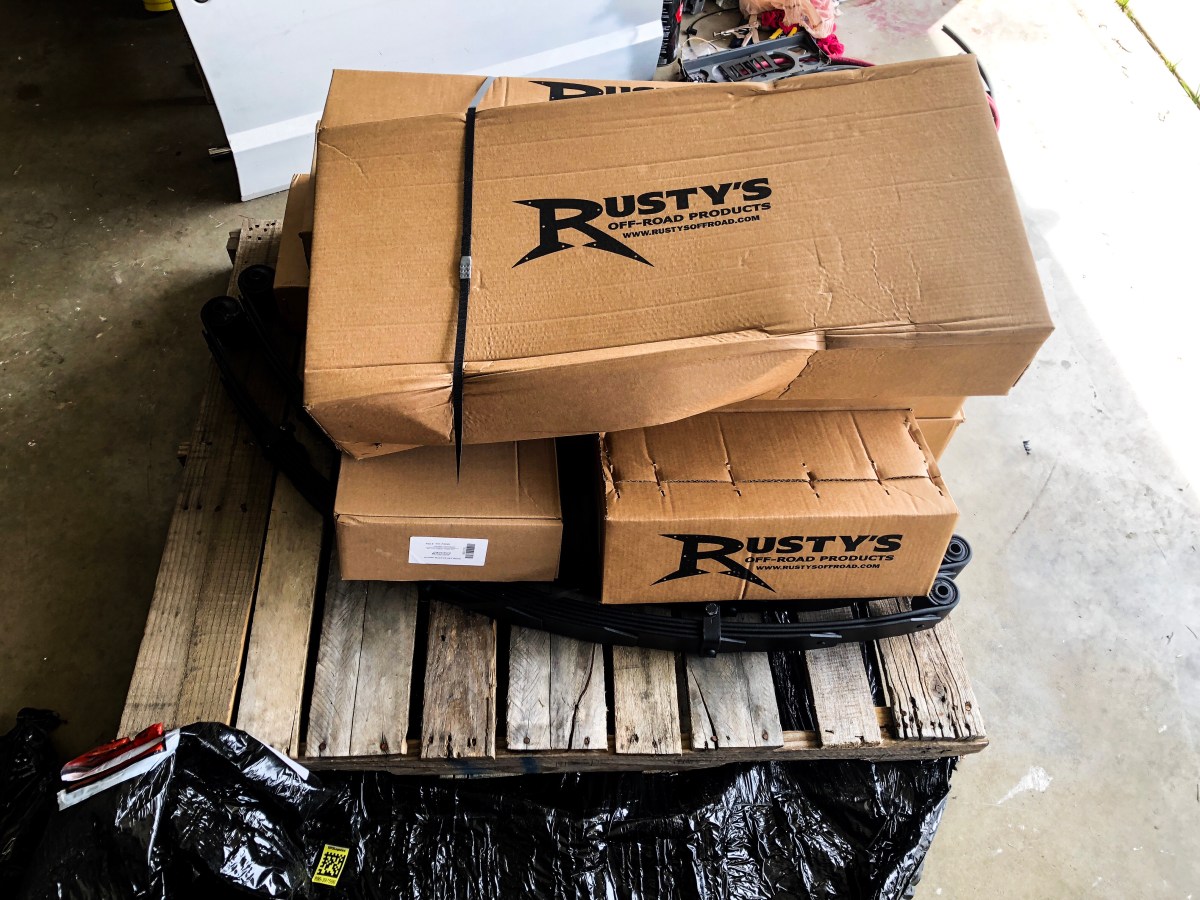
The kit comes with everything I needed to lift my Jeep with the exception of a few tools I needed for mounting the kit. Rusty’s does a good job when it comes to shipping their products. Everything was in boxes labeled with their contents and foam molded around the parts inside the boxes.
One I unpacked everything, I read through the instructions that Rusty’s sends with the kit. First, I set the front axle on jack stands. I made sure the jack stands would not be in the way during the installation.
I placed my taller jack stands under the frame as high as I could lift the frame up and removed the front wheels.
With the wheels out of the way, I removed the front shocks at both the frame and axle. I saved the hardware from the axle end because they don’t send new hardware and the original must be reused.
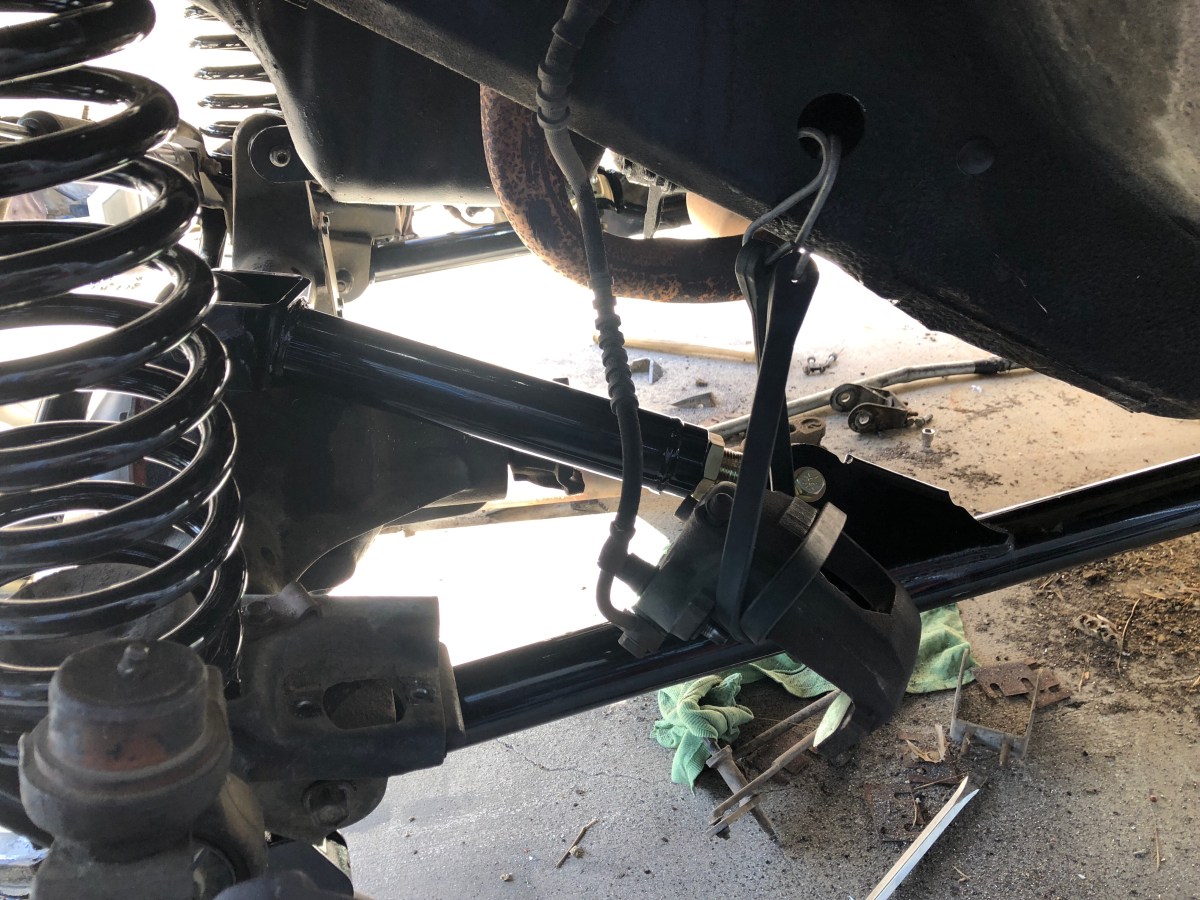
I removed the front sway bar links at the sway bar end and axle tab and kept the hardware in case I had to reuse some of it.
I removed the front track bar at the axle and frame. Once the track bar was removed, I unbolted the track bar mount from the frame and discarded it. The Rusty’s kit comes with a new mount and track bar. I did save the hardware so it could be re-used.
I used a spring compressor to remove the front coil springs.
With the front axle is properly supported, I removed the upper and lower control arms at the frame and axle end. I set the hardware at the axle end of the upper and lower control arms aside so it could be reused.
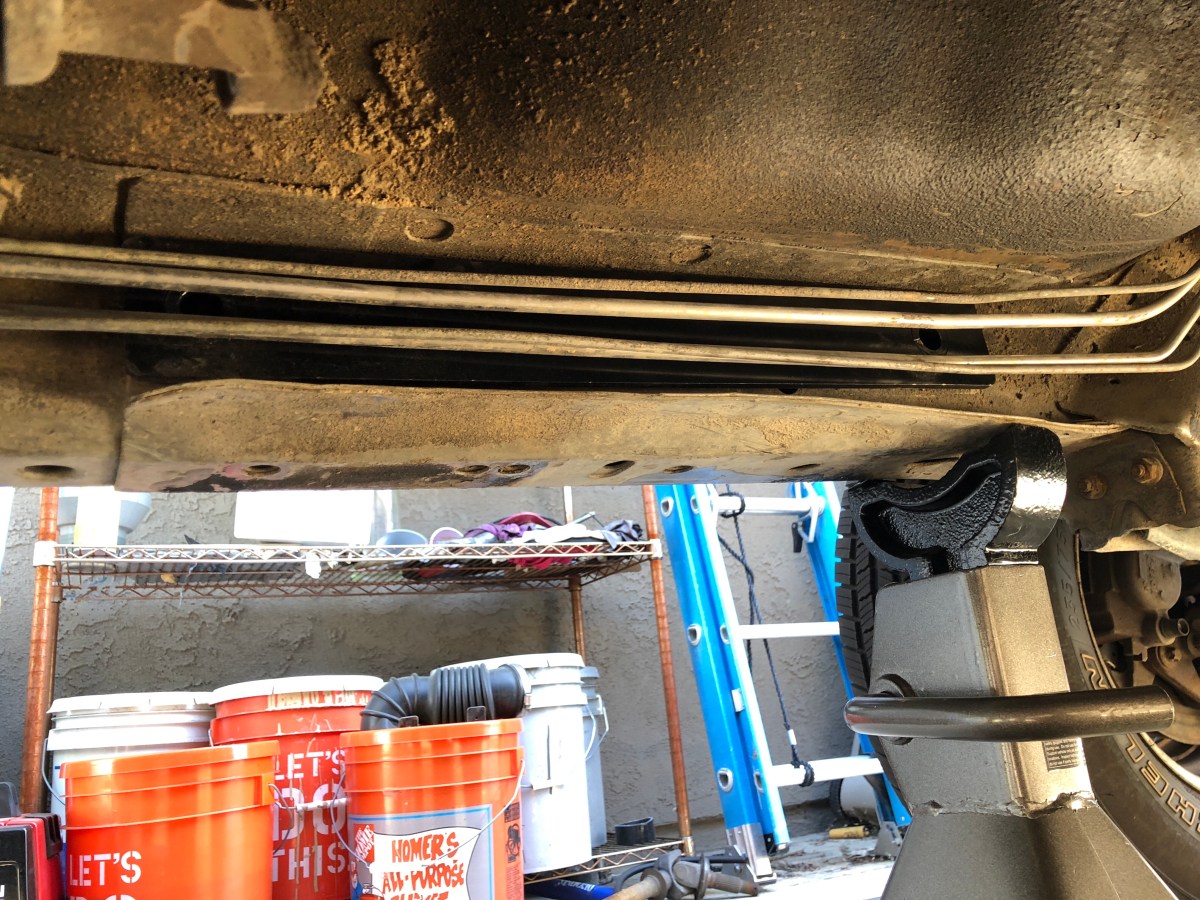
With the factory control arms removed, I cut the frame side lower control arm brackets from the driver and passenger side. the frame should be left uncut. I cut the bottom portion of the bracket and then move to inside of the frame.
IMPORTANT: Be sure to keep clear of fuel and brake lines on the driver side.
I ground the rough edges smooth and paint the exposed metal with Rust Oleum to avoid corrosion and keep a clean factory look.
After the brackets were removed I placed jack under the transmission and removed the 4 nuts that bolt the transmission mount to the crossmember. I kept the mounting nuts since the new mount does not come with new ones. With the trans supported by the jack, I removed the 2 bolts and 2 nuts that hold the crossmember in place, 2 of these are threaded studs coming out of the frame. They are threaded into the frame and come out with a stud extractor or vise grips. Once they were removed, I discarded the bolts and studs since Rusty’s gives you new mounting hardware.