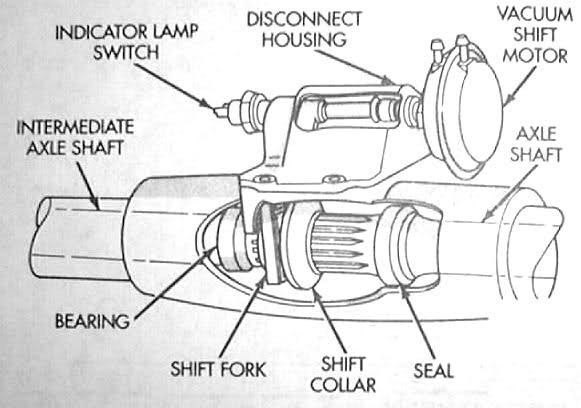
Everyone knows the Central Axle Disconnect is the weakest point on the Dana 30 when they do have a failure. Something as simple as a broken vacuum line will leave you in 2wd. In extreme cases, a hard drop could crack the cast house of the vacuum shift motor.
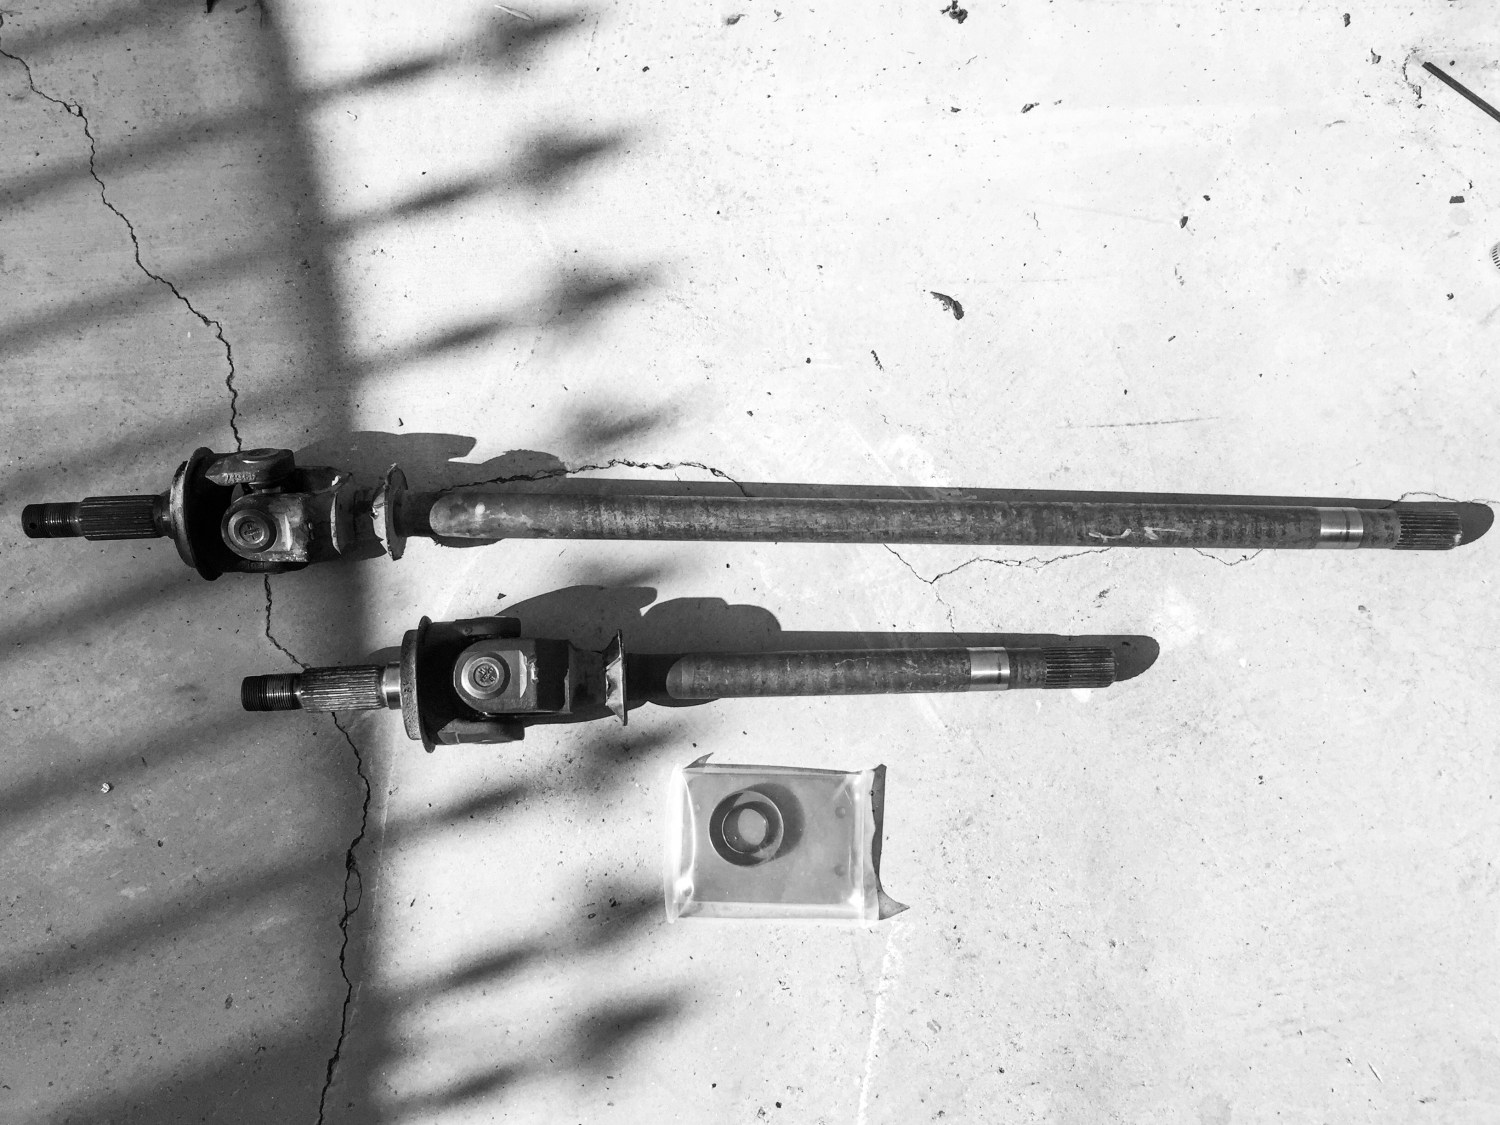
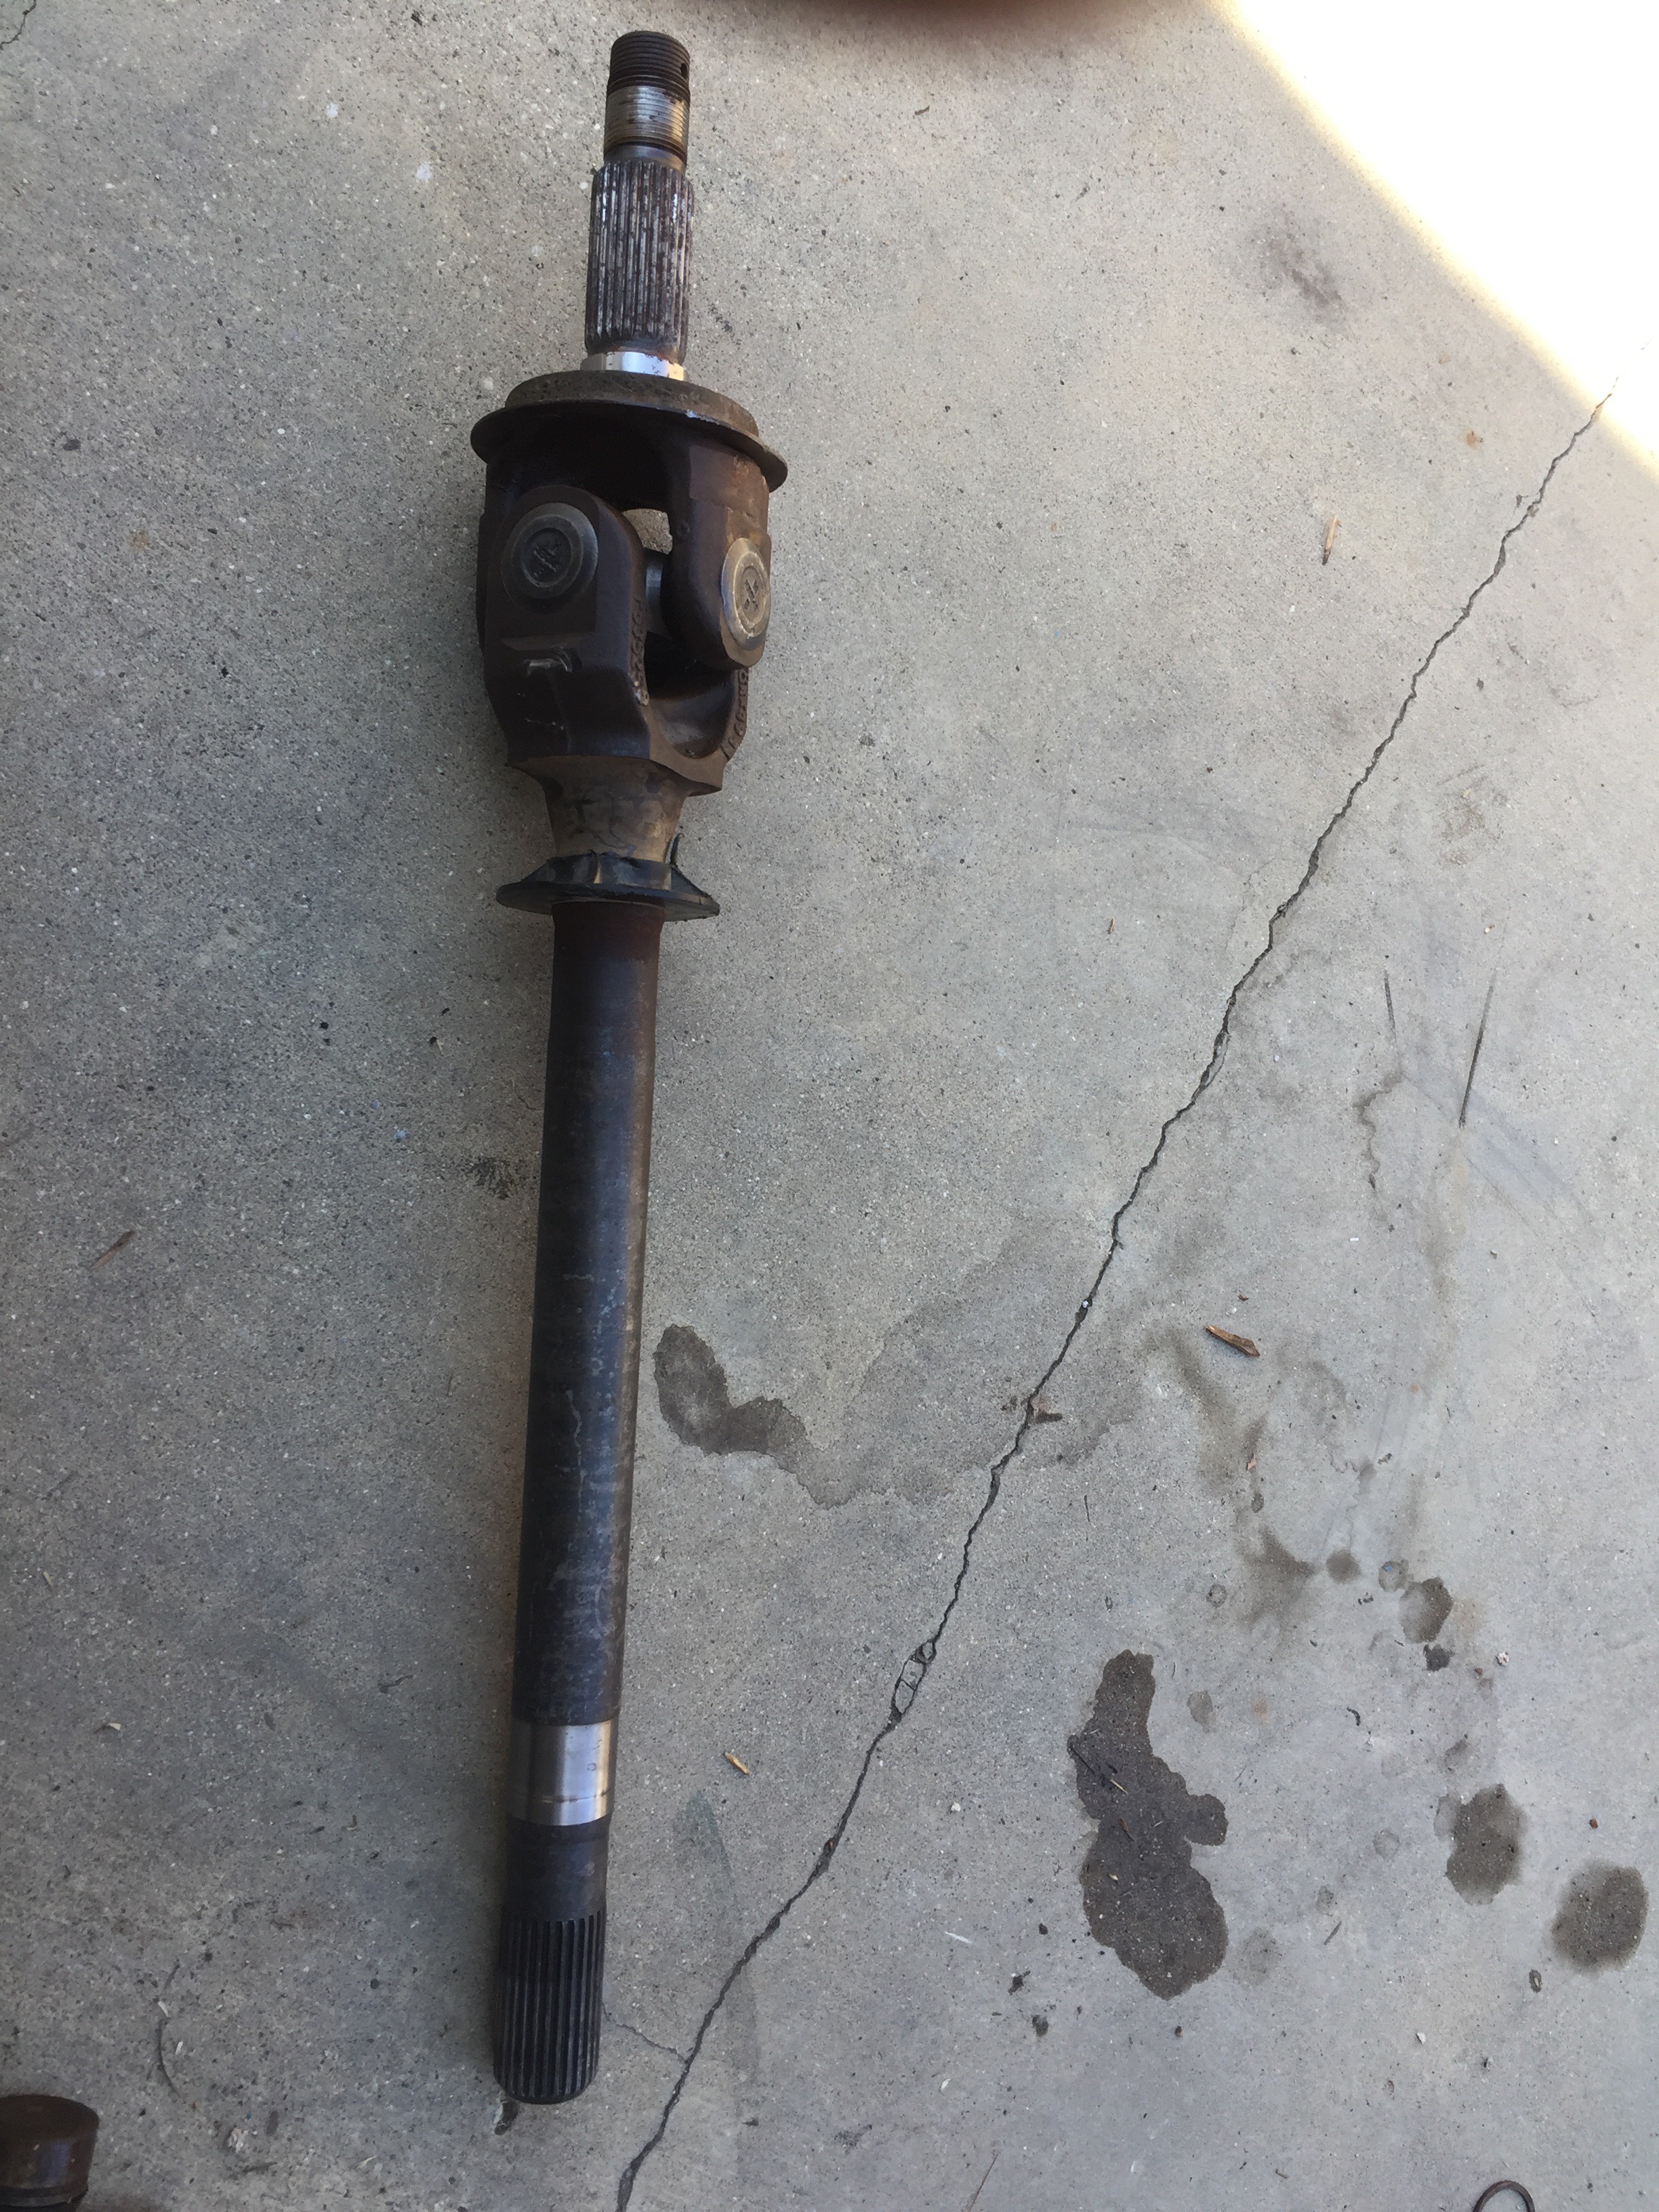
My plan for this build is to make this a dependable off-roader for myself and my family. I have future plans of swapping in a Dana 44 but for now, a cheap and simple C.A.D. delete seems like the better way to go instead of buying a solid Dana 30 from a junk yard. The first step was to procure some axle shafts from the junk yard. I pulled some shafts from a ’97 Cherokee that had the 760x U-Joints.
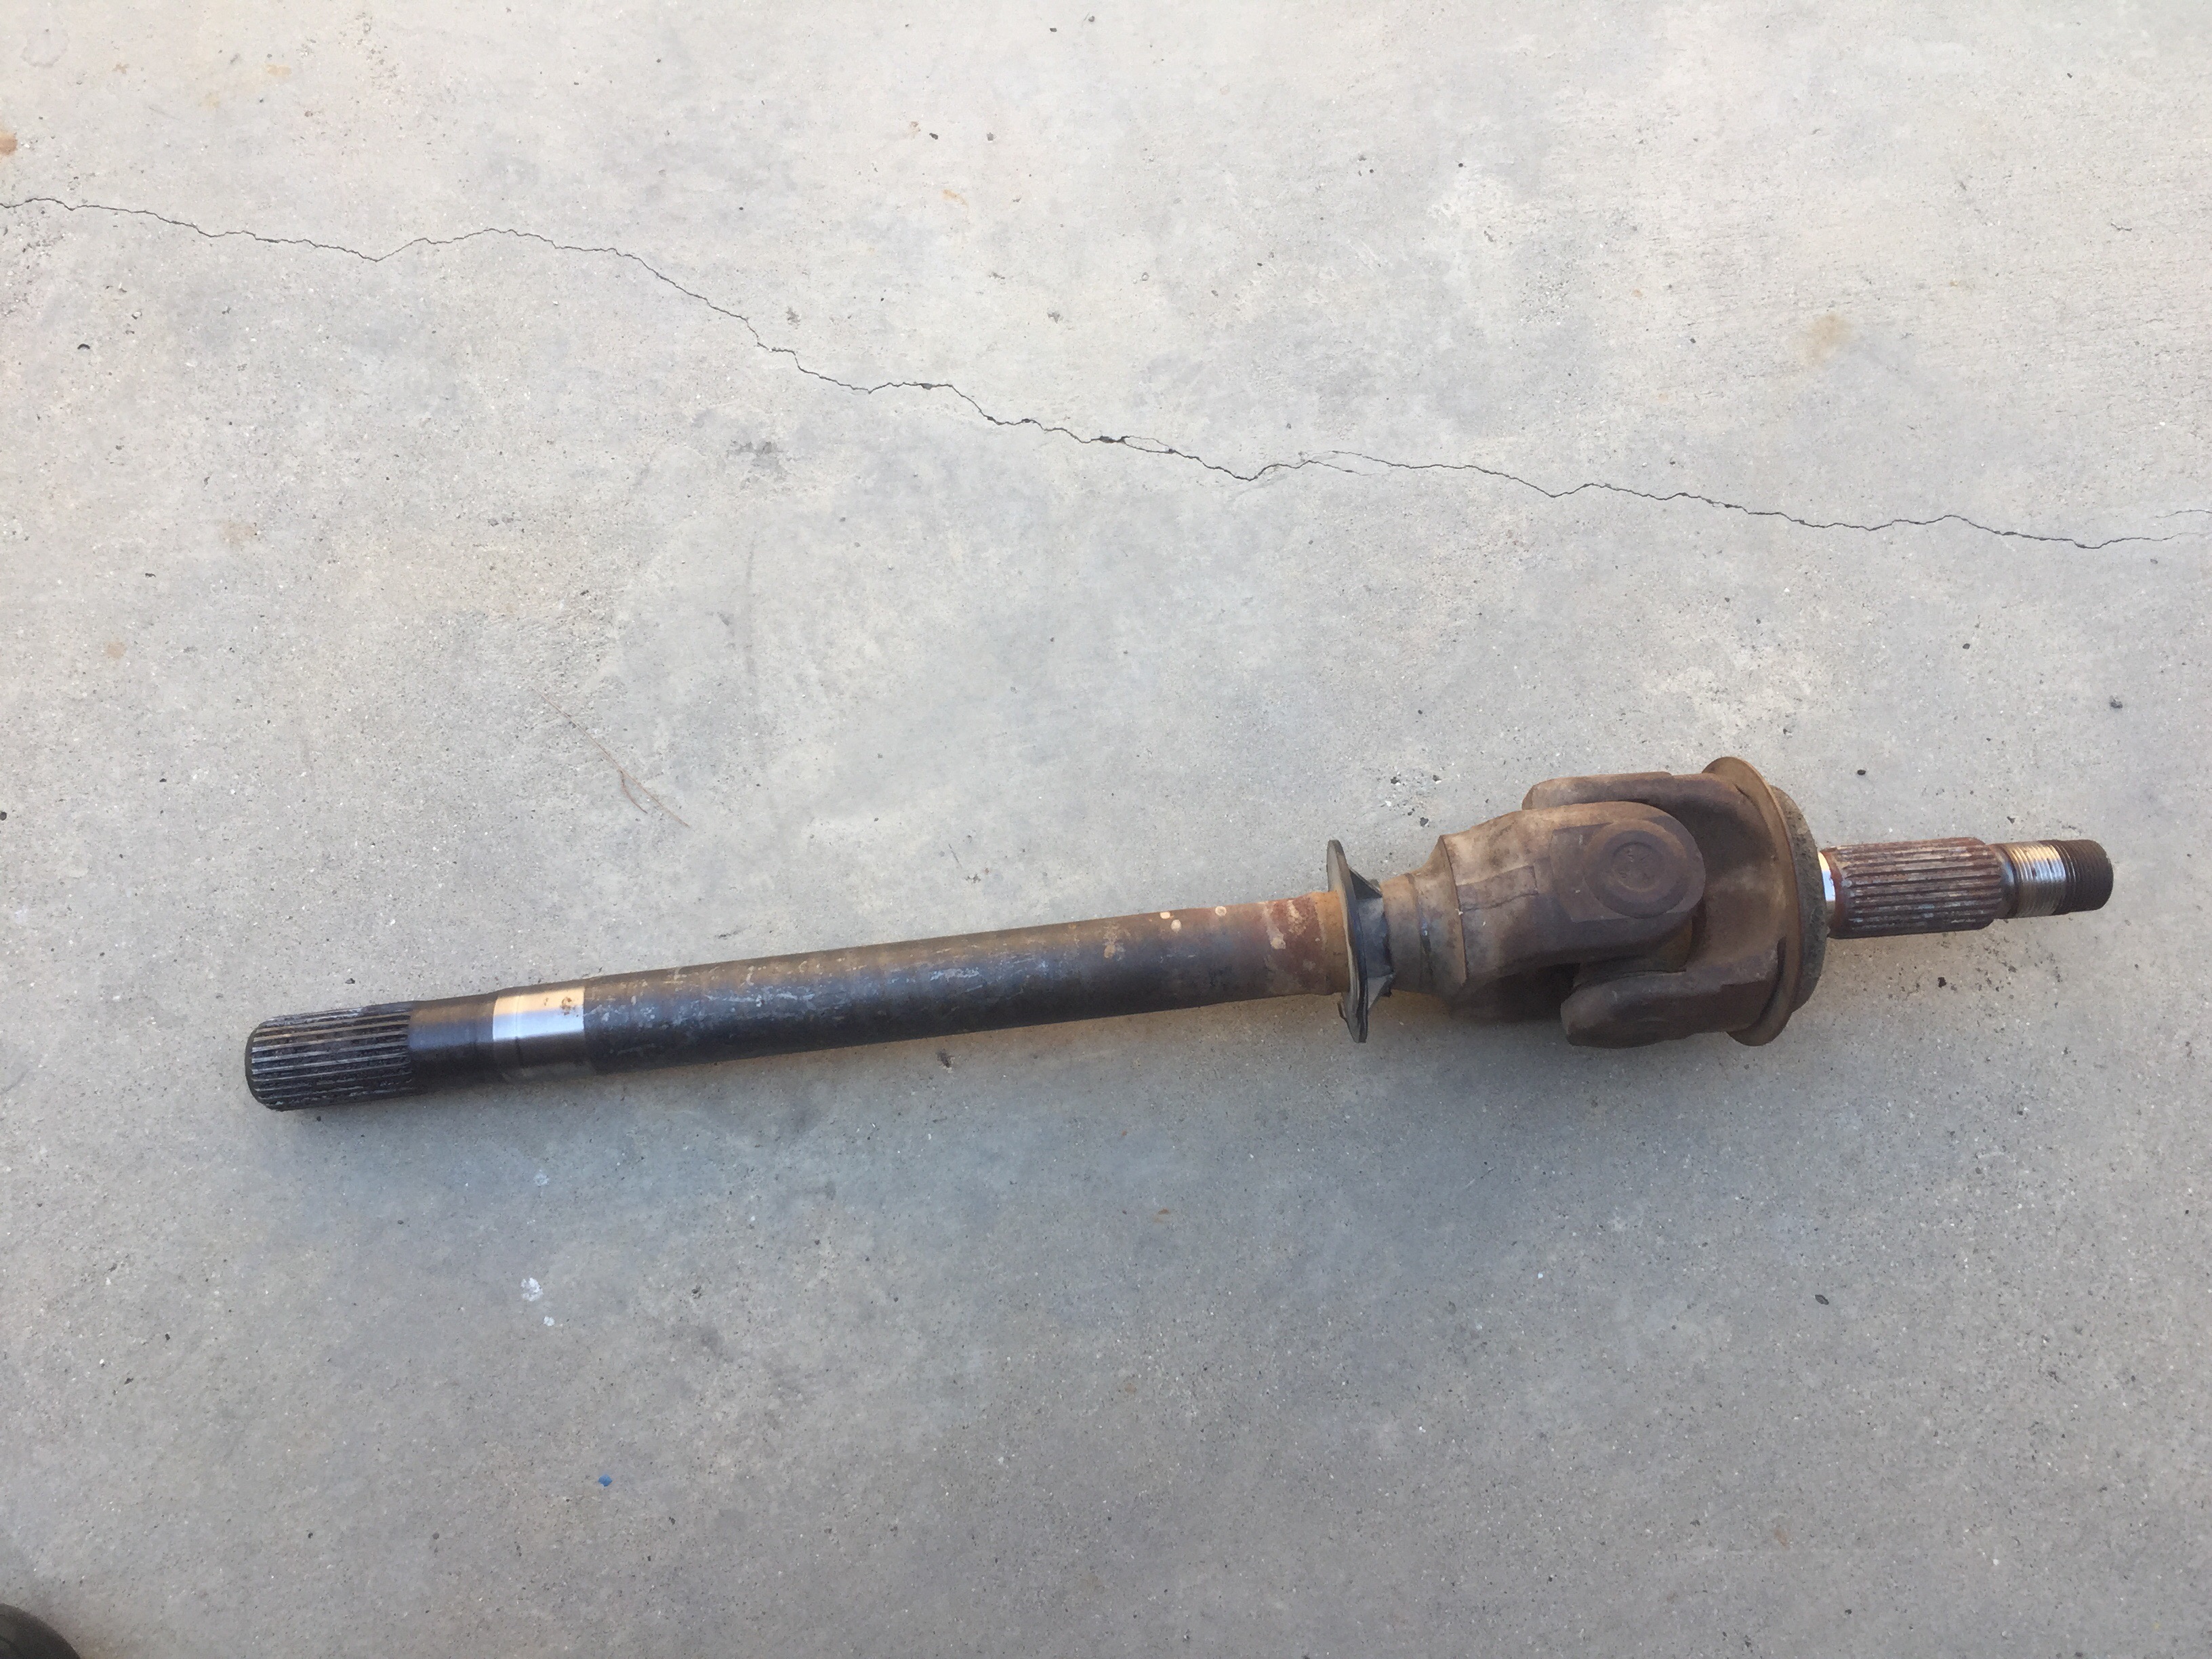
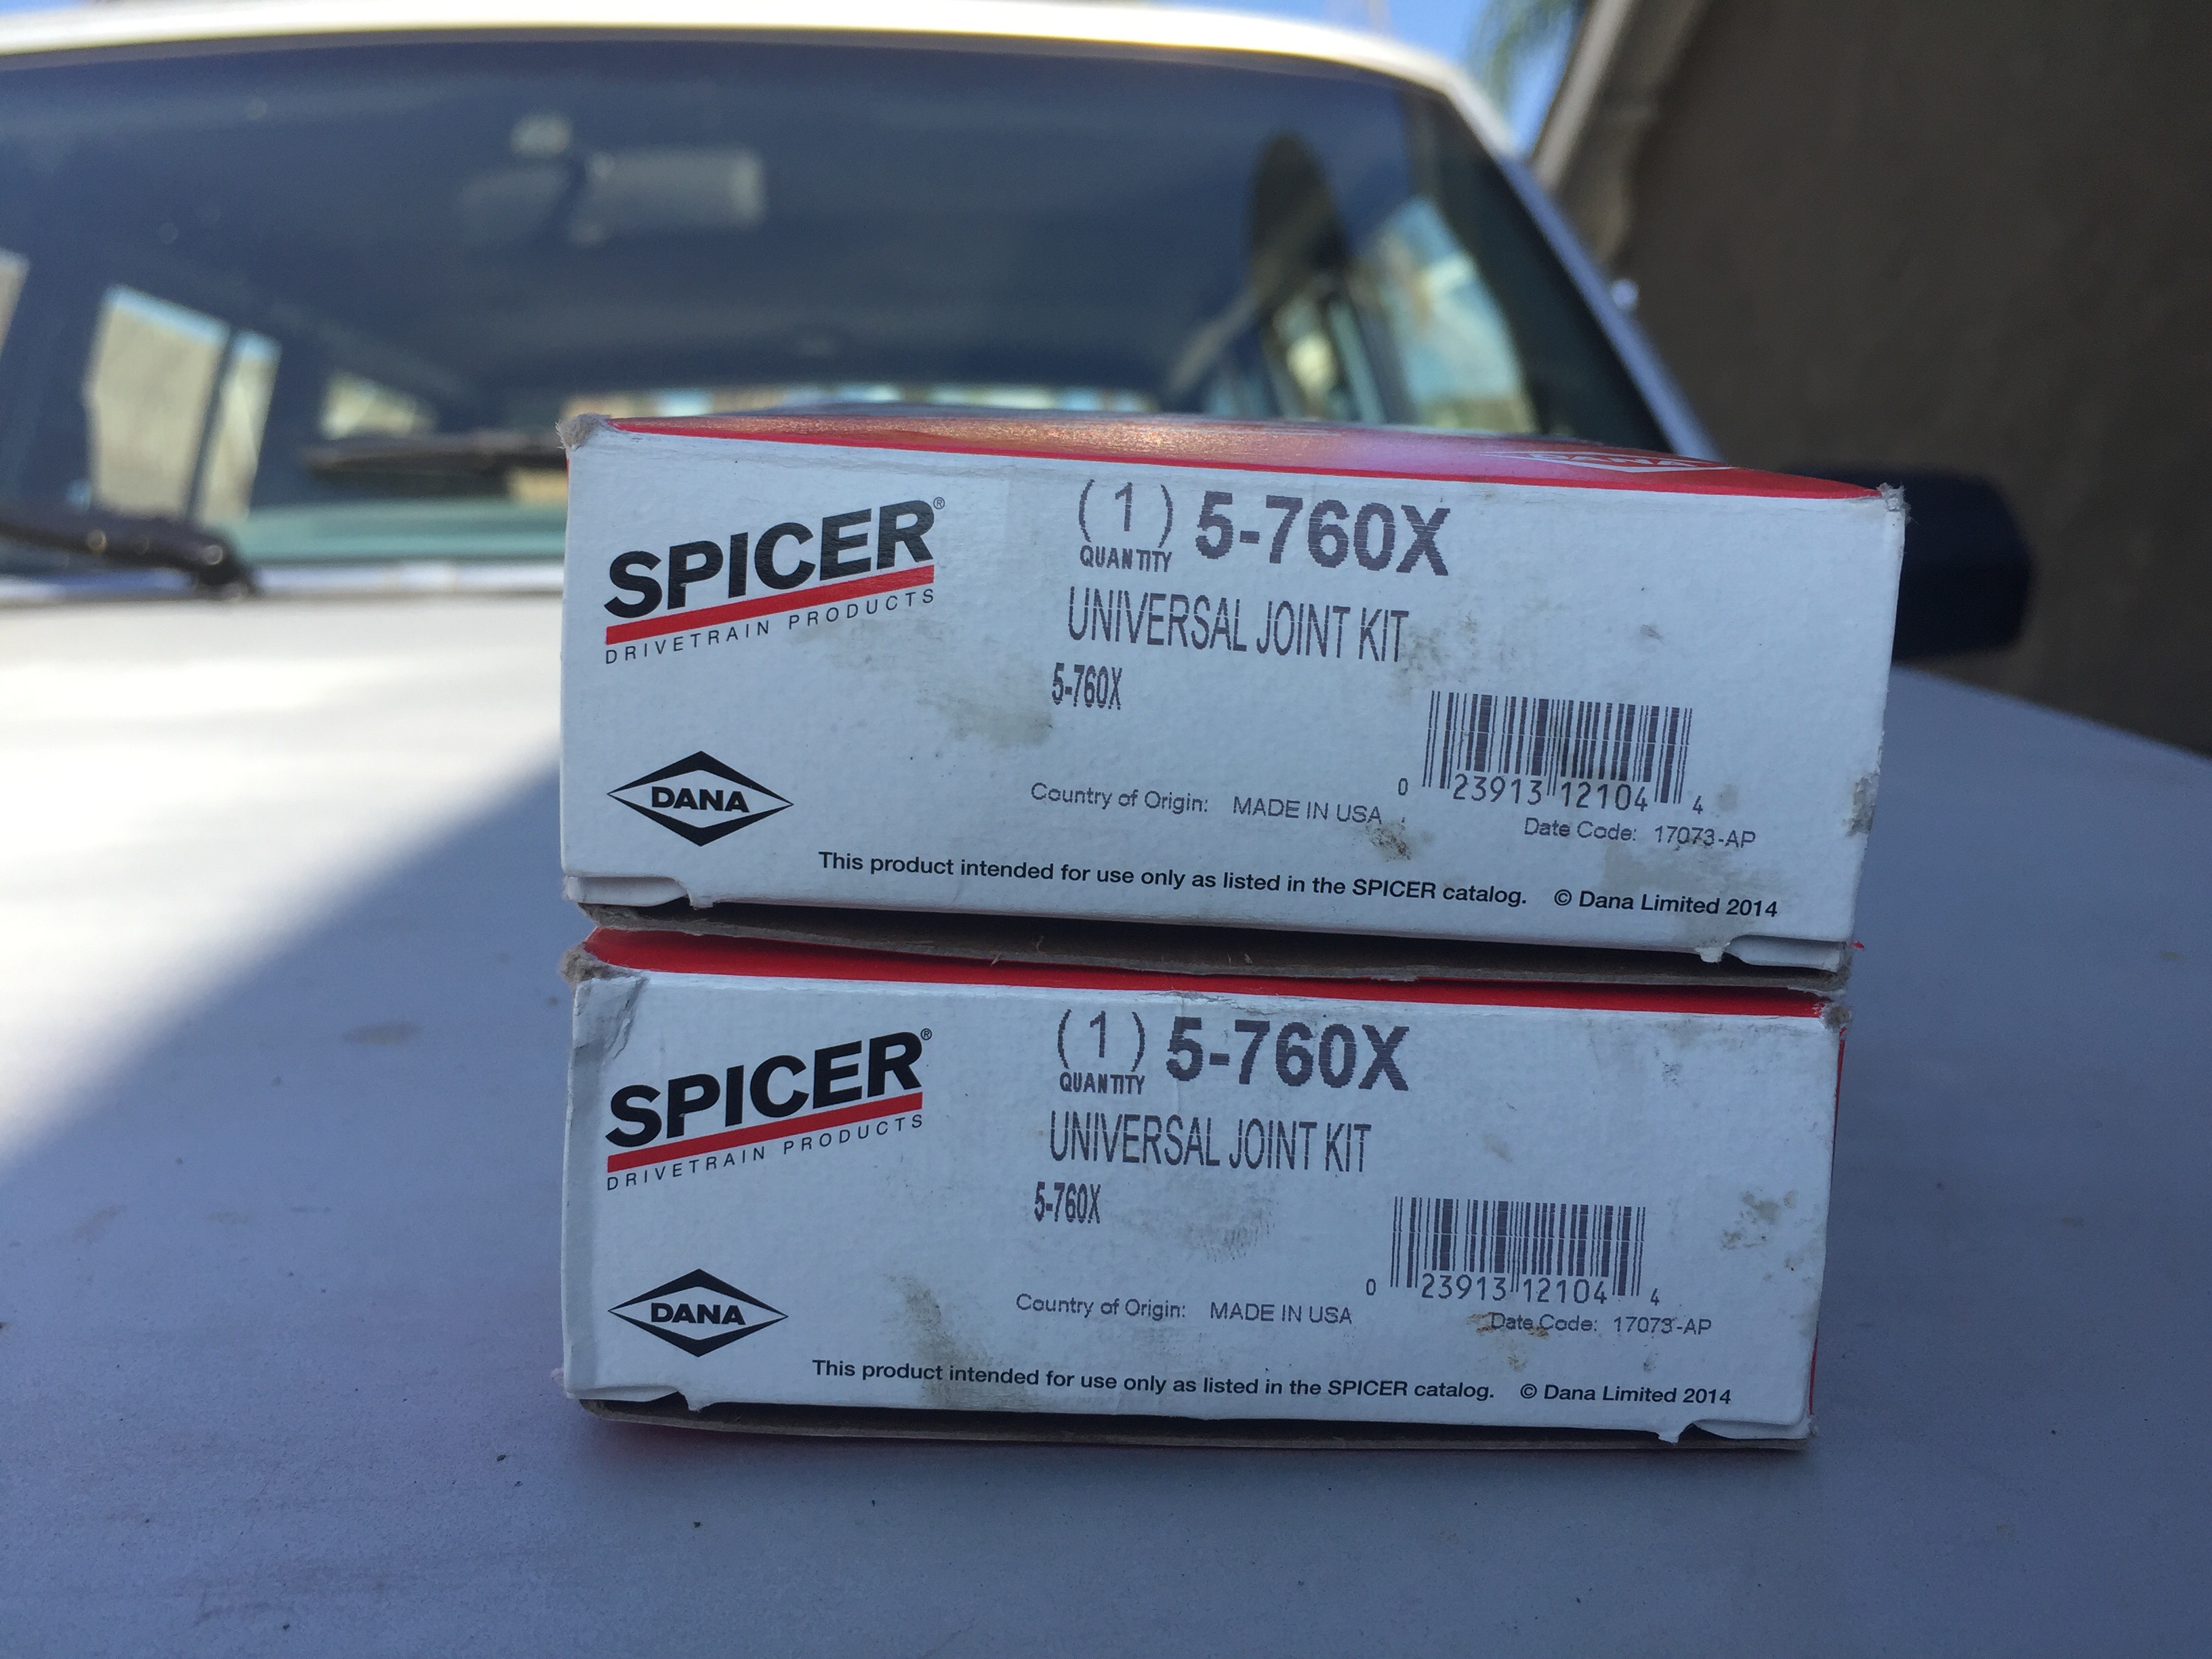
The first step in the process was to replace the used shafts U-Joints with new ones. Who knows how long they have been in there. According to the odometer, if they were original, there is roughly 175K on those U-Joints. I purchased some new Spicer 760x U-joints and started the tear down.
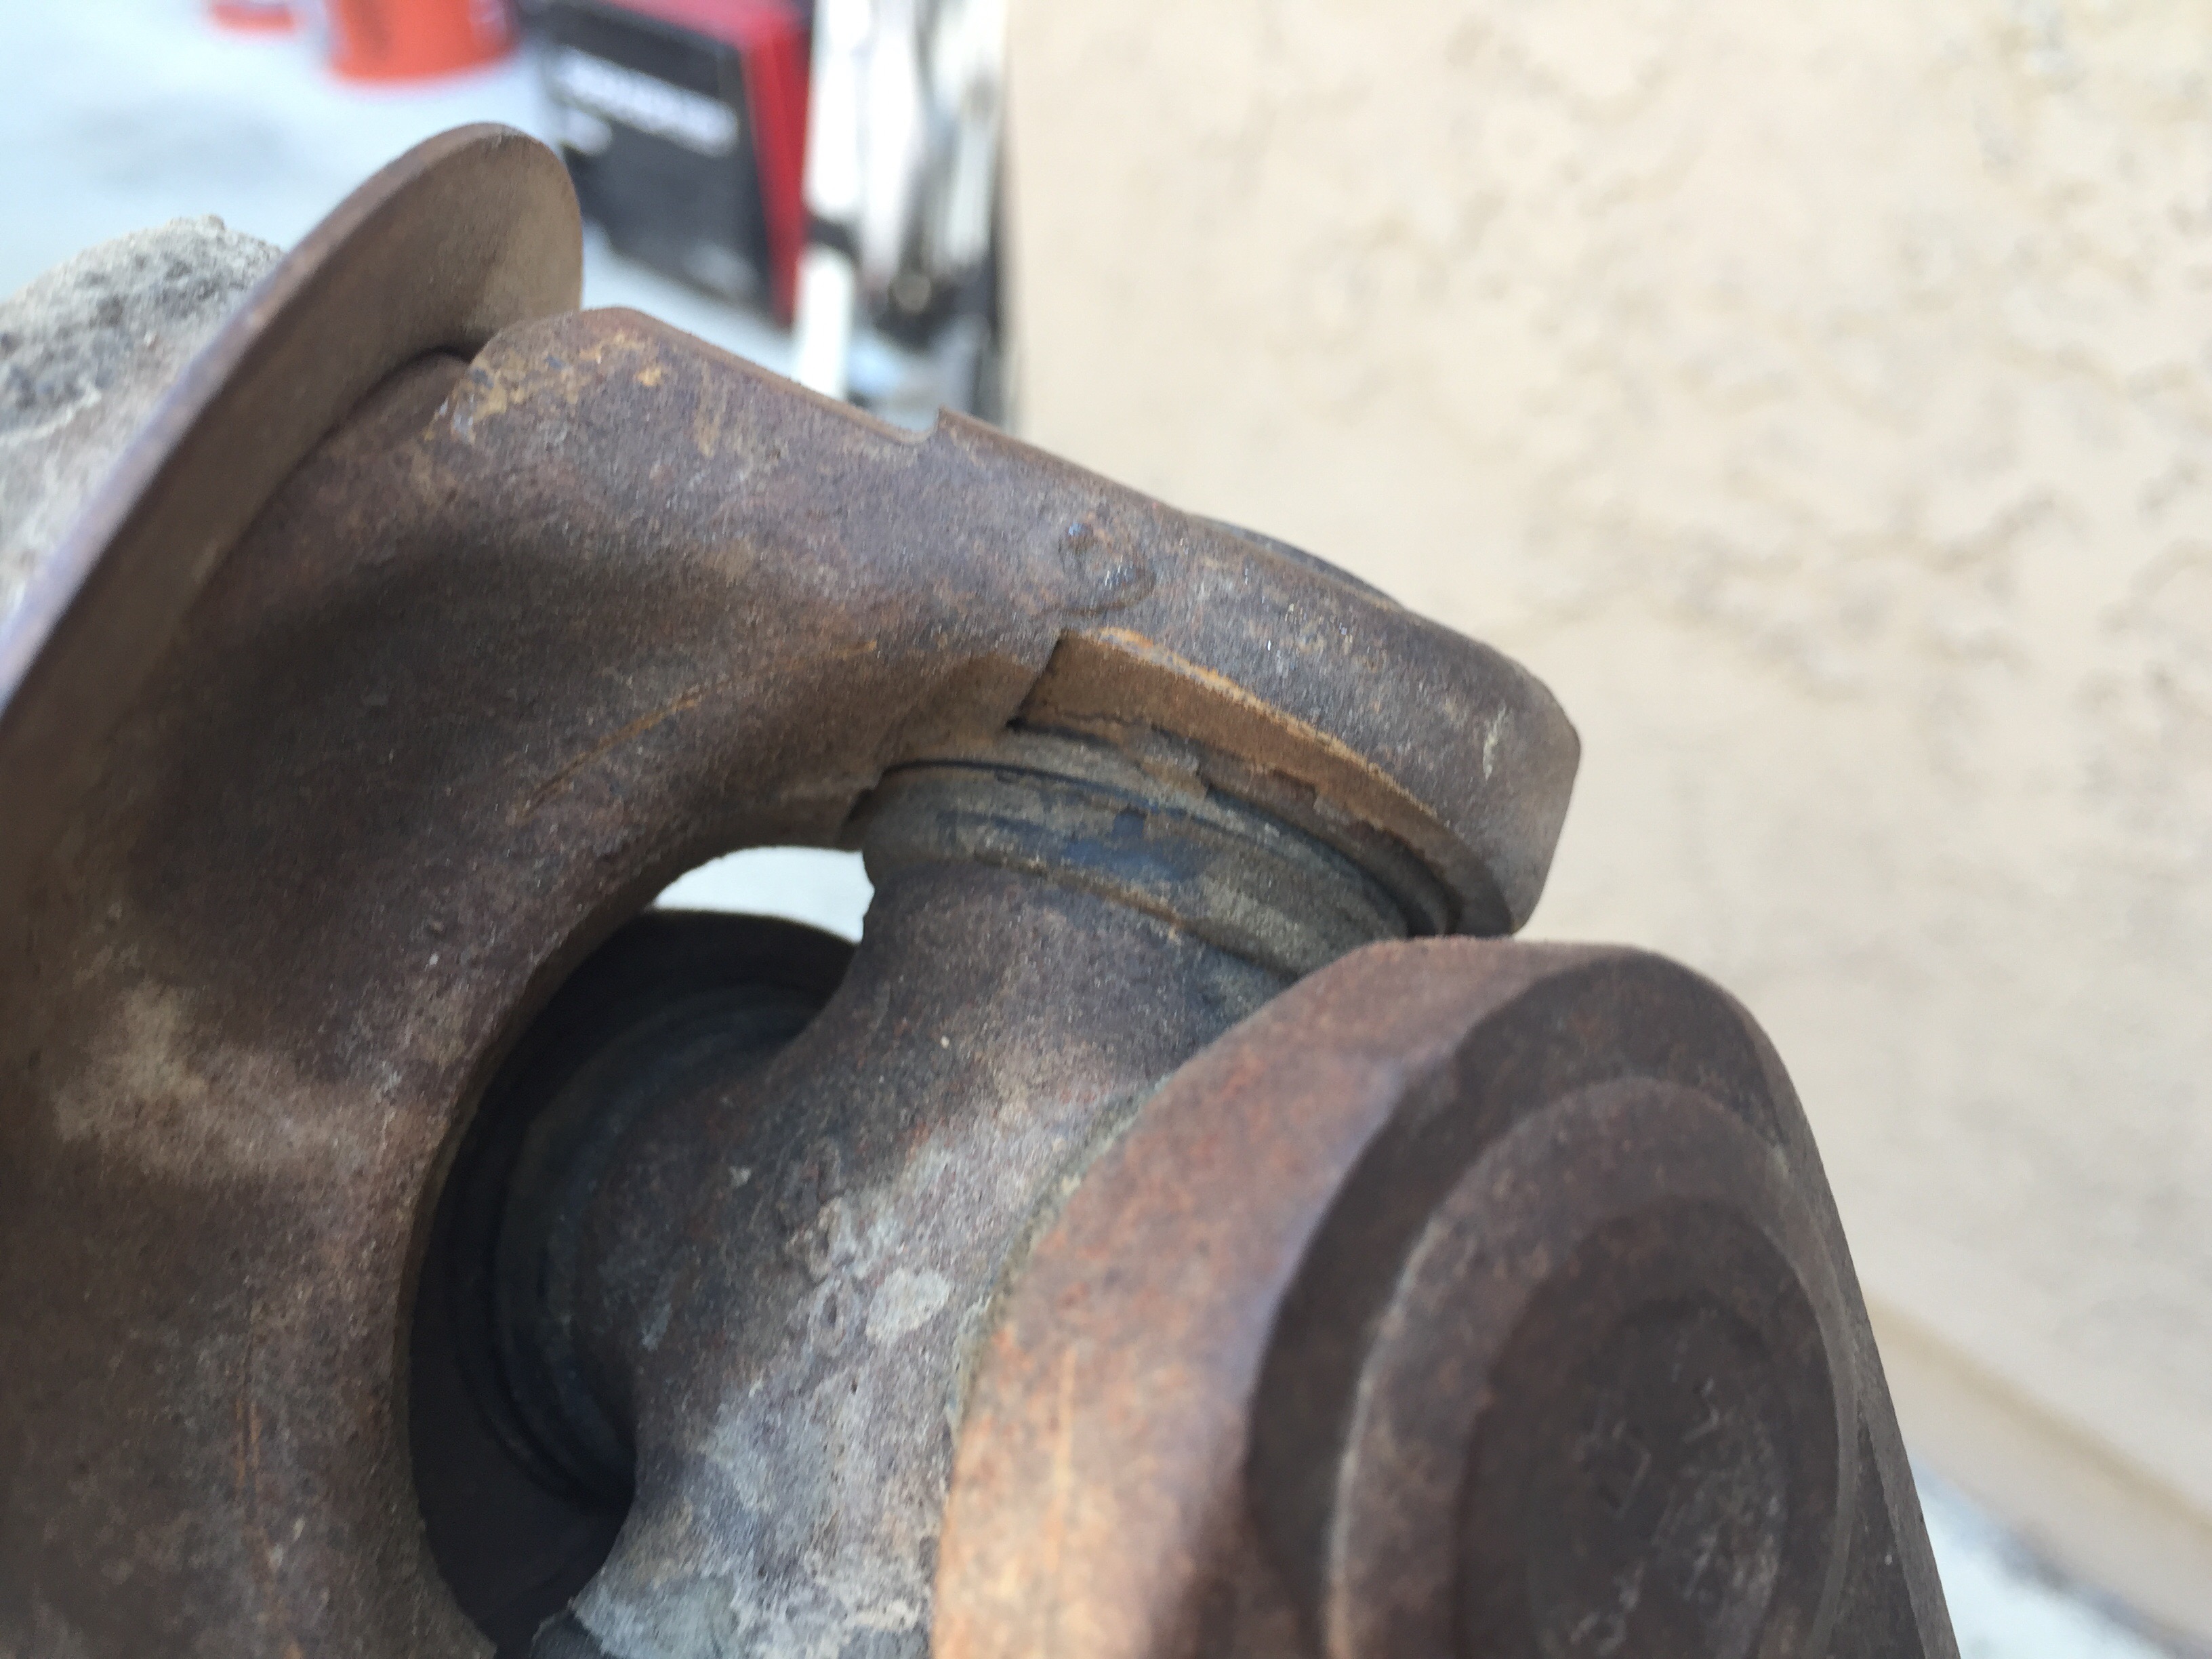
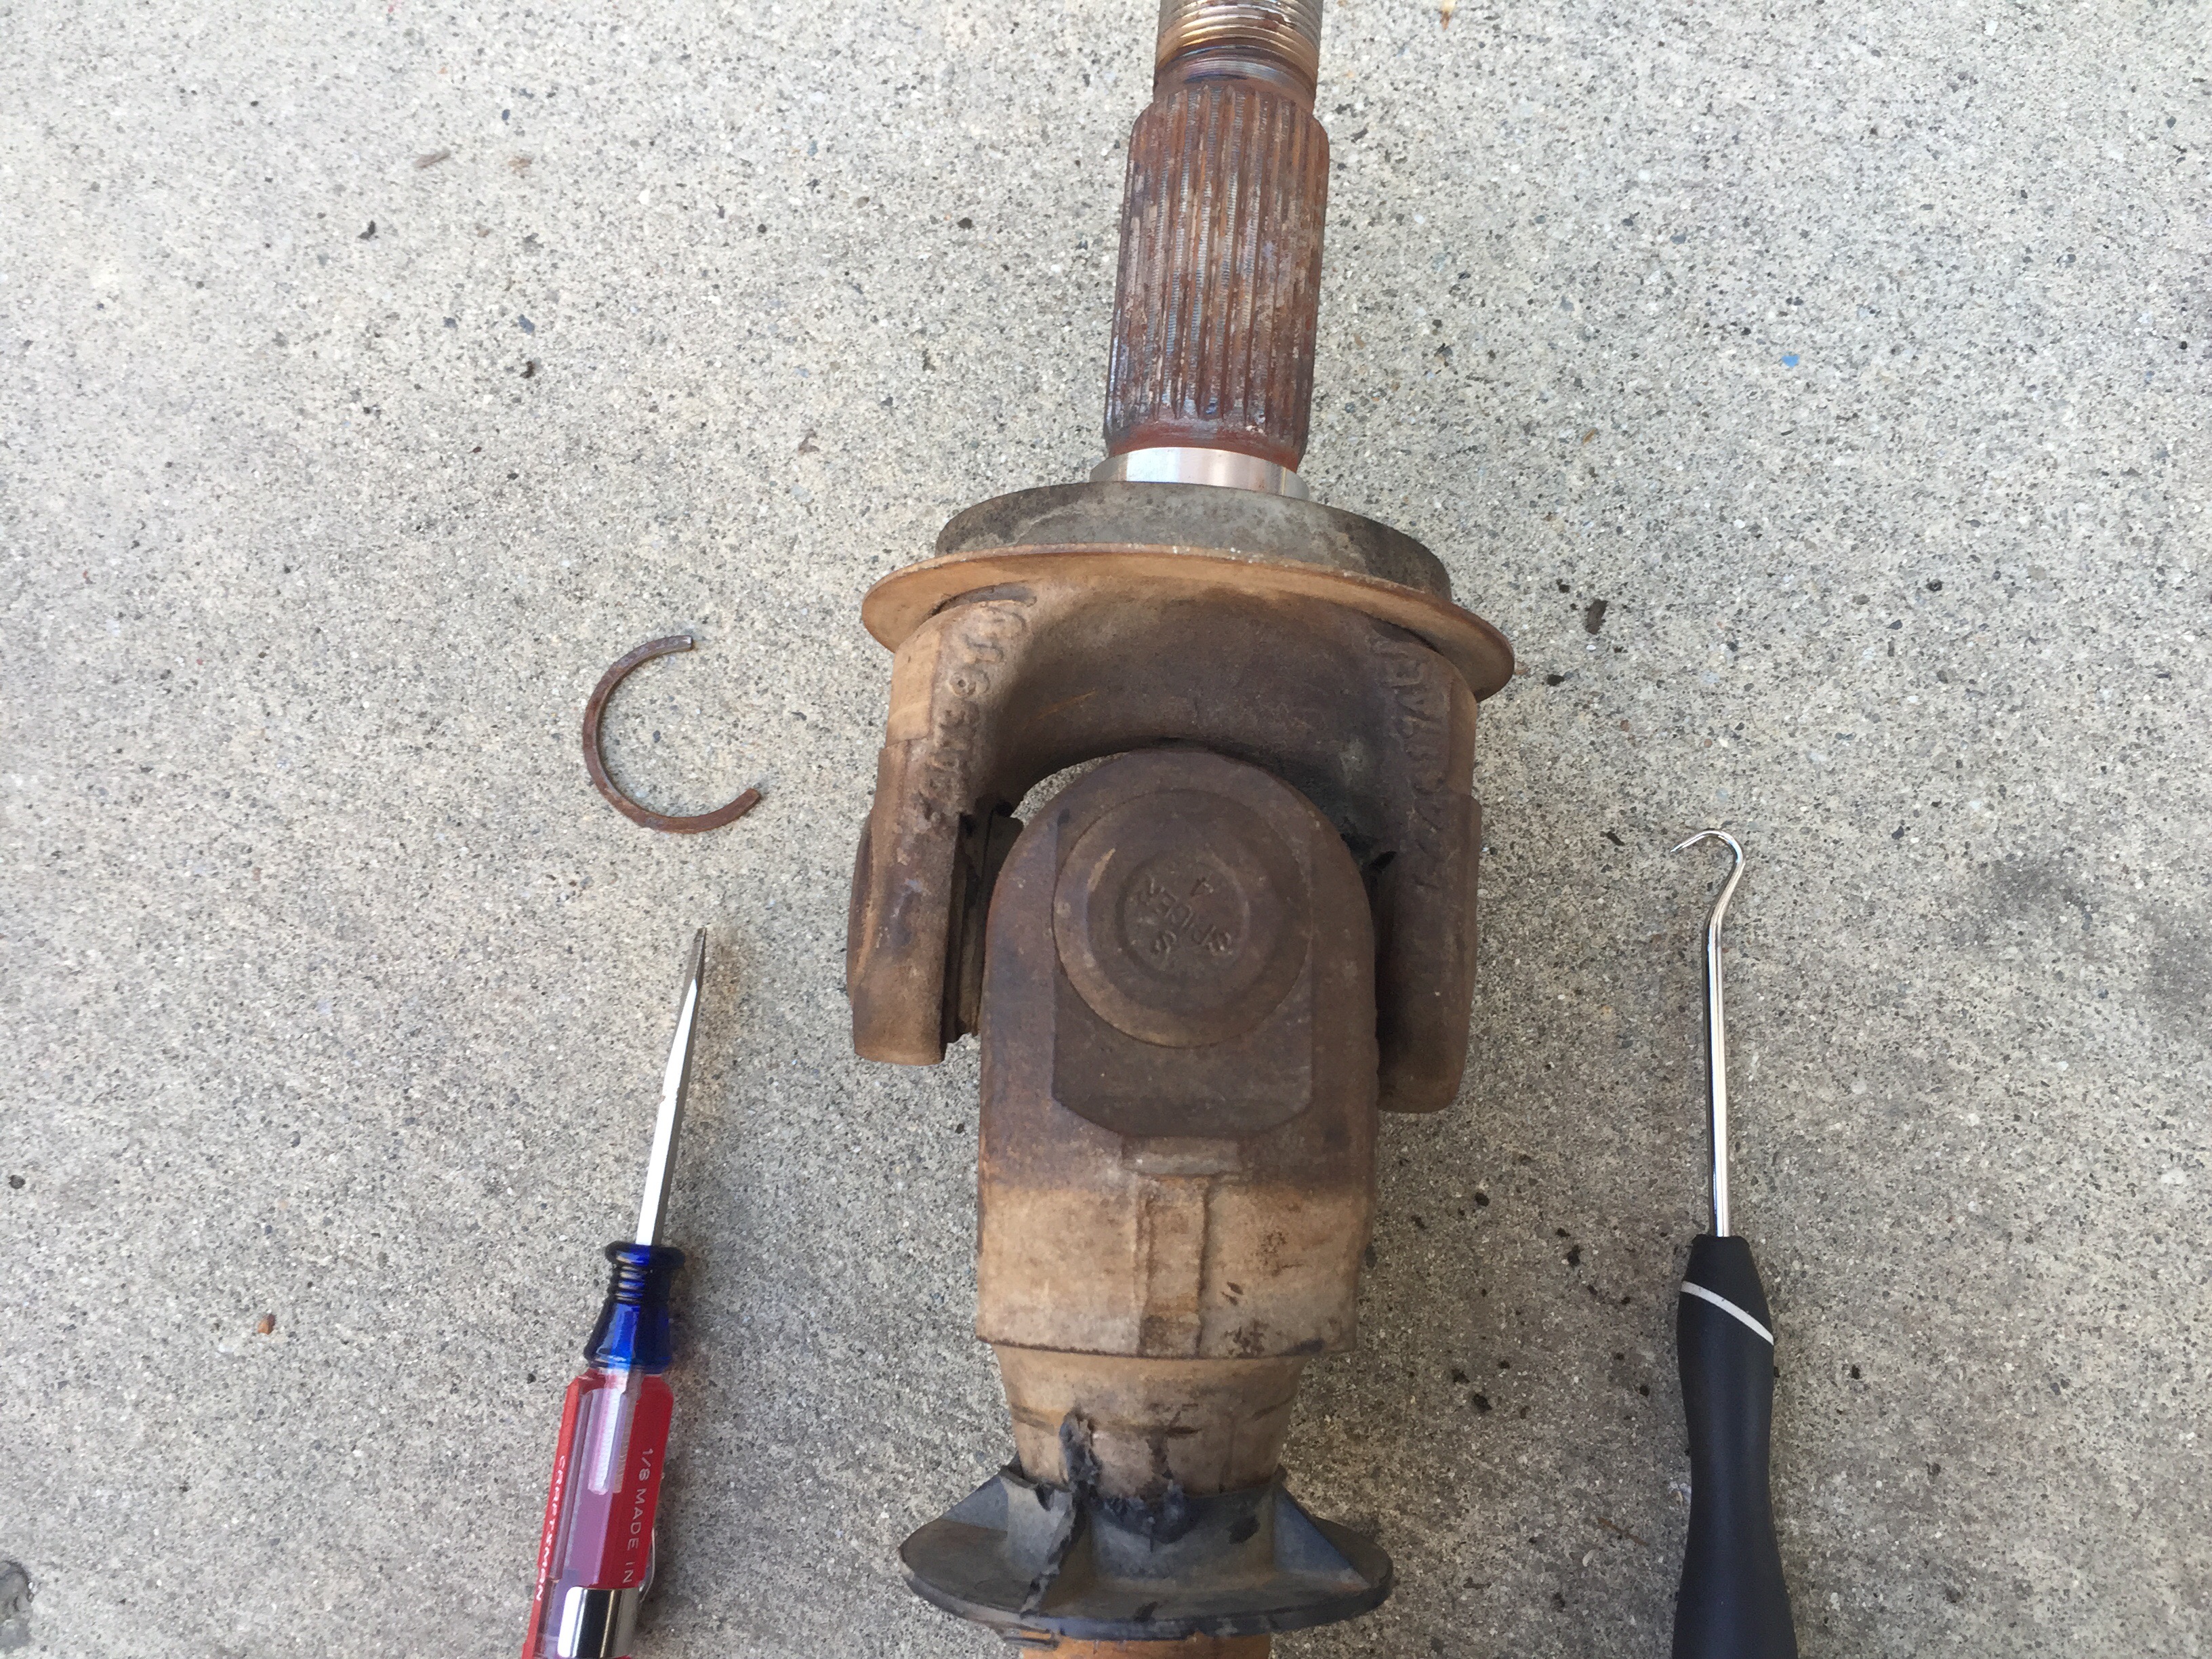
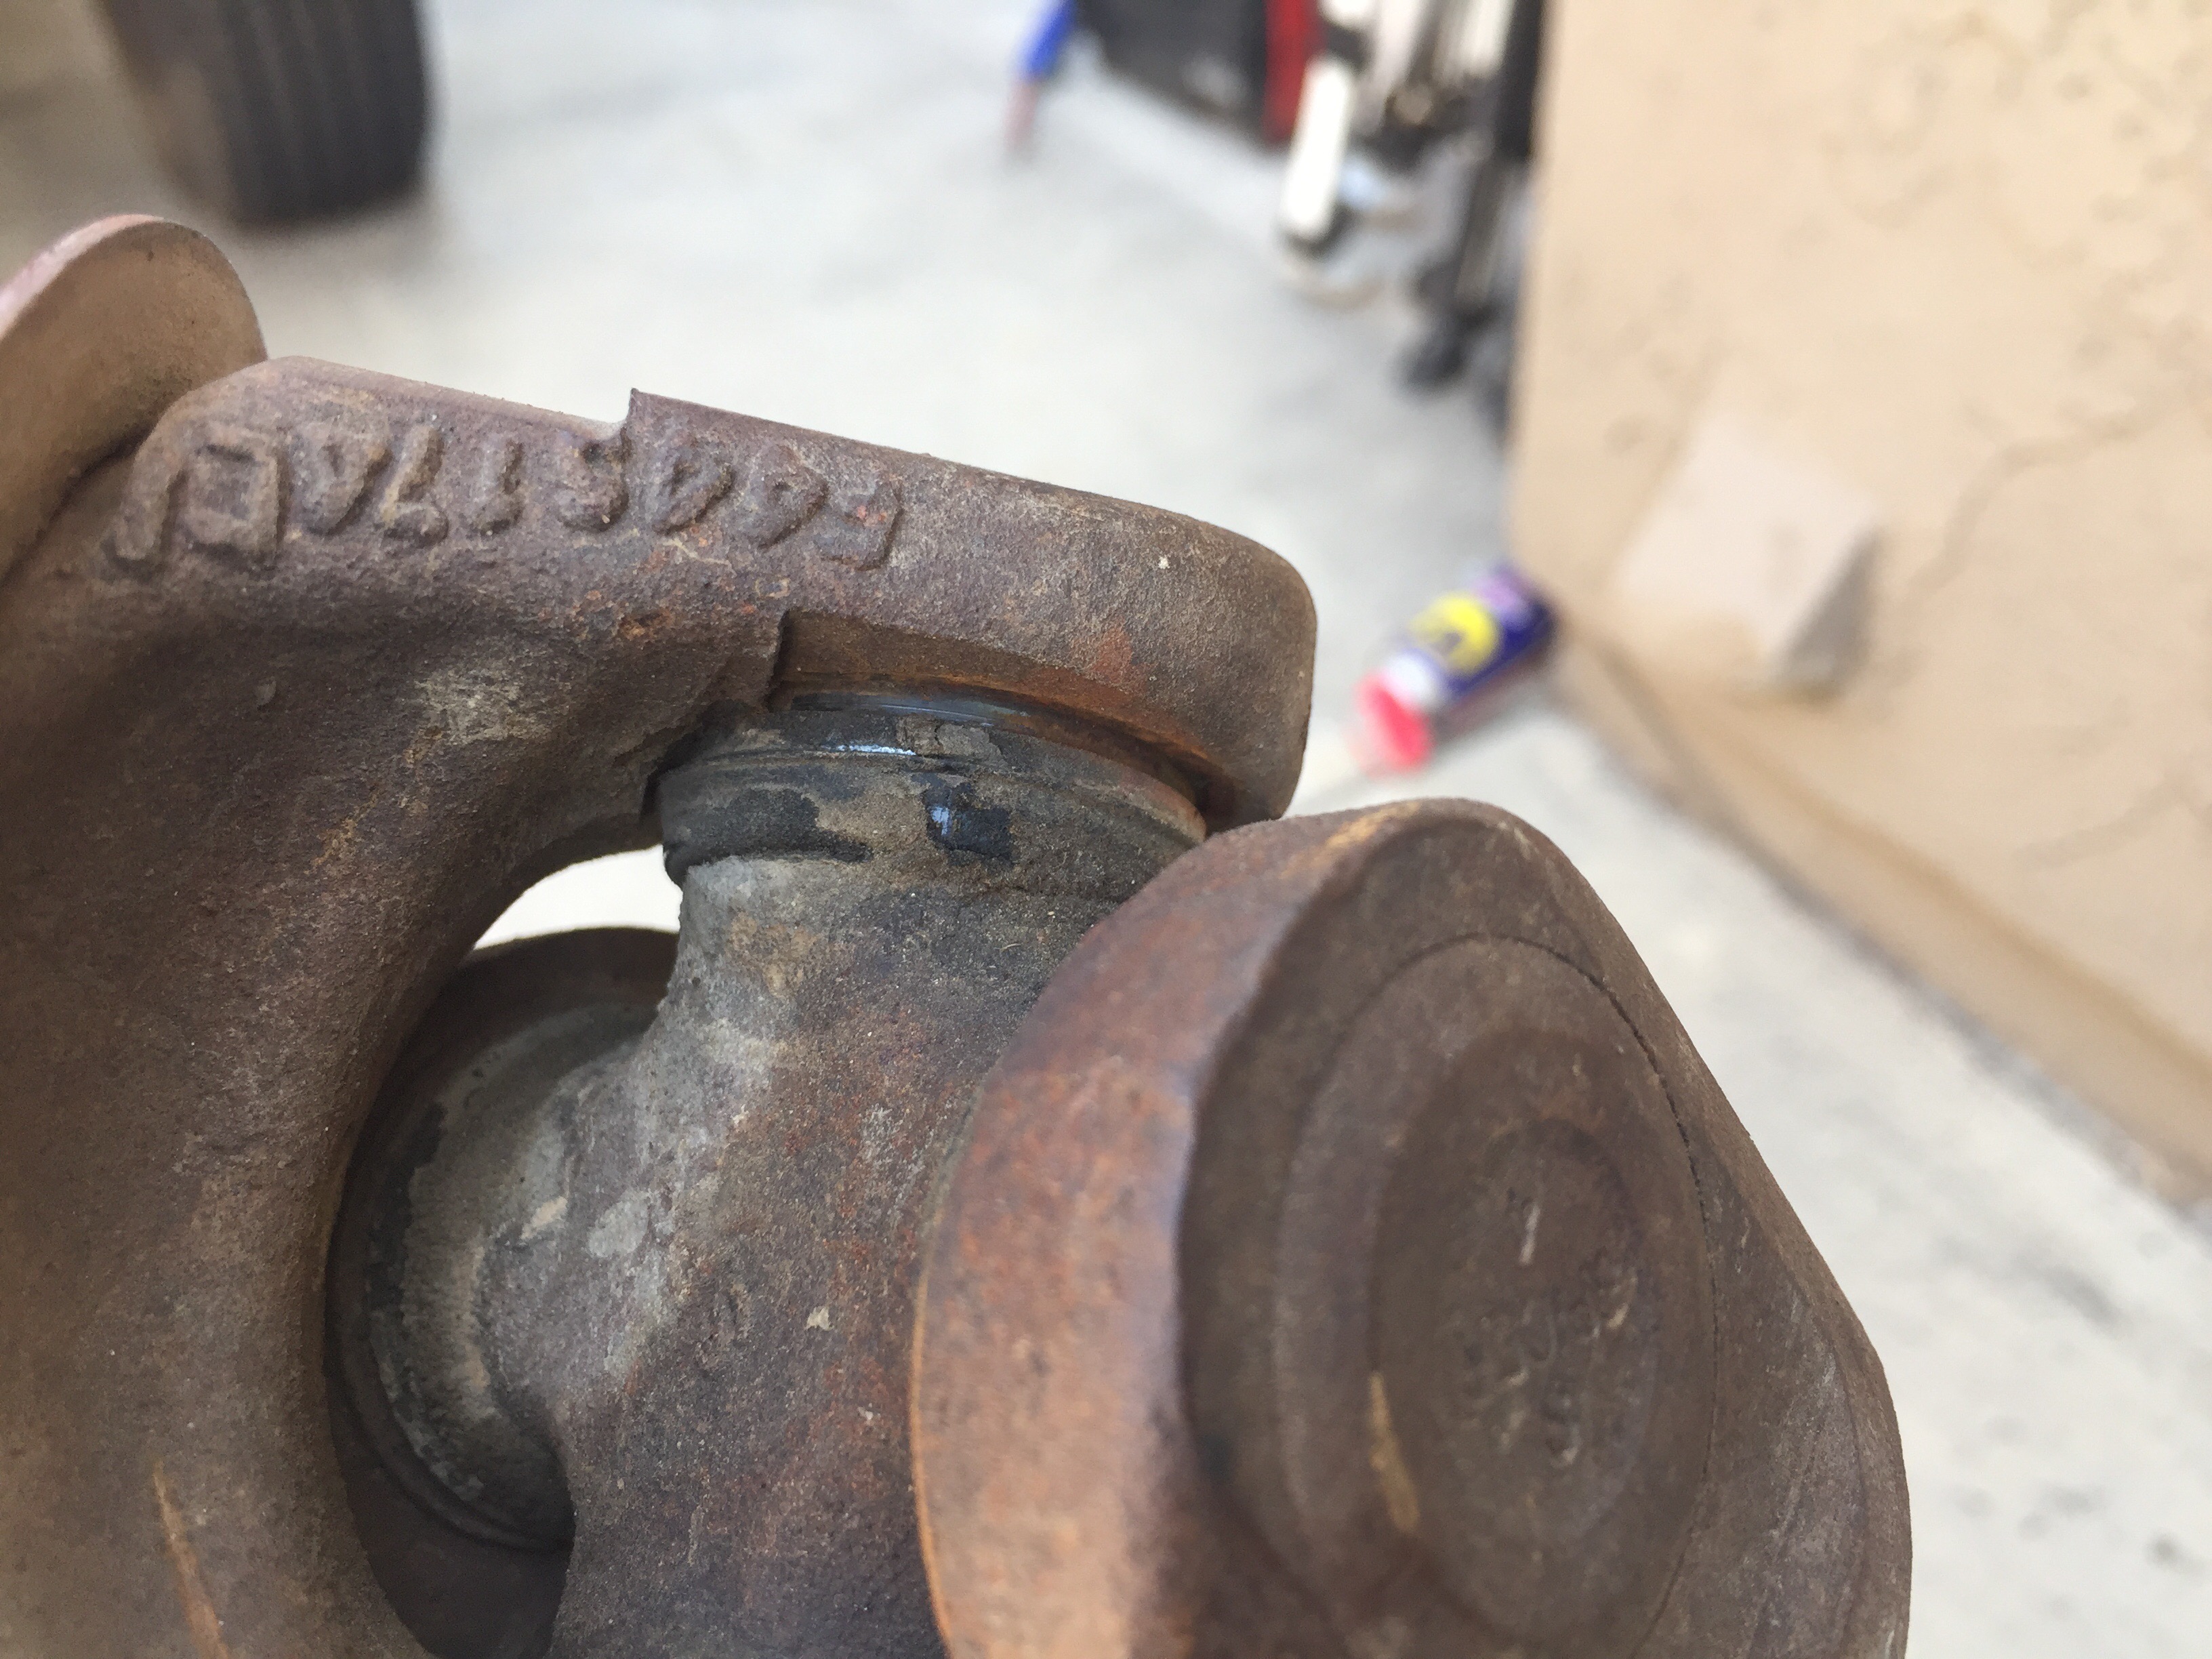
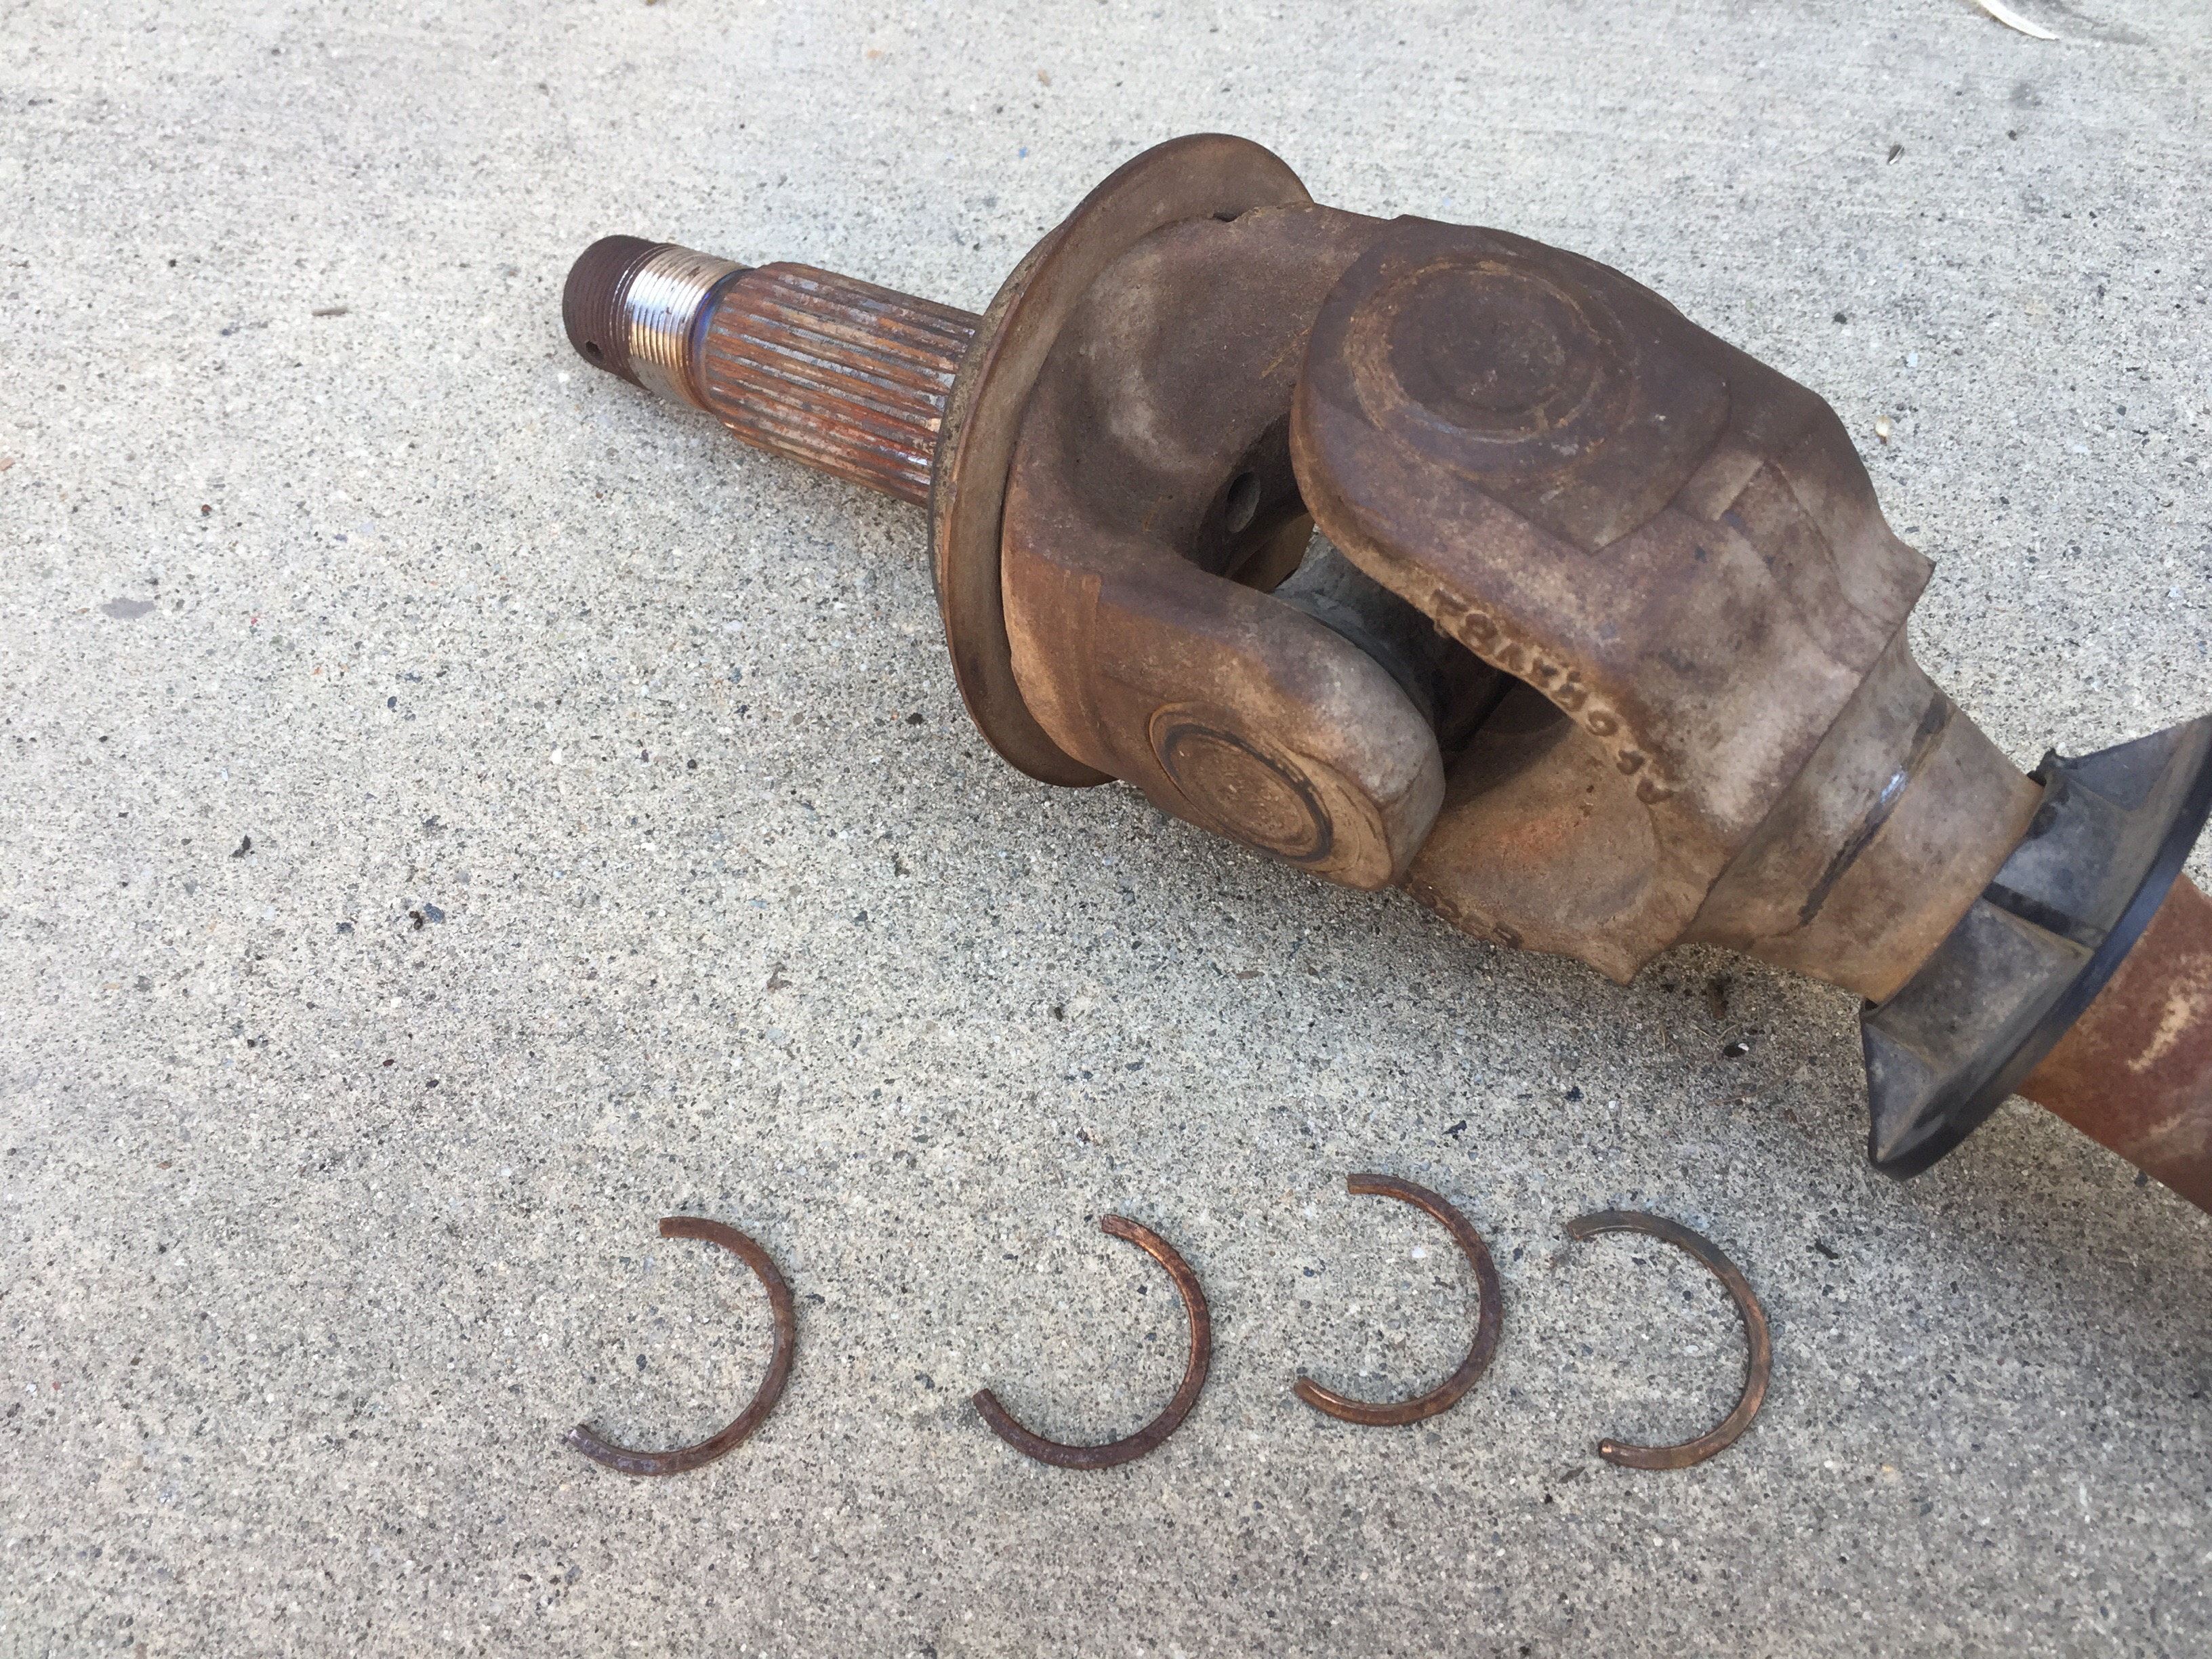
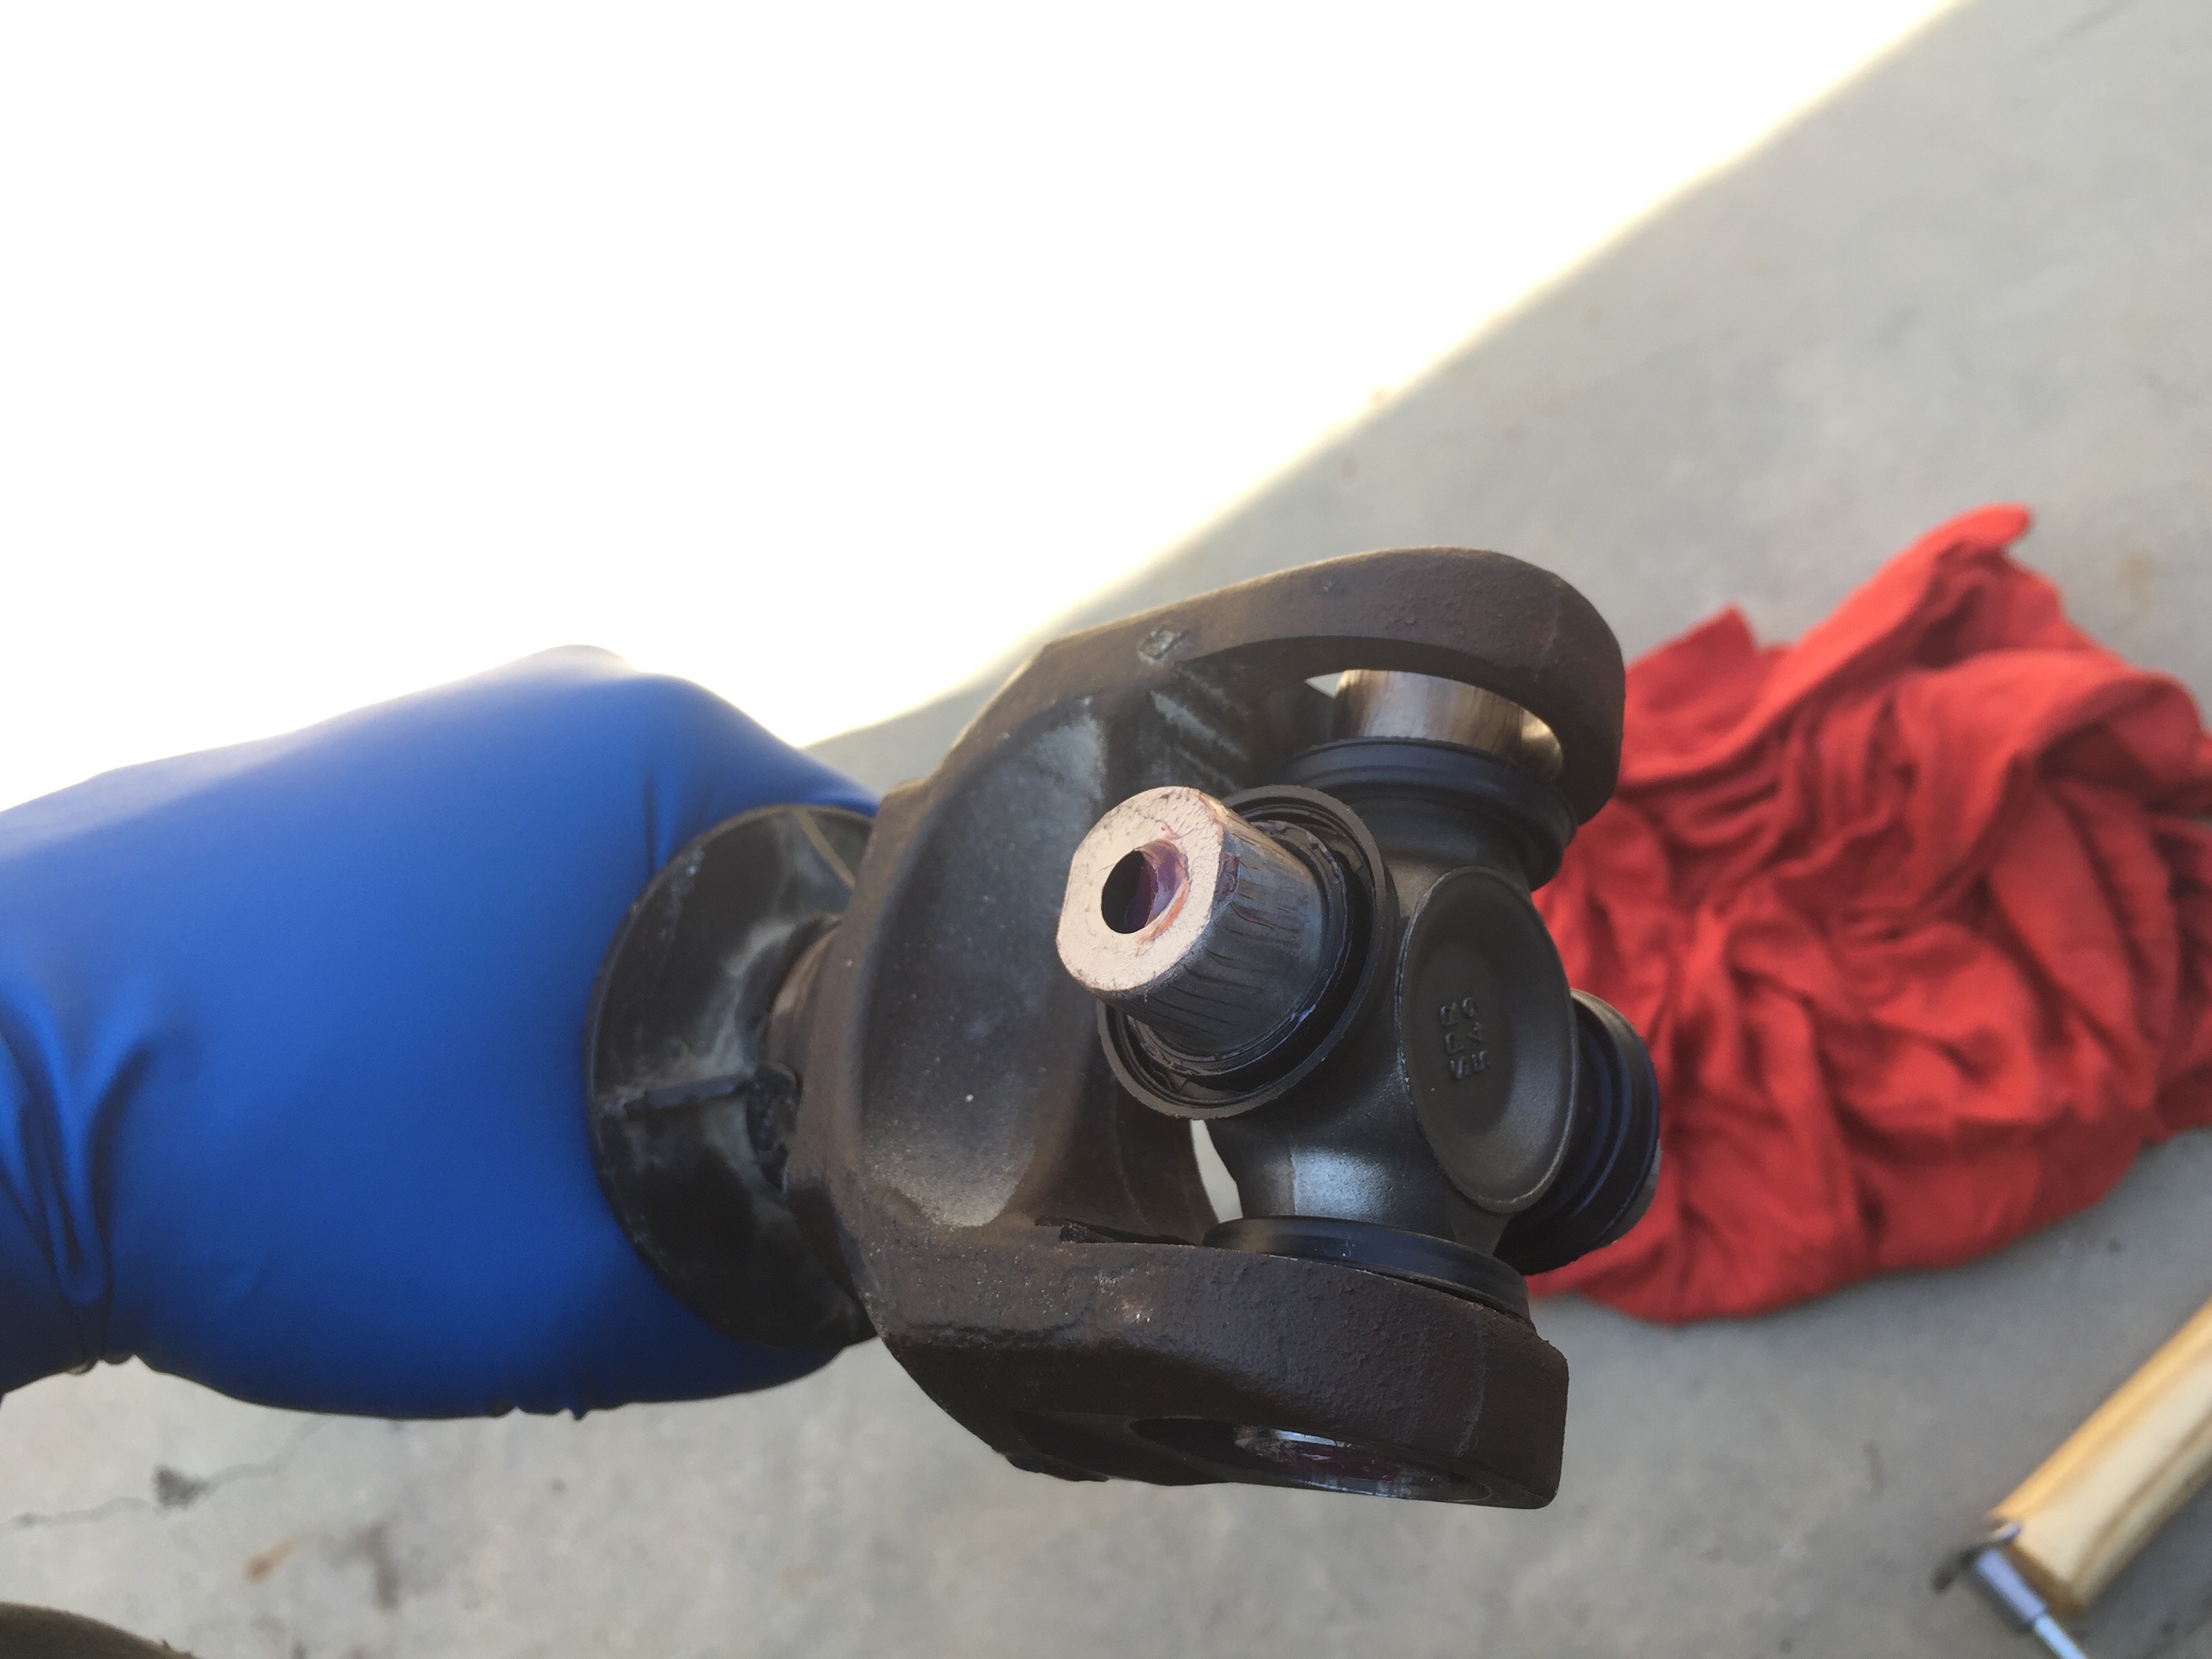
Now there are a few different ways to break these down but I’ve blown some out on a trail and had to change them in the field. Using what I have around me to beat them out and in is my preferred method. First things first, pop all the old retainer clips off the inside of the shafts that hold the U-Joints in. I used a small curved pick and a small screwdriver to pop them off.
Prop the ears of the long shaft onto a vise or two cinder blocks so the stub shaft has space to move when you start tapping it off. I stuck a 2X4 under the splines of the stub shaft to keep the dust cover from hitting the small vise I was using.
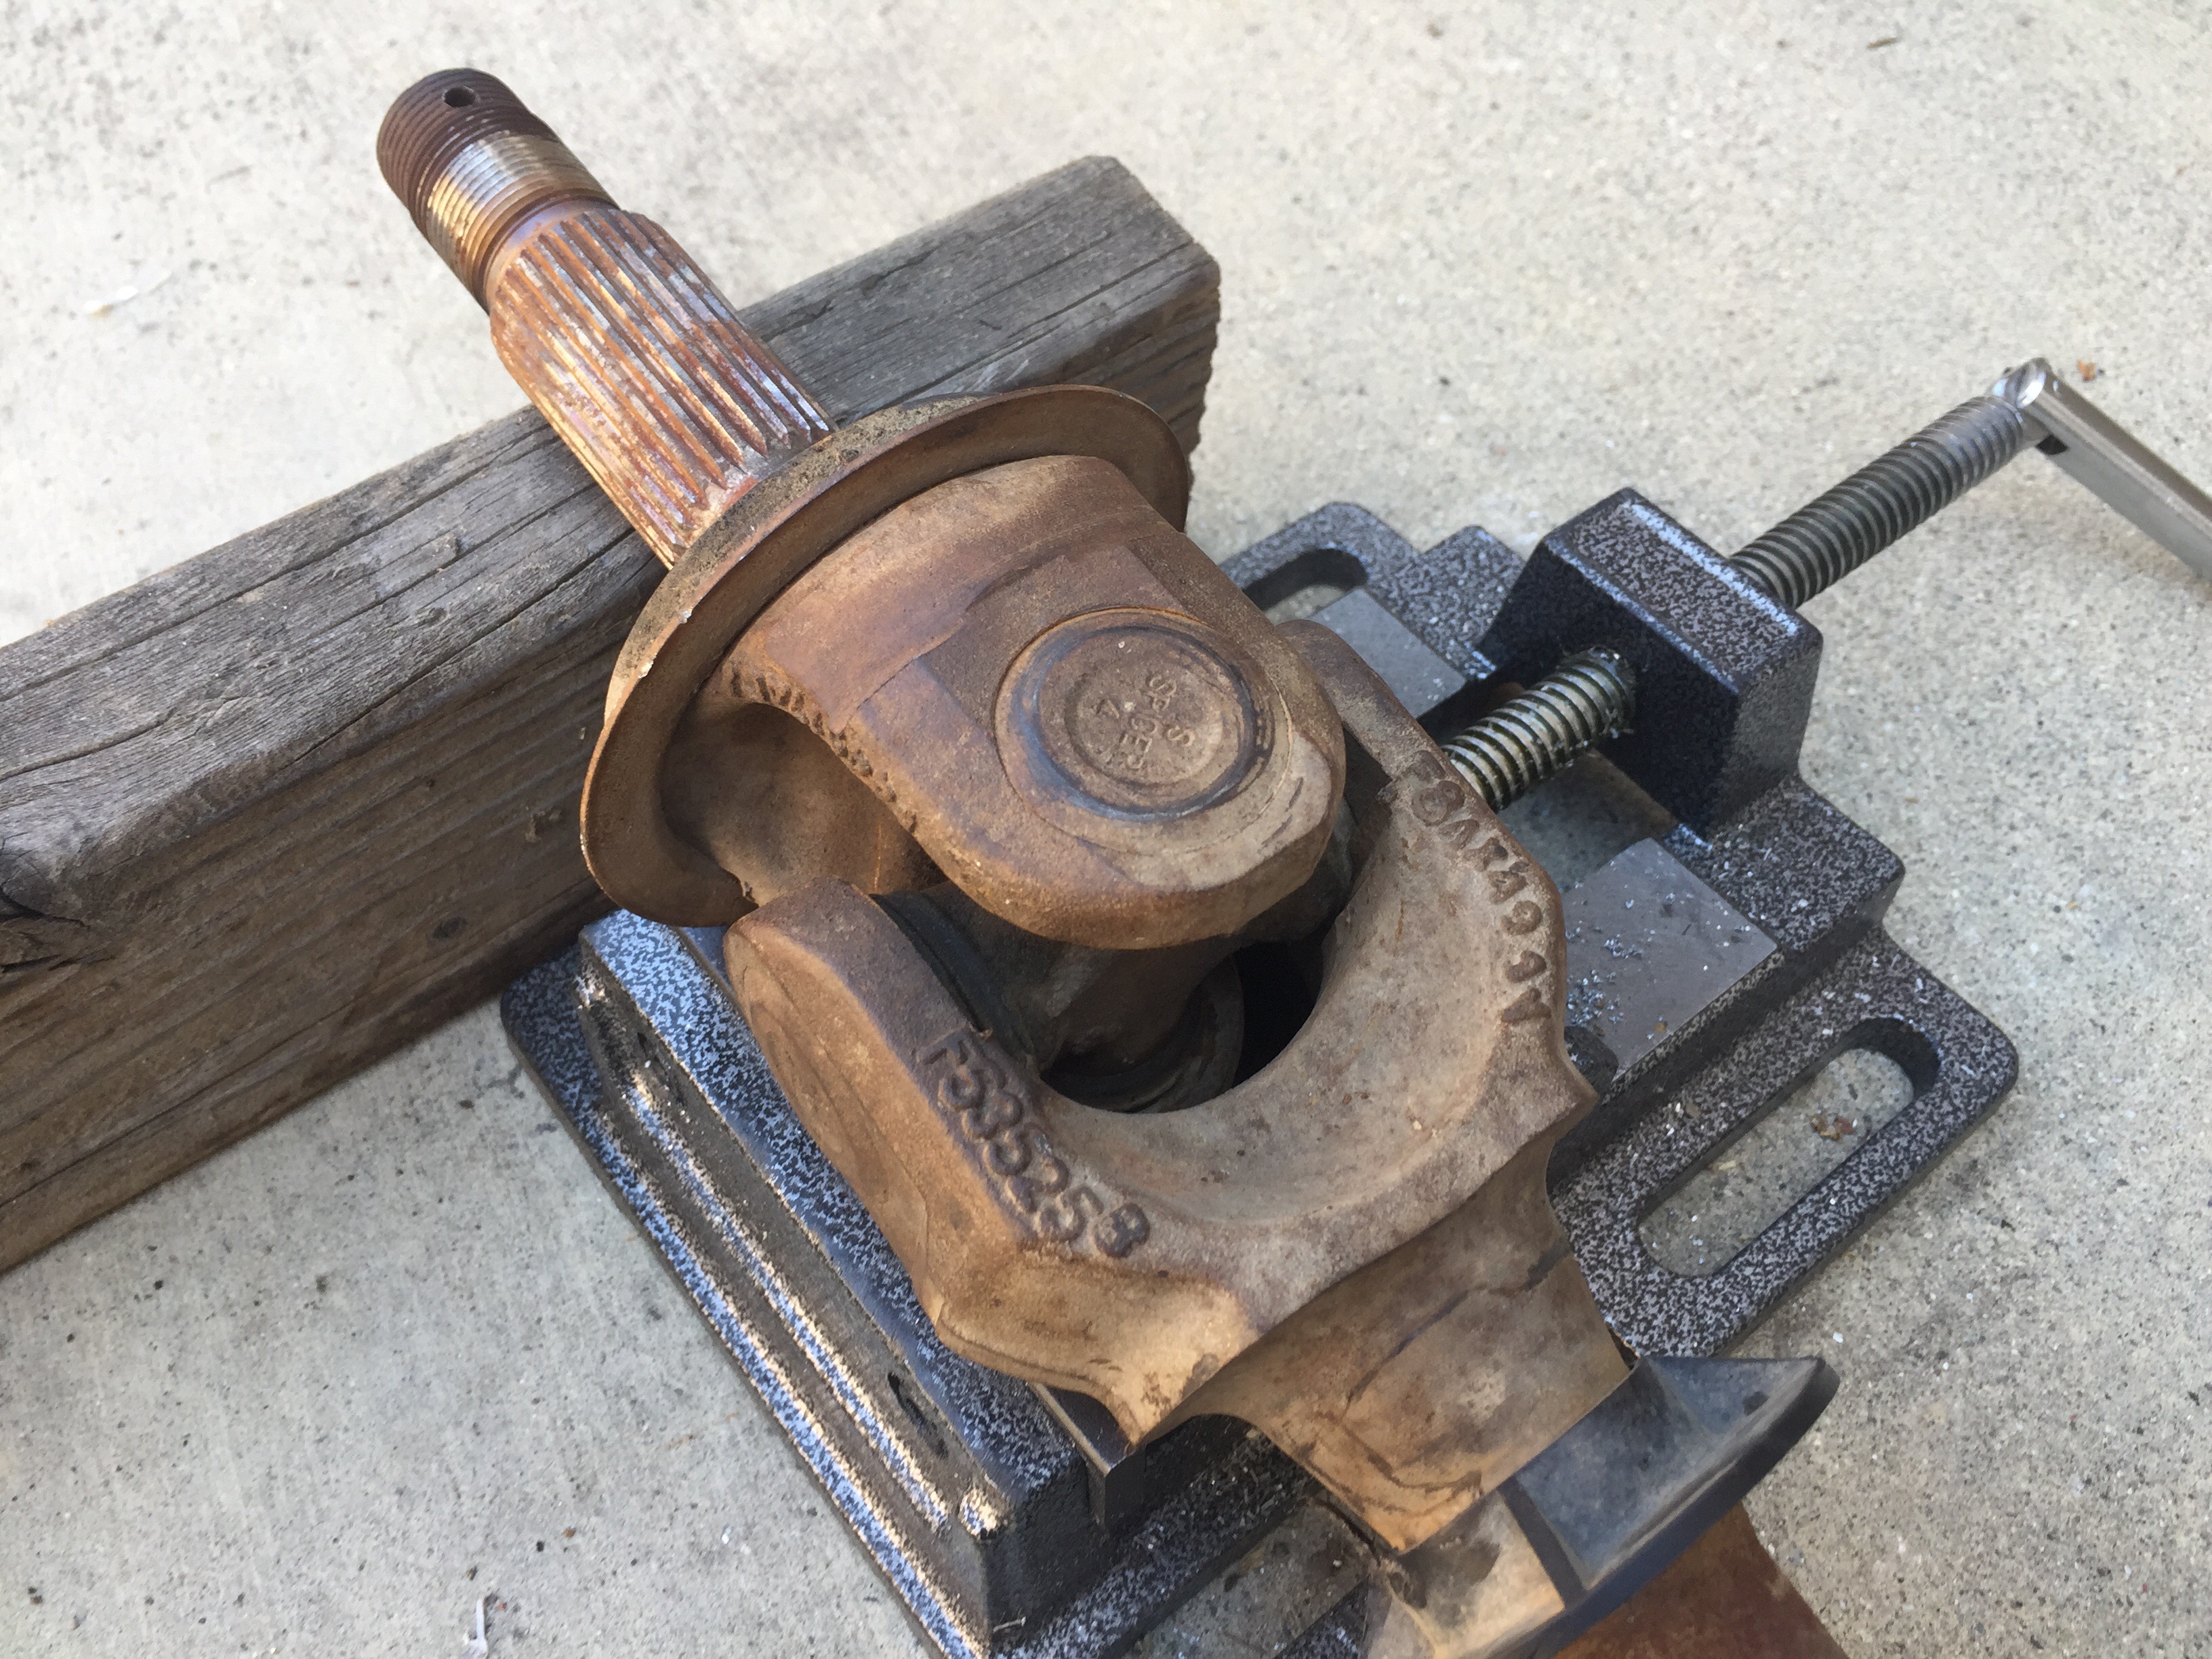
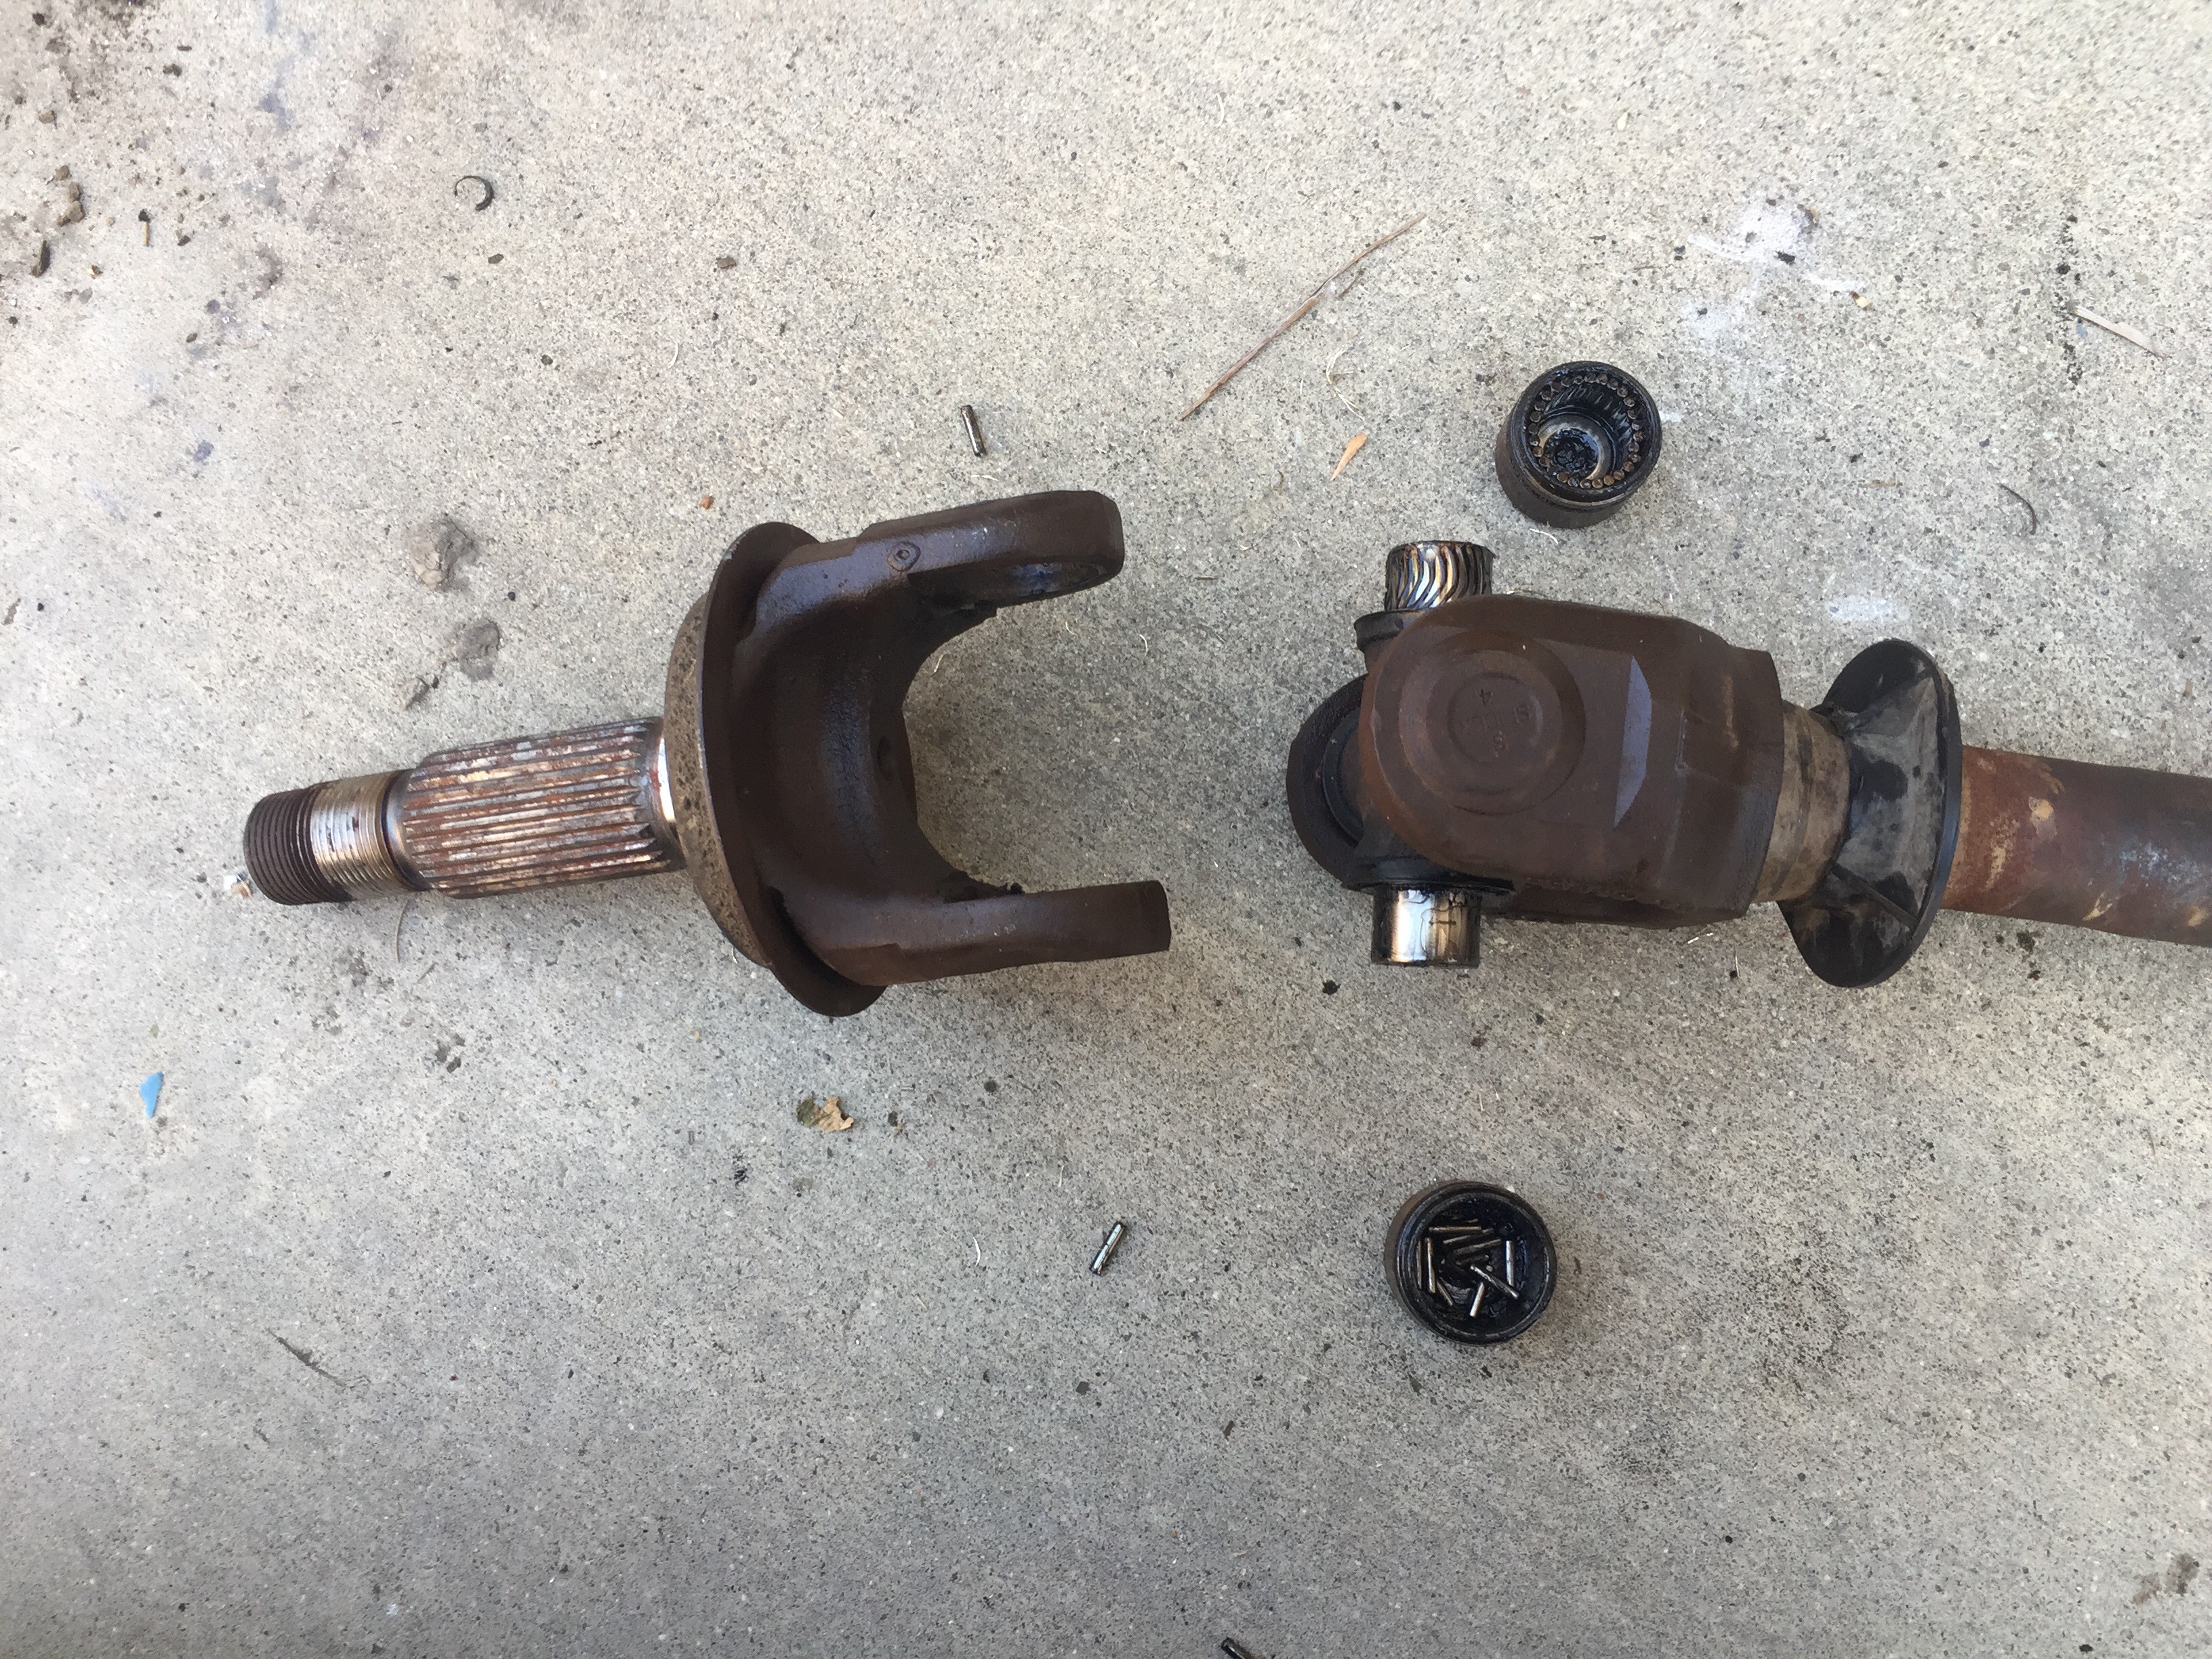
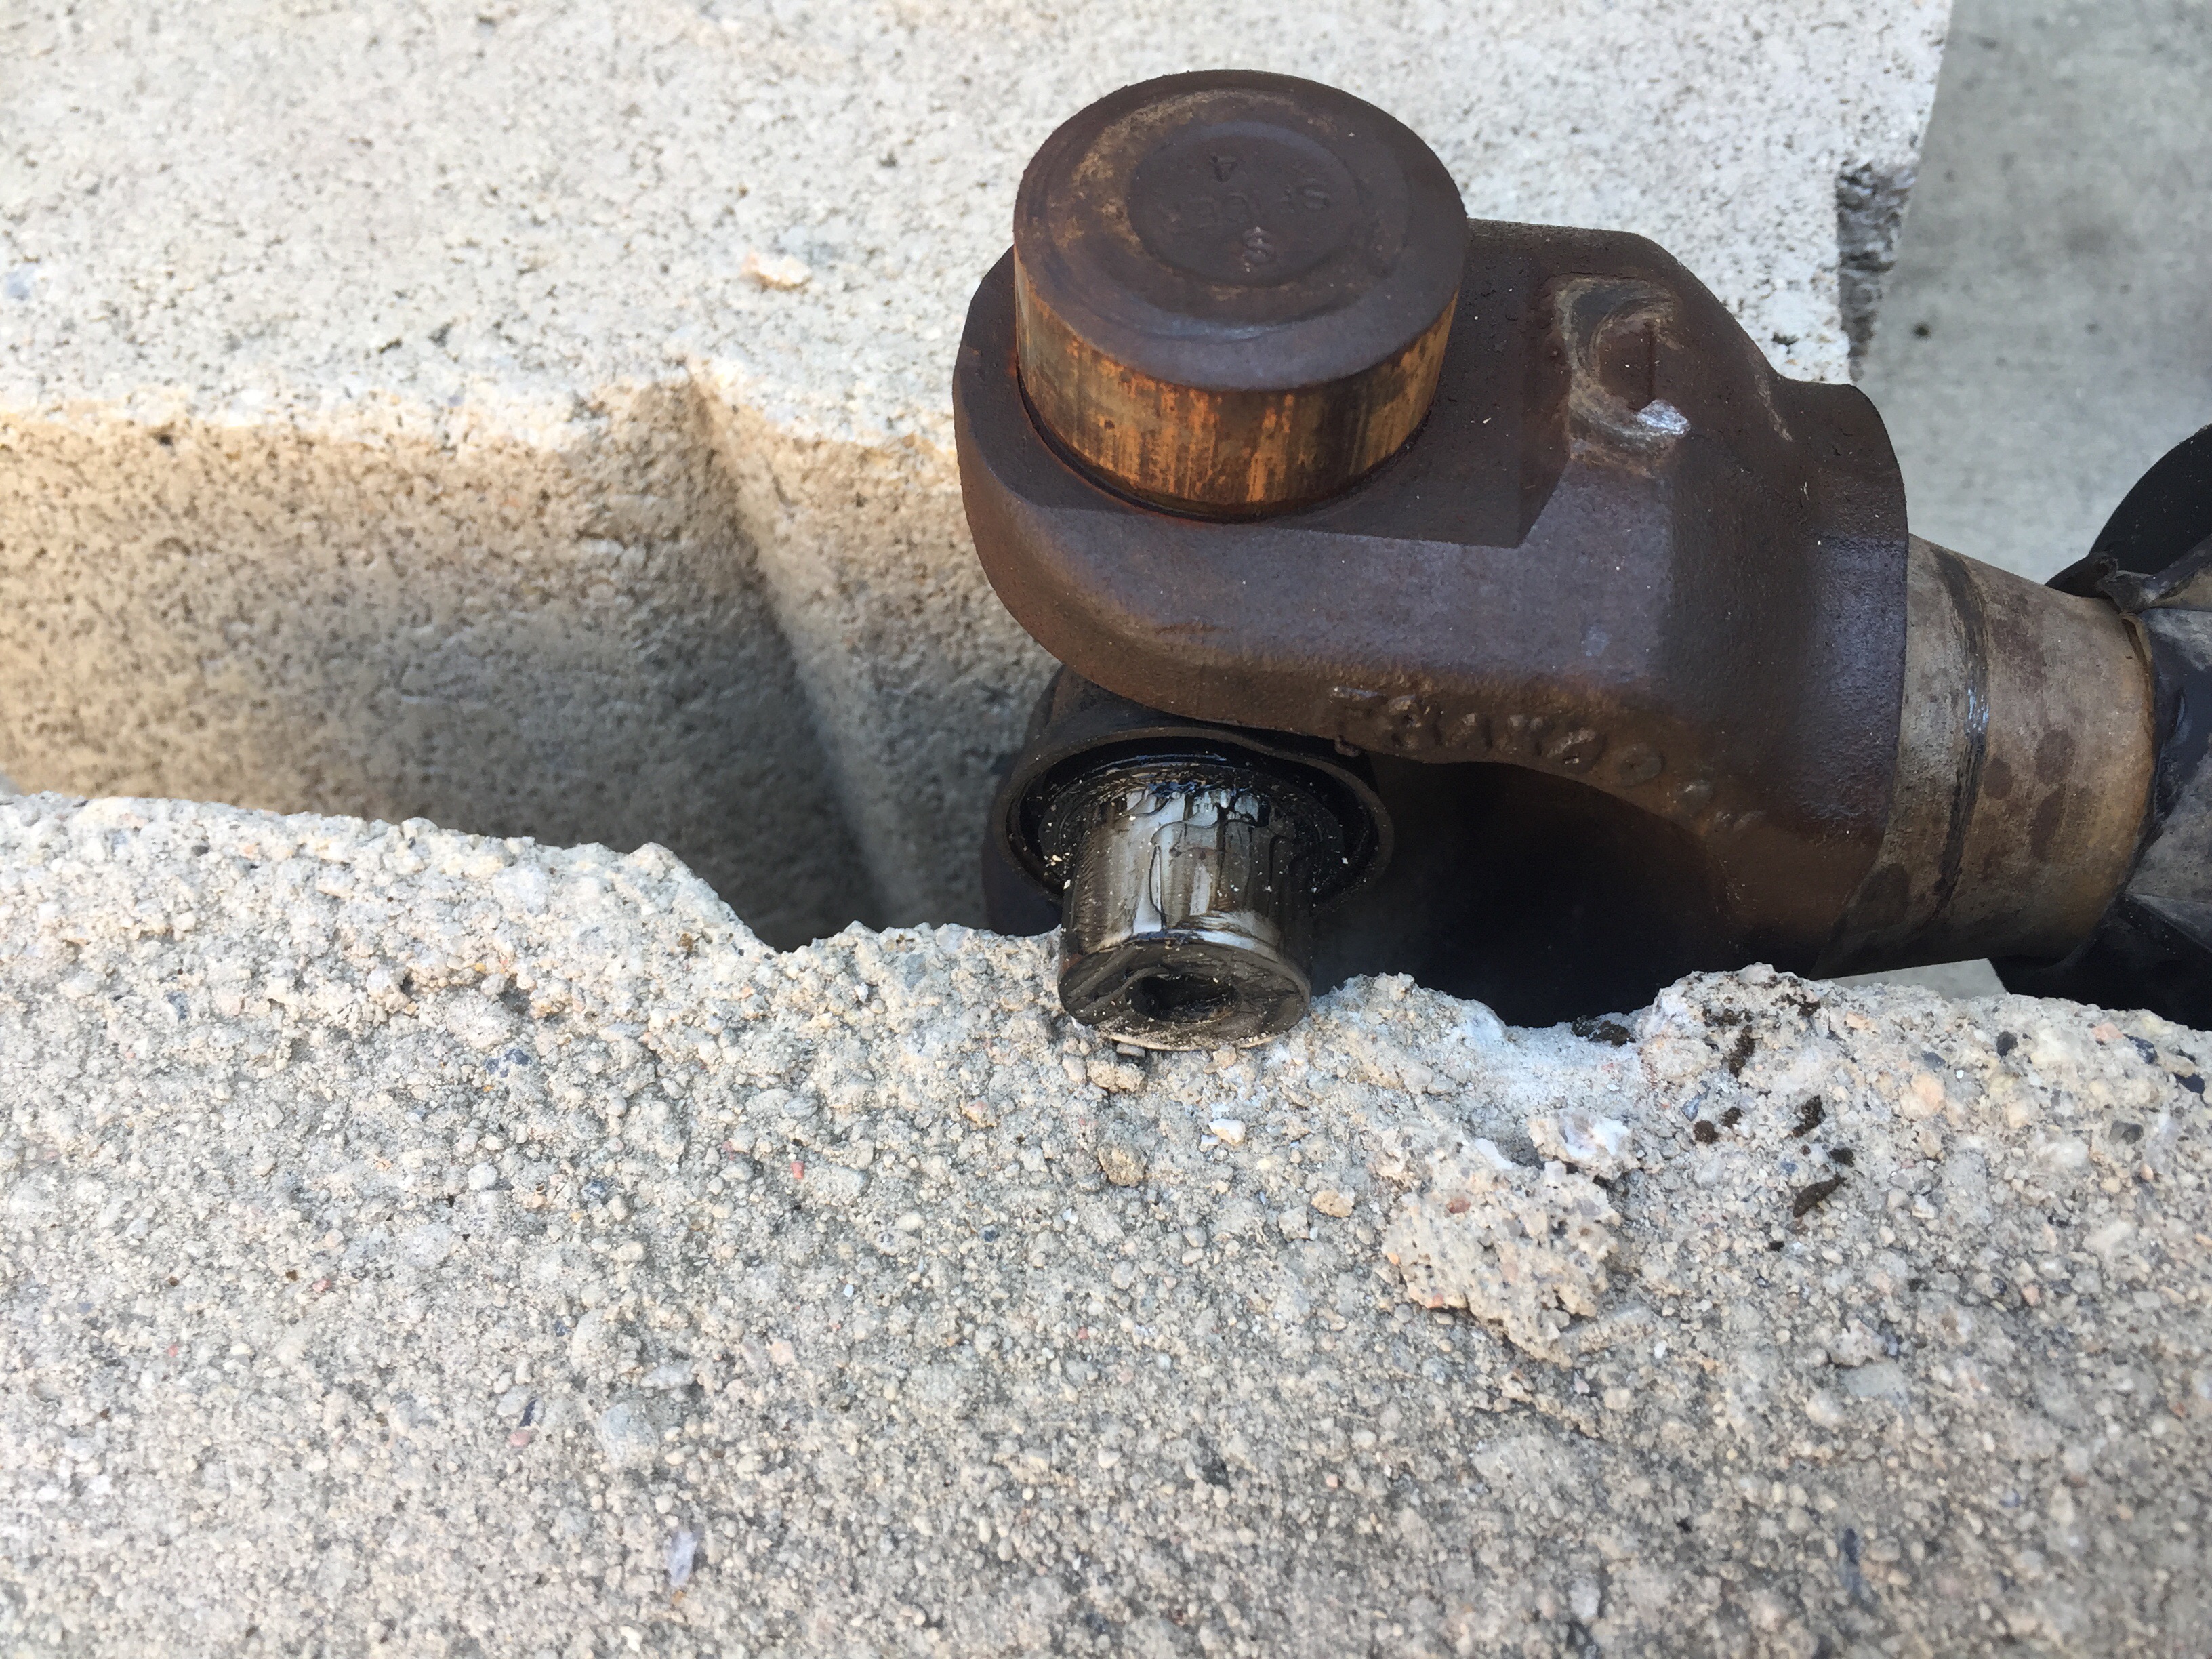
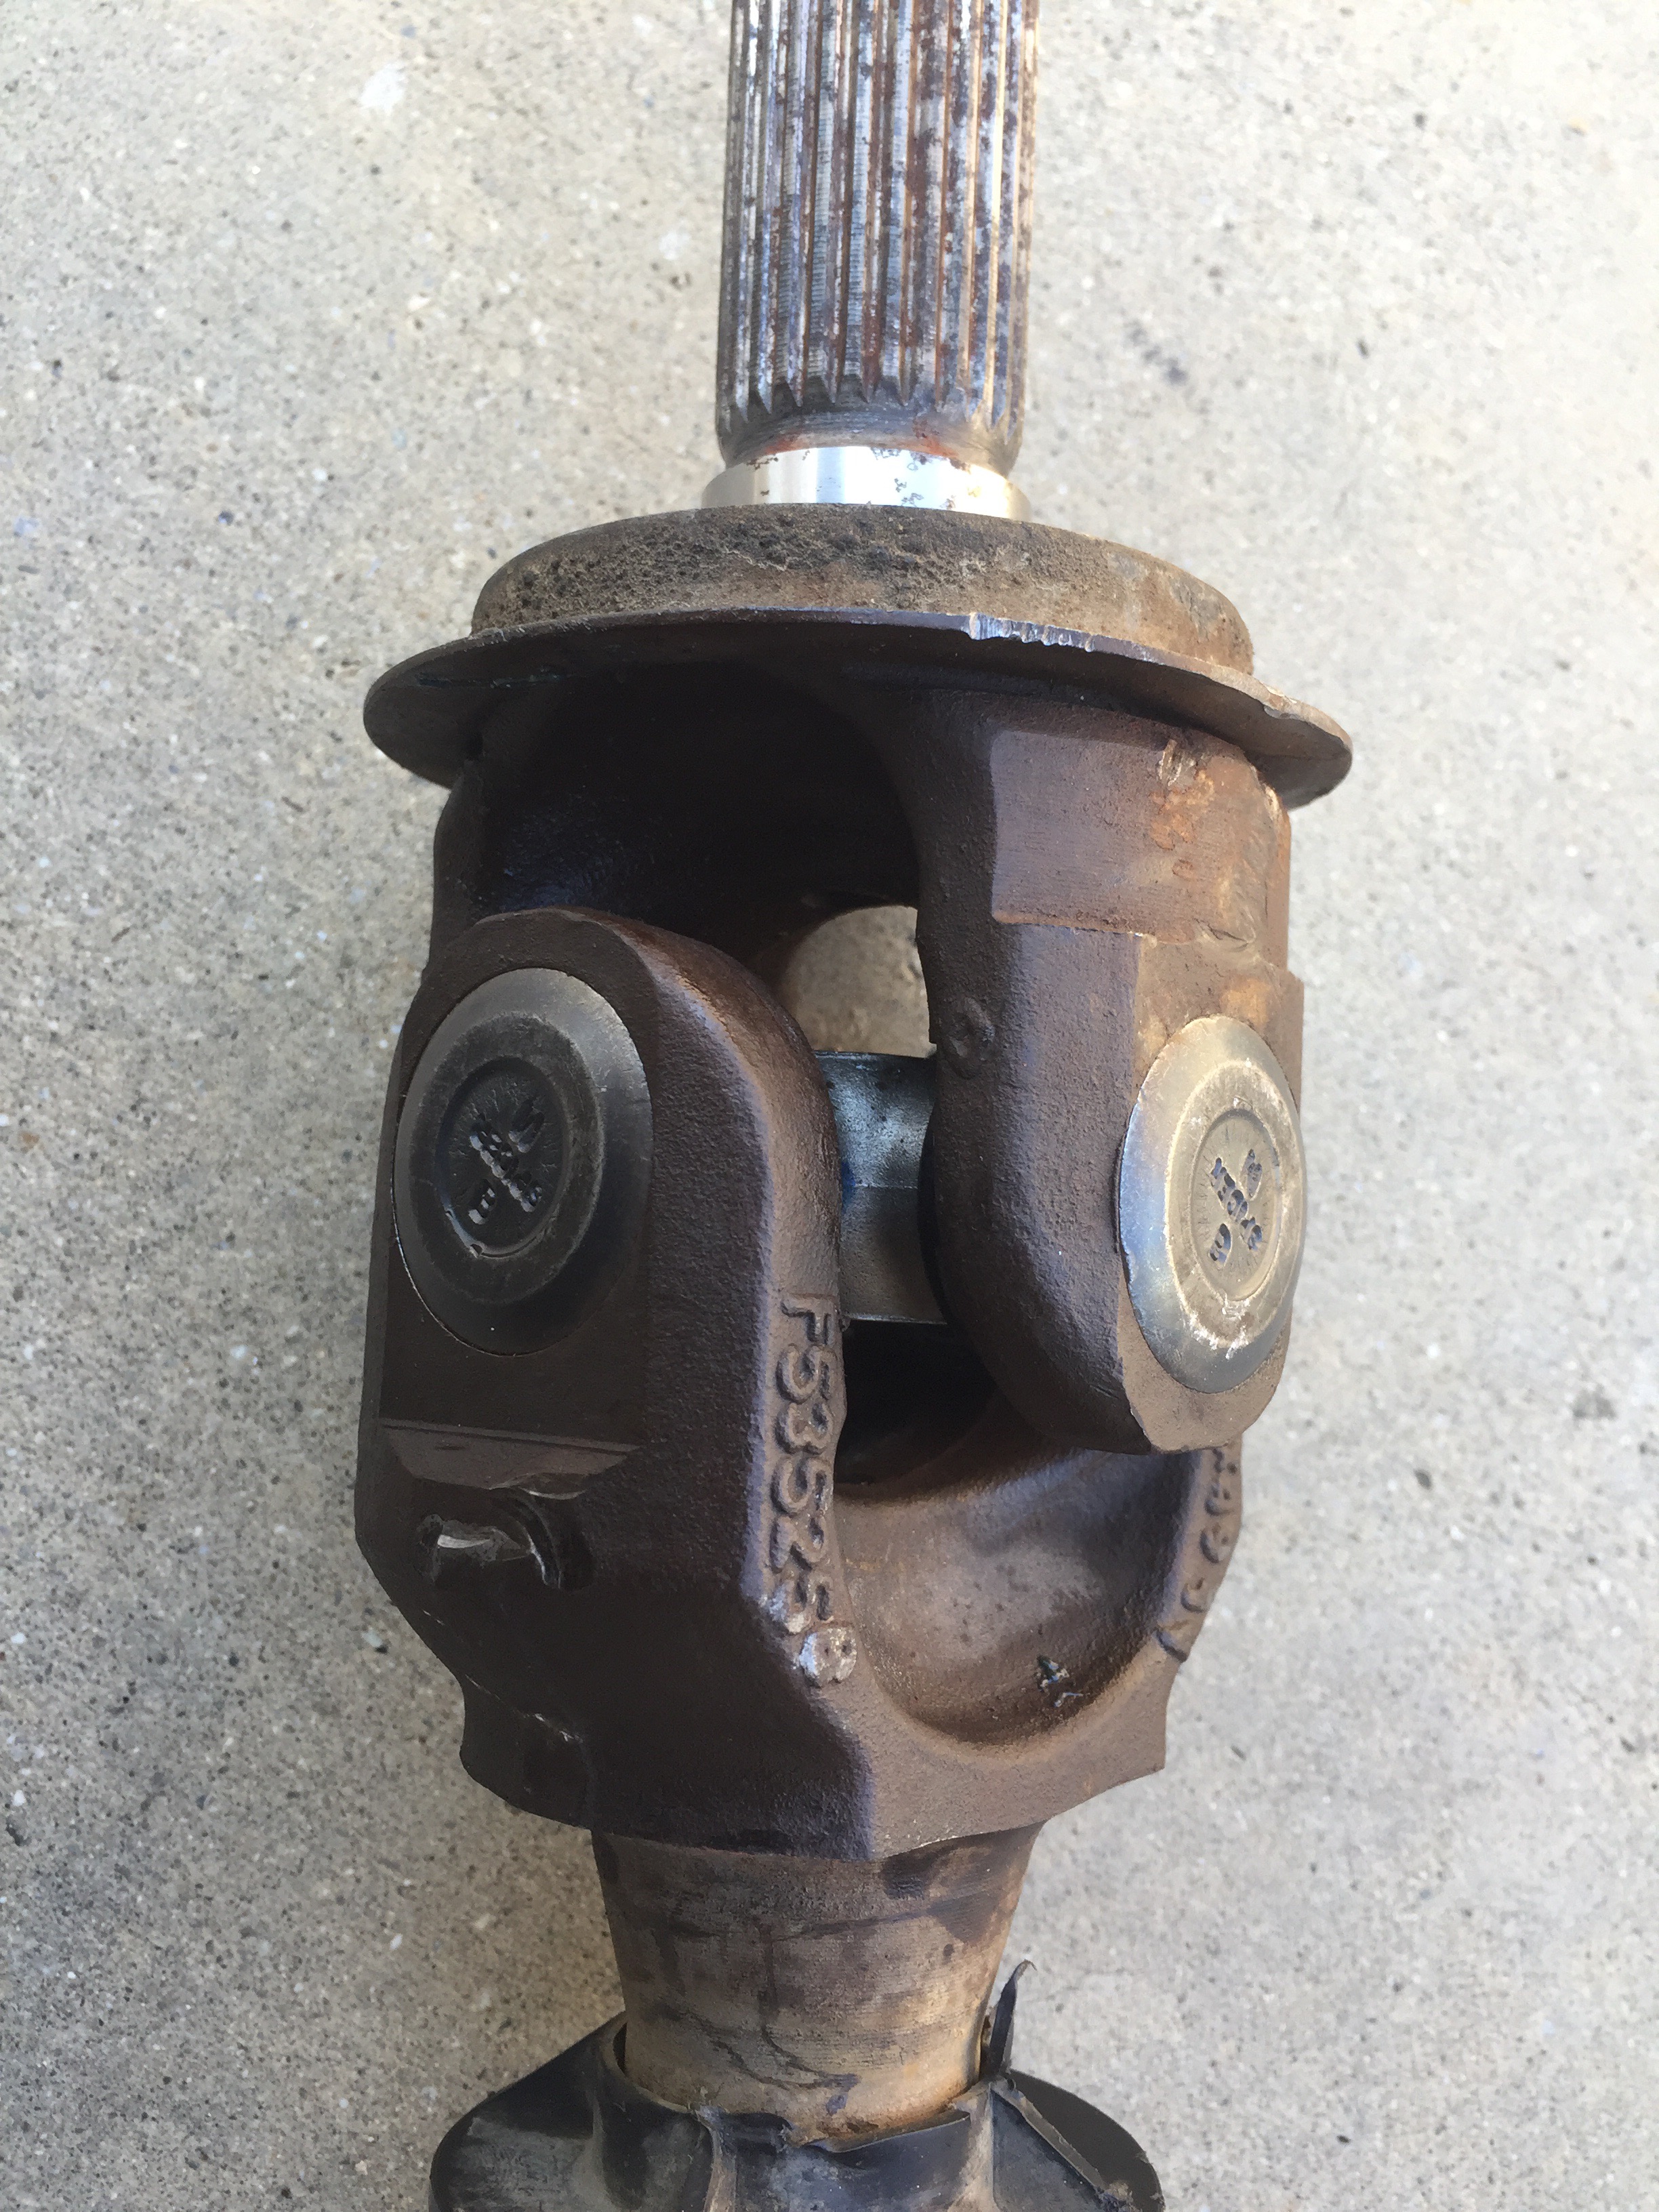
I beat the stub shaft between the dust cover and the U-Joint cap until the cap started to rise and stub shaft started to slide down. Once the cover popped up enough, I simply pulled it off and flipped the shaft 180° and beat the shaft in the opposite direction until that cap was high enough to remove. I manipulated the stub shaft around the U-Joint until I was able to remove it.
Now here is where the cinder block method can be seen. Simply prop the long shaft between the two cinder blocks with the U-Joint collars sitting on the blocks and the shaft ears between the blocks. I beat the shaft side of the ear until the cap popped up and I was able to remove it. I flipped the shaft and did the same thing on the opposite side.
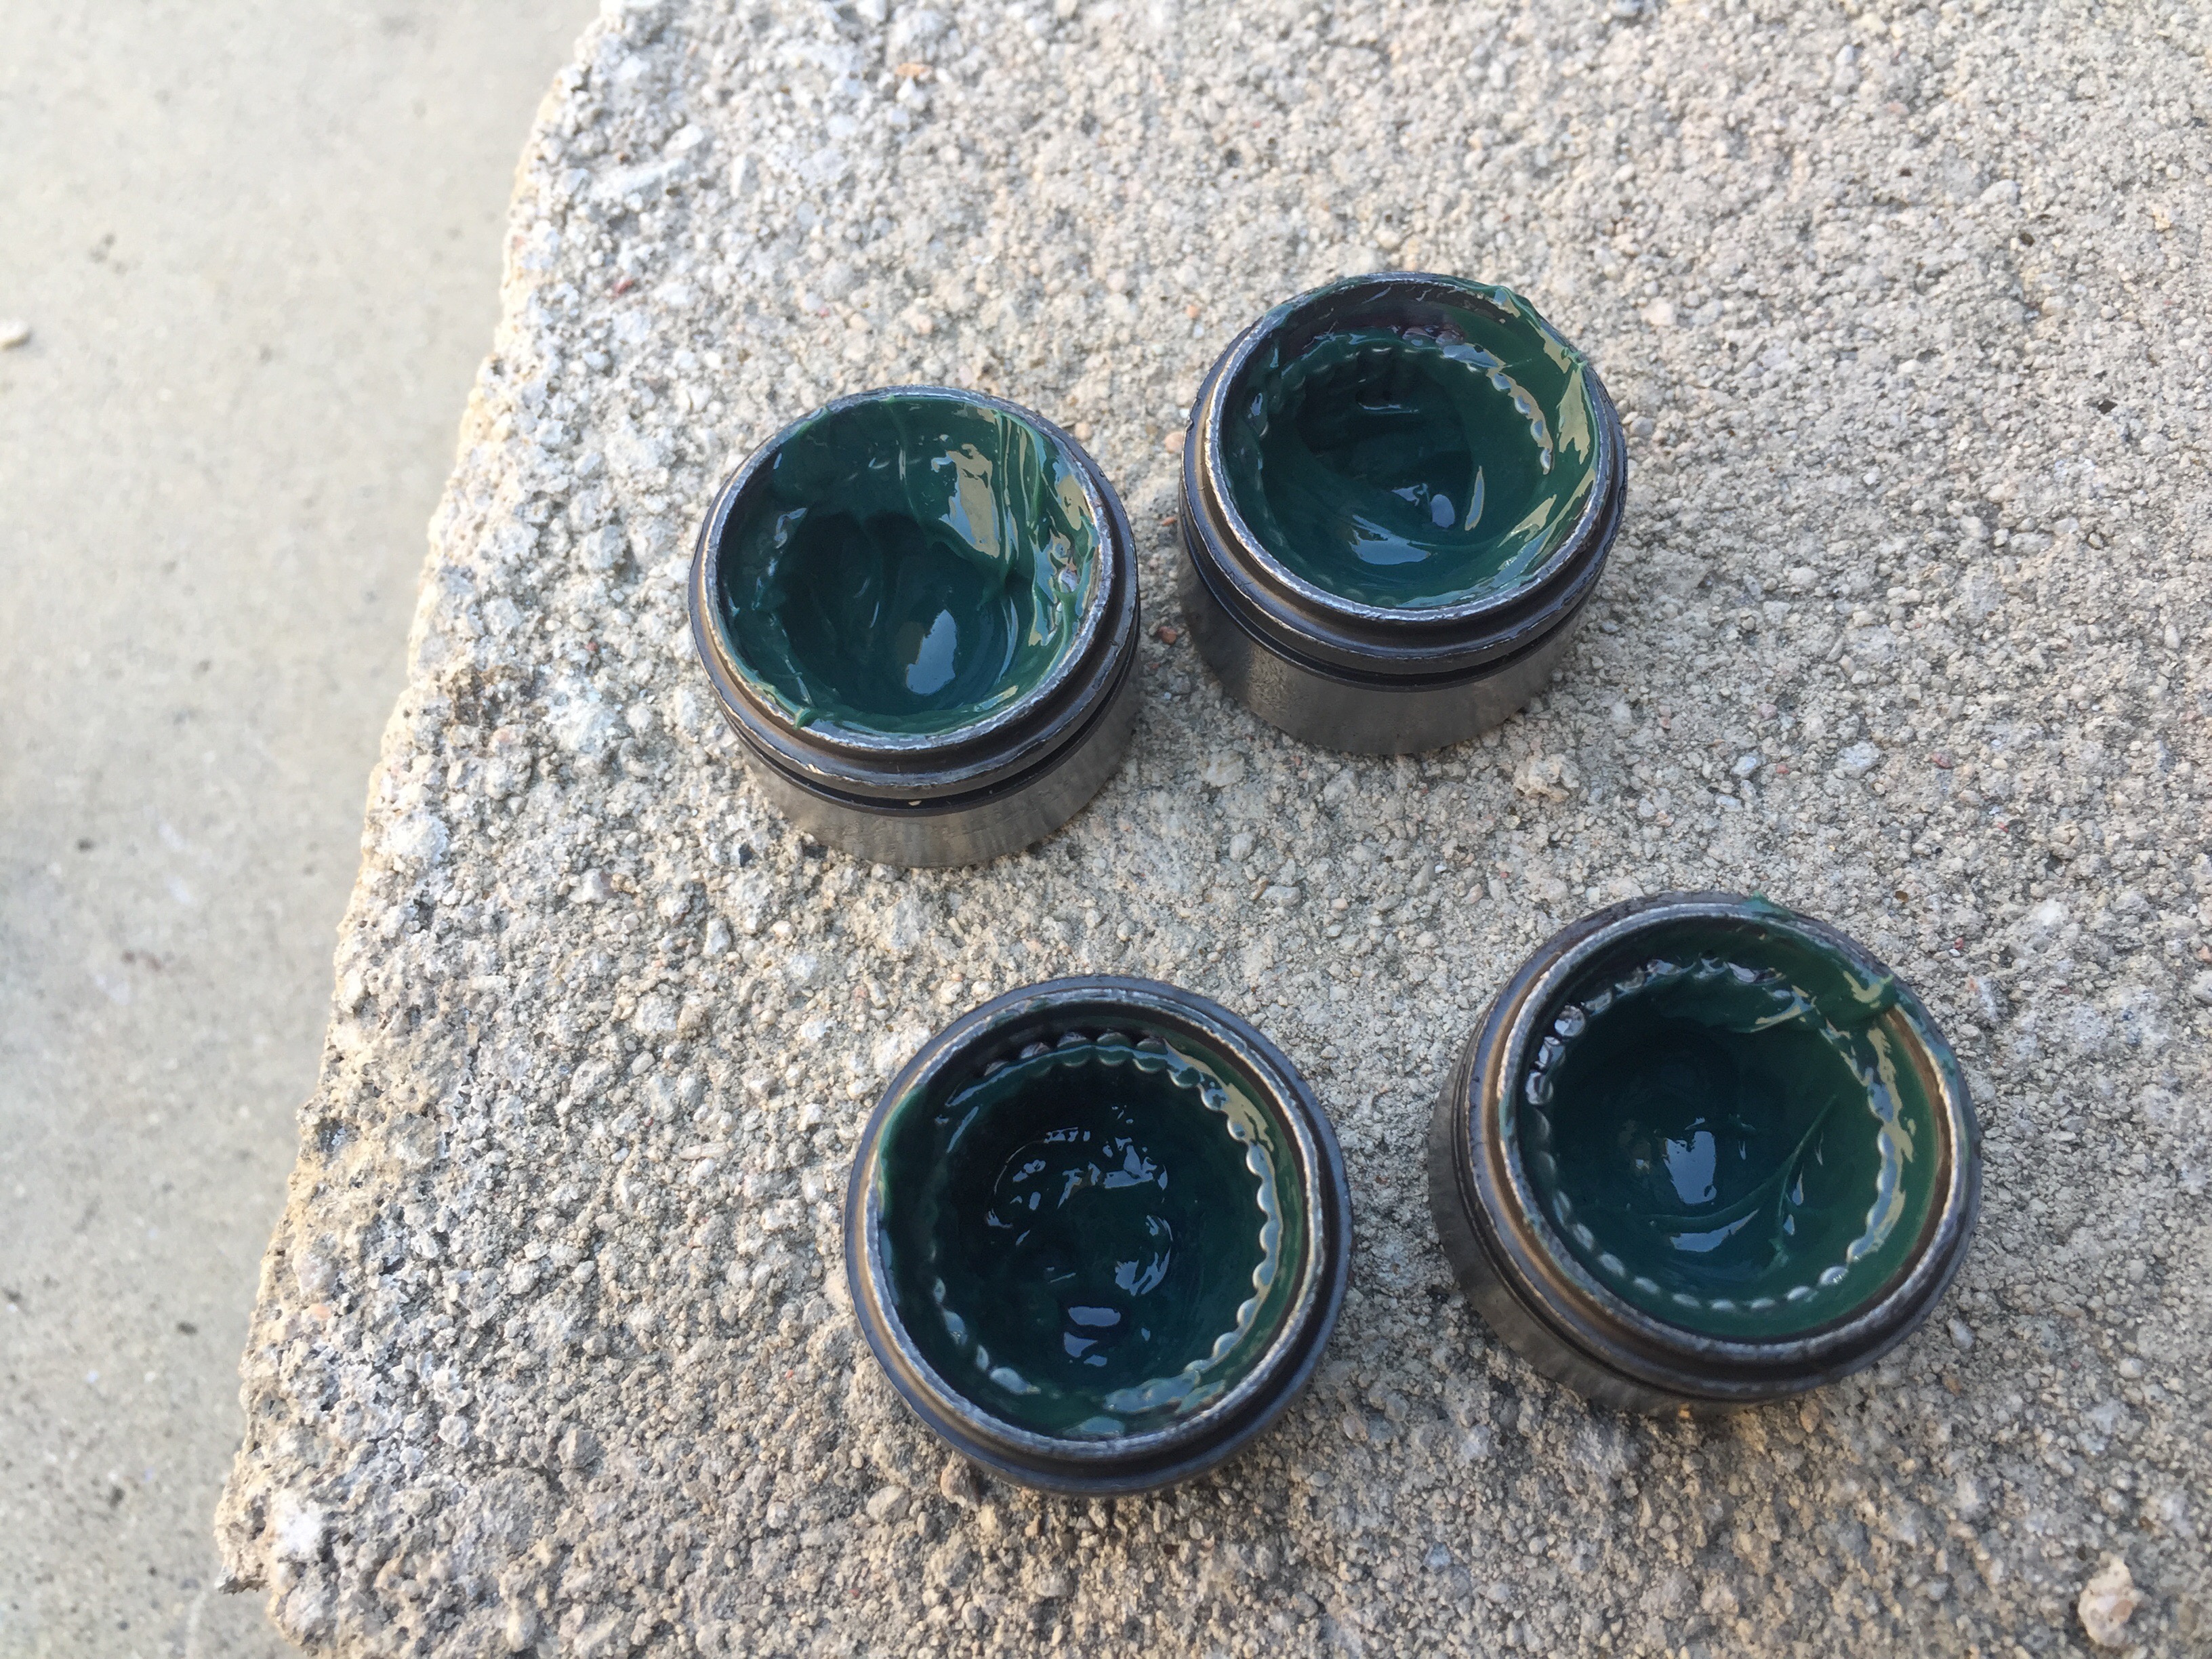
Once the U-Joint was out, I cleaned the ears out of any debris that could have been wedged inside. Now is the best time to compare your old U-Joint with the new one and make sure you purchased the correct one.
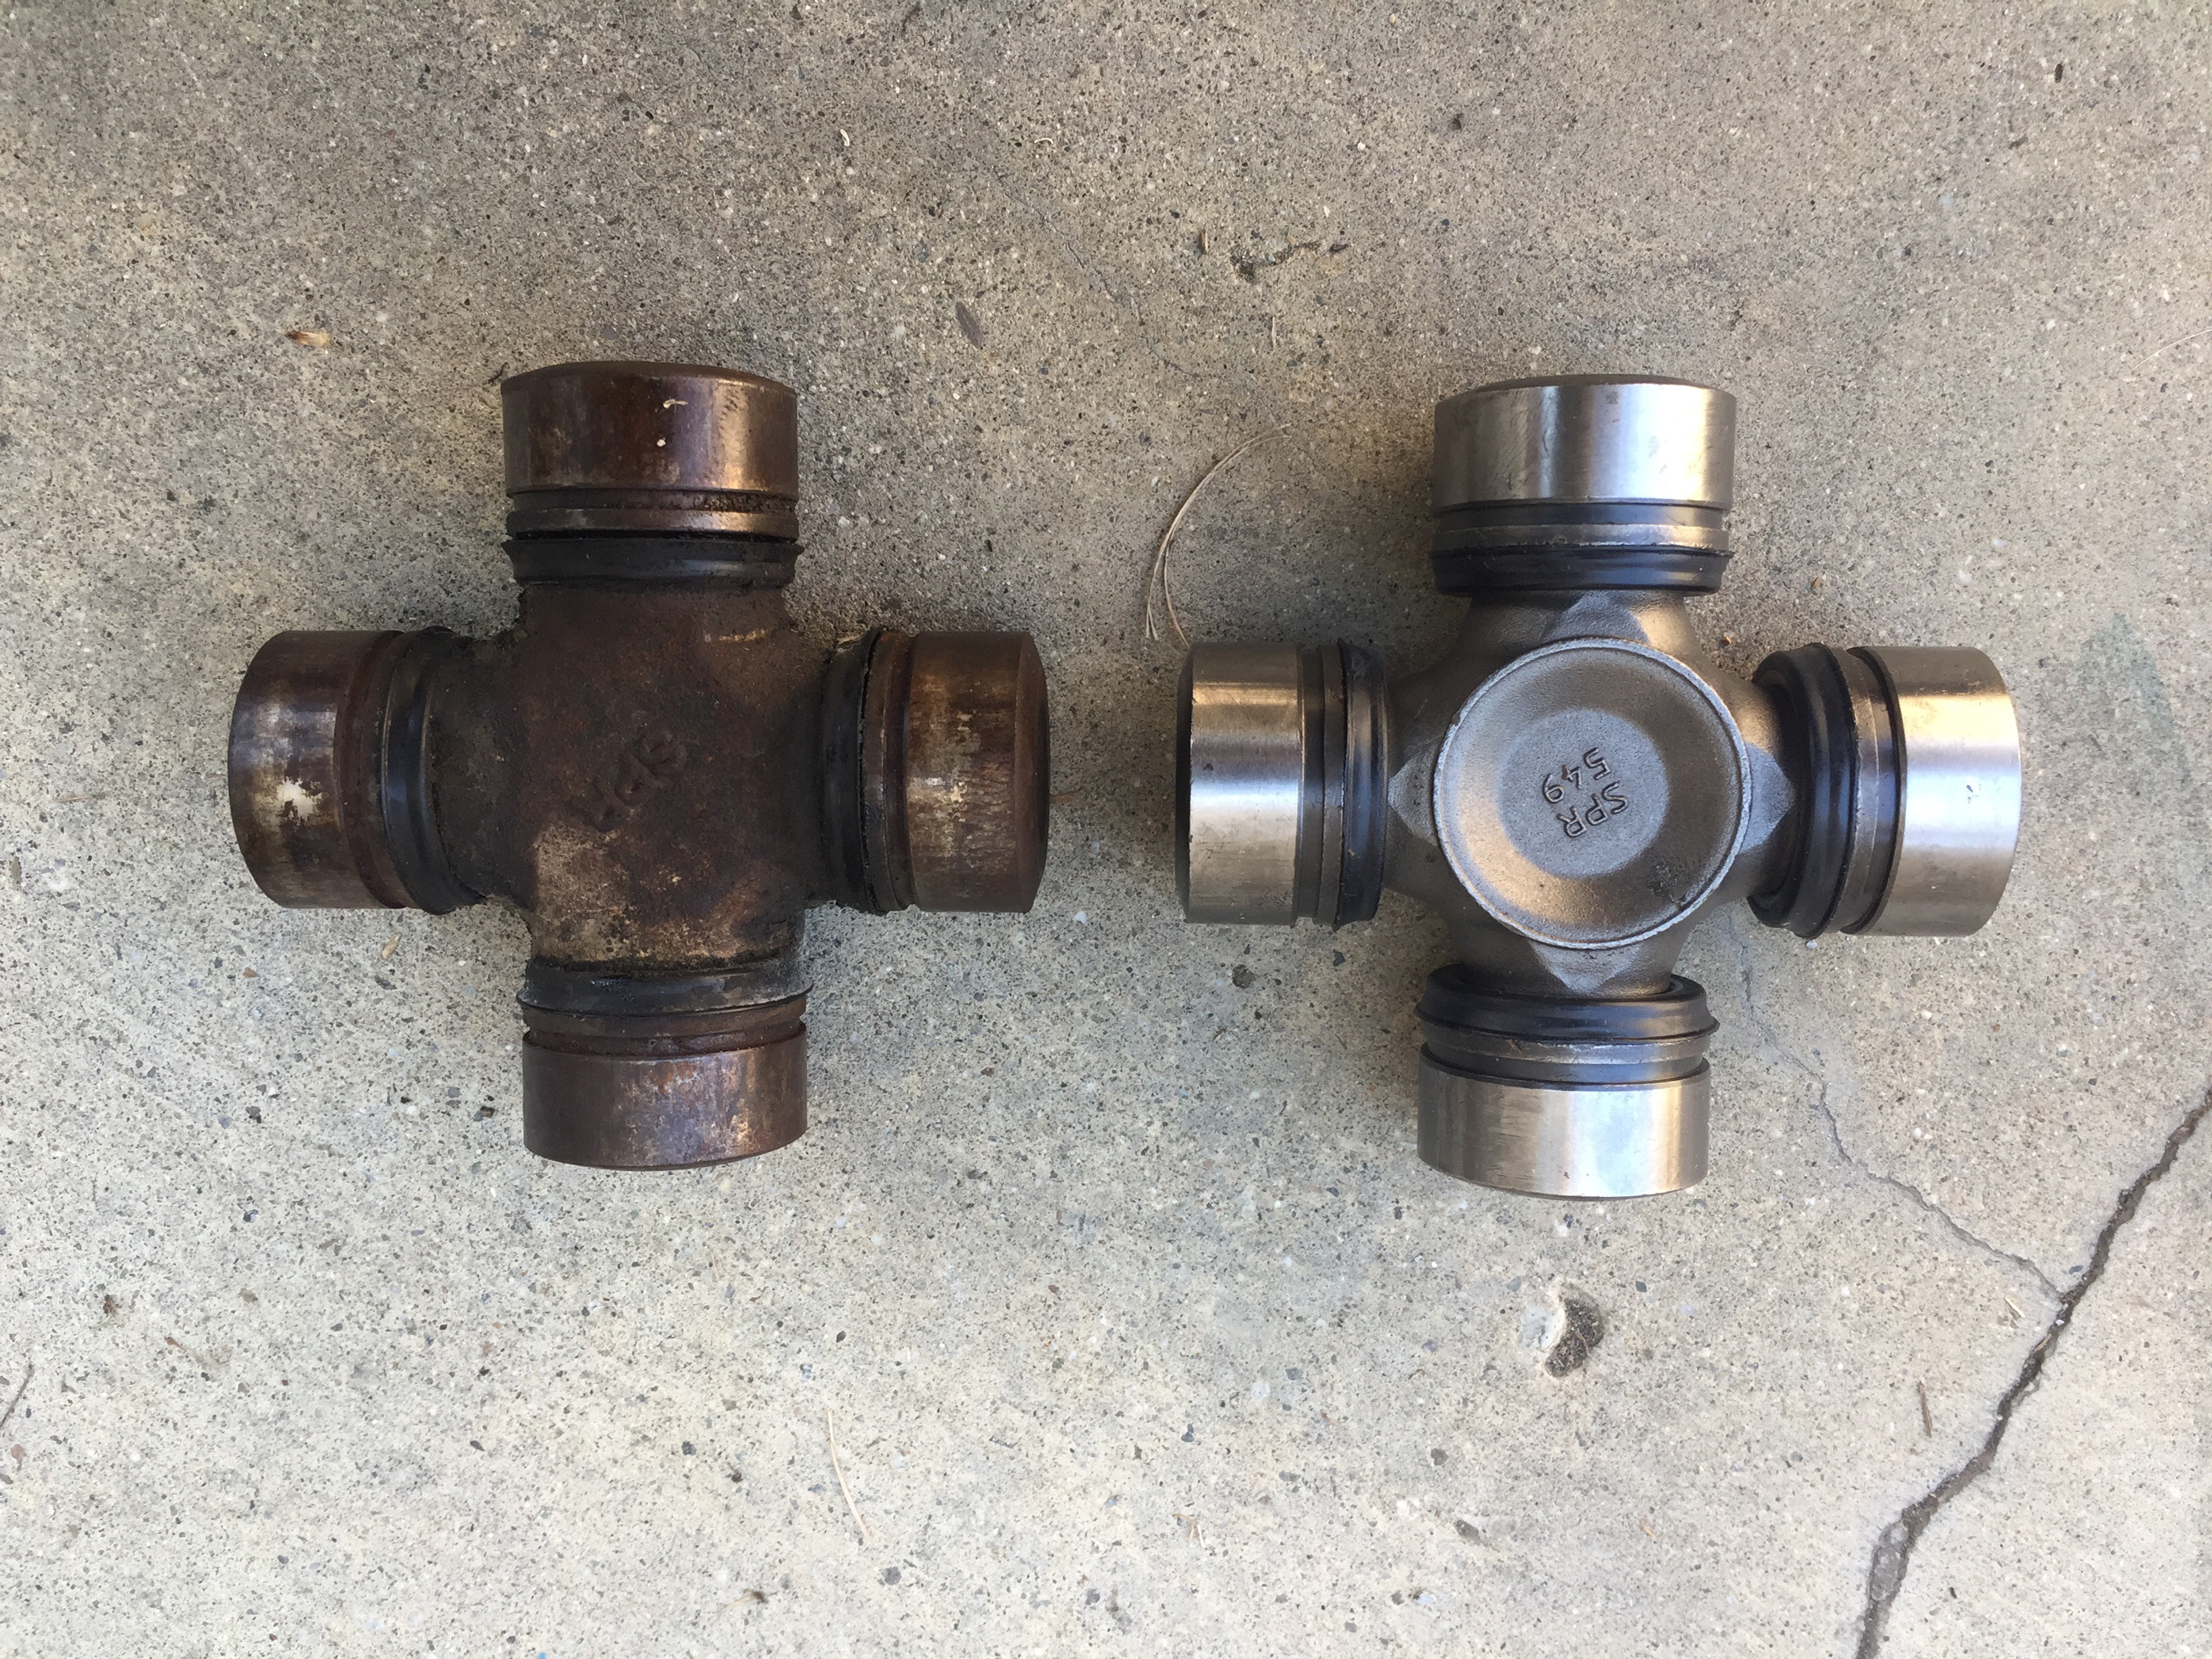
Mine matched purfectly, on to the installation of the new joints. Firstly, these new joints are non-greasable so whatever they put in the caps when they left the factory is all you get unless you add more grease before you install them which I did.
With the caps off, insert the U-Joint into the long side of the shaft.
Put the cap on one side and slide the collar of the U-Joint into the cap. I made sure not to dislodge any of the needle bearings when sliding the collar in. I turned the cap onto the ground and hit the opposite sides ear until the cap was fully seated. I installed the clip on that cap then installed the opposite side cap and repeated the previous step. I installed the stub shaft and repeated the same steps to get those caps and clips on.
I did all the same steps on the passenger side shaft. Once the U-Joints were replaced it was time to start tearing the axle apart and complete the conversion. Check out Dana 30 C.A.D. Delete – Part 2 to see the conversion.
