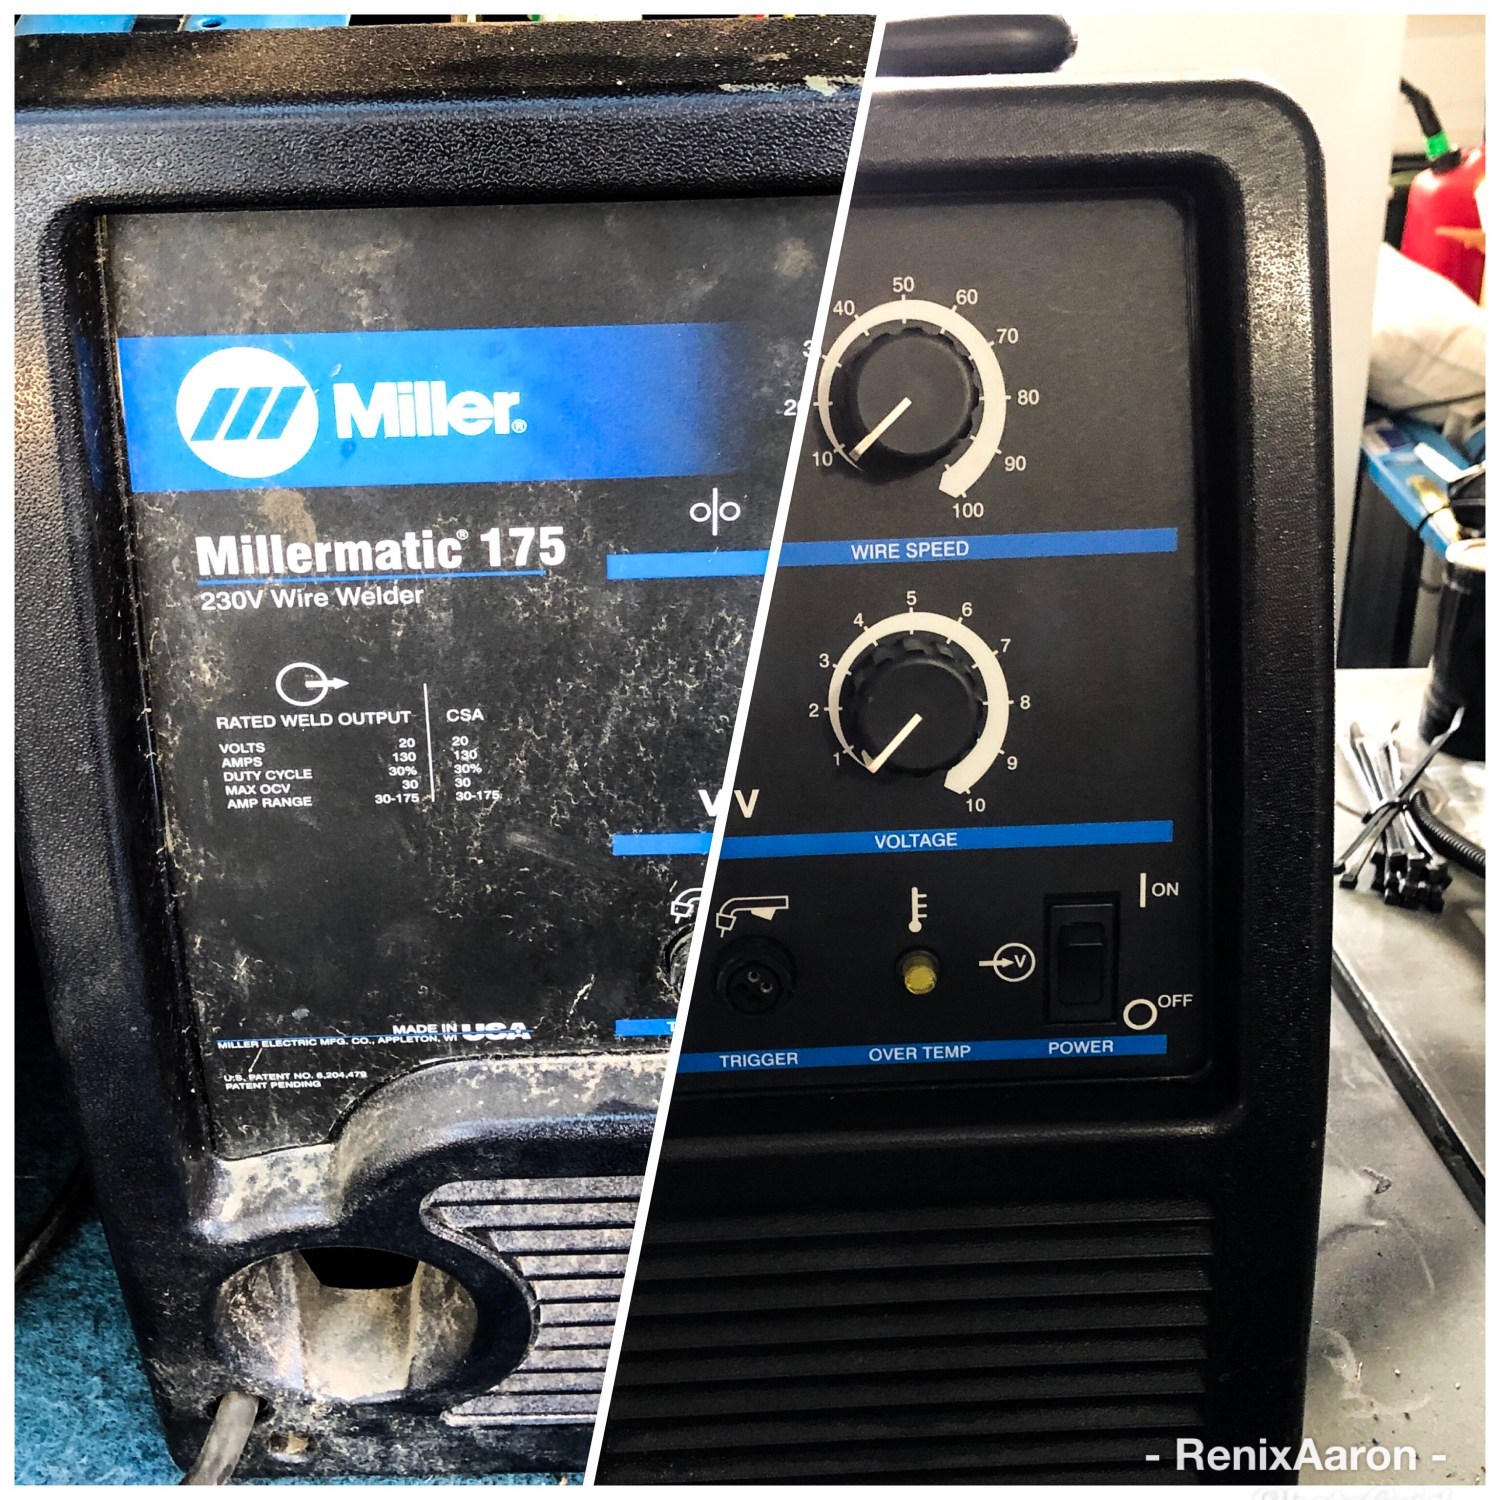
Would you like a new bumper from your favorite off road shop, but can’t afford the hefty price tag? Have you wanted to fabricate your own sliders or armor but don’t have the $1500+ for a quality welder? There are dozens of avenues you can take for getting a welder; you could take out a loan, steal your buddy’s (don’t steal your buddy’s tools), or even buy a cheap one from Harbor Freight. My buddy had a Millermatic 175 (which he received as payment for some work he did), but he wasn’t using it nor did he have the desire to fix it.

He has his own, so I took it off his hands for free. The person who gave it to him said it was left in the rain for a while and never worked thereafter. My first inspection showed water damage to the control board and other components starting to rust and oxidize.


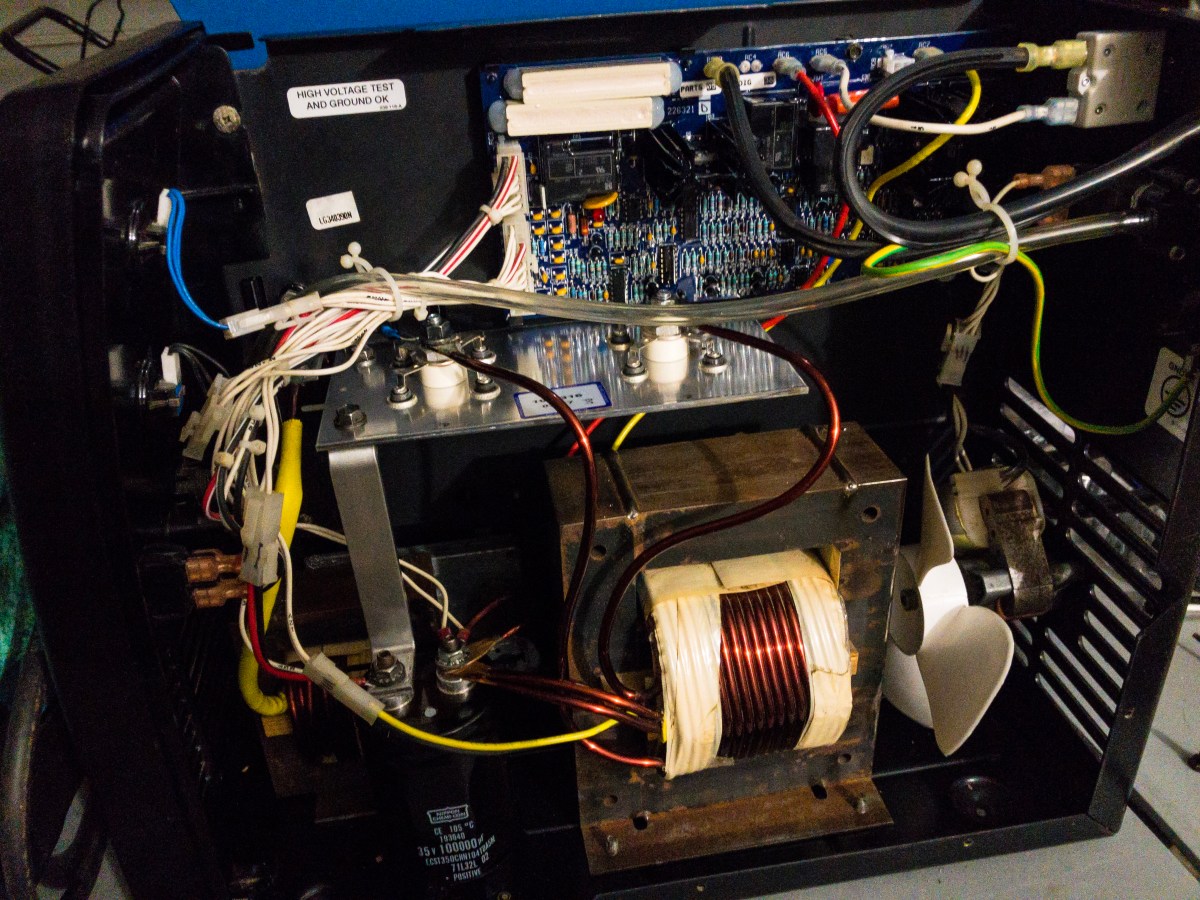
I decided the best thing to do was completely tear down the welder, clean, and inspect everything to bring it back to its original glory days. I started with the control board. I disconnected all of the connectors and removed the screw, at the top right, with a 5.5mm socket. Next, I tore apart the board from all the hold down clips.

I looked over the board and found a burnt resistor, a few blown capacitors and two blow traces that lead to the plugs.


I replaced the bad components and repaired the traces with 24AWG solid. I tested the board, which it worked, but it was having some intermittent wire feeding issues. Due to the water damage, I decided replacing the board was the best repair. I purchased a new board for Miller4less.com. I continued with the tear down and removed the rectifier plate next.

They tested okay, but appeared to be original. A new plate from miller4less.com was $50.00, so I just purchased a new one. The capacitor was the next component I removed. The nuts were completely rust welded so I just removed the studs themselves from the capacitor.
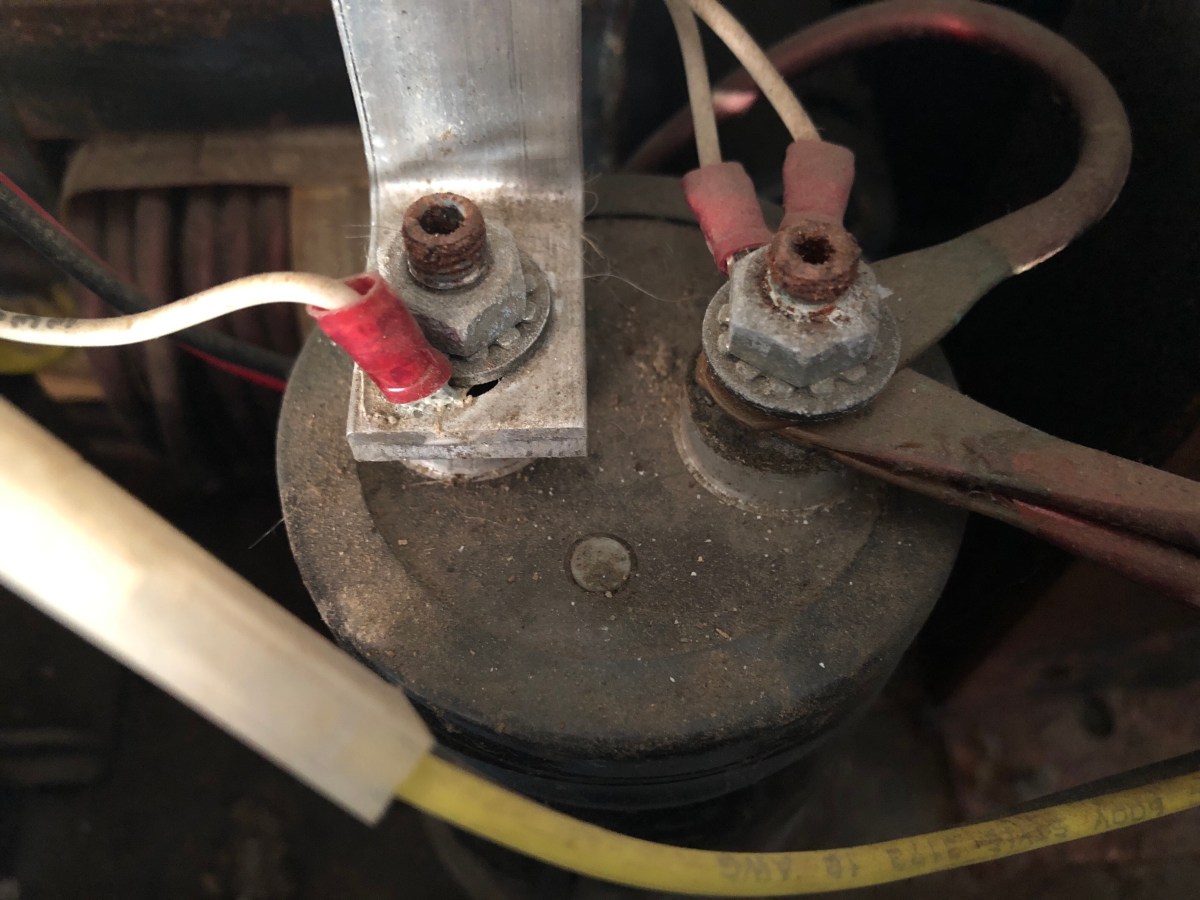
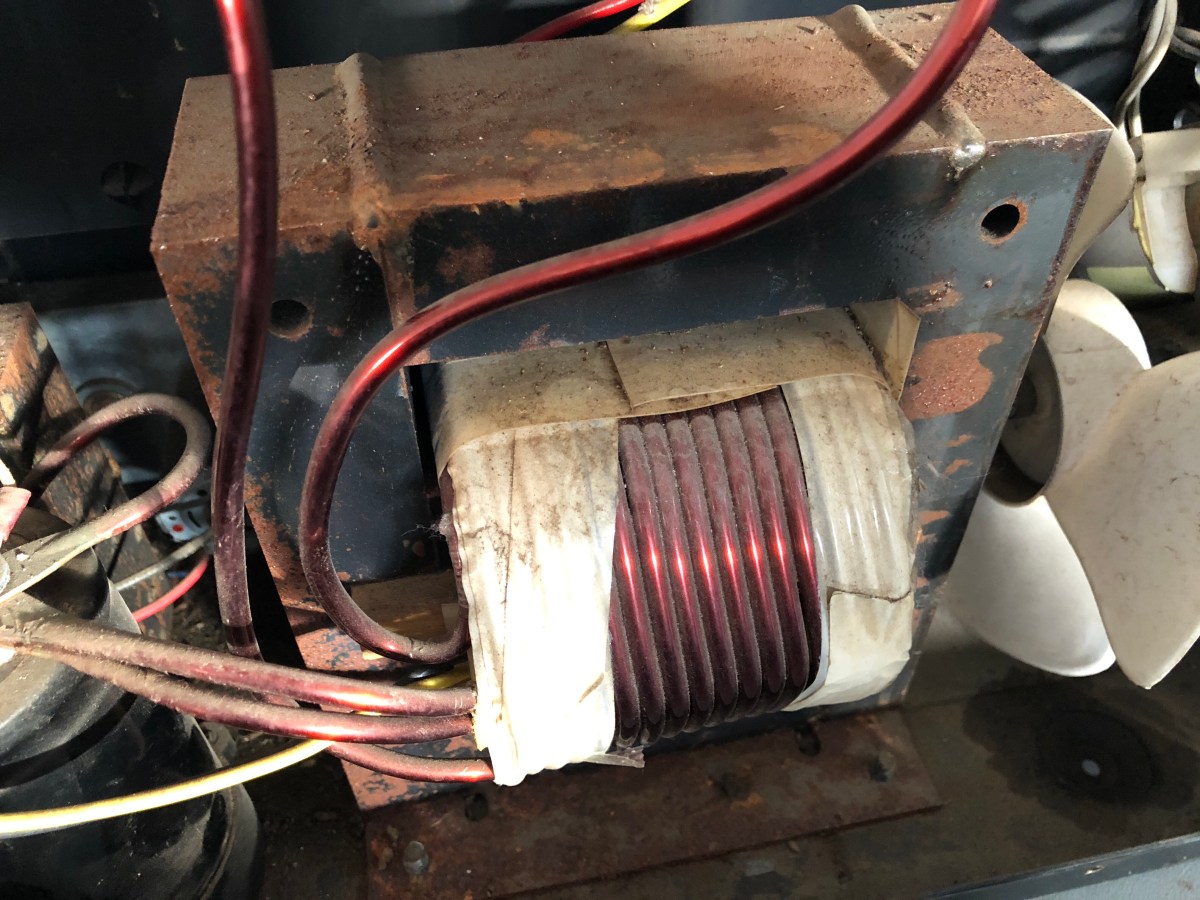
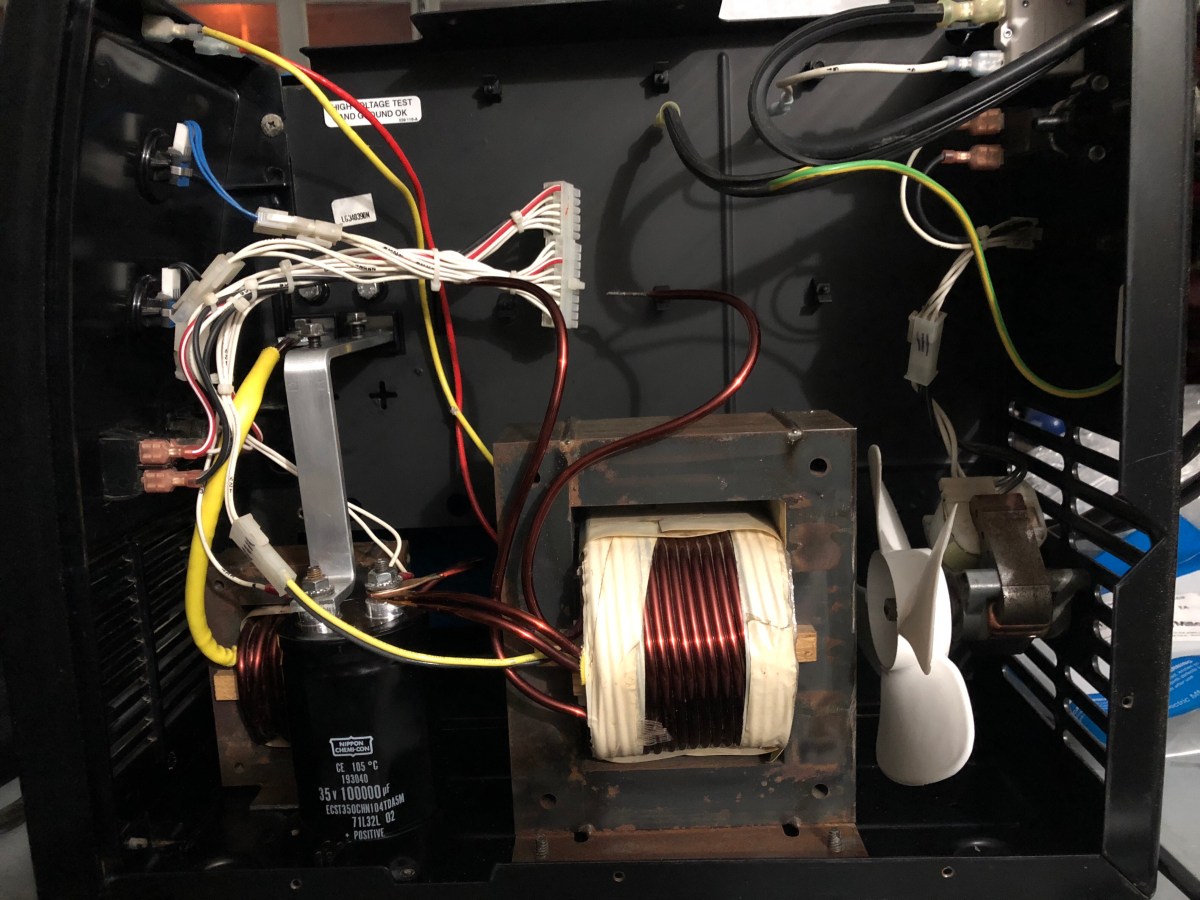
I removed both transformers and the cooling fan and finally had the power side completely torn down.

Lastly, I removed the BUSS bars and wire feed drive unit.

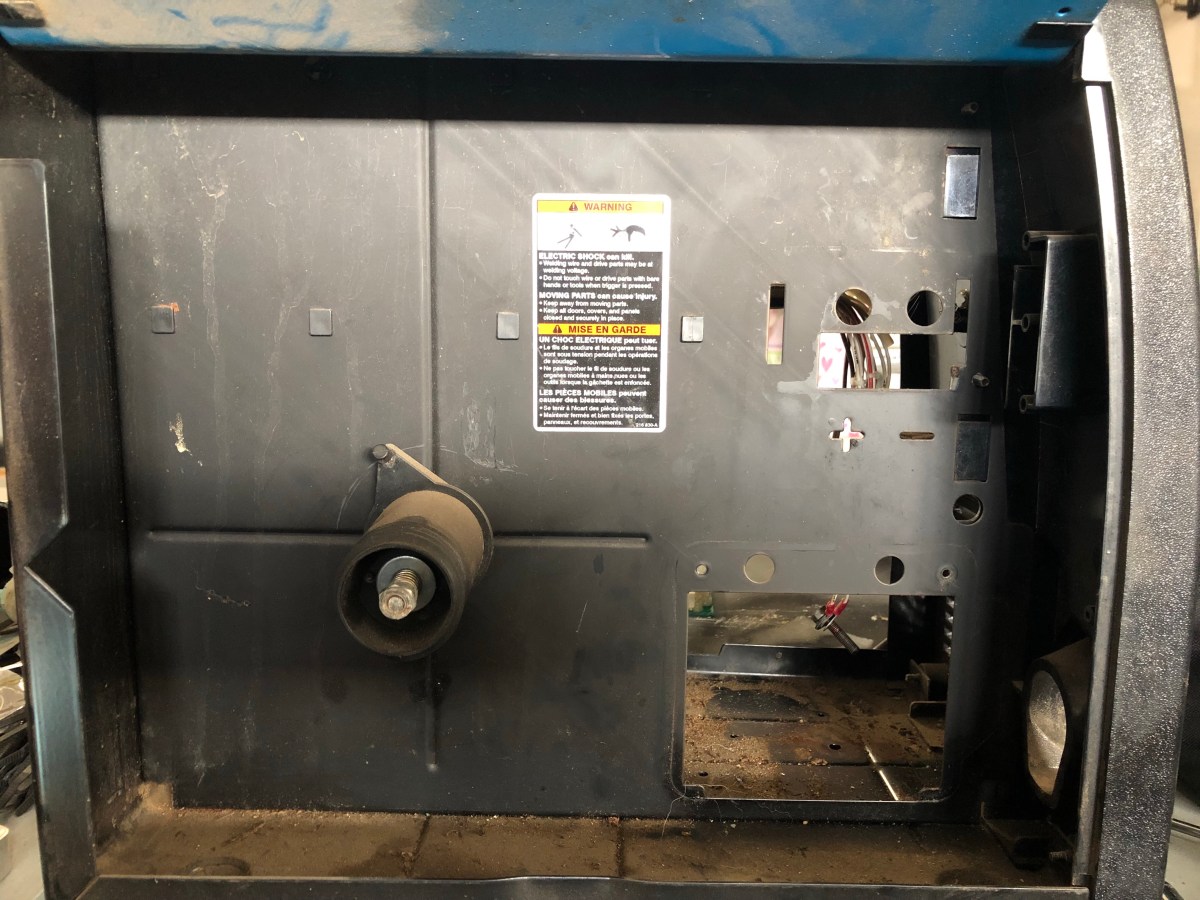
Finally, it was completely torn down. I first cleaned the years of dust and debris from the case; there were some surface rust which accumulated under the transformer. Luckily, it wasn’t bad enough that i was still able to salvage it.

With the case now looking new, I started installing all the components, basically in the reverse order I had removed them. I started with the two transformers; I cleaned as much surface rust off of them as possible, without removing any sealing lamination from them.

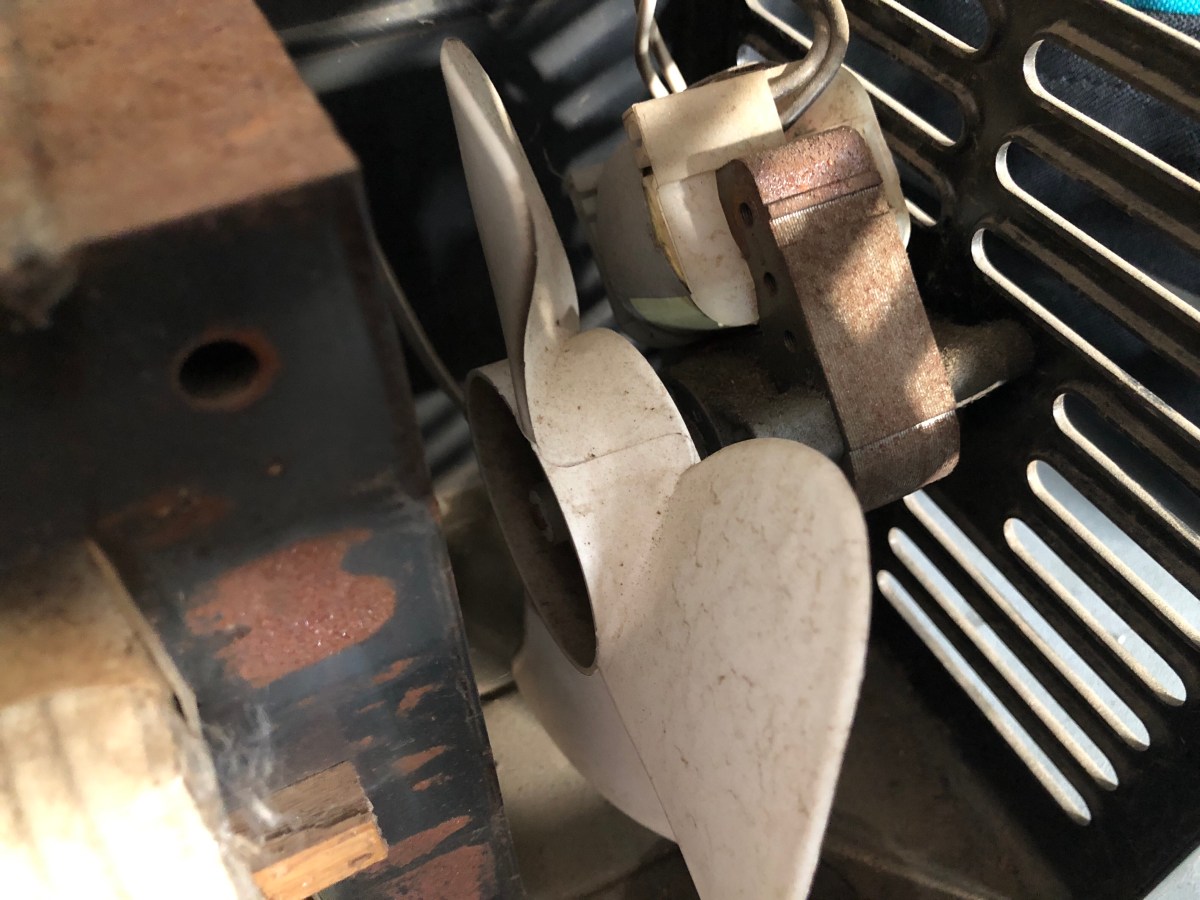
I installed the BUSS bars, capacitor, and vent motor. I polished the BUSS bars and cleaned as much rust from the fan motor as I could, once again.
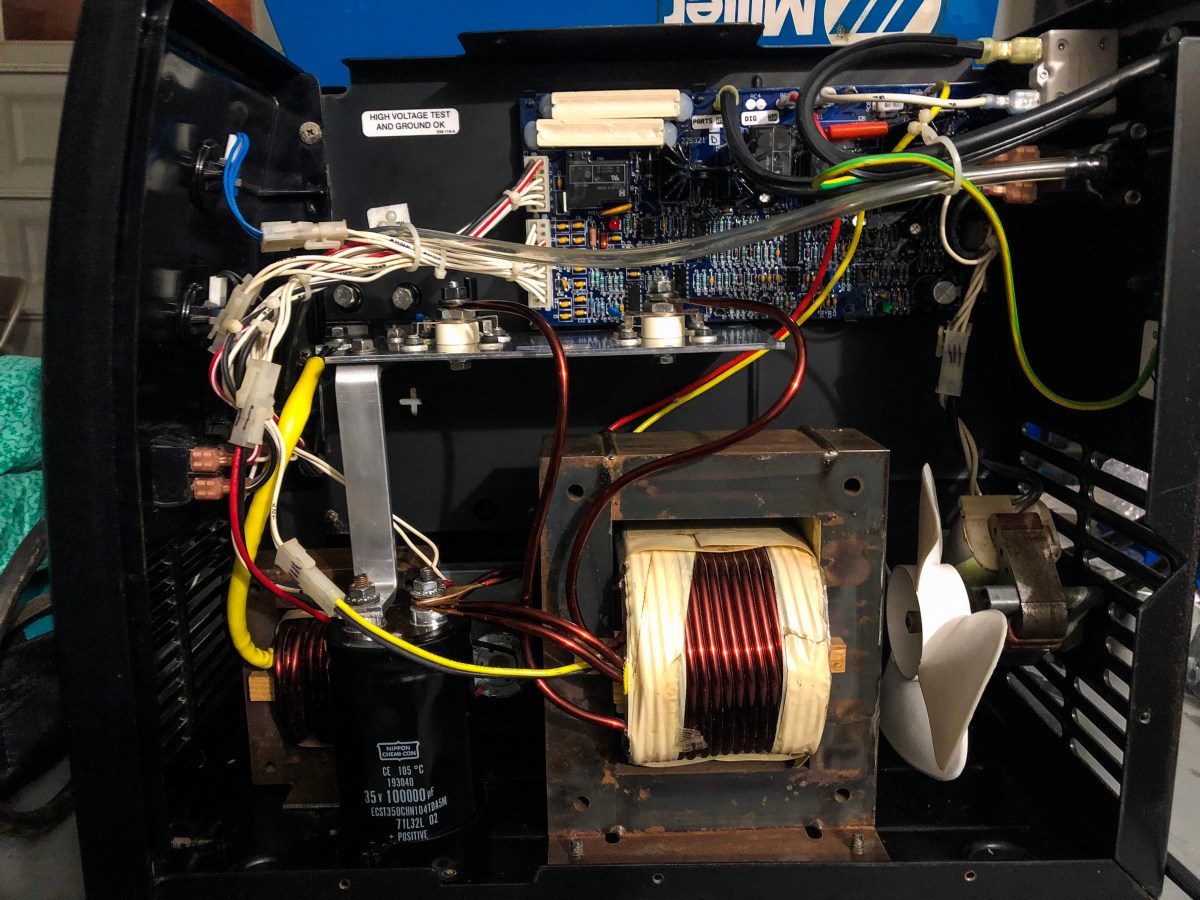
I secured all the transformer and capacitor connections at this point. Before I install the rectifier plate, I installed the new PCB Control Board and wired everything back up to the board.
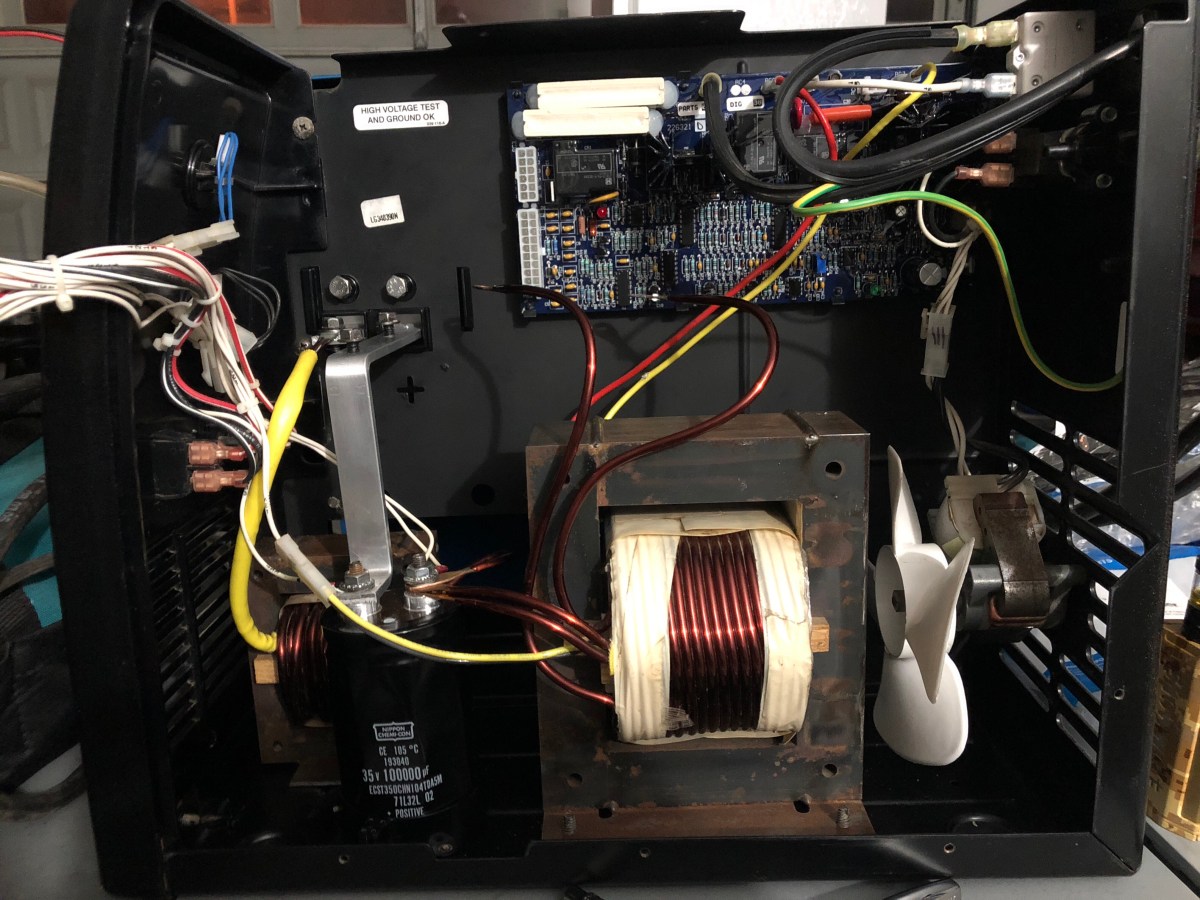

Lastly, I installed the rectifier plate and finished connecting everything on the power side of the case.
To finish it up, I installed the wire feed drive unit and a new reel and lock but for the wire spool. I cleaned the outside of the case and bolted lol the covers back on.


I hooked up some C25 along with a new whip and gun. I tested the drive unit to make sure the speed adjustment and drive unit worked correctly. With that confirmed, I fed some .030 into it and tested it out. Everything was working perfectly.
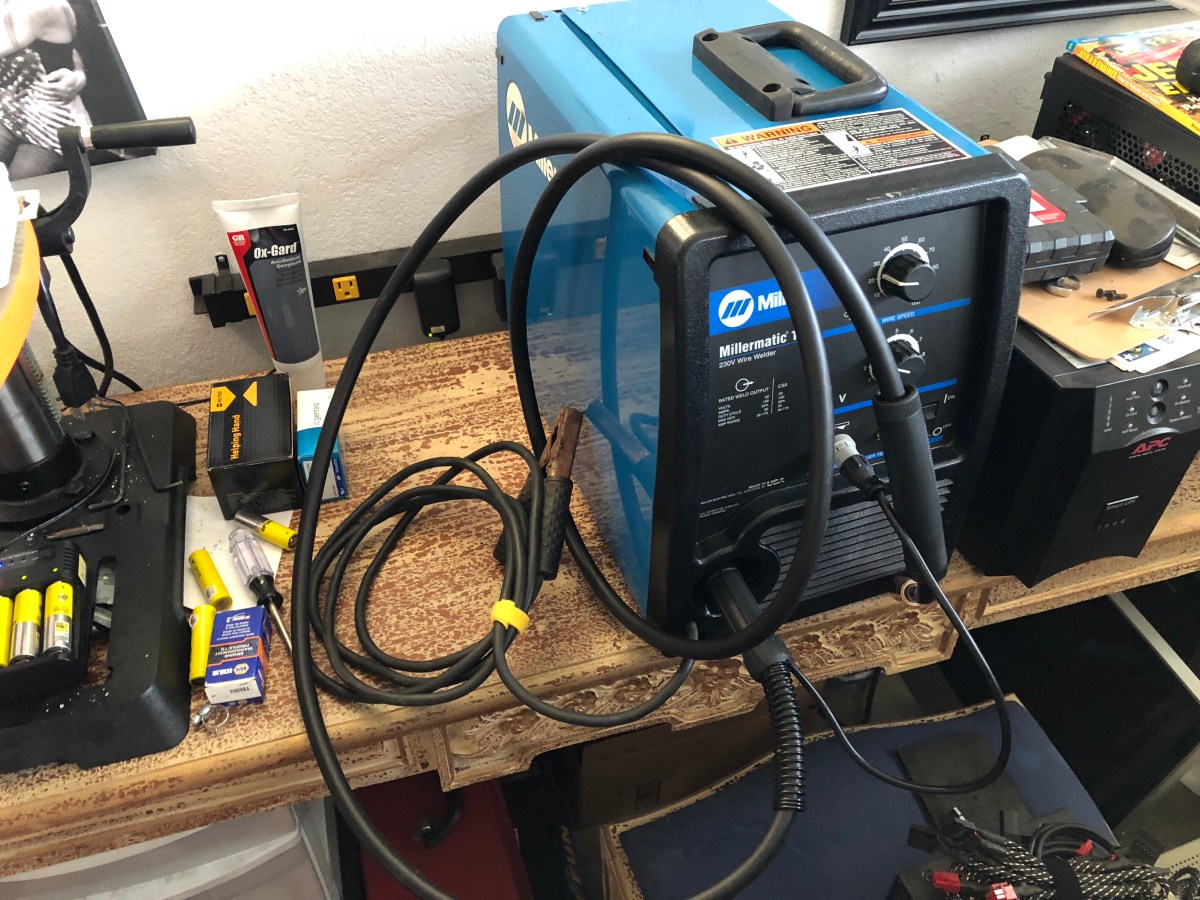
For $300, and some wrench time, I’m very pleased with this welder. I think it’s the perfect way to start fabricating your own parts on a budget.
