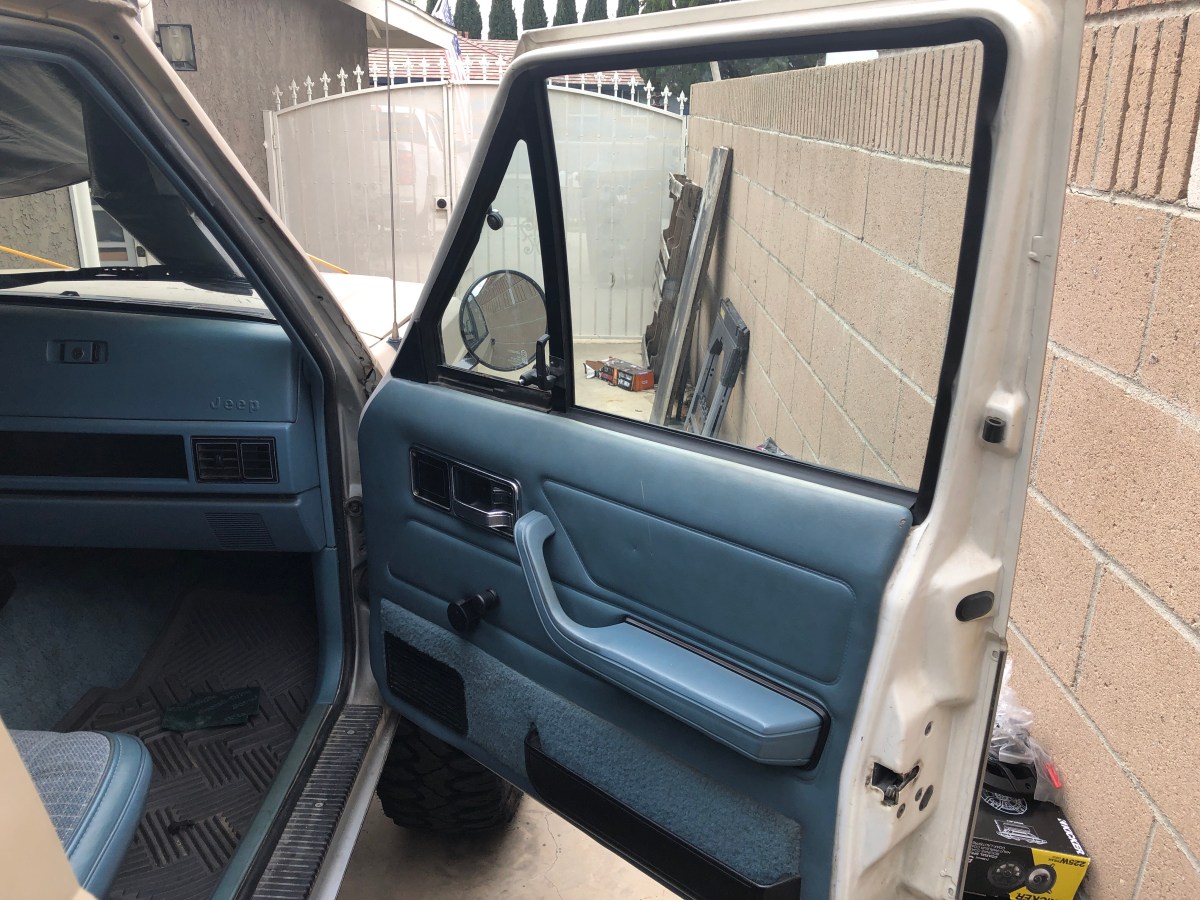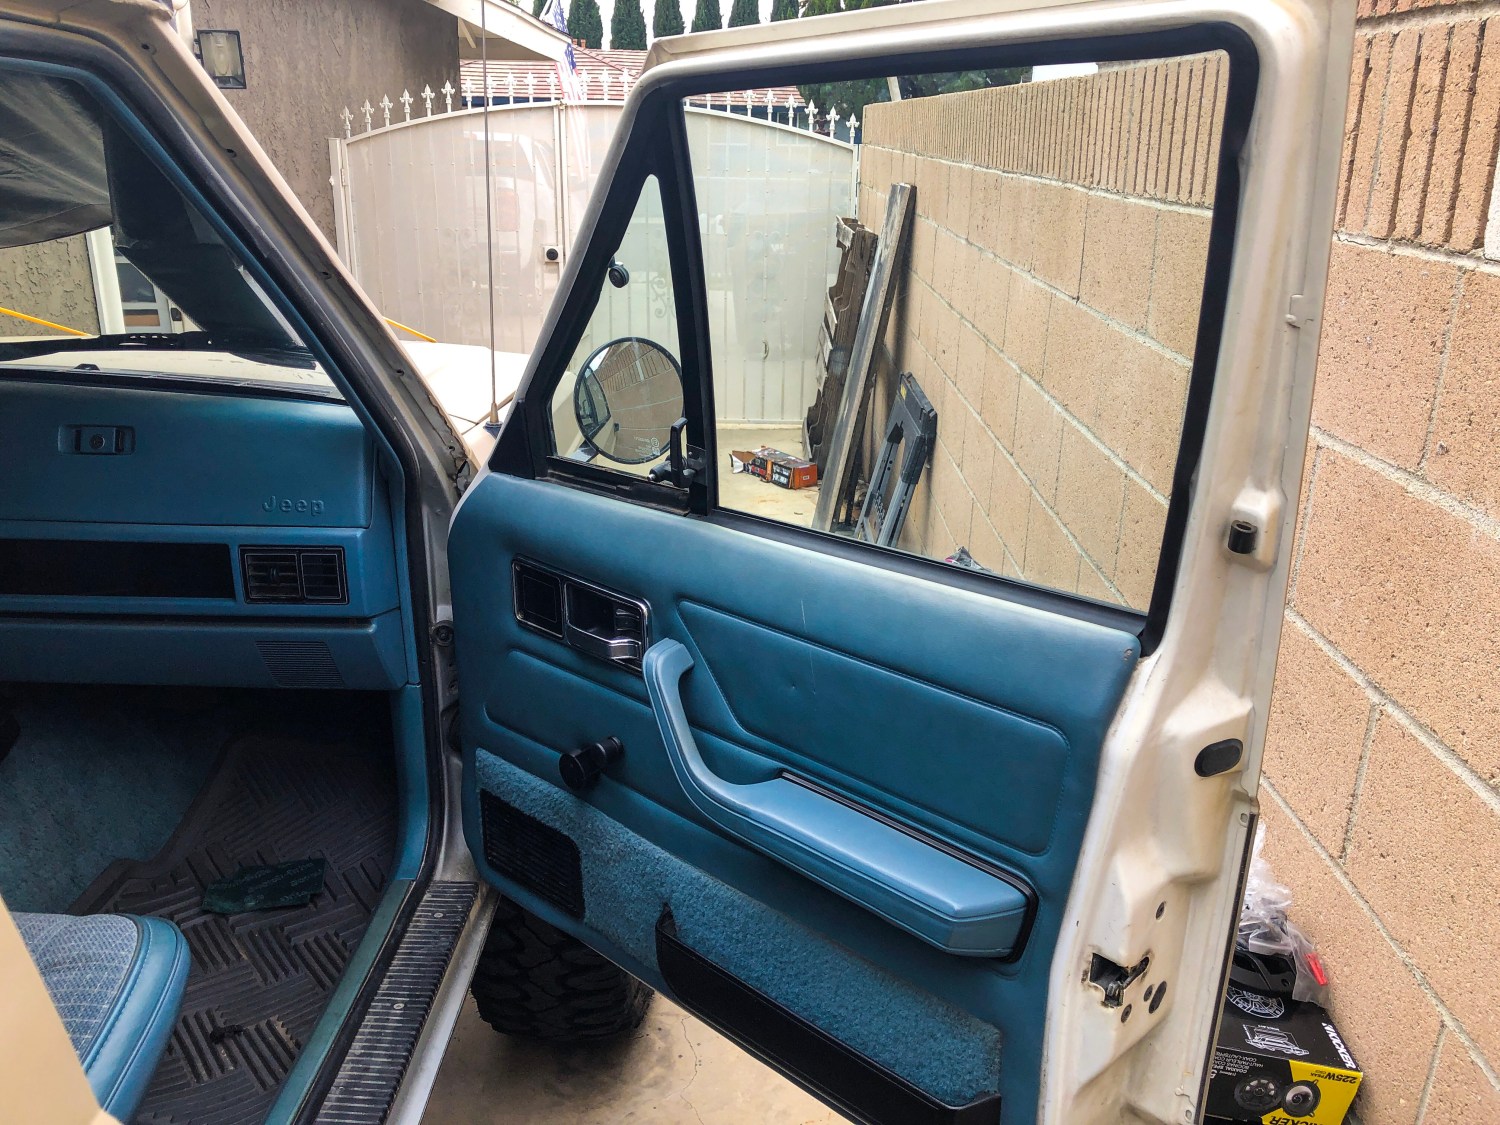
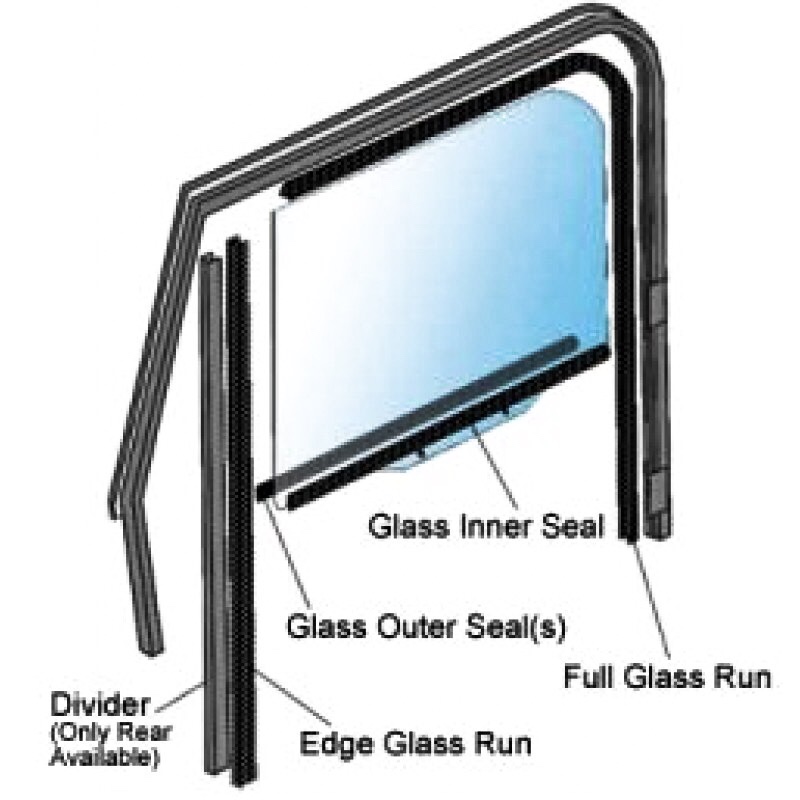
Let’s face it, my Cherokee, along with with millions of others, are getting up there in age. The doors make noise, the locks don’t work as well as they use to, and the windows do a horrible job of keeping the heat or AC in the vehicle like it did when it was new; luckily, most of the window seals can still be purchased new. In this article, I’m strictly focusing on the front doors Full Glass Run, Divider Glass Run, Inner Glass Seals and Outer Glass Seals.
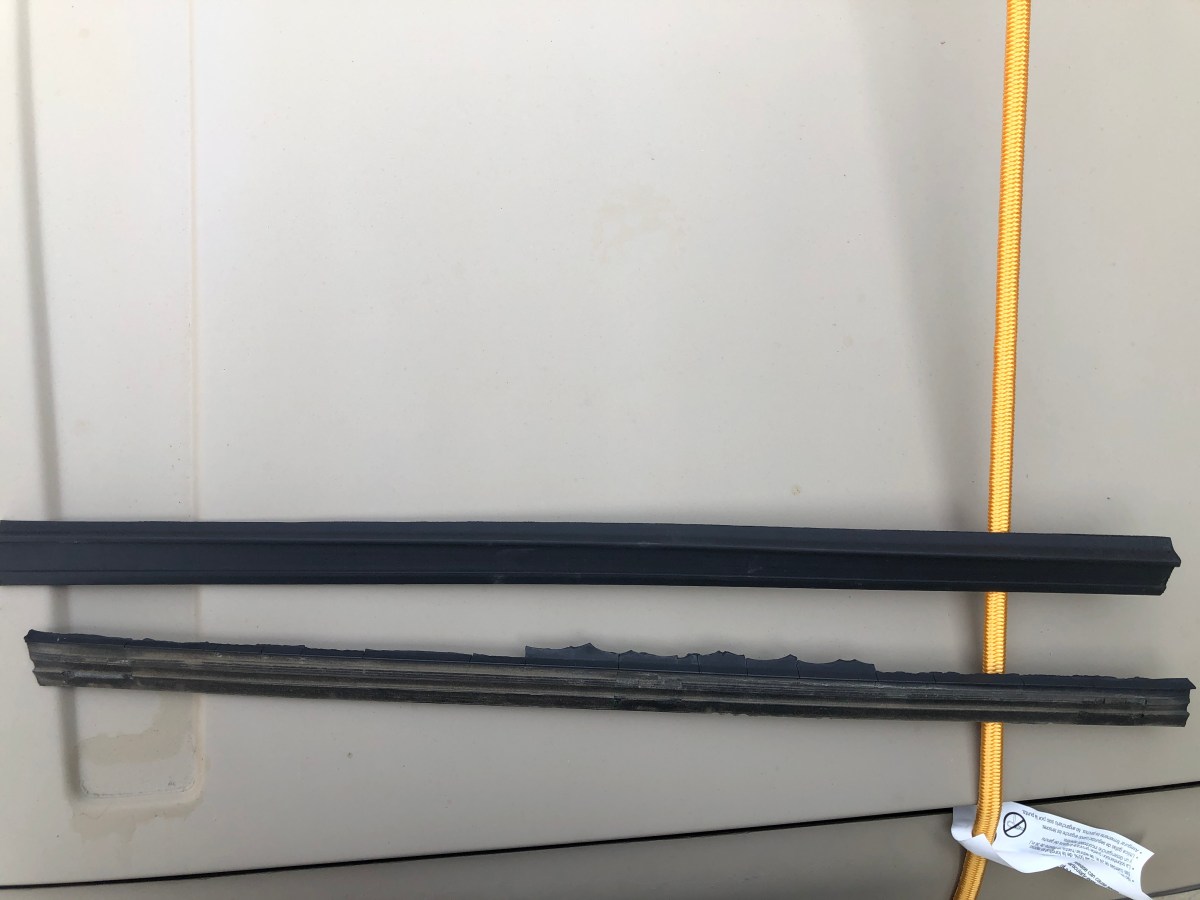
My Jeep had an issue with water leaking between the window glass and the seal that the window rides in. Most of the seals I tried to pull from the junk yards were in the same shape as mine. They’re made of rubber and a felt material that will eventually harden and crack over the years. My solution was to order some new seals from Morris 4×4 Center (Direct Links to the new seals are on the Parts Links page). The seals are not cheap but they do come extremely close in they way they fit compared to the factory seals. When I talk about how I changed mine, I’ll be referencing the passenger side only. The driver side comes apart in the exact same way, but the when I say the right side of something on the passenger side, it will be the left size when doing the driver door.
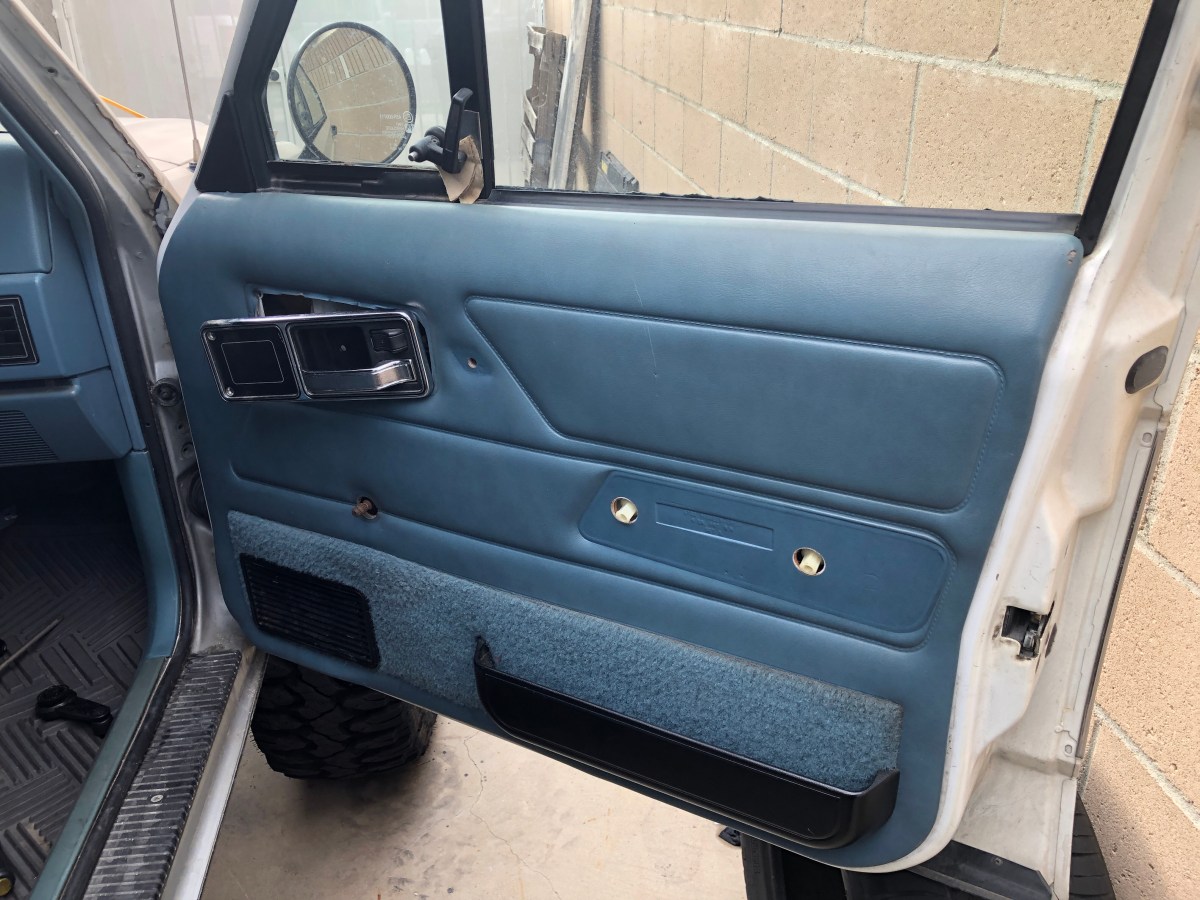
The first step I did was removing the door panel. There were three screws holding the door handle on to the door and two screws under the armrest holding it on. Once the arm rest screws were out, I pulled the armrest away from the door panel slightly and turned it counter-clockwise 90°, then pulled it out of the door panel. Once the armrest was off, there were several panel clips holding the panel to the door around the perimeter of the door panel. I simply pulled the panel away from the door to release the panel clips. Lastly, I pulled the panel upwards to release it from the inner seal groove and fed the handle panel through the door panel and set the panel aside.
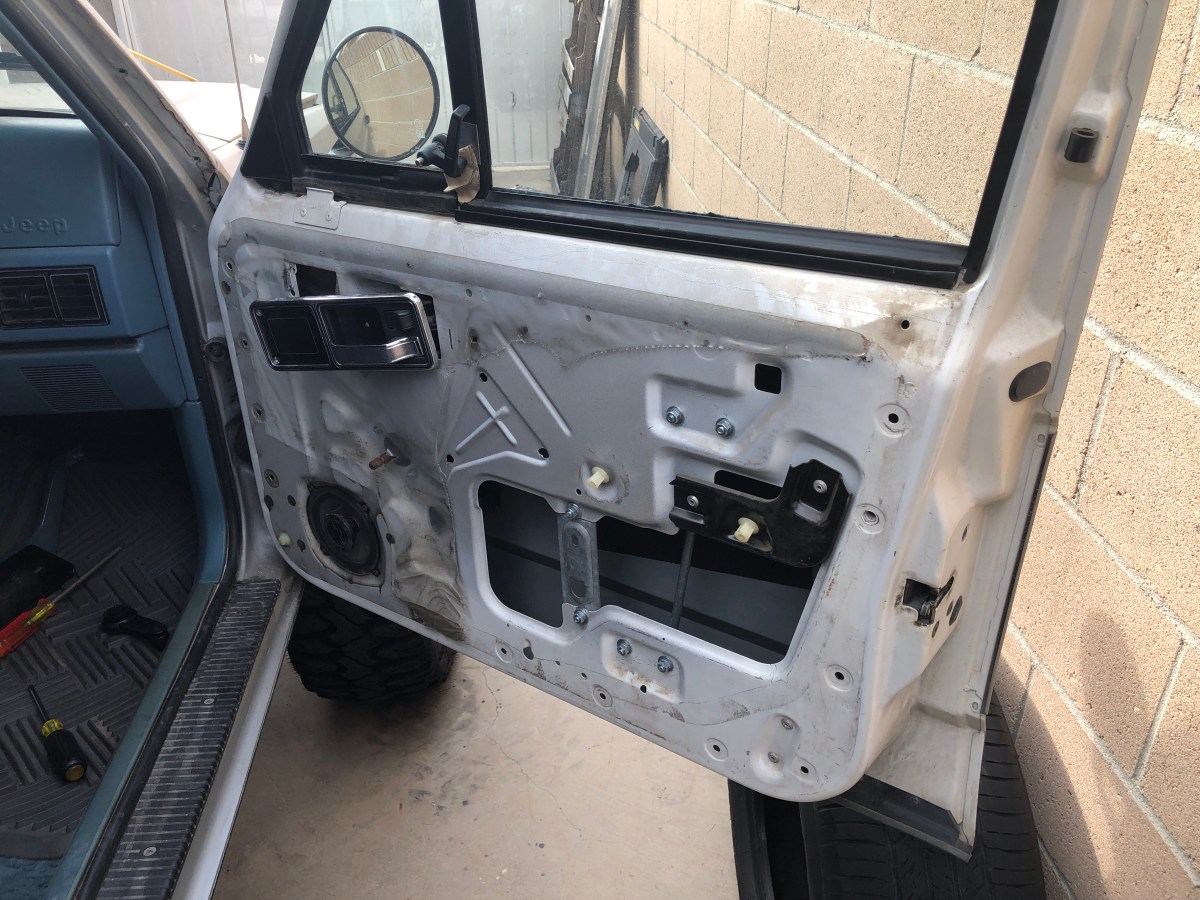
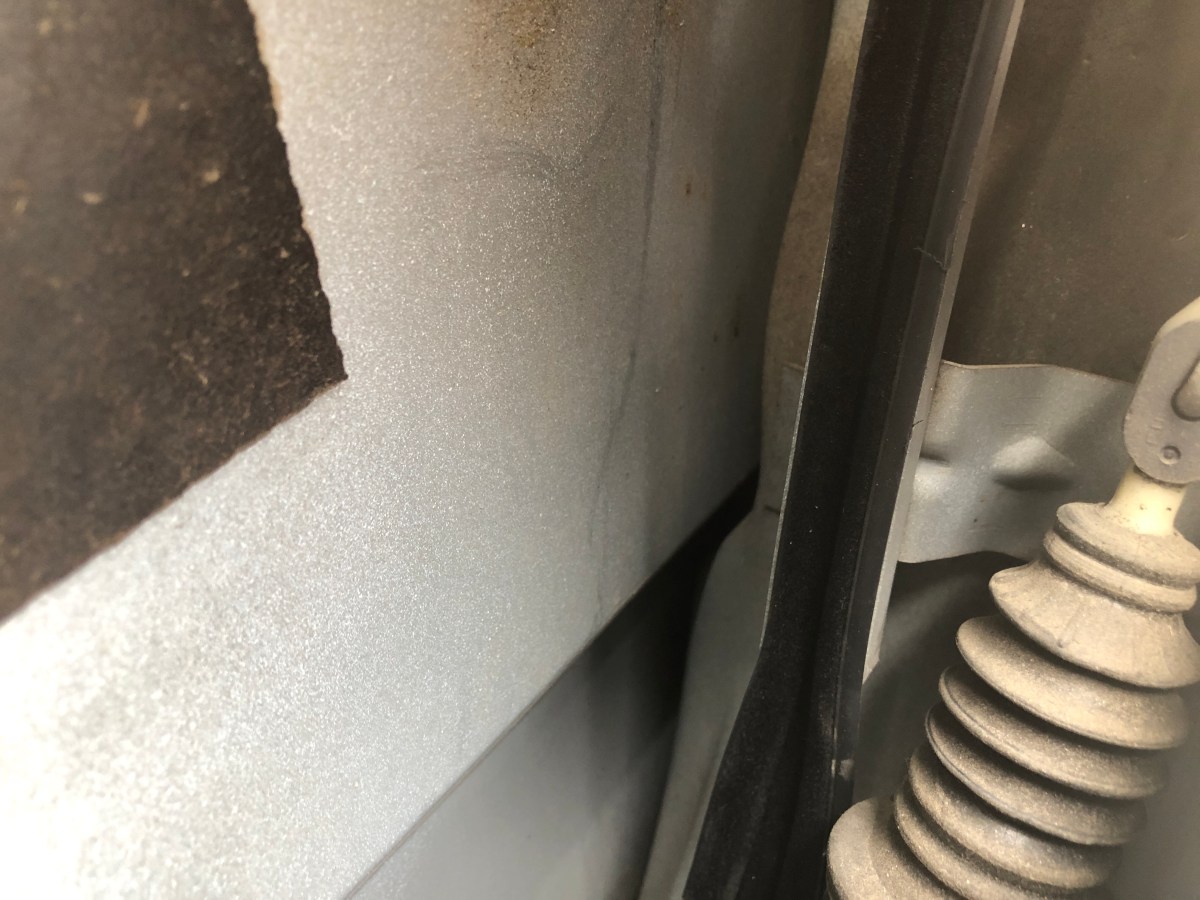
Next, I rolled the window completely down and removed the inner glass seal. This seal easily comes out by pulling it directly up on the right side of the seal the sliding the left part of the seal away from the glass divider for the wing window.

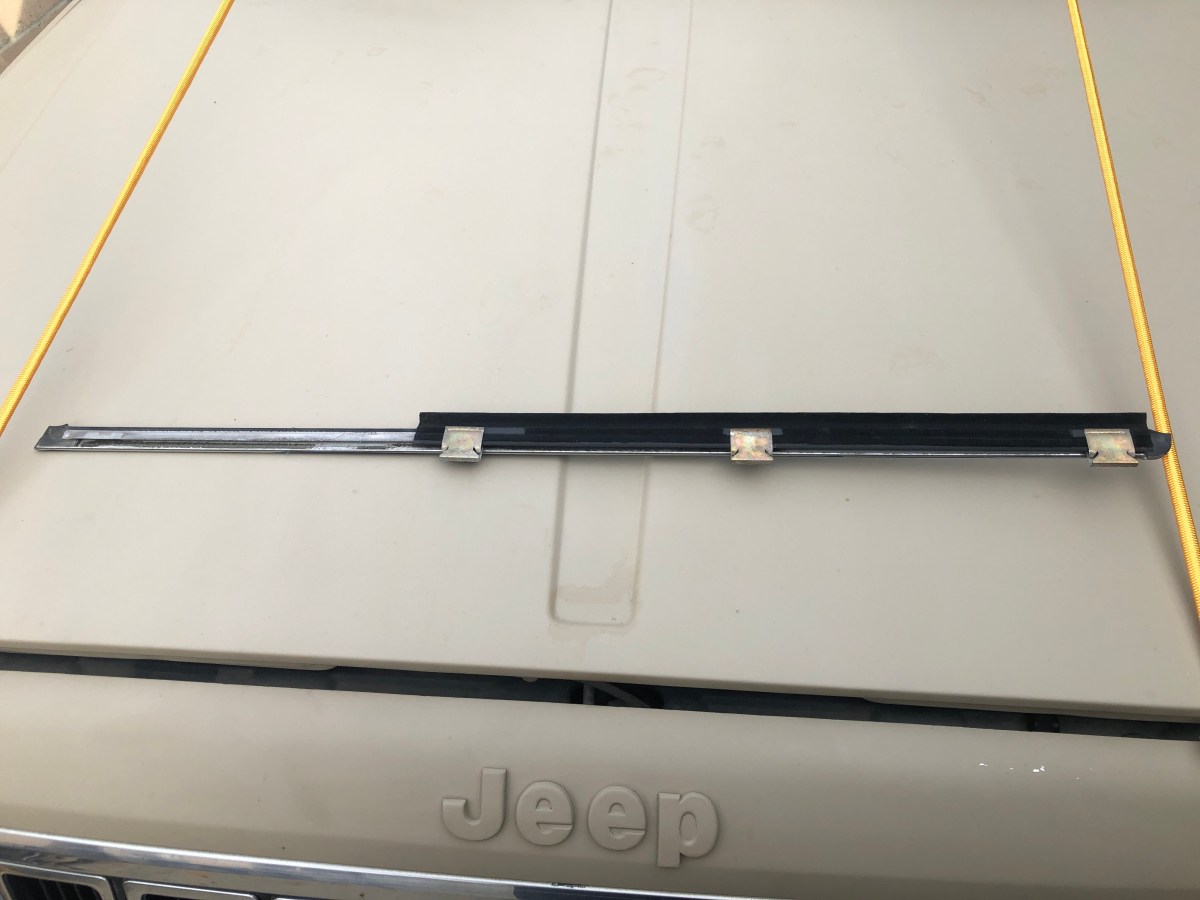
Next, I removed the outer glass seal. This requires you to remove the lower, outer window trim piece along with the seal. There are four clips that hold the trim piece to the door.
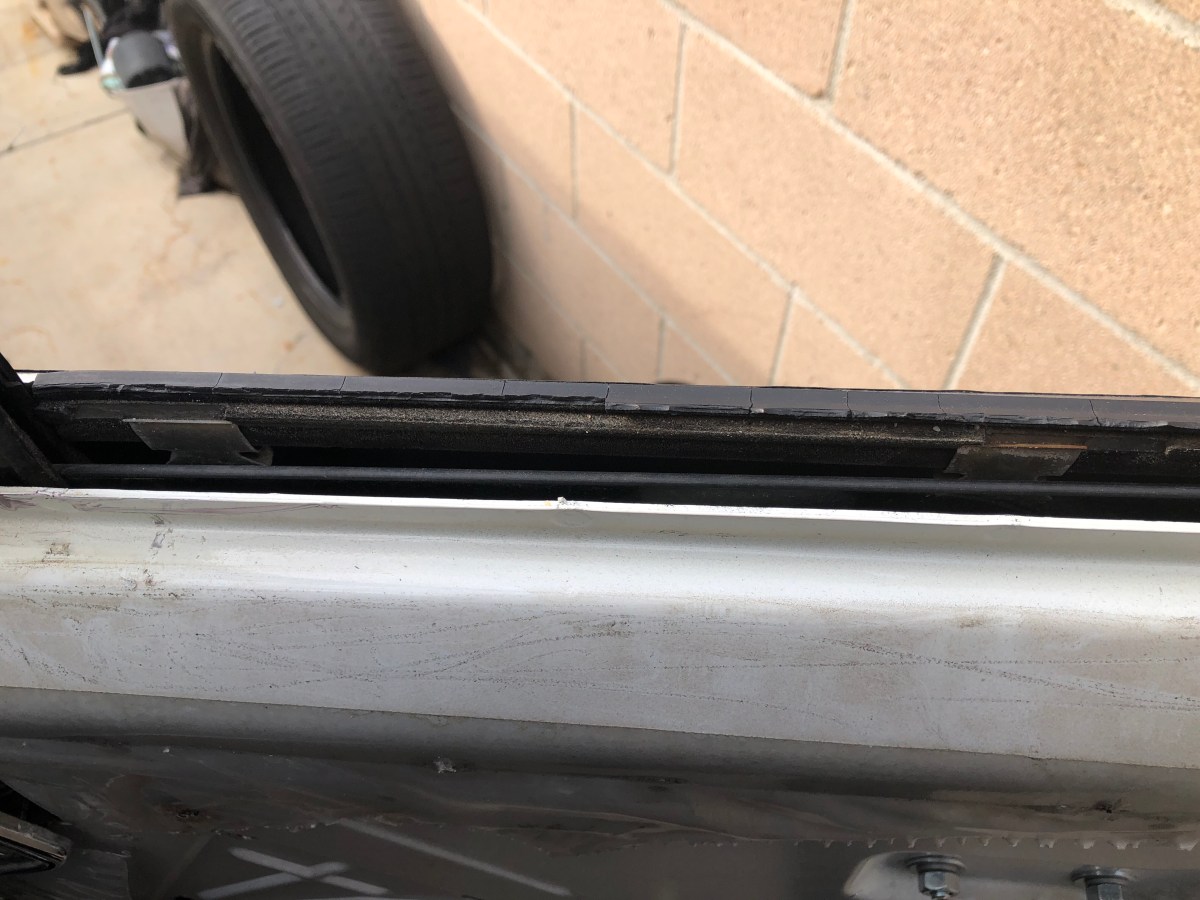
The best way I found to remove the trim piece was to put a small screw driver on the lower part of the clip and pull it towards the glass and lift the right side of the side of the trim piece up at the same time. This will cause the clip to unhook from the door and allow the trim to be removed. I continued doing this for the center clip and the clip next to the divider for the wing window.
The last clip holding the trim on is, near the mirror, under the wing window gasket. I lifted the trim piece from the clip, then removed the clip from the door and slid it back onto the now removed trim piece. With the trim piece now removed, I slid the old outer seal from the trim clips and slid the new outer seal into the same position the old seal was in on the trim clips.
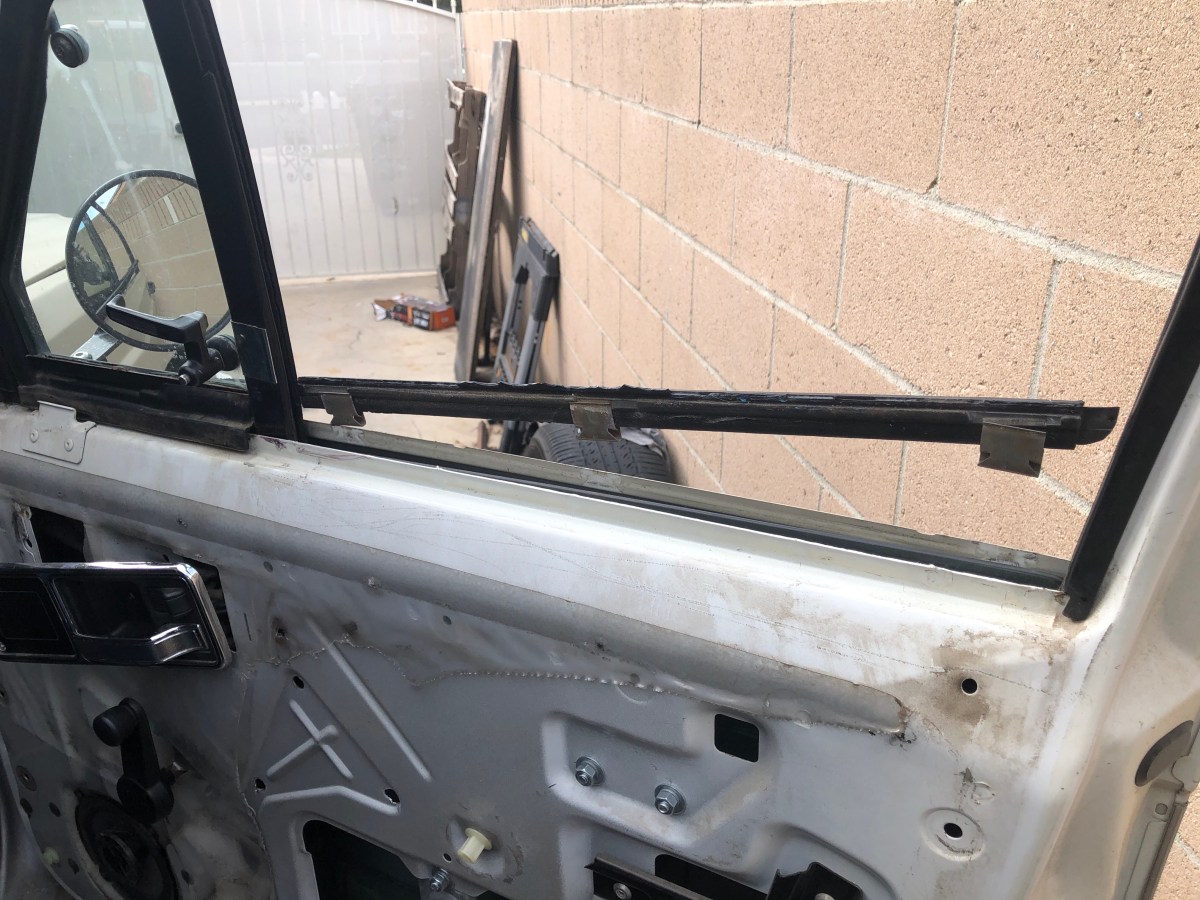
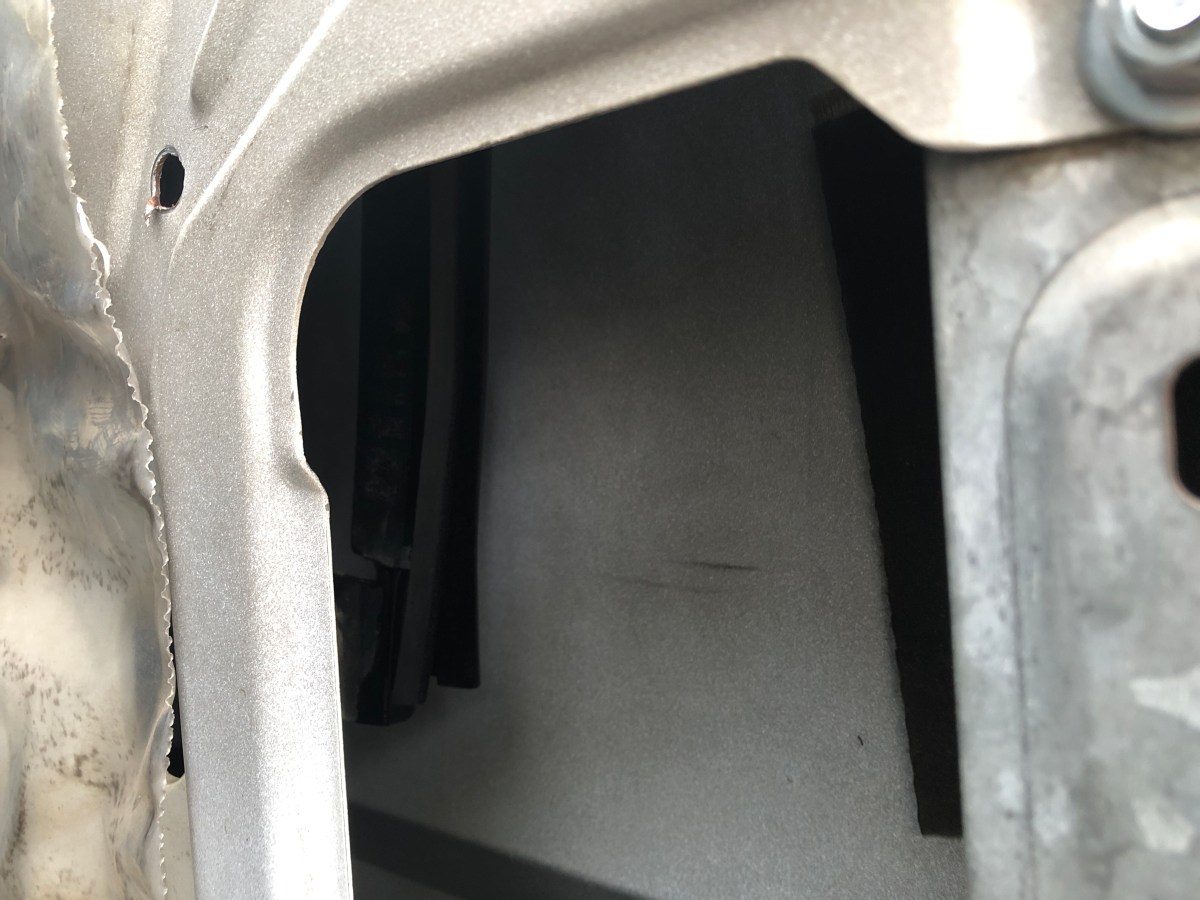
With the new outer seal installed in the trim clips, I set the assembly aside to be reinstalled later. The next piece I removed was the divider glass run. This glass run was completely worn out and brittle. Removing it was pretty simple. Each time I grabbed a piece of it to remove from the divider channel, the piece would break into multiple pieces. I continued doing this until the entire glass run was removed from the channel.
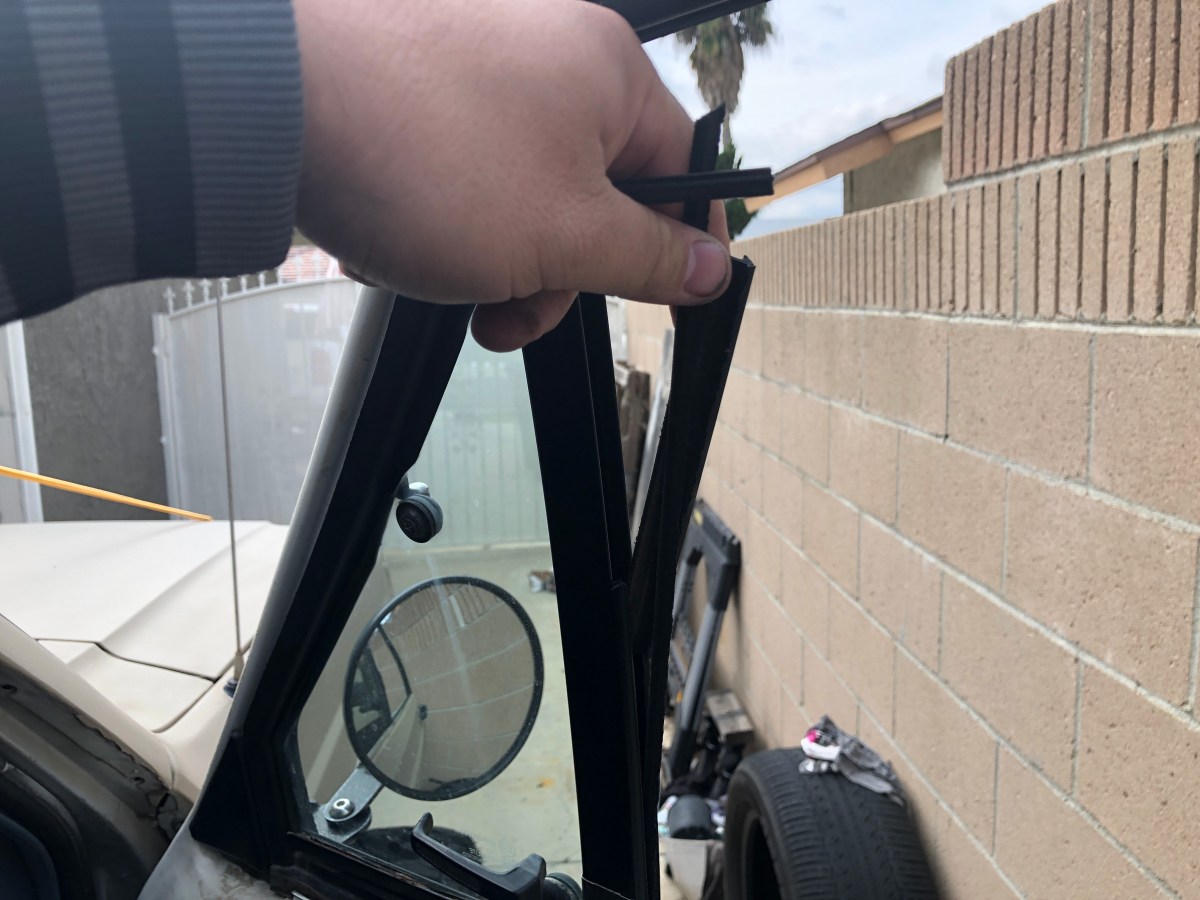

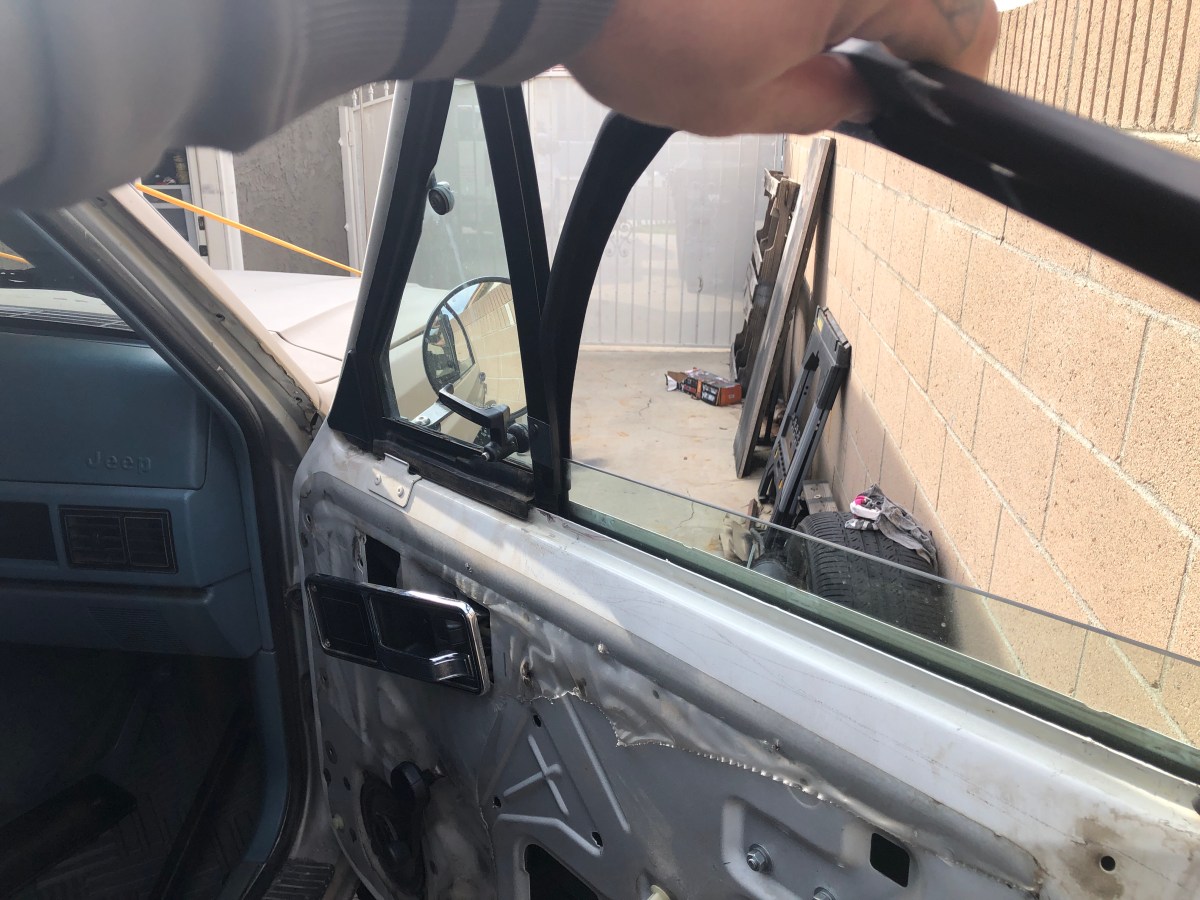
With the divider glass run removed, I started removing the full glass run from the other side. Like the divider glass run, this one was worn out but not brittle. I removed the first part of the full glass run from top of the window channel, then the corner and side channel. After it was removed from the window frame, I pulled the remainder of it up through the lower part of the channel in the door.
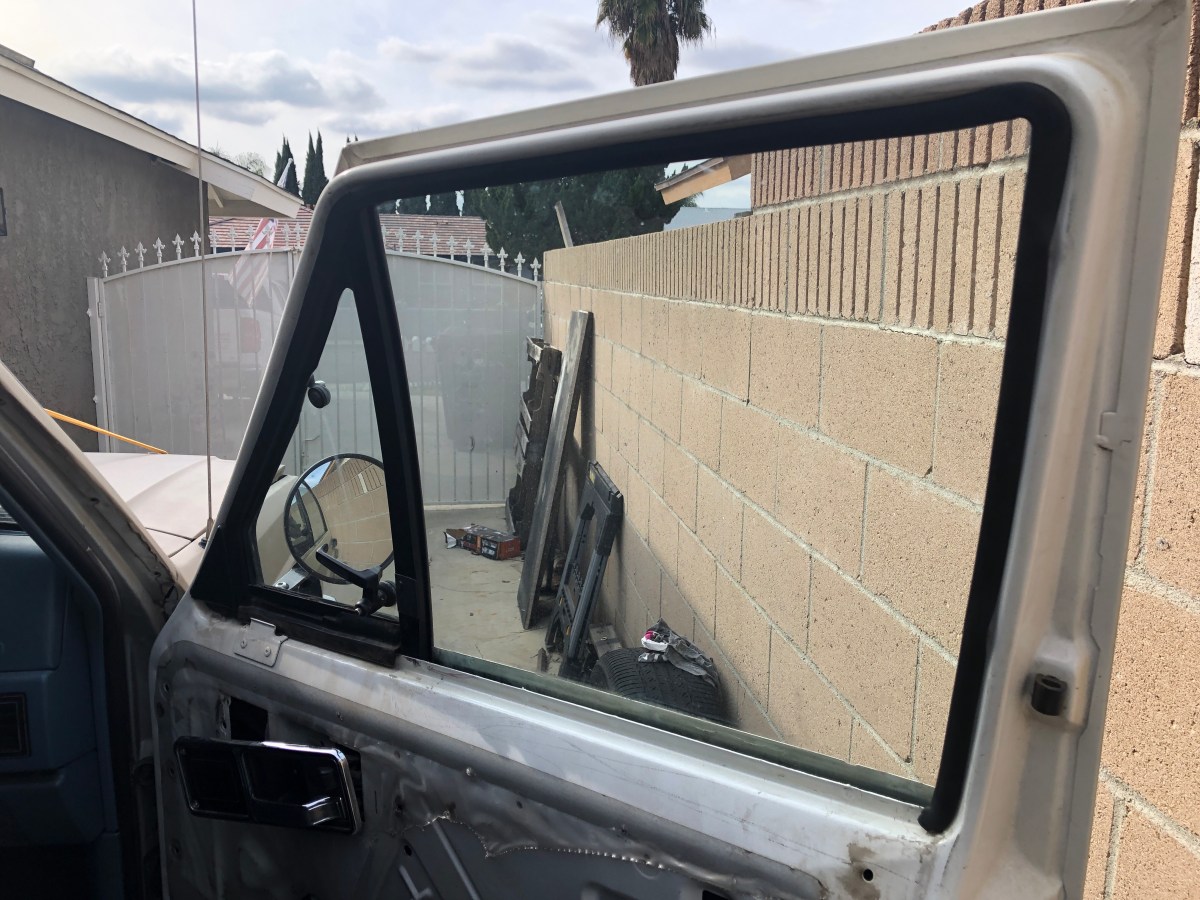
With all the glass runs and seals removed, it was time to install the new seals and glass runs in the reverse order they were removed. Installing the new glass runs can be a challenge with the window still installed but not impossible. I started with the full glass run; I sprayed a conservative amount of WD-40 in lower channels in the door to aid with sliding the glass runs down with the window. I pushed the glass run into the channel above the door line, then rolled the window half way up and determined the glass was in the new glass run. After, I held the glass and glass run then proceeded to roll the window back down. Doing it this way allowed the glass run to slide into the lower channel inside the door. I repeated this process several times until the corner section of the glass run fit perfectly in the channel and the glass run fit smooth with no wrinkles. With the corner section in, I completed the full glass run install by pushing the remaining upper section into the upper door channel.
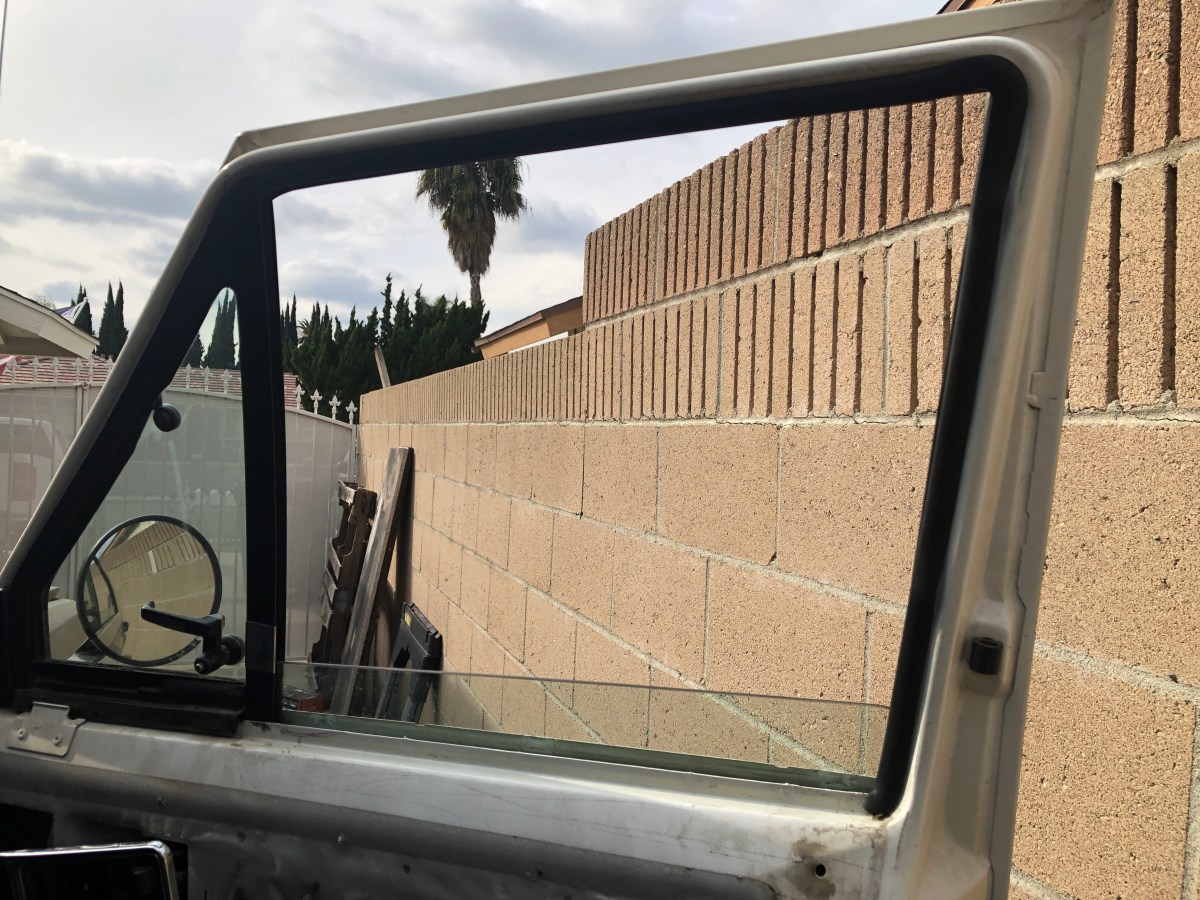
Next, I was going to install the divider glass run. The install was exactly the same as the full glass run. I installed part of the glass run in the channel, rolled the window half way up, then pinched the window and rolled it down until the glass run was completely in the channel.
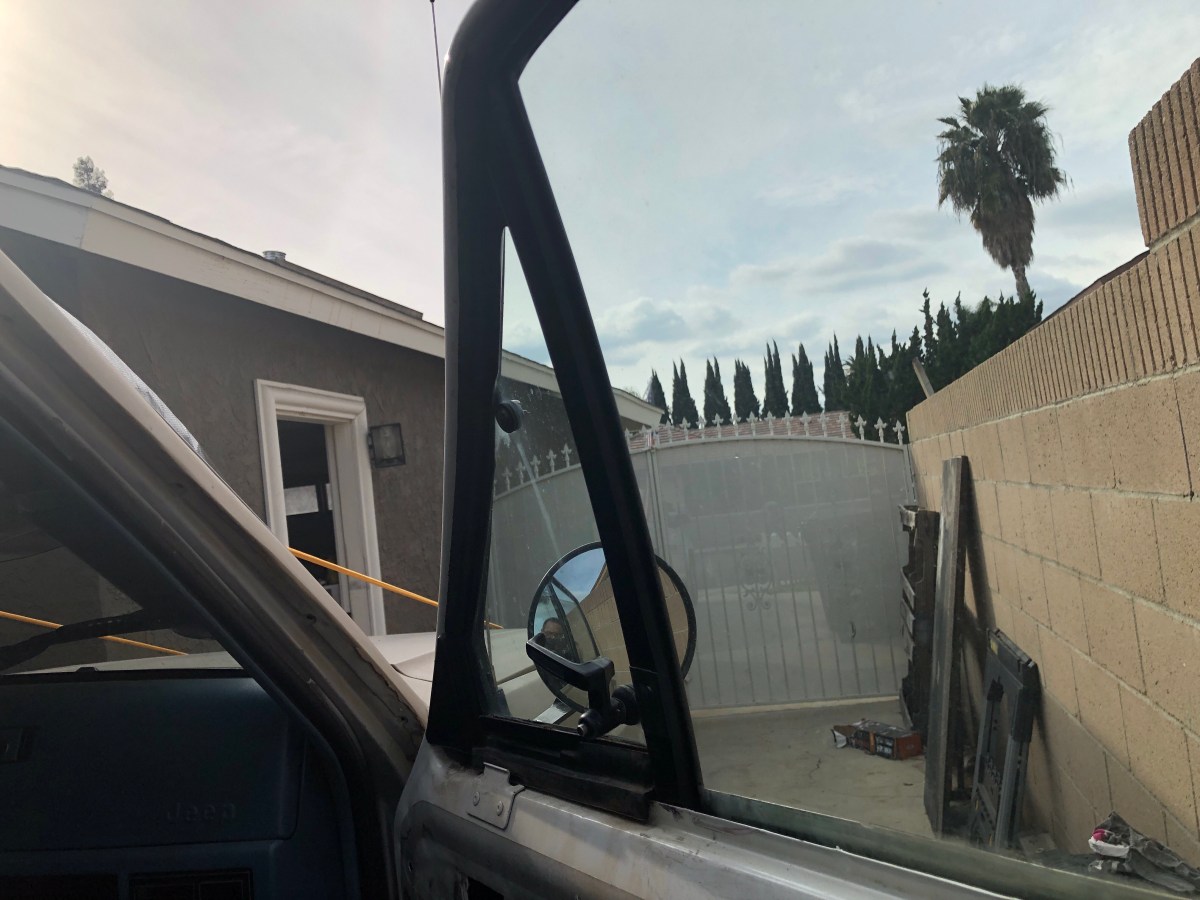
With both new glass runs installed, the last pieces left to install were the exterior trim piece with the outer window seal on it and the inner window seal. The outer trim piece installed the same way I took it off. I lined up the trim piece with the vertical trim pieces and pushed it back down until the trim clips re-engaged on the the door securely. 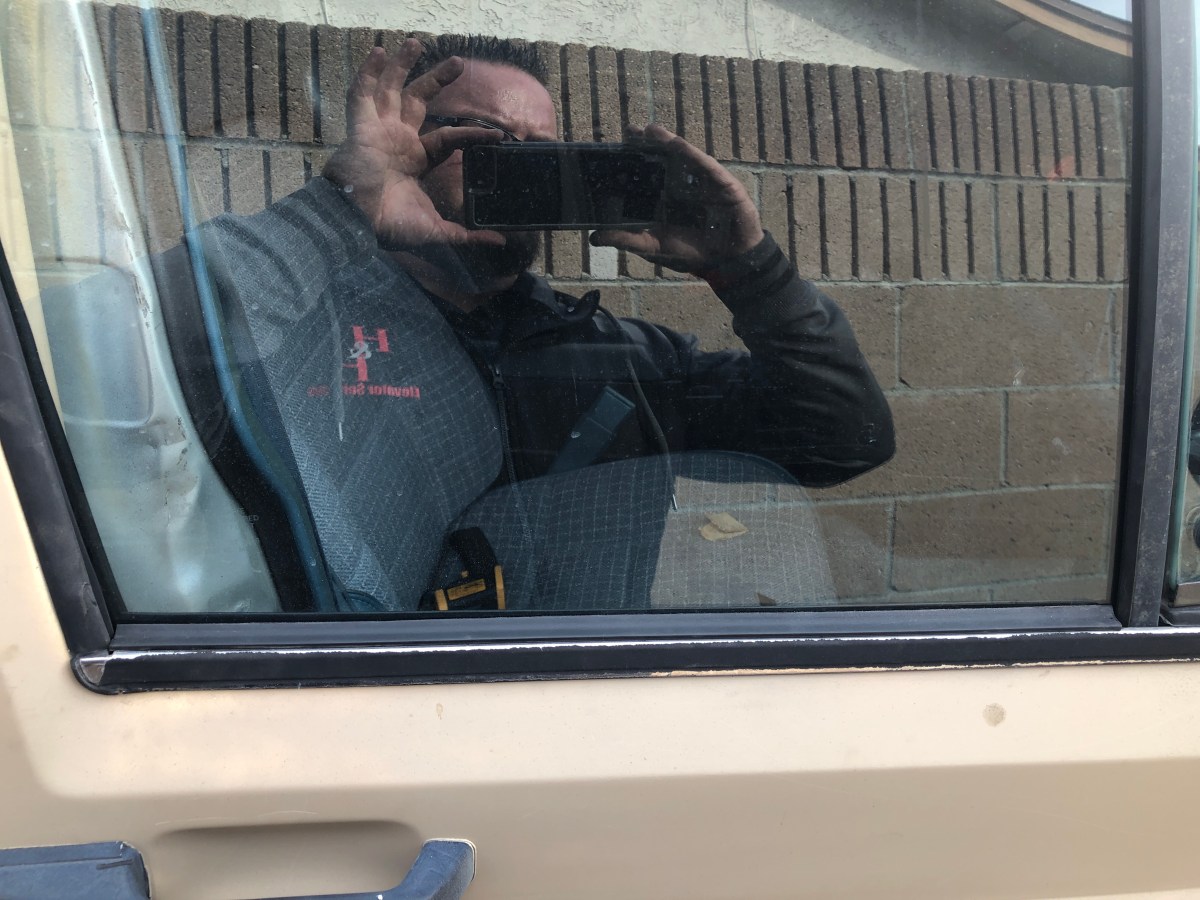
Lastly, I reinstalled the inner window seal. This piece went on exactly the way I took it off. I pushed the left side onto the door, slid it behind the divider channel, then pushed the center and right side back on the door.
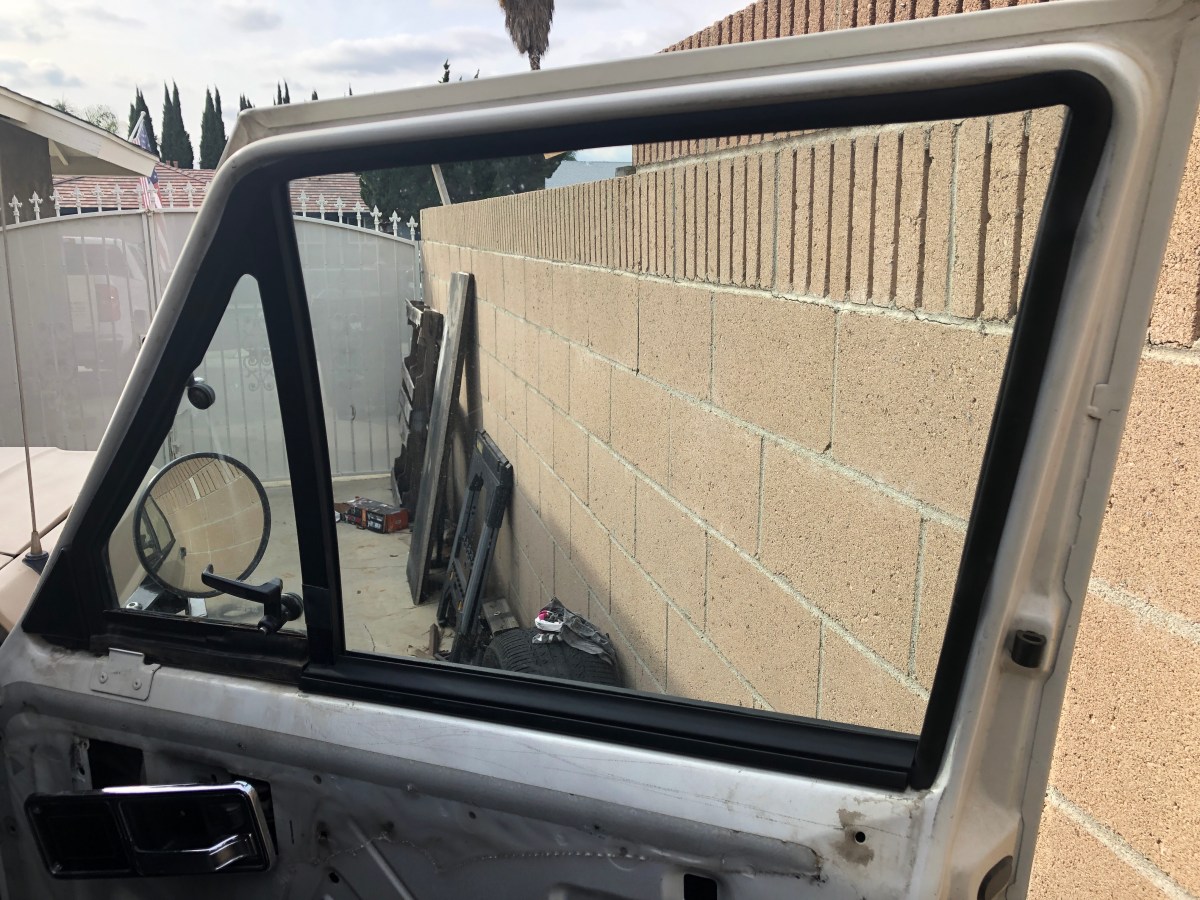
With the new glass runs and seals installed, I put the door panel, arm rest and door handle assembly back together and tested the operation of the window. The new seals made the window run much more firm with no lateral movement while running. I sprayed the window with a hose to emulate rain fall. The new seals performed perfectly. It’s a little expensive for all the new seals and runs but it’s definitely worth it if you have water creeping in around the windows.