
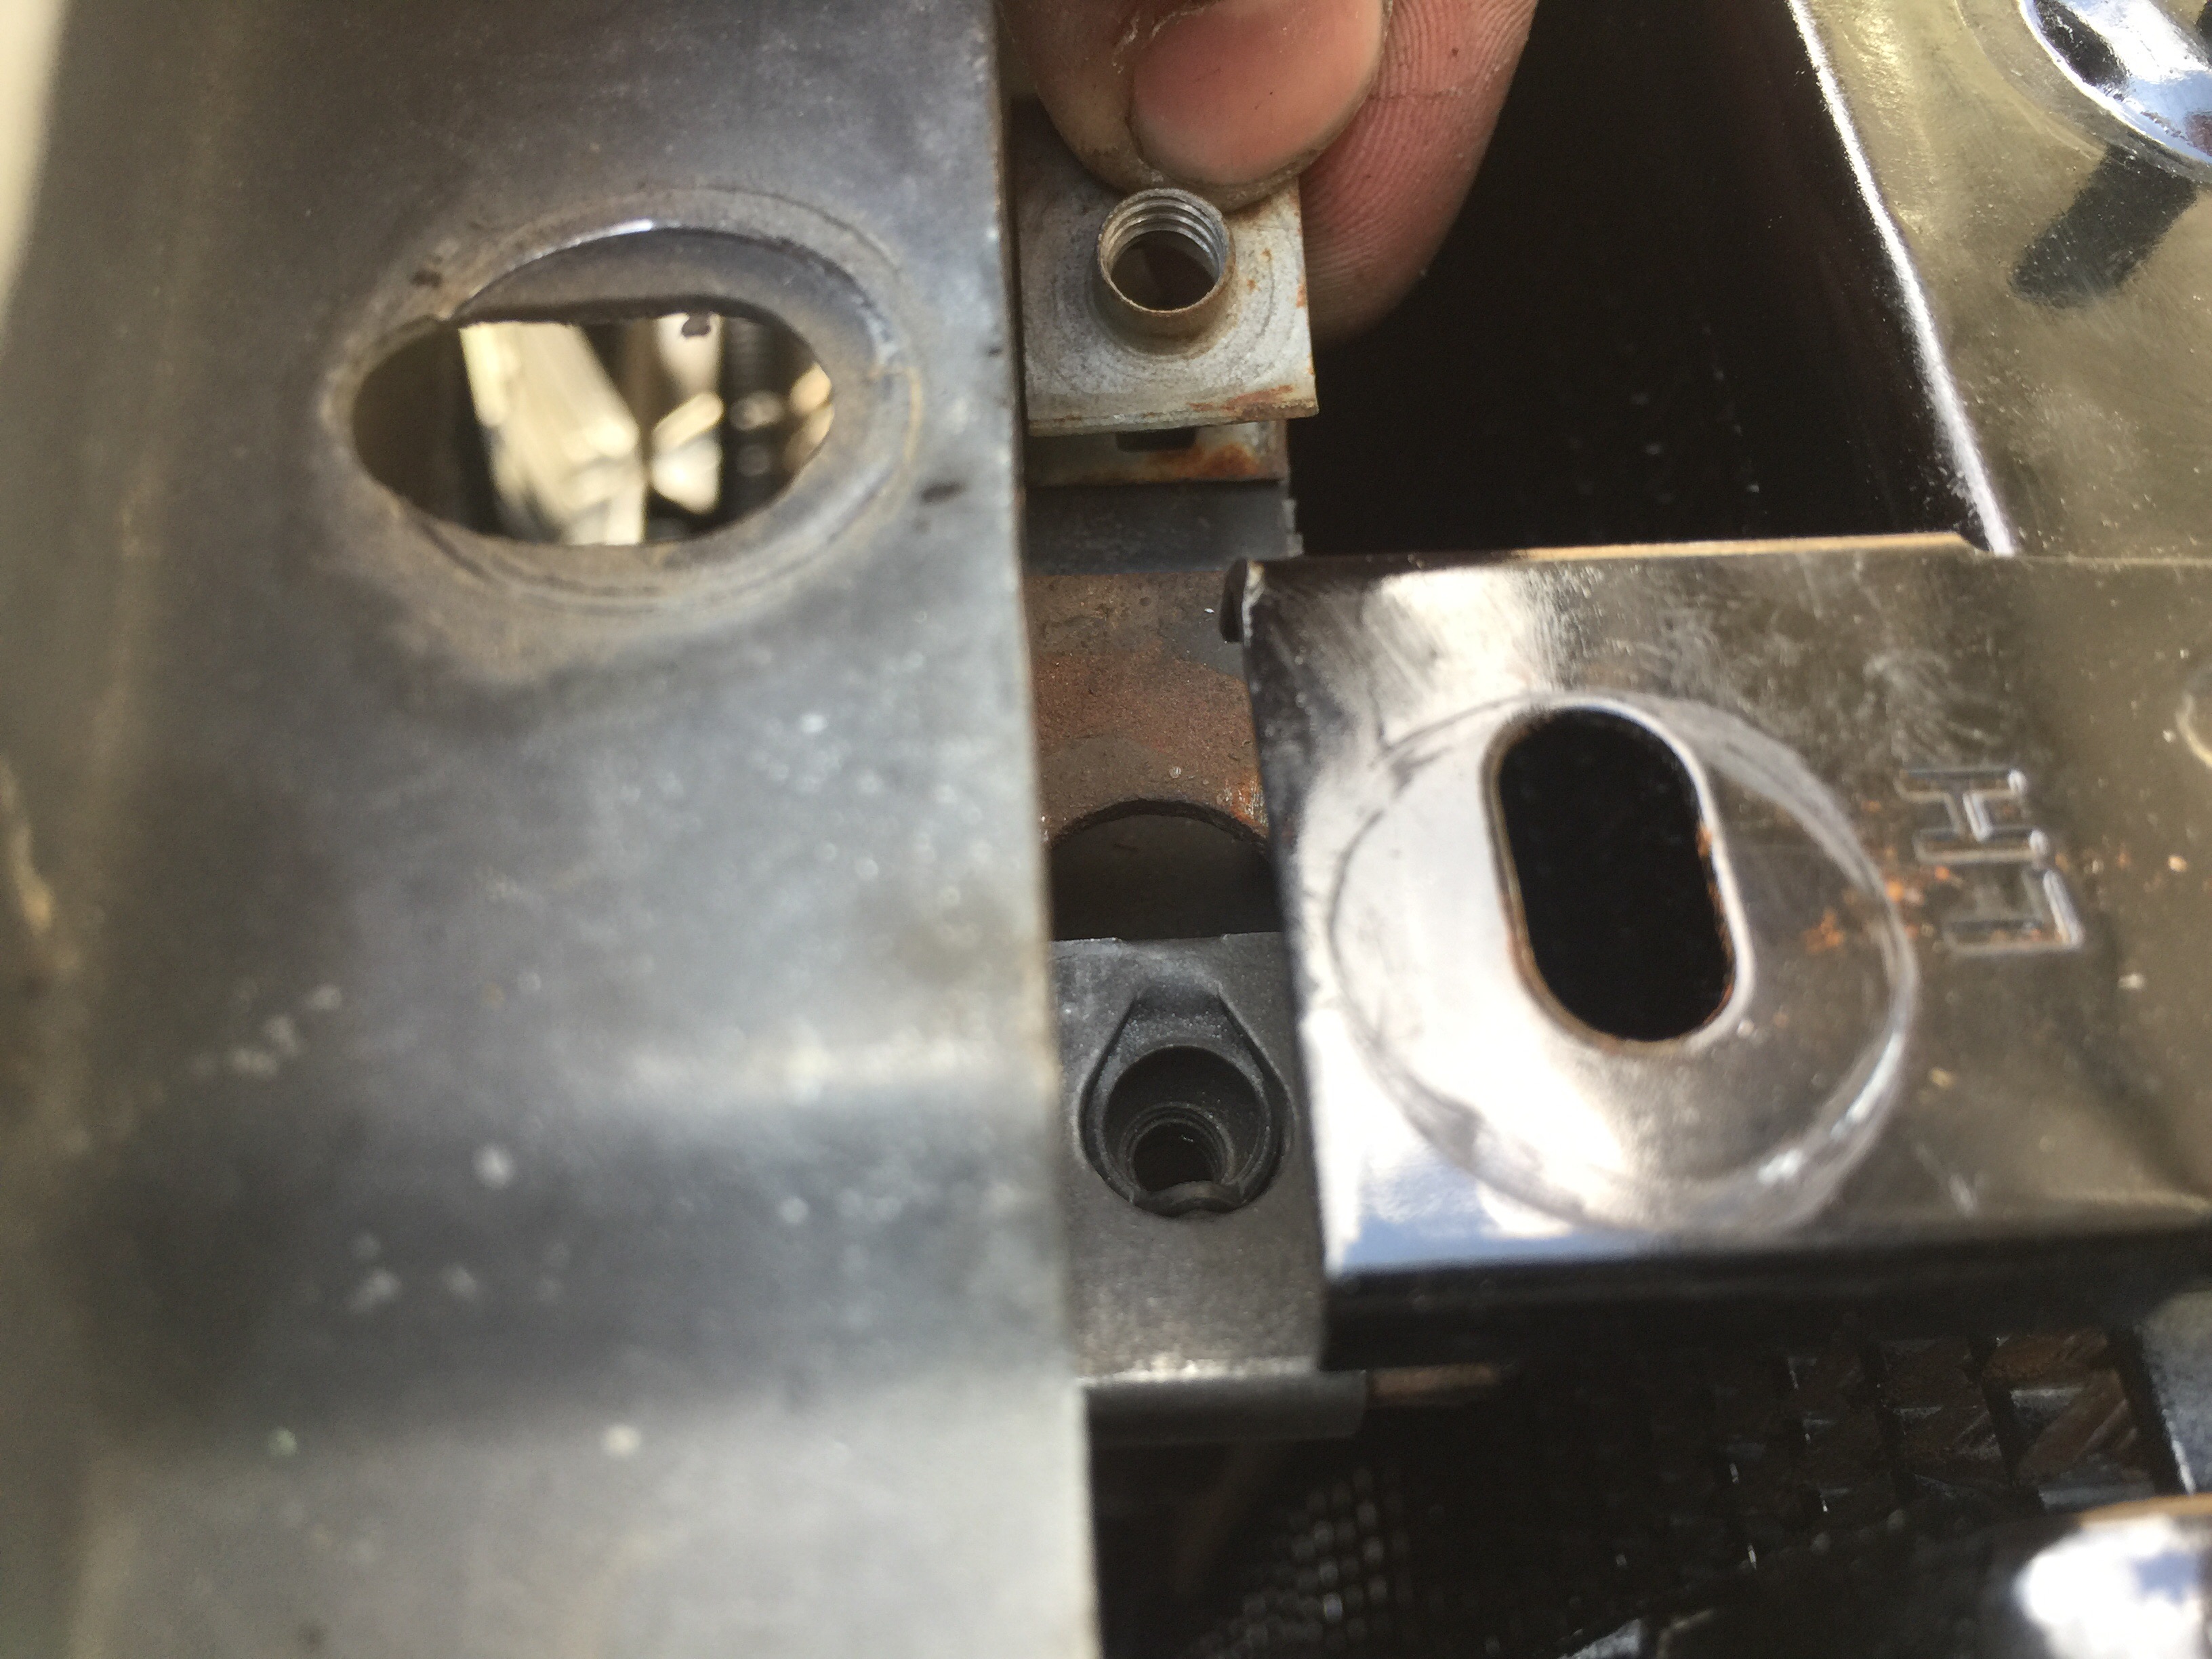
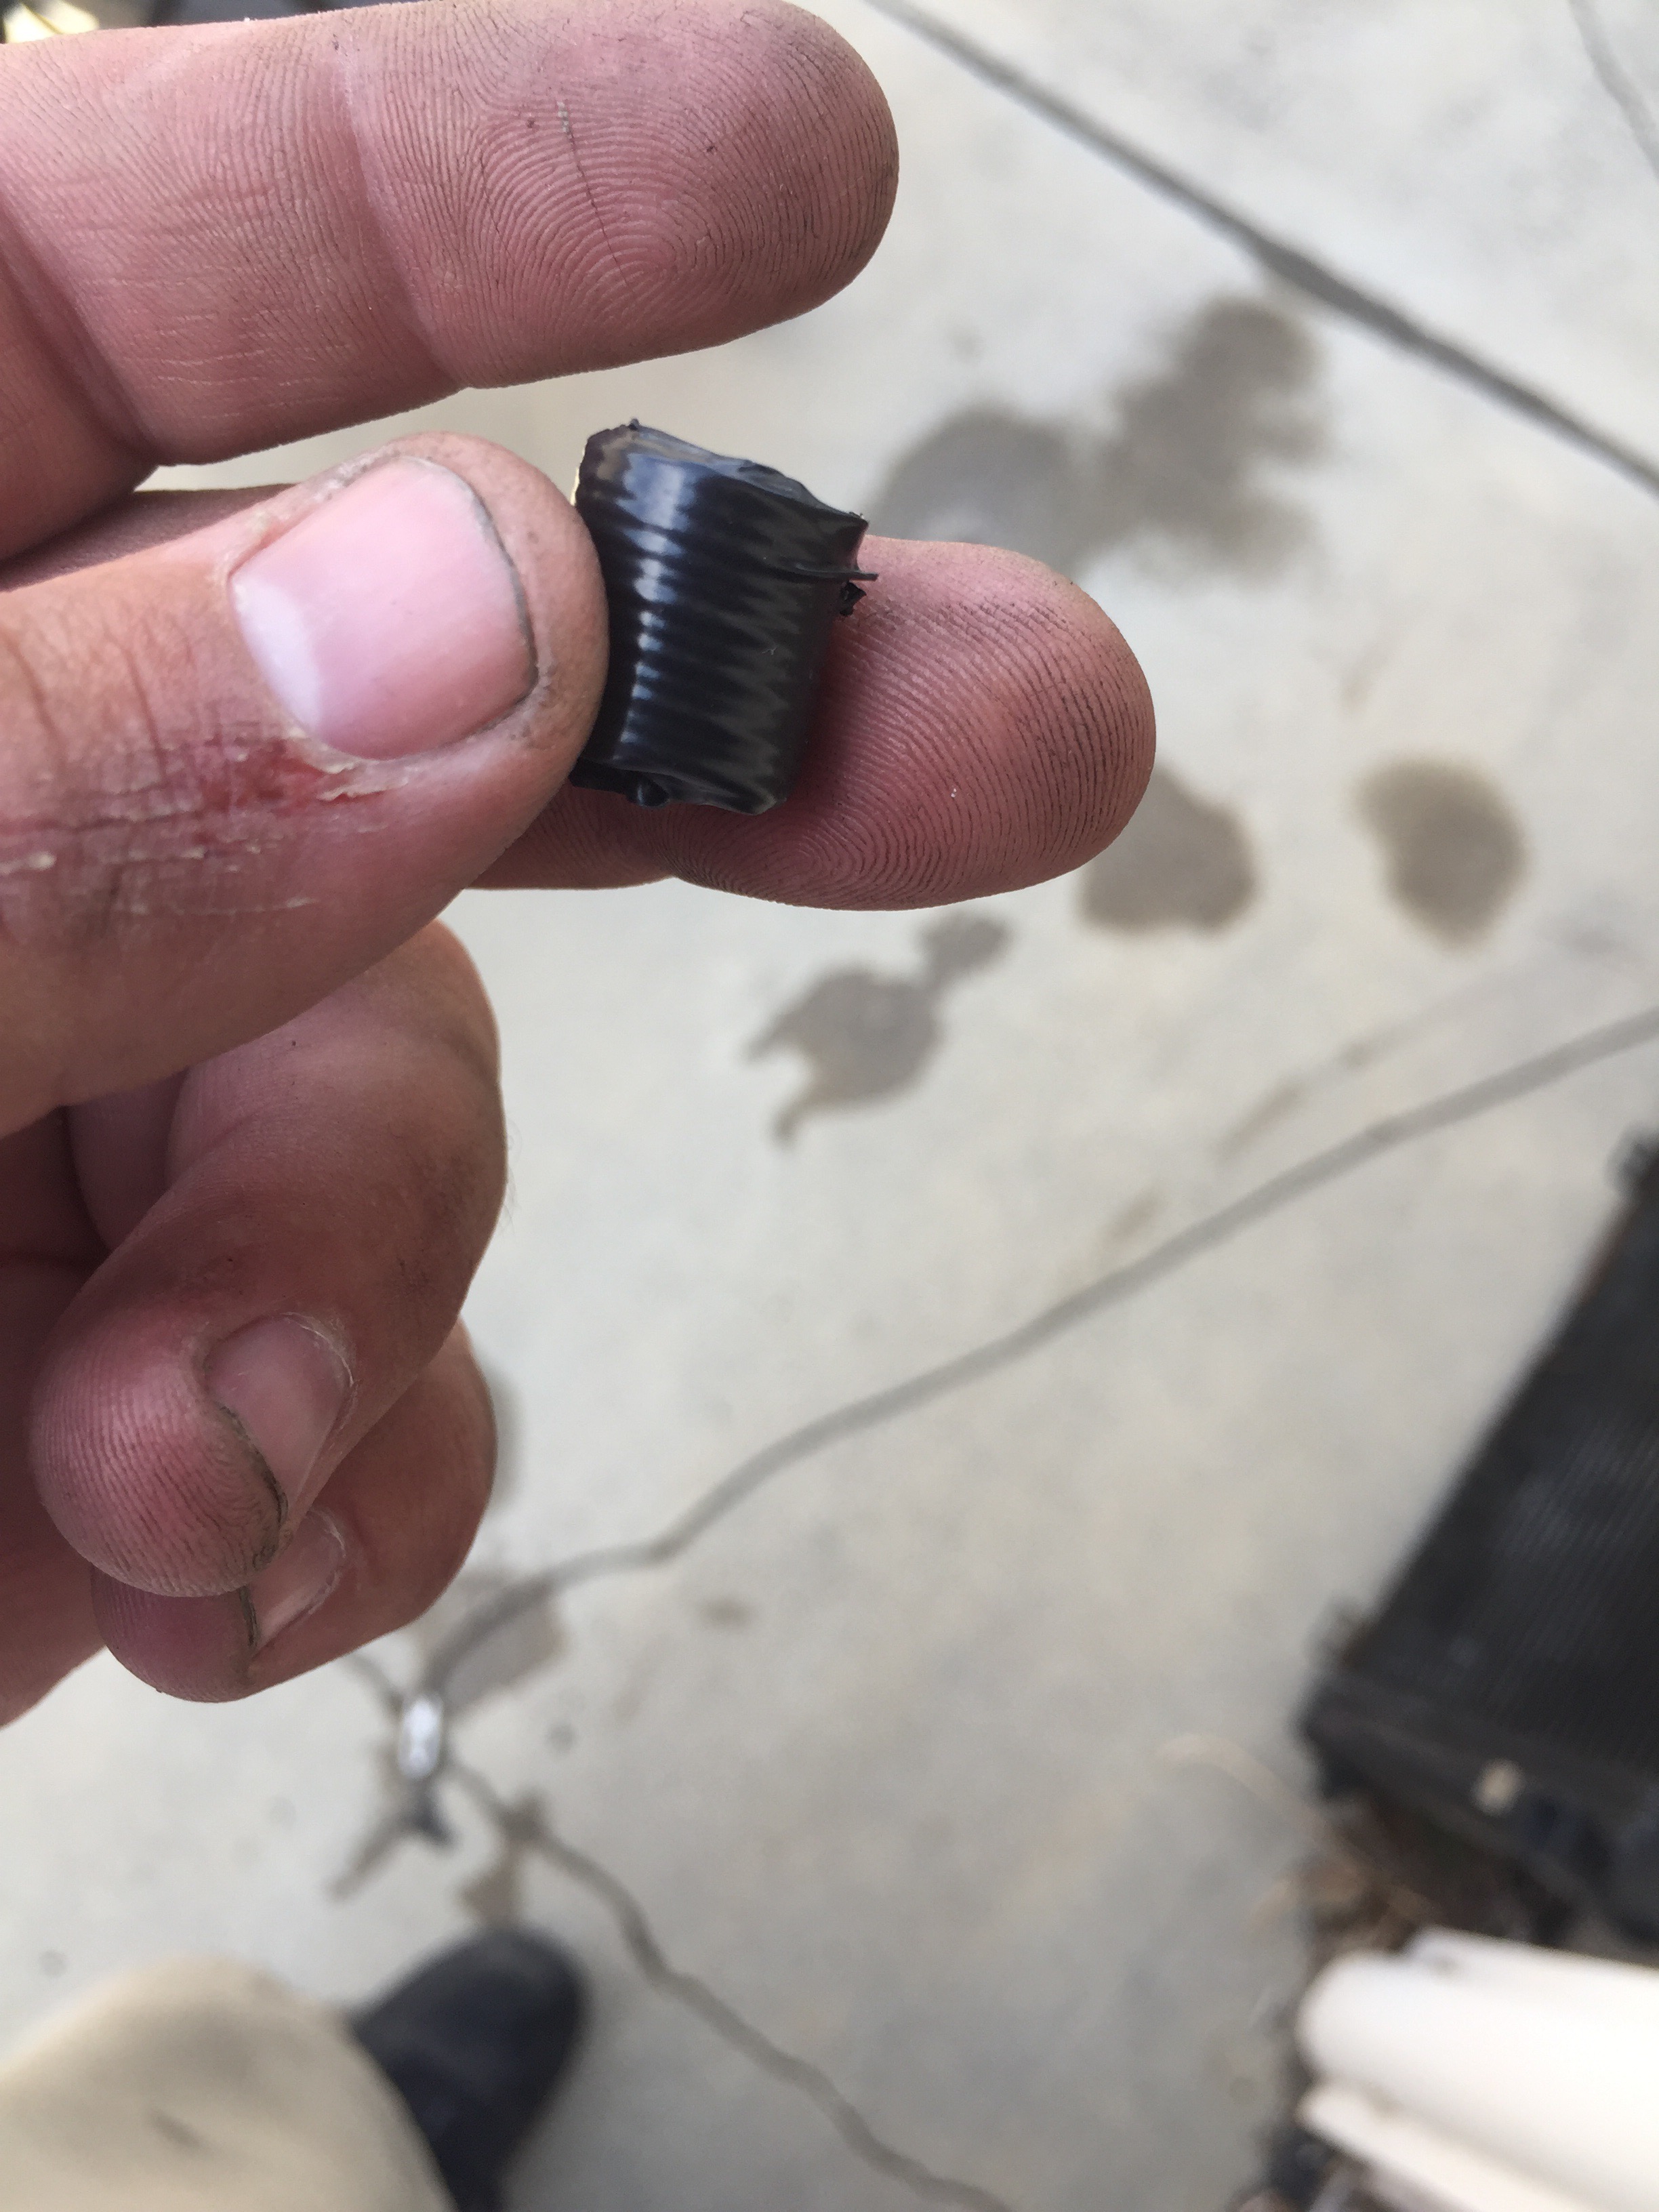
I still had a few more things to button up on the engine before I was confident enough to turn it over. First and for most was addressing the brittle and broken MAP sensor to Throttle Body vacuum line. I ended up doing Cruiser54’s – Tip 31 – Throttle Body to MAP hose upgrade. First was taping the throttle body vacuum port. The tap was a 1/8″-27 bottom pipe tap.

Just a warning, be gentle and don’t just crank the tap in there. I’ve read that a few people tried to use a drill with the tap in it and they ended up cracking the throttle body. Just use a liberal amount of lube and crank it slowly and it will come out perfect. Here is a list of part number you can use at Napa Auto Parts for the conversion. Everything is only about $15.00.


I took this time to pull the Idle Air Control (IAC) valve and replace it. Before installing the new valve, I did a full clean down on the throttle body. This included, cleaning the IAC port, cleaning the MAP vacuum port and cleaning the grime from the butterfly valve. I installed the new IAC valve and fitting for the vacuum line, put the new throttle body gasket on the intake manifold and installed the throttle body.
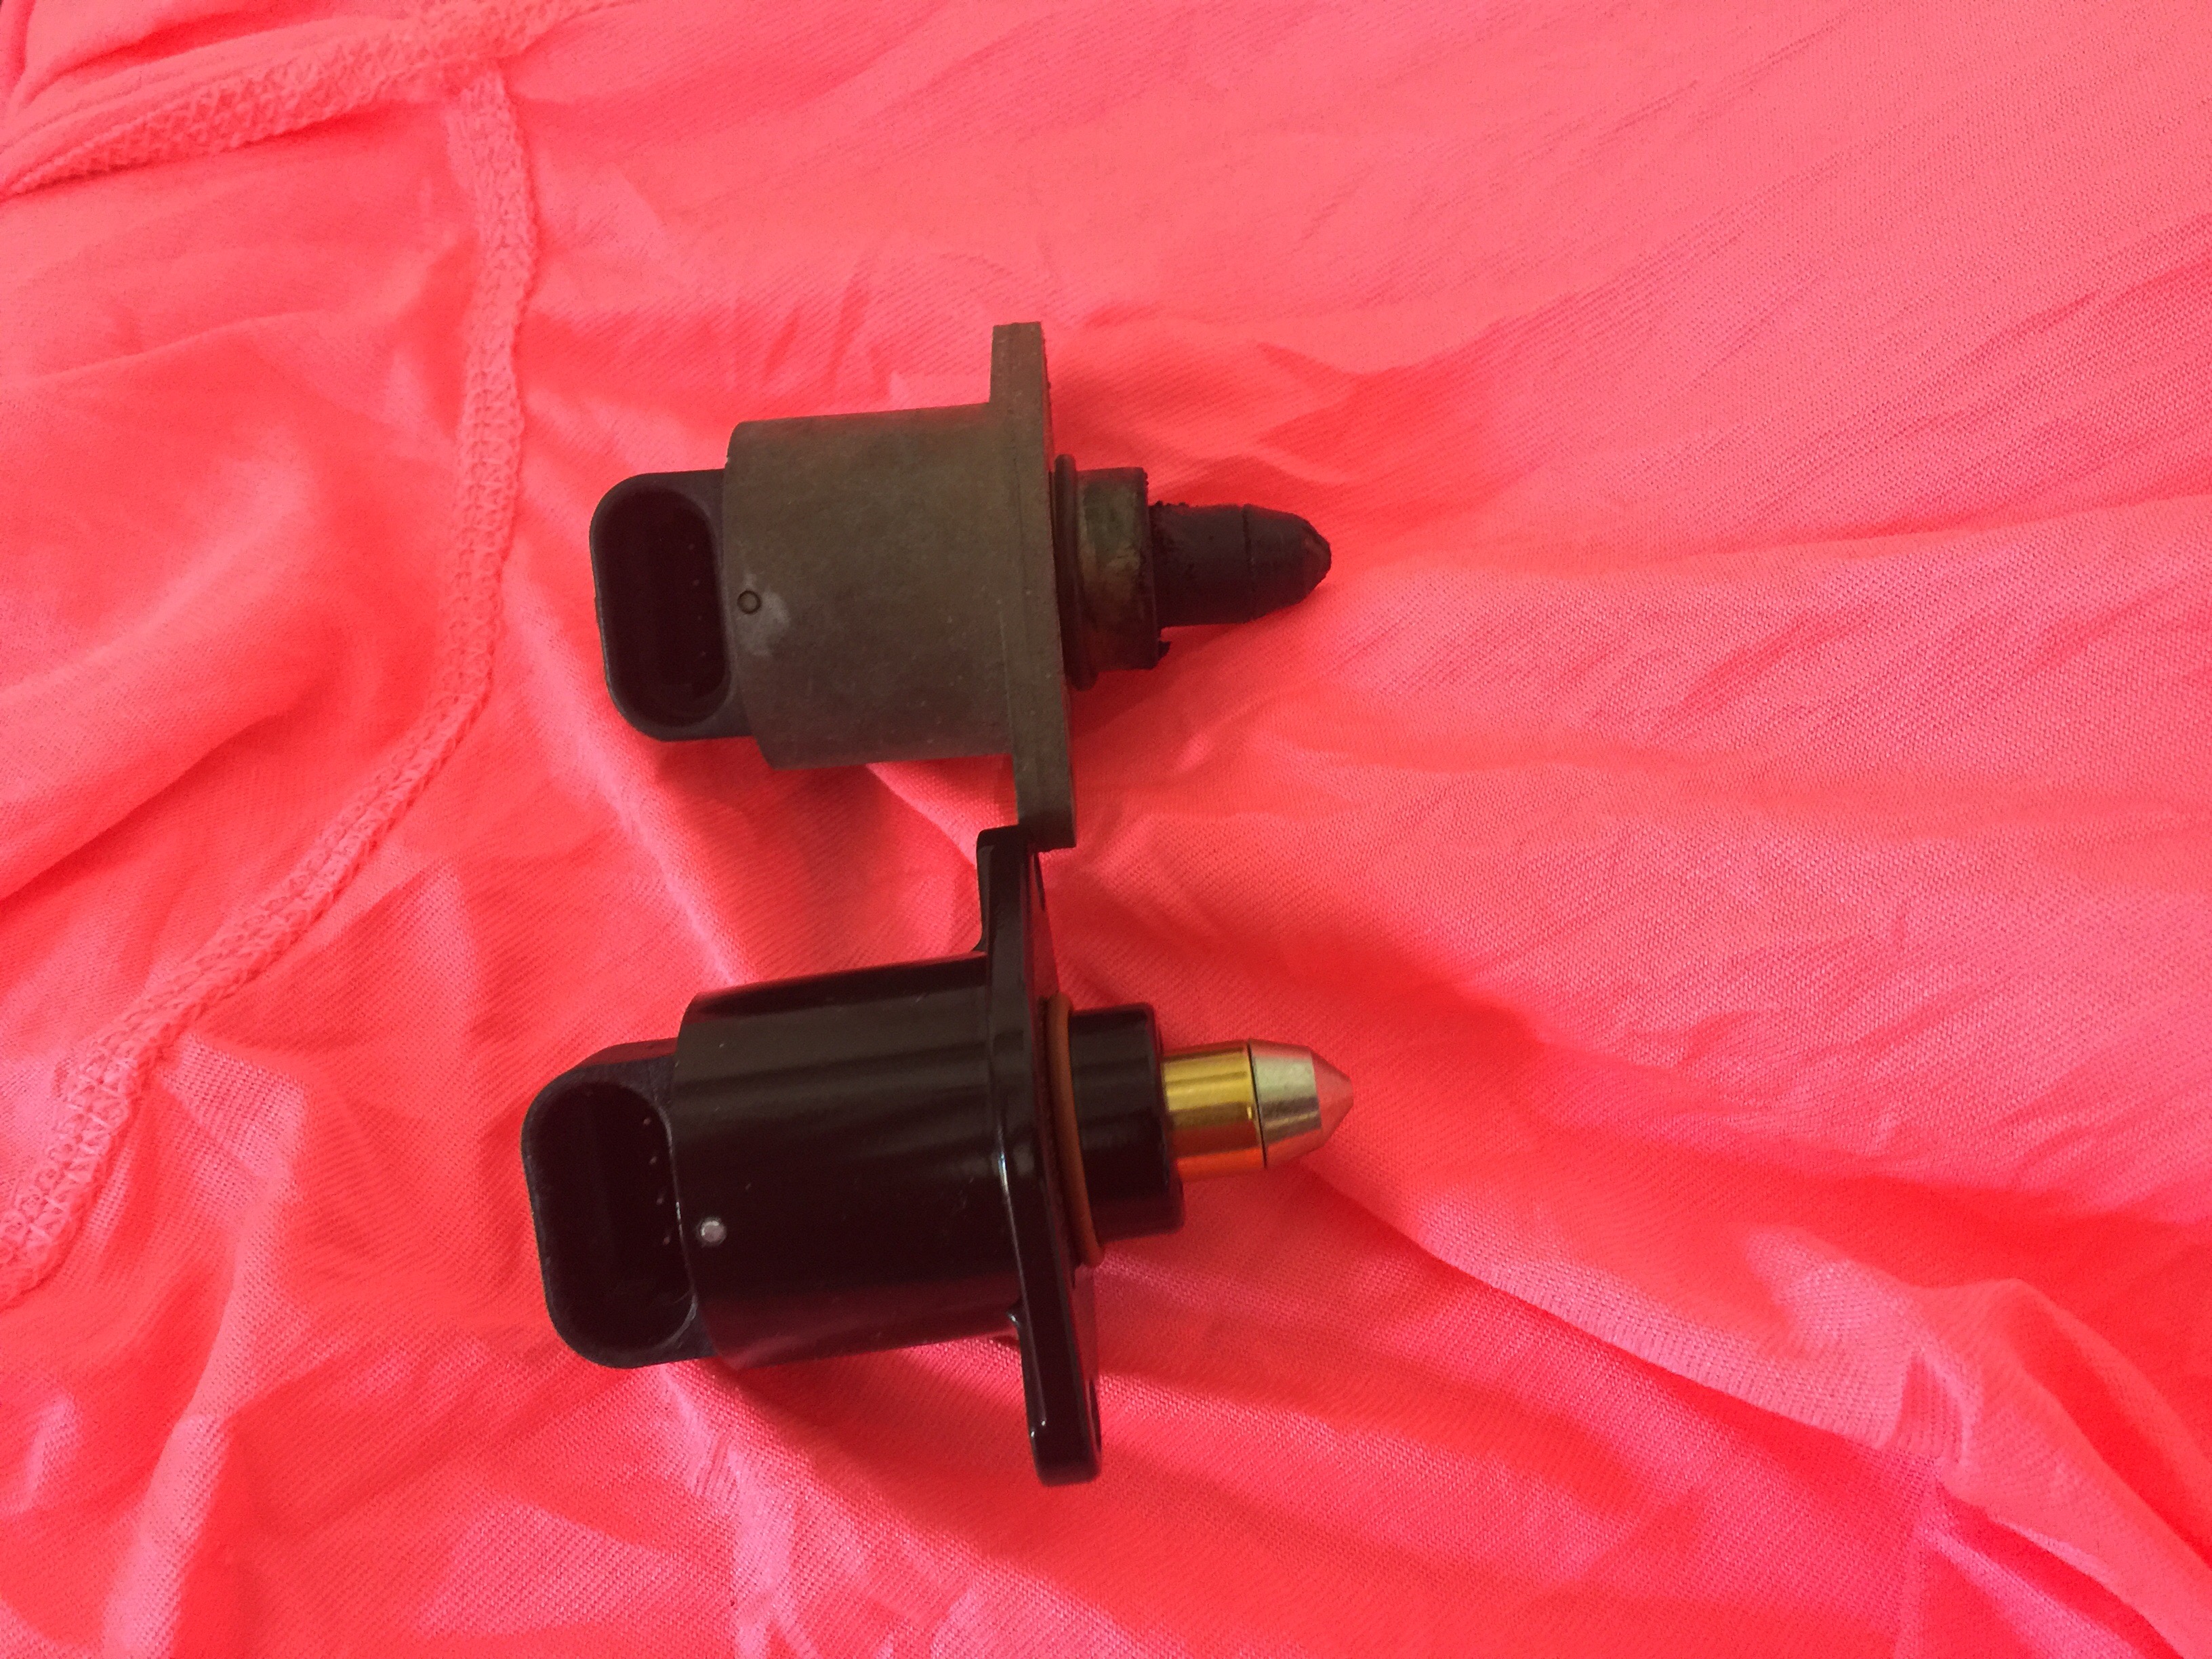


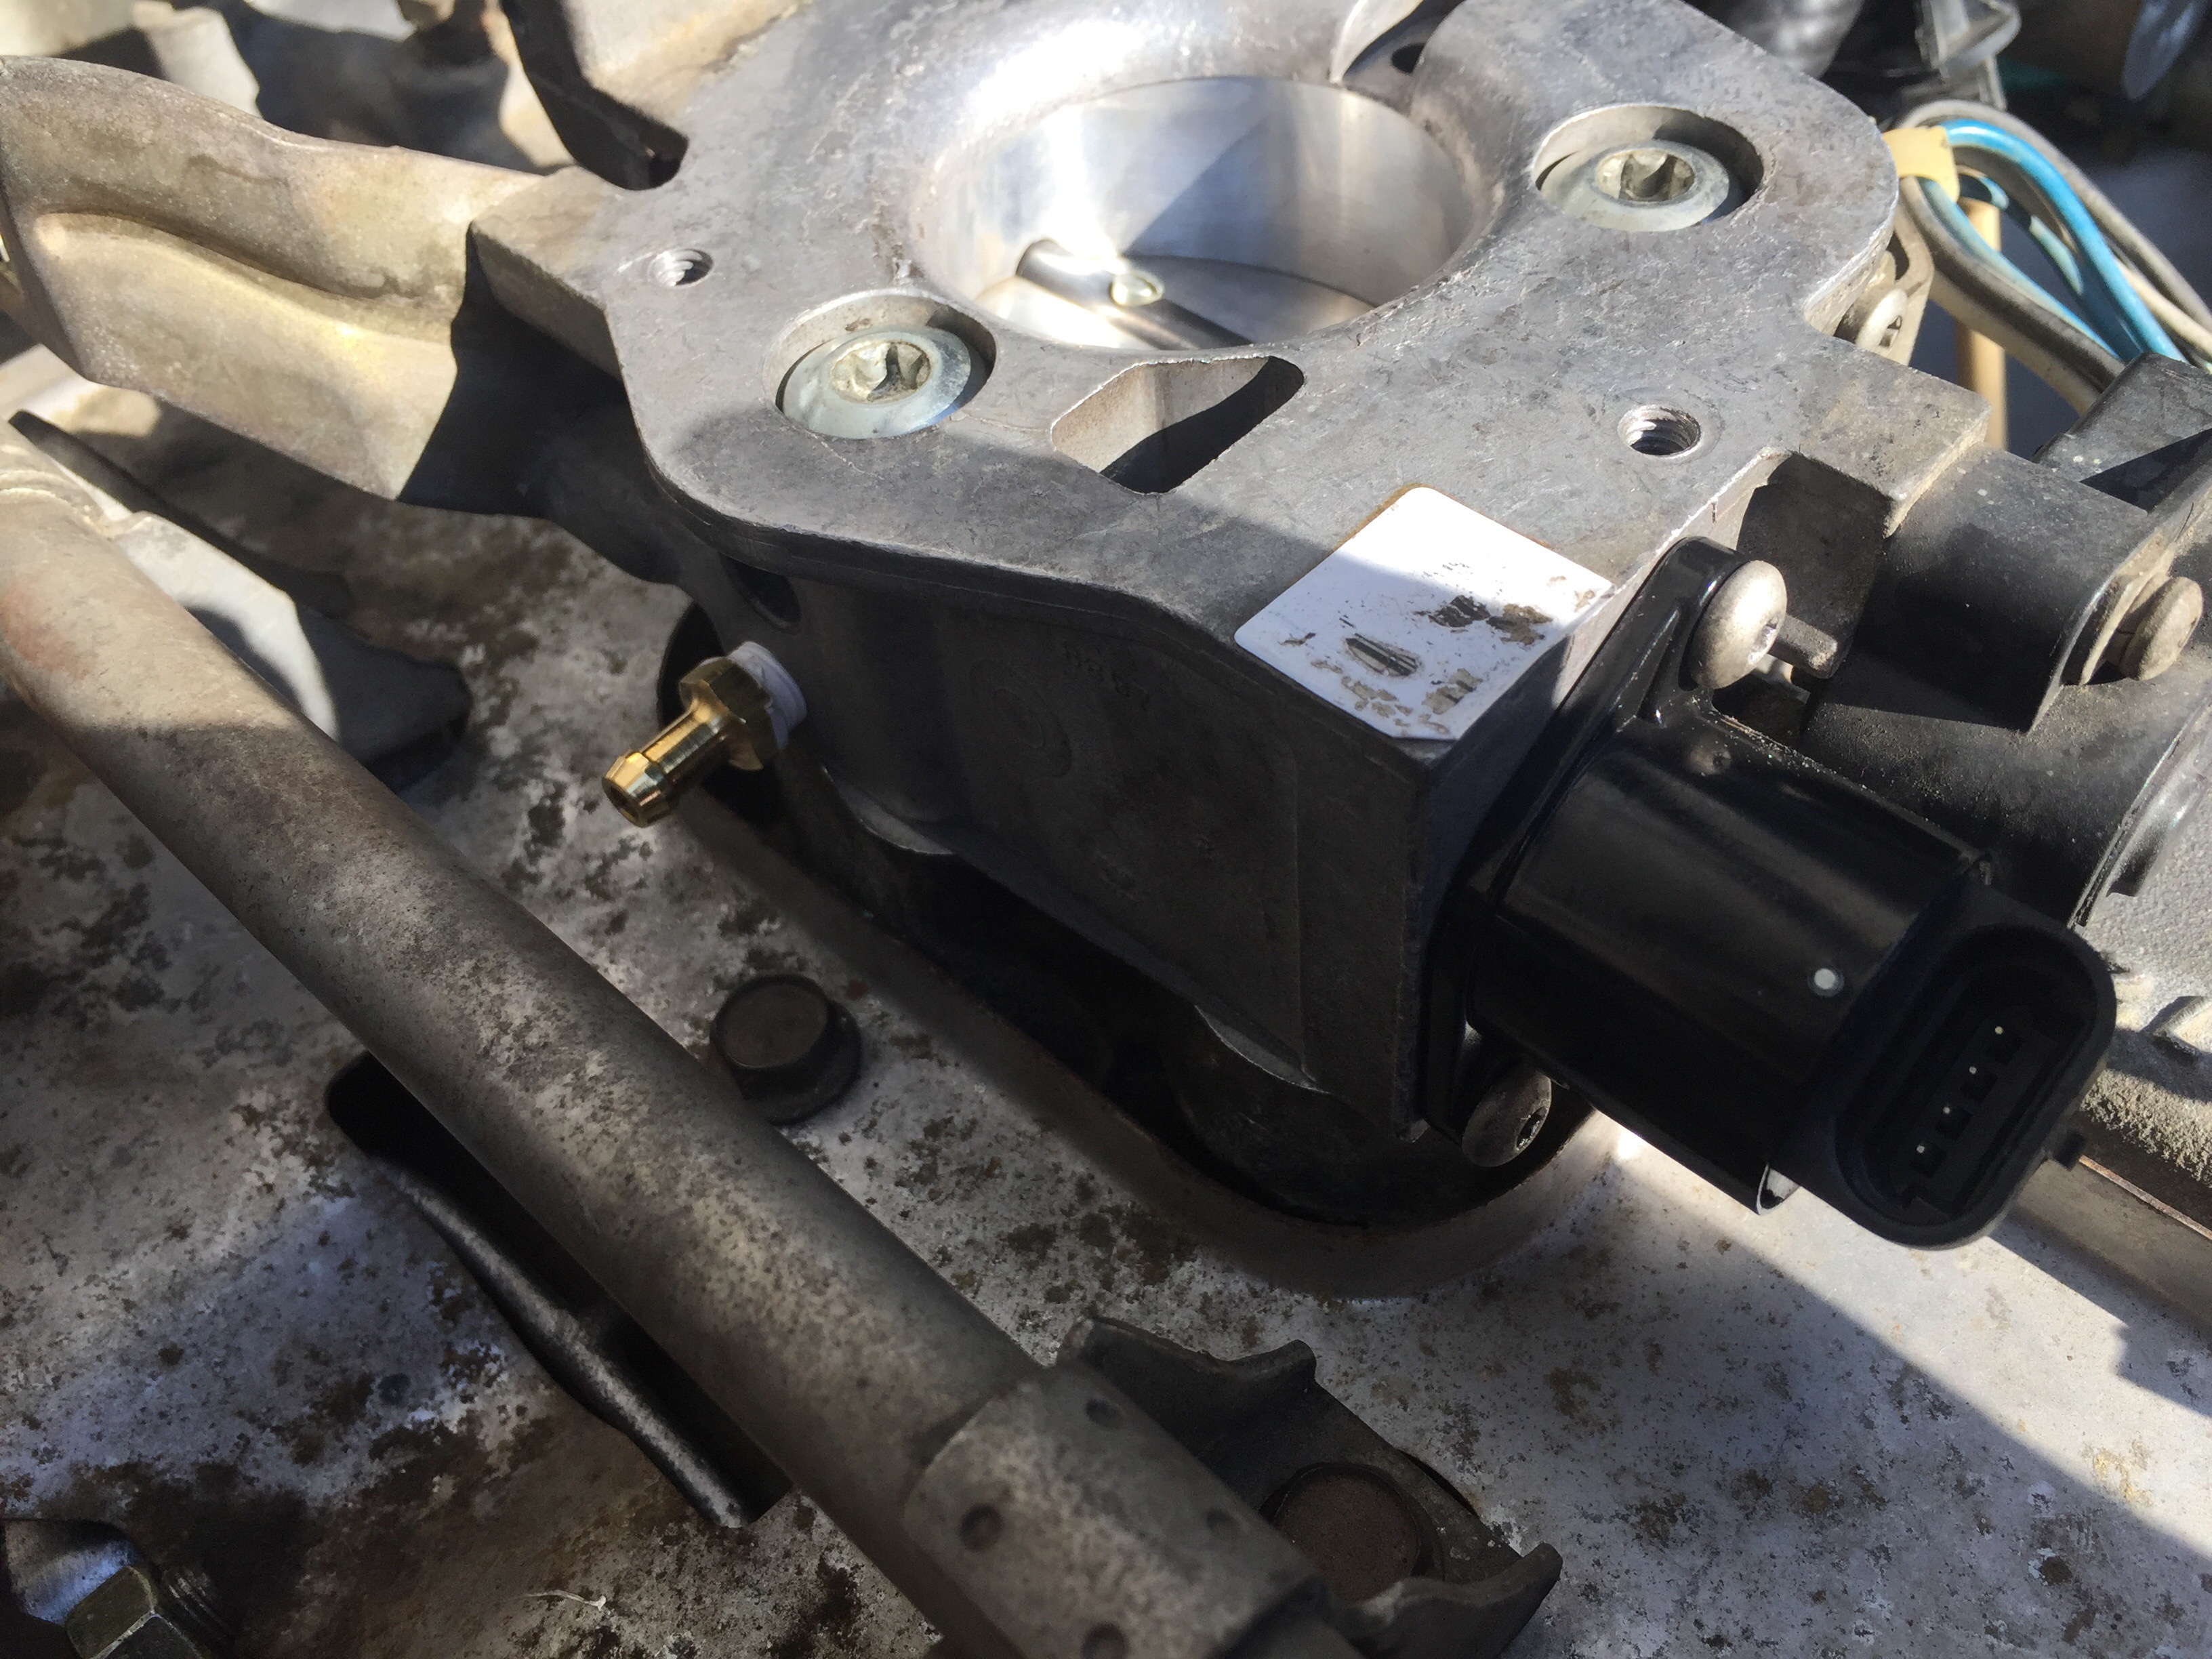
I replaced the MAP sensor and finished the rest of Cruiser54’s mod on the vacuum line.

I also forgot to mention, I upgraded the fuel injectors to 700, 4 hole injectors that I got from Precision Auto Injectors.

Before I installed the Valve Cover I did another one of Cruiser54’s – Tip 25 – Valve Cover Mod. This mod will help cut down on excessive oil build up on the air filter and in the filter box.

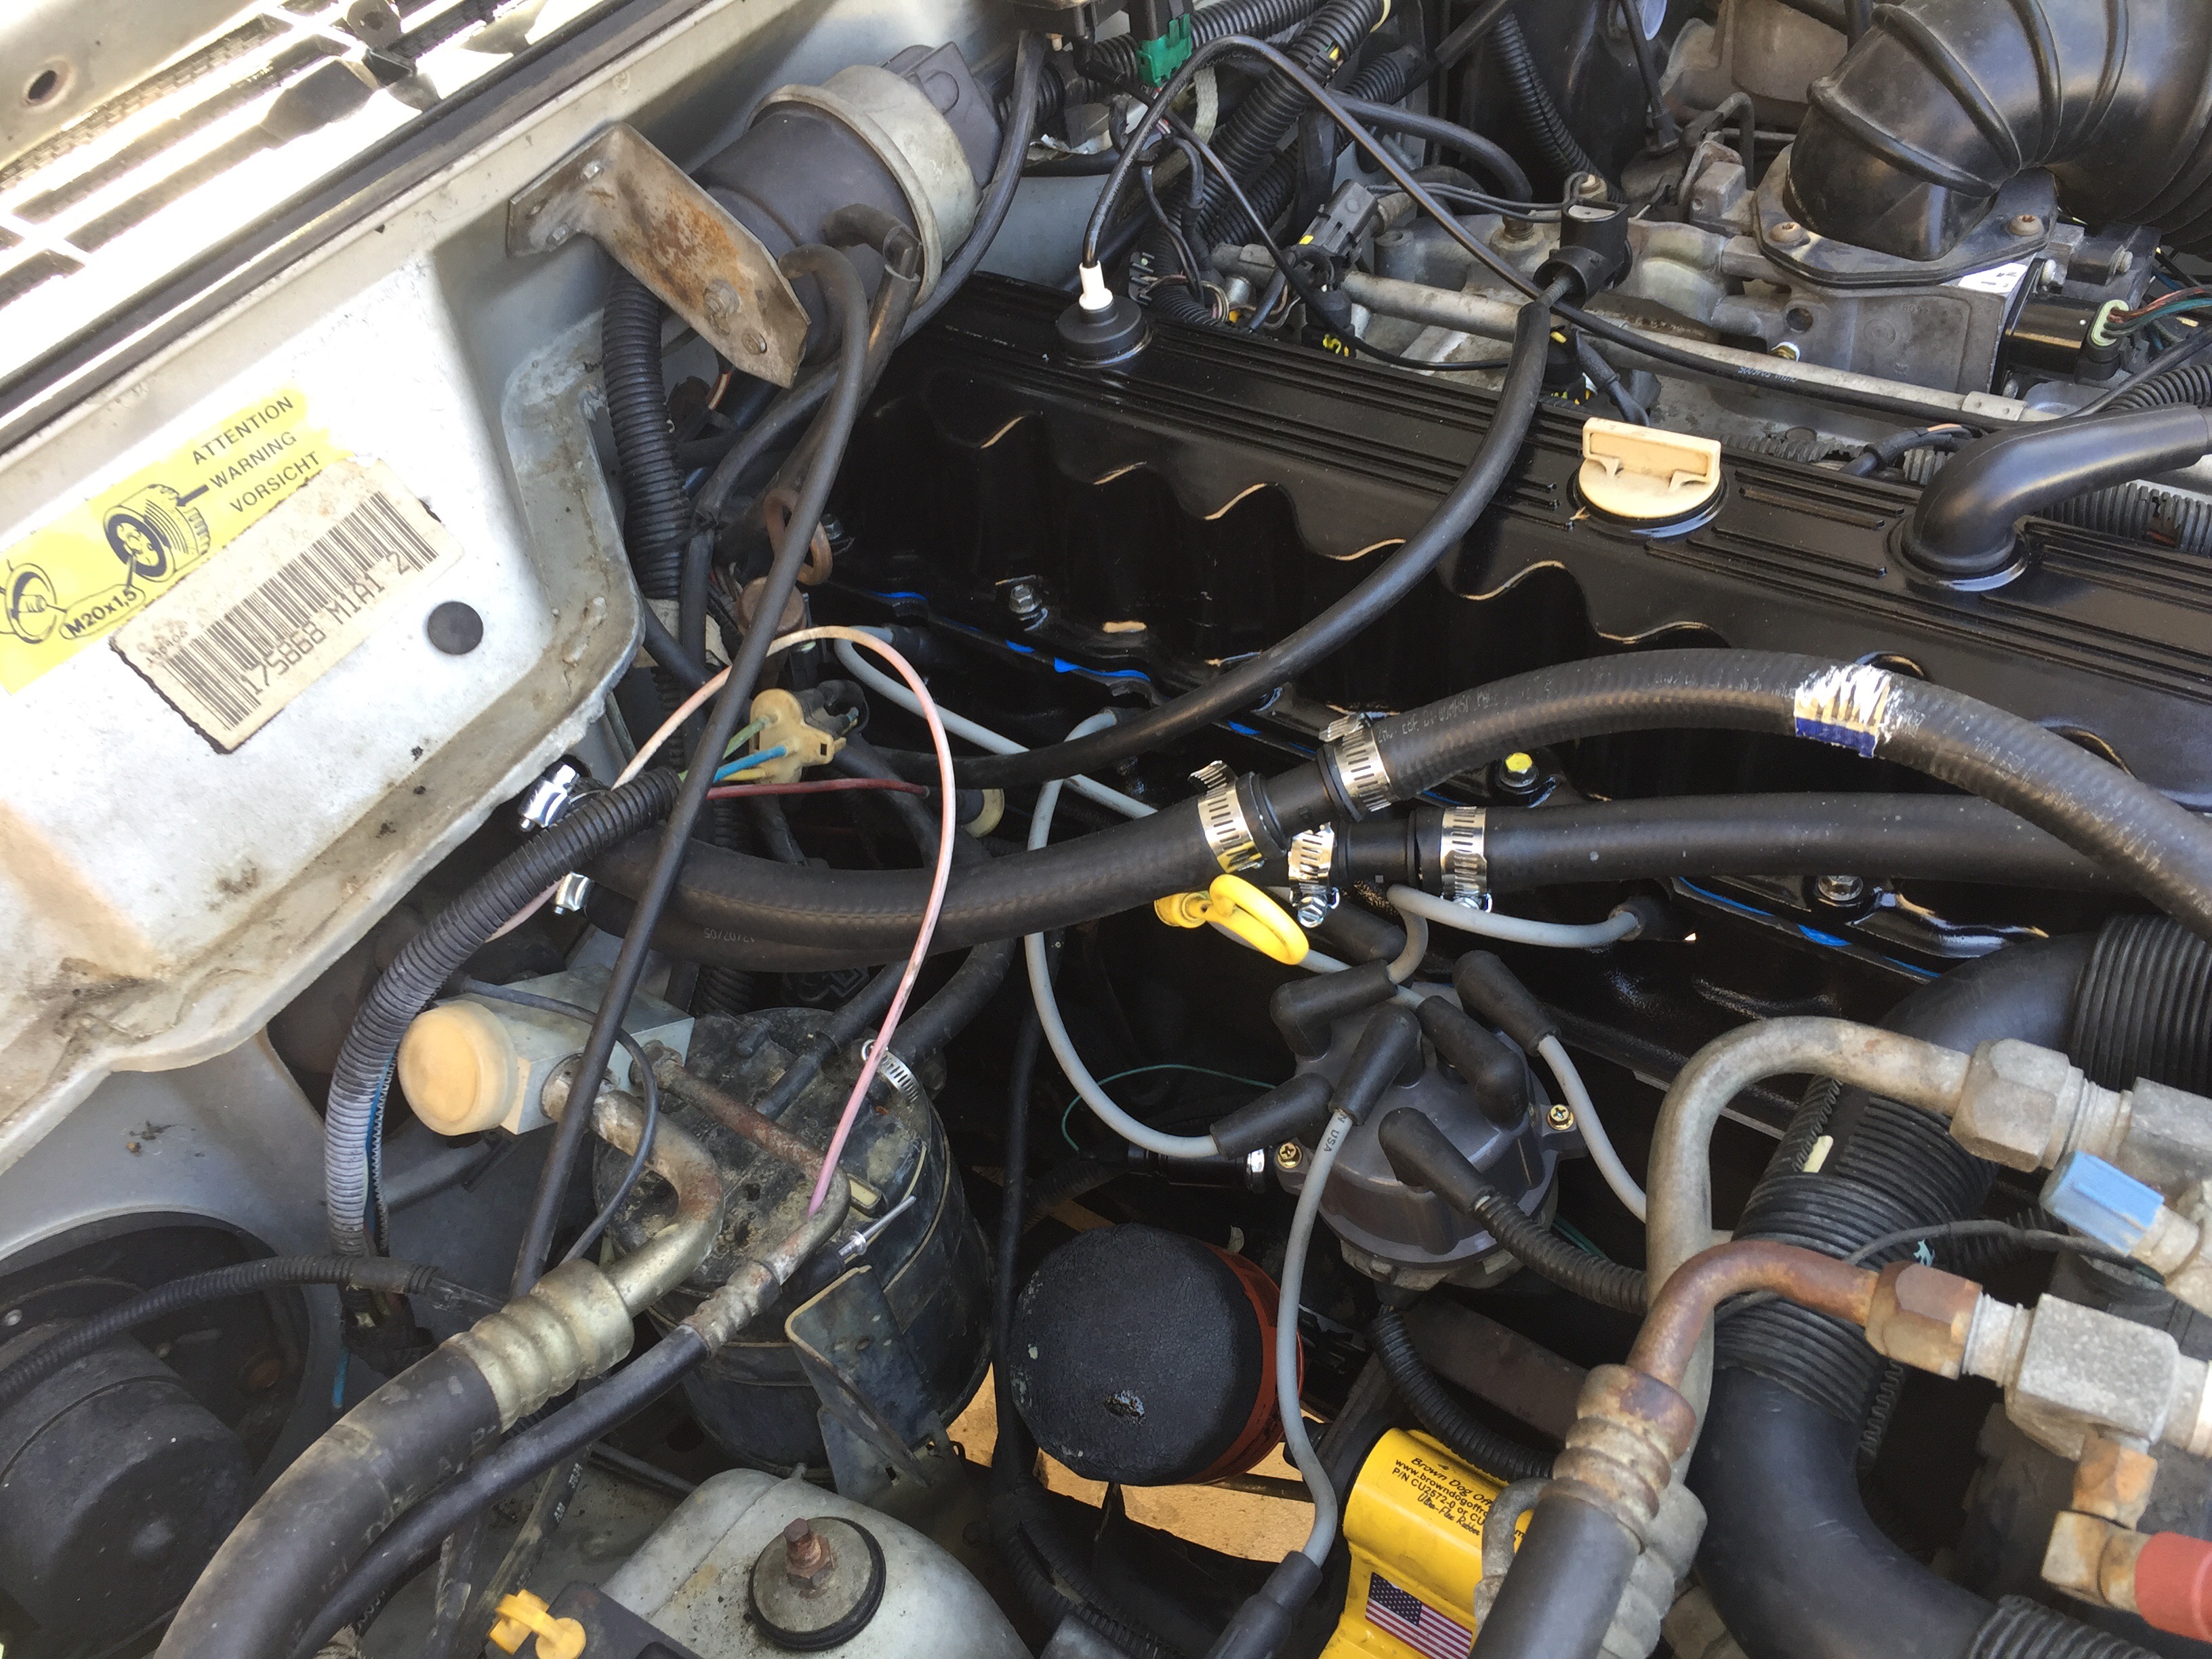
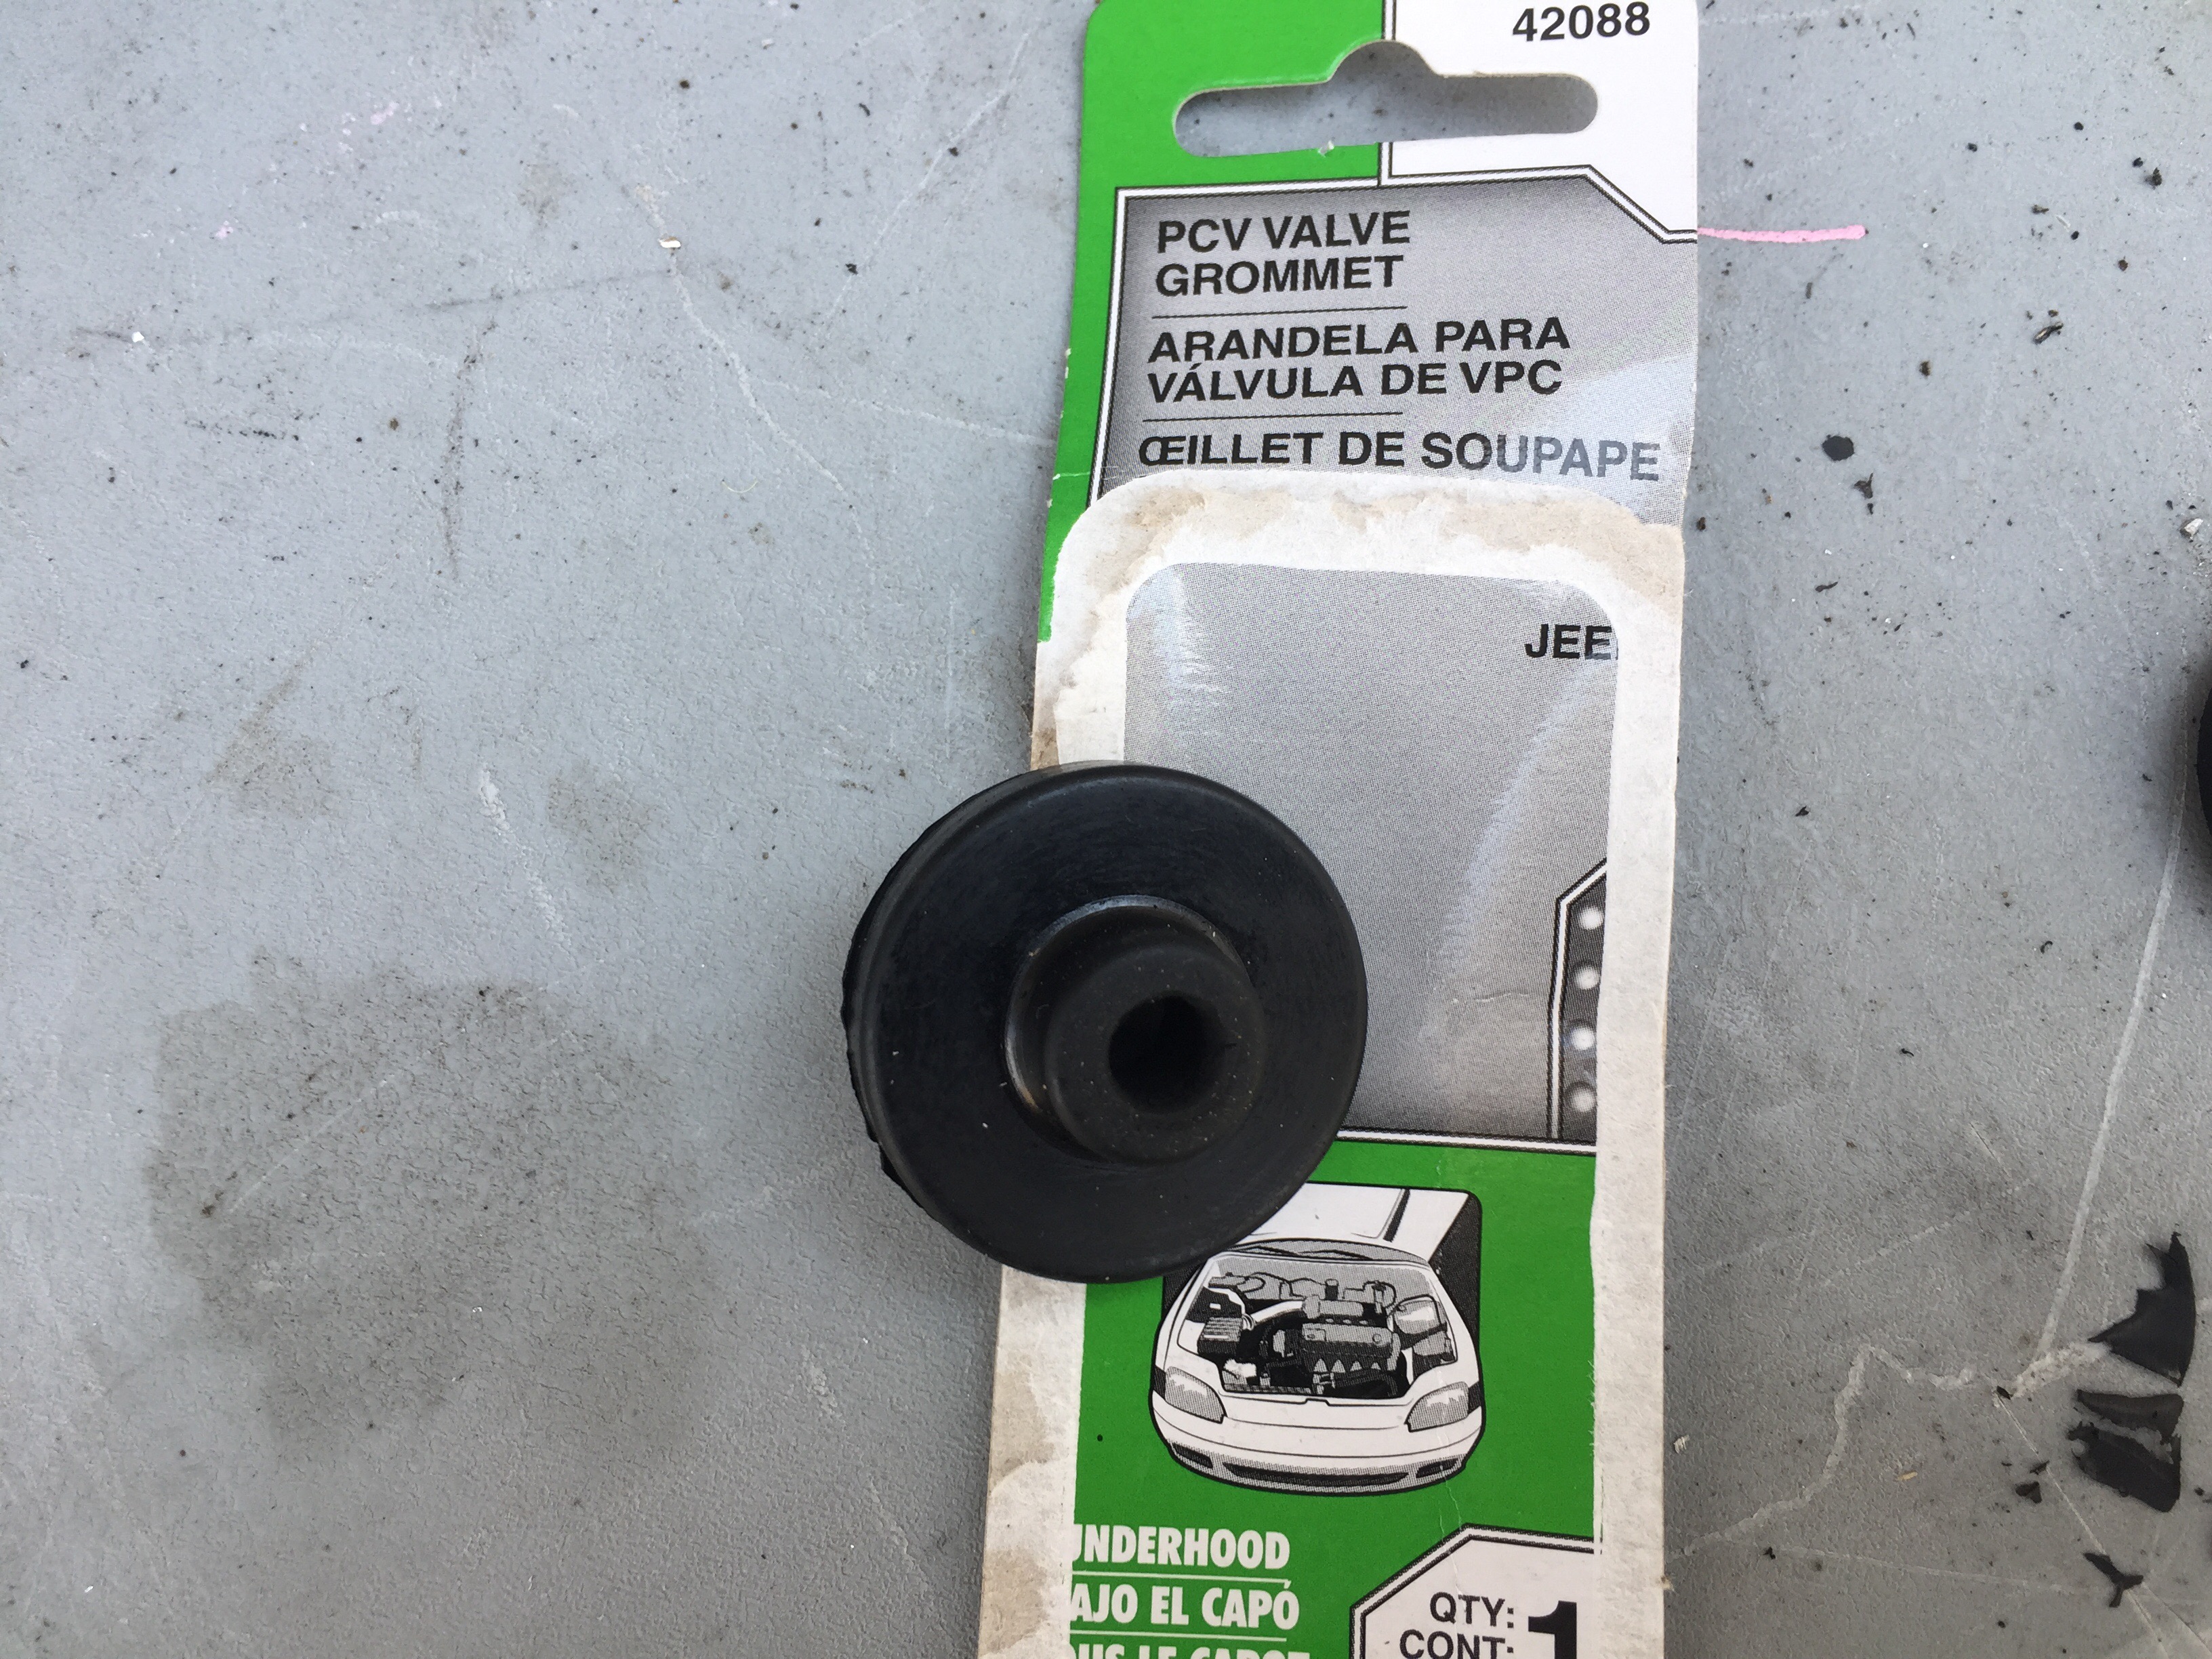
After cleaning up the valve cover. I painted and installed the valve cover. I used a FelPro – PermaDryPlus gasket for its better sealing. I followed the torque cycle of 25 inch pounds on the first cycle and 55 inch pounds on the second cycle. To ensure all the bolts and studs on the valve cover were truly torqued to 55 inch pounds, I did the final cycle 4 times in a row until all the bolts clicked the torque wrench without movement. A long process but I hate a leaking gasket. I installed a new Crankcase Vent Tub (CCV) and grommet and connected it back to the intake manifold.

I filled up the crankcase with my favorite standard motor oil and called this part done. I didn’t want to forget that the crankcase was drained when I primed the system.

Since it was 109° outside, I figured it might speed up the drying process on the RTV I was going to put on the water outlet when I install the new 195° thermostat. Now there is some controversy over a few things I did in the next few pictures. Some people say to put a 180° or even a 160° thermostat in for better cooling. I chose to install the factory replacement 195° thermostat. In my opinion, there are engineers that figured out the best temperature thermostat was a 195°. I don’t have a degree in this field so I’ll go with what the experts recommended. The second controversial topic is RTV on the water outlet gasket. Some people say, “It’s a gasket. You don’t put RTV on a gasket.” Well, I have always had good results with a gasket and RTV. Again, I hate leaks. I do what I know works here.

One thing I do recommend doing with you thermostat which I got from Matt at BleepinJeep was to drill a small hole in the thermostat to assist in bleeding the air out of the system once it’s assembled.

Once most of the cooling system was reassembled, it was time to address the heater core bypass the previous owner did. Now according to previous owner, they bypassed the heater core in an attempt to fix the overheating problem. On top of that this rats nest of hoses had to go. The heater control valve is one of those things I really don’t care if I have.

I flushed the heater core and good god was it jam packed with crap. Just chunks and chunks of mud and crap came flowing out when I reversed flushed it. I went back and forth with the garden hose at a low pressure until I was seeing clear water flow in both directions. I pressure tested the core at 16PSI for an hour to ensure I didn’t dislodge a piece of debris that was stopping a leak. Pressure test passed with flying colors so I cut all those old hoses out and spliced the hoses directly to the heater core. I removed the pressure bottle because I’m also converting the system over to an open loop system. The closed loop works ok but it’s just easier to service the open loop system.

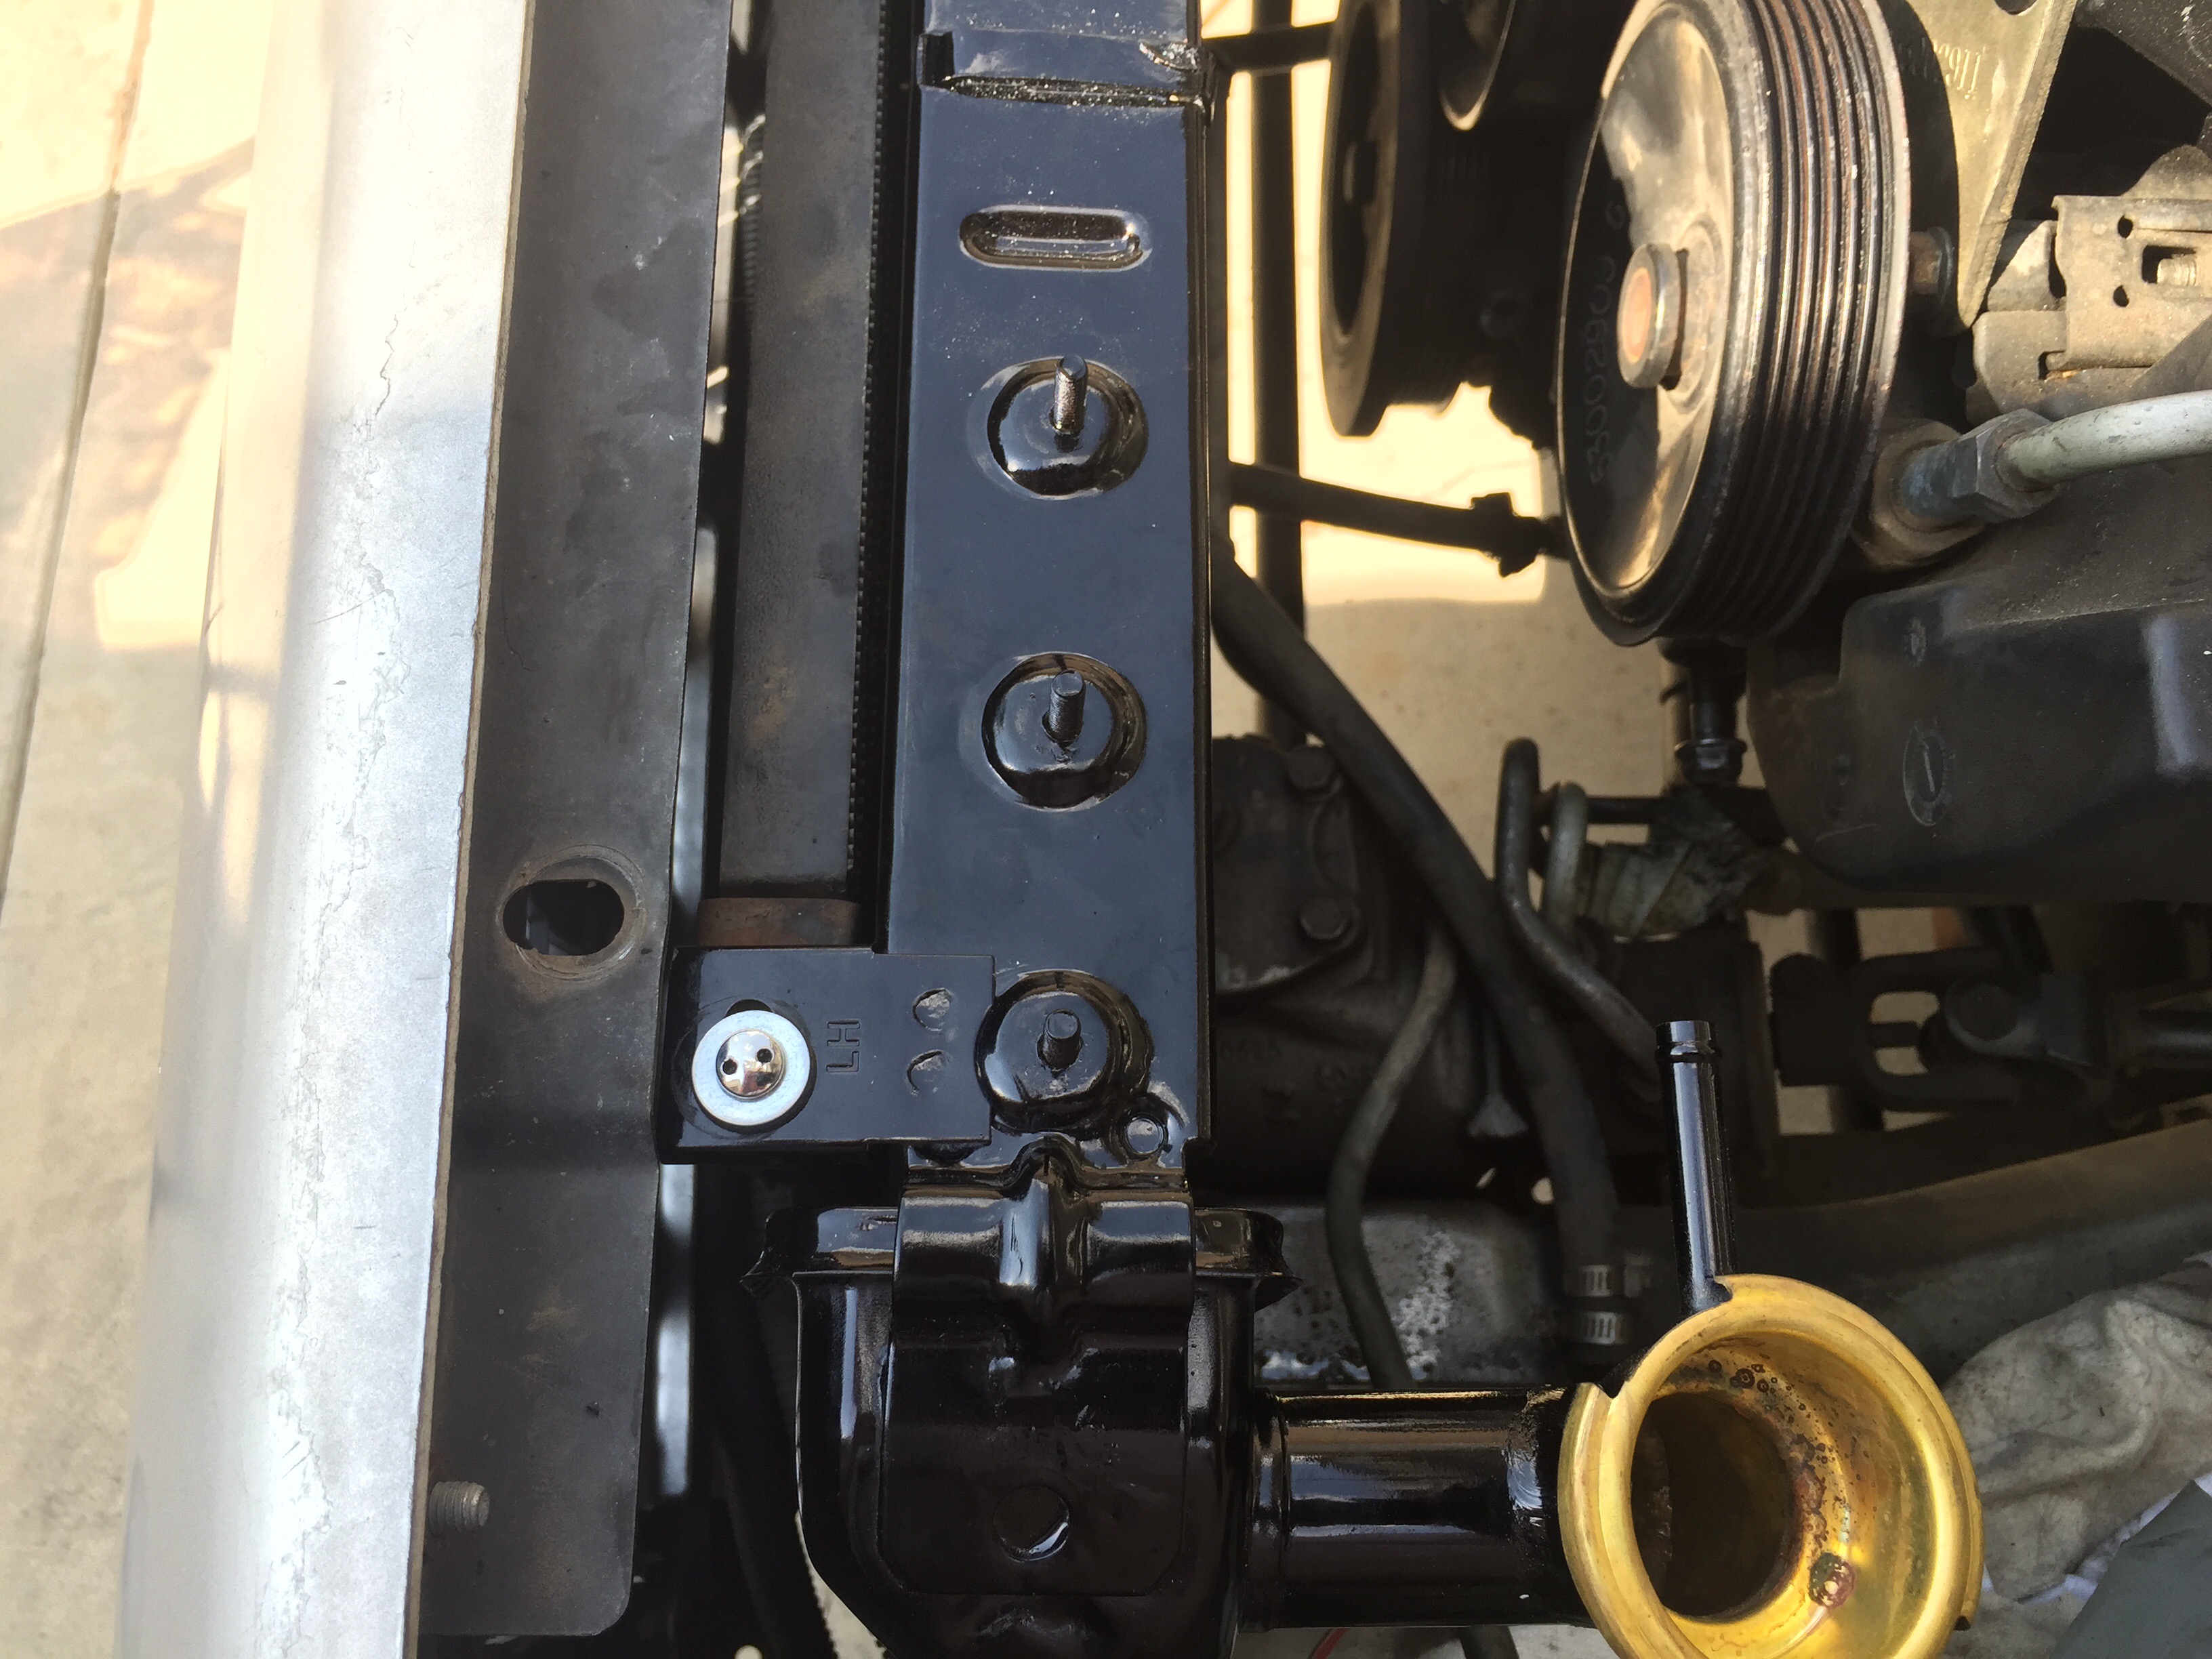
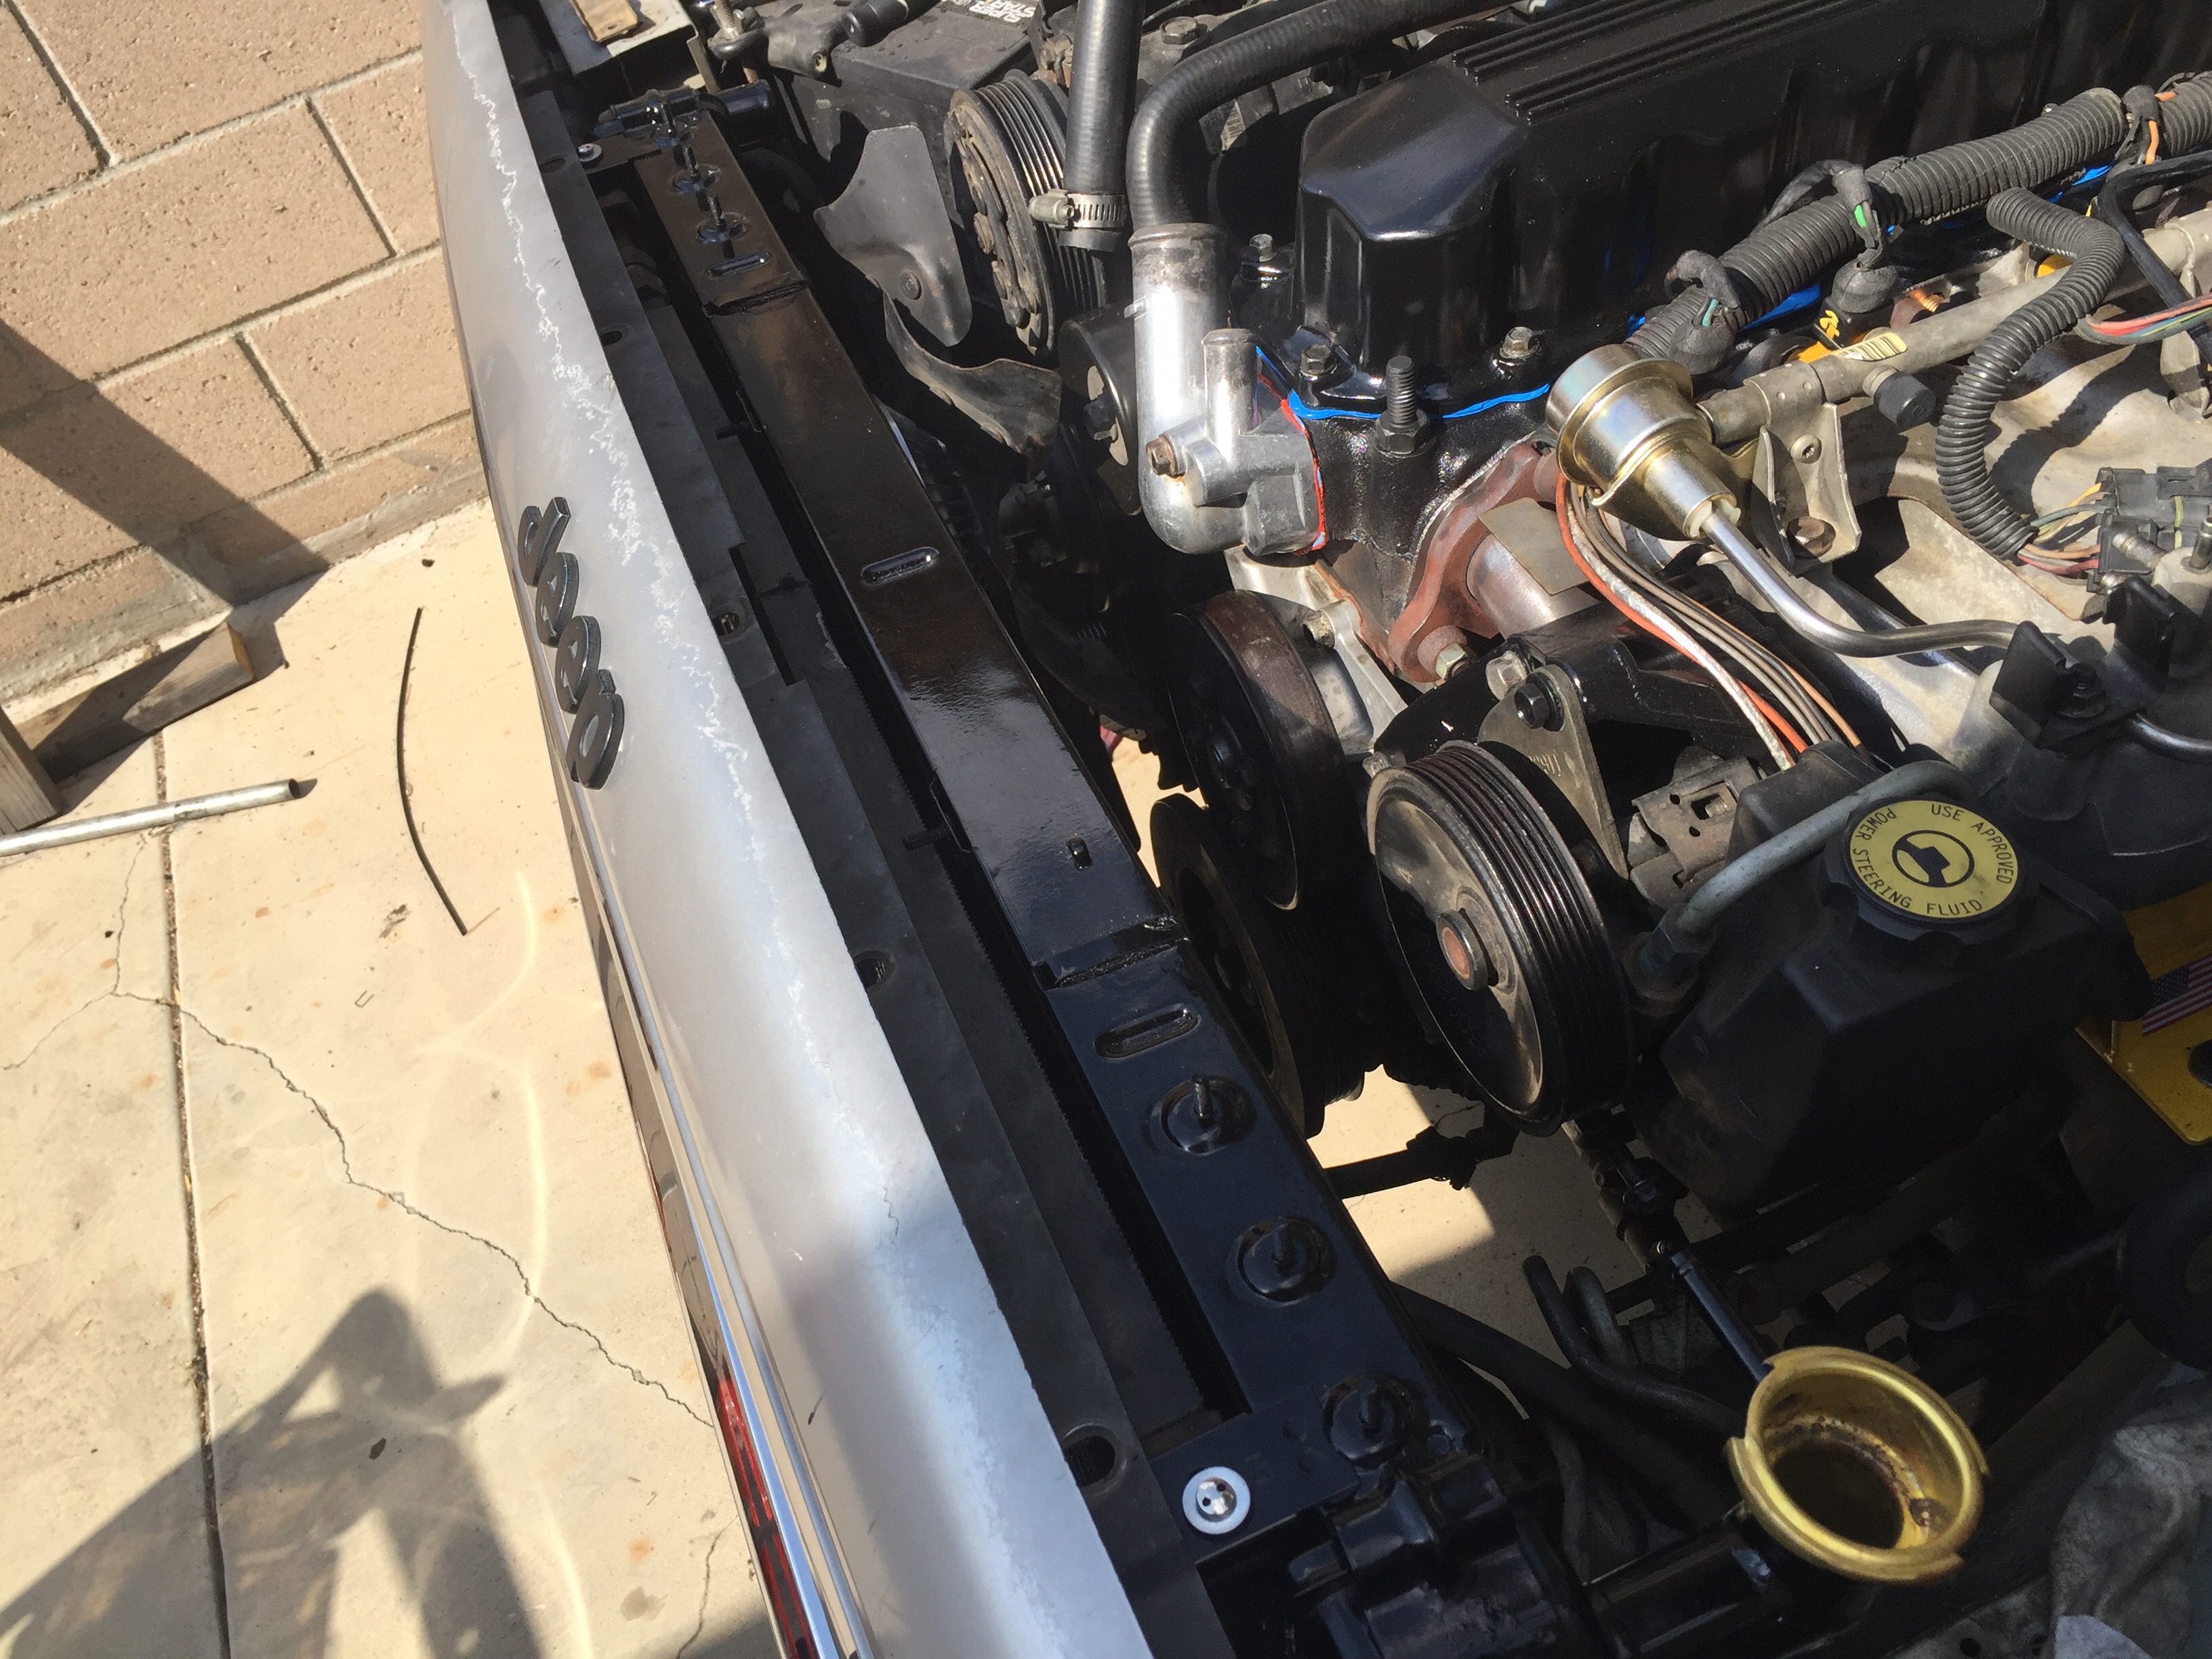
Next step was to replace the closed loop single core radiator with a new two core open loop radiator from CSF Radiator. I chose the CSF brand due to reviews saying it’s a perfect fit and quality work. I’ve bought some cheap eBay aluminum three core radiators before on eBay and had mixed feelings about them. Some are poor quality and most are extremely poor fitment. Some require modifying the mounting tabs for the fan shroud and clearance issues with the electric fan hitting the transmission cooler line port. I didn’t feel like modifying other things to make them work.

There were some mounting issues that needed to be addressed. One was the mounting bushings under the radiator. They were missing.
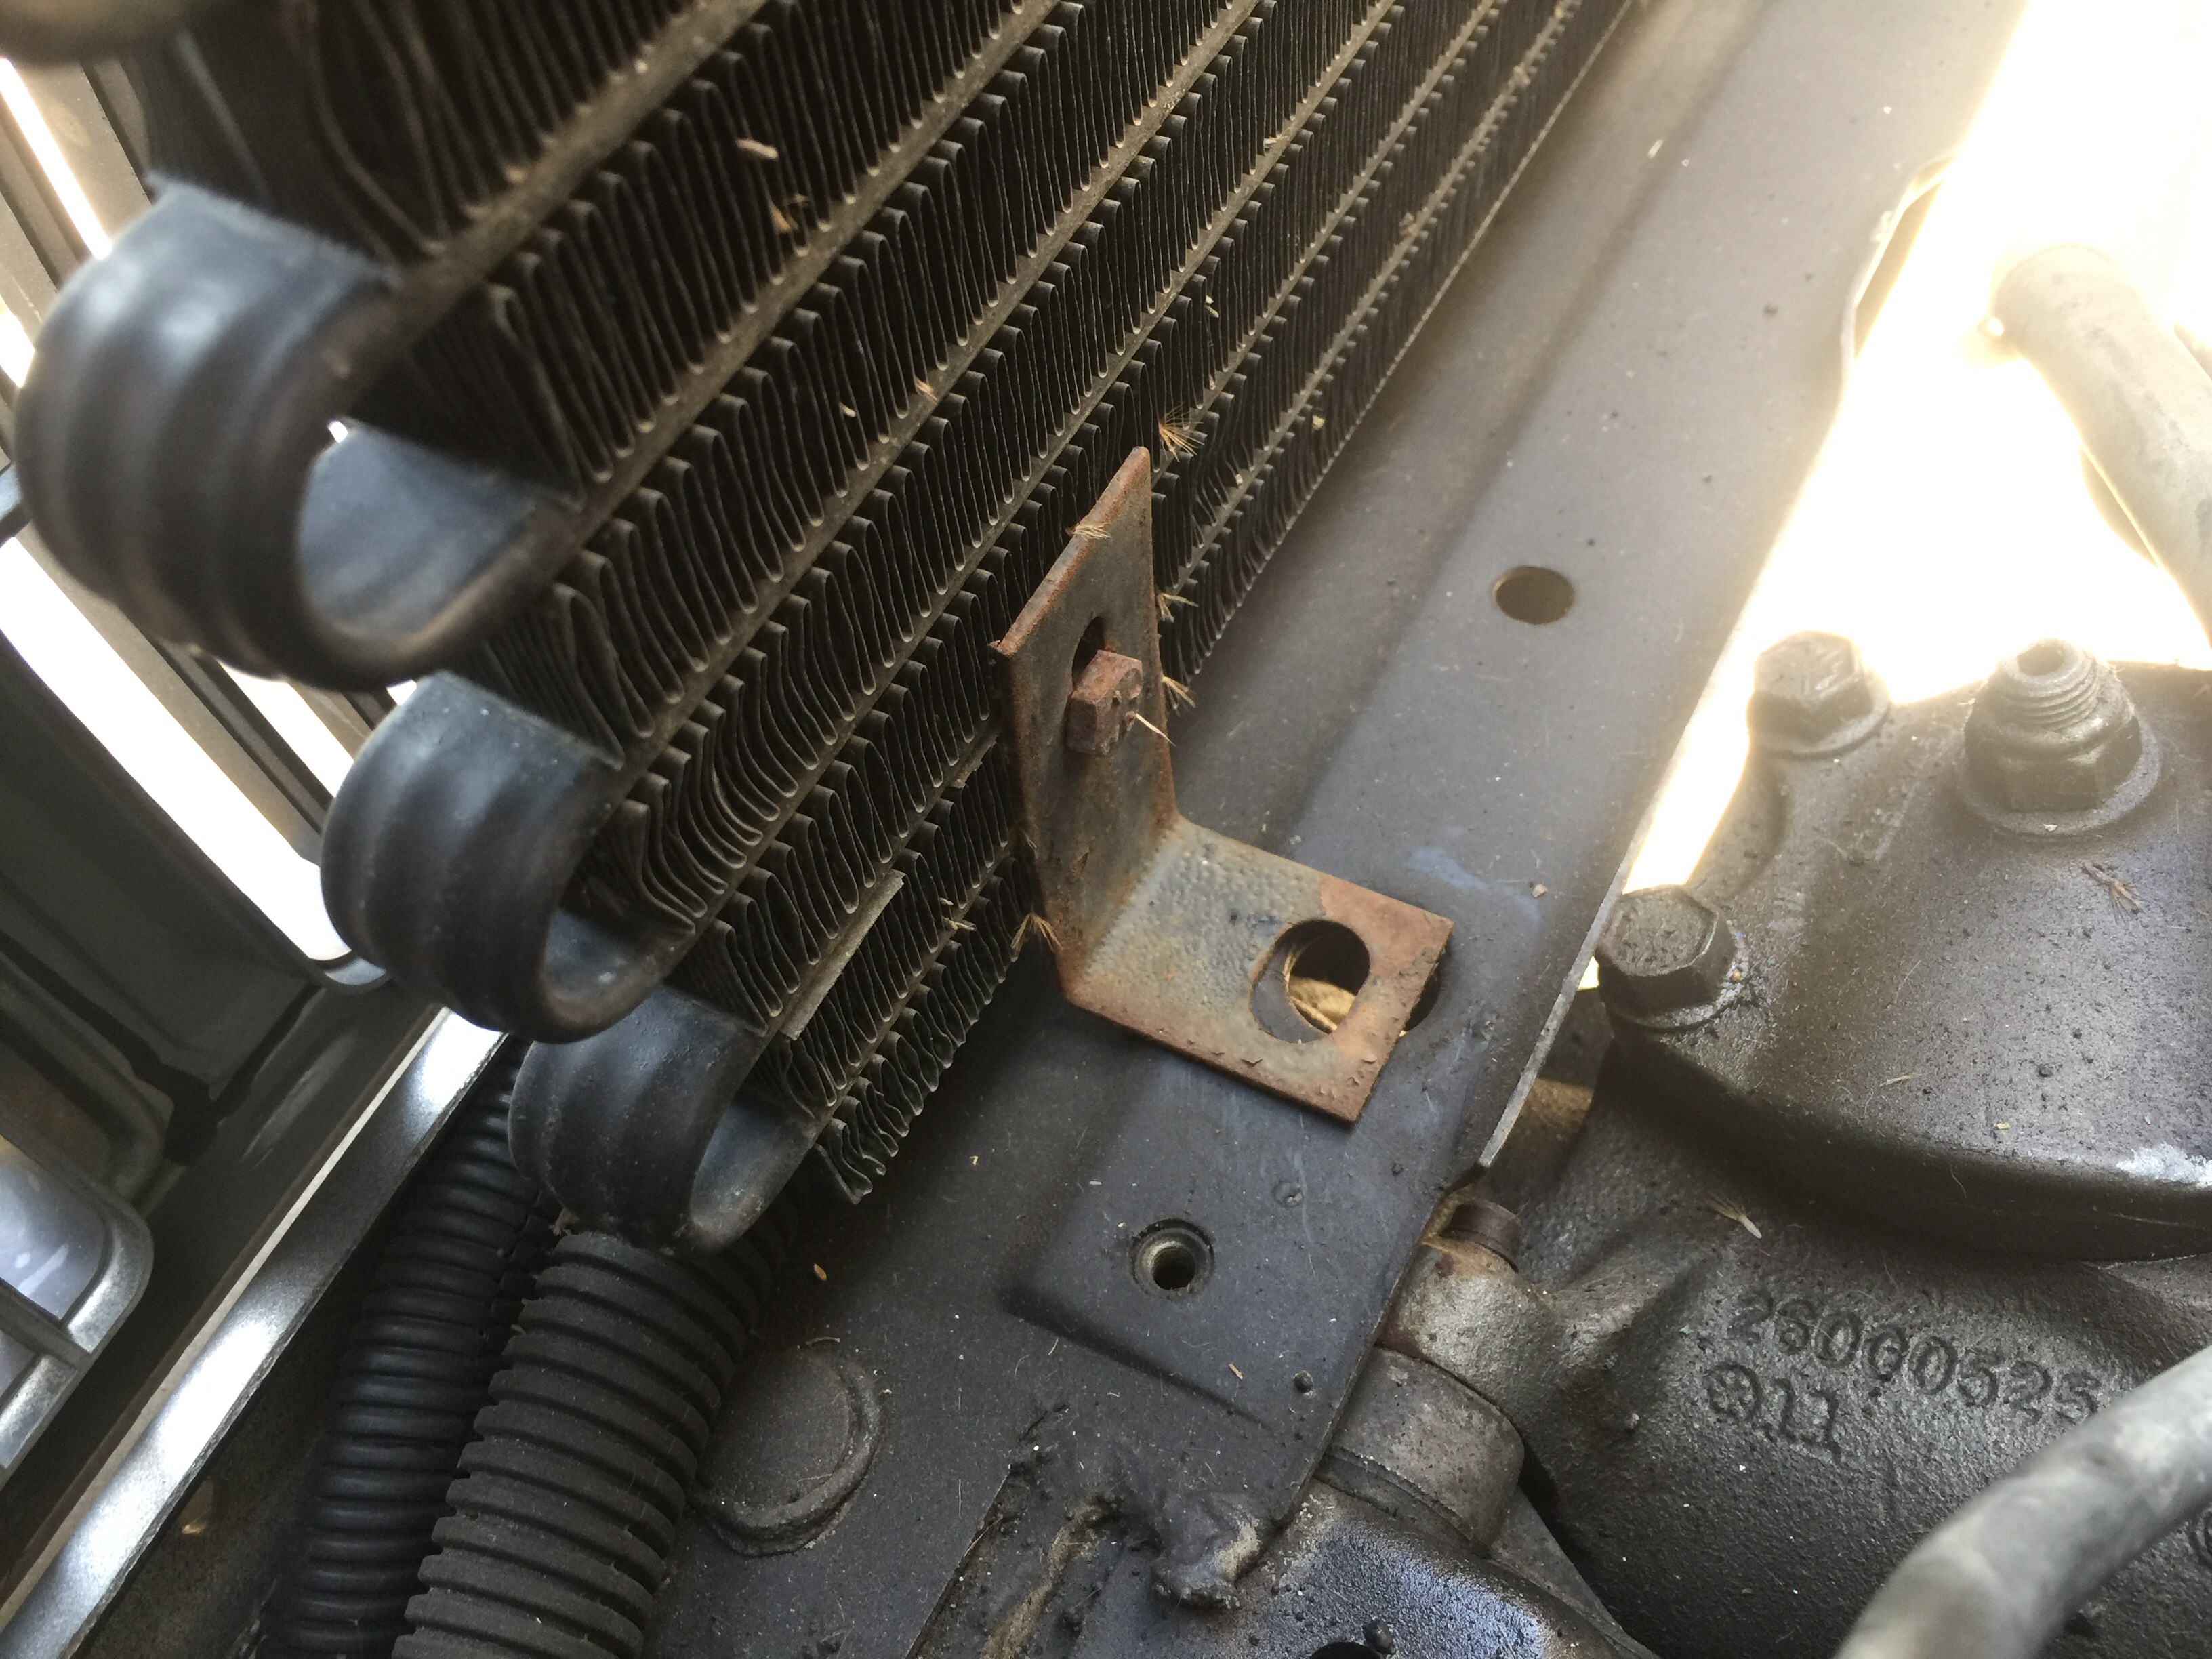
Again I’m not a fan of hacking things out that can easily be fix at minimal cost. Now I could have gone to the junk yard and ripped a radiator out of a junket just to get the bushings out of one of them but like I said, it was 109° outside and I didn’t feel like tearing another radiator out again for such a simple part I could fab up myself. So off to the air conditioned auto parts store. I grabbed two PVC grommets, cut the smaller upper section off with a razor knife. Drilled the hole out with a 1/2″ drill bit and voila, a nice, new, cheap grommet that I didn’t get by tearing another radiator apart.


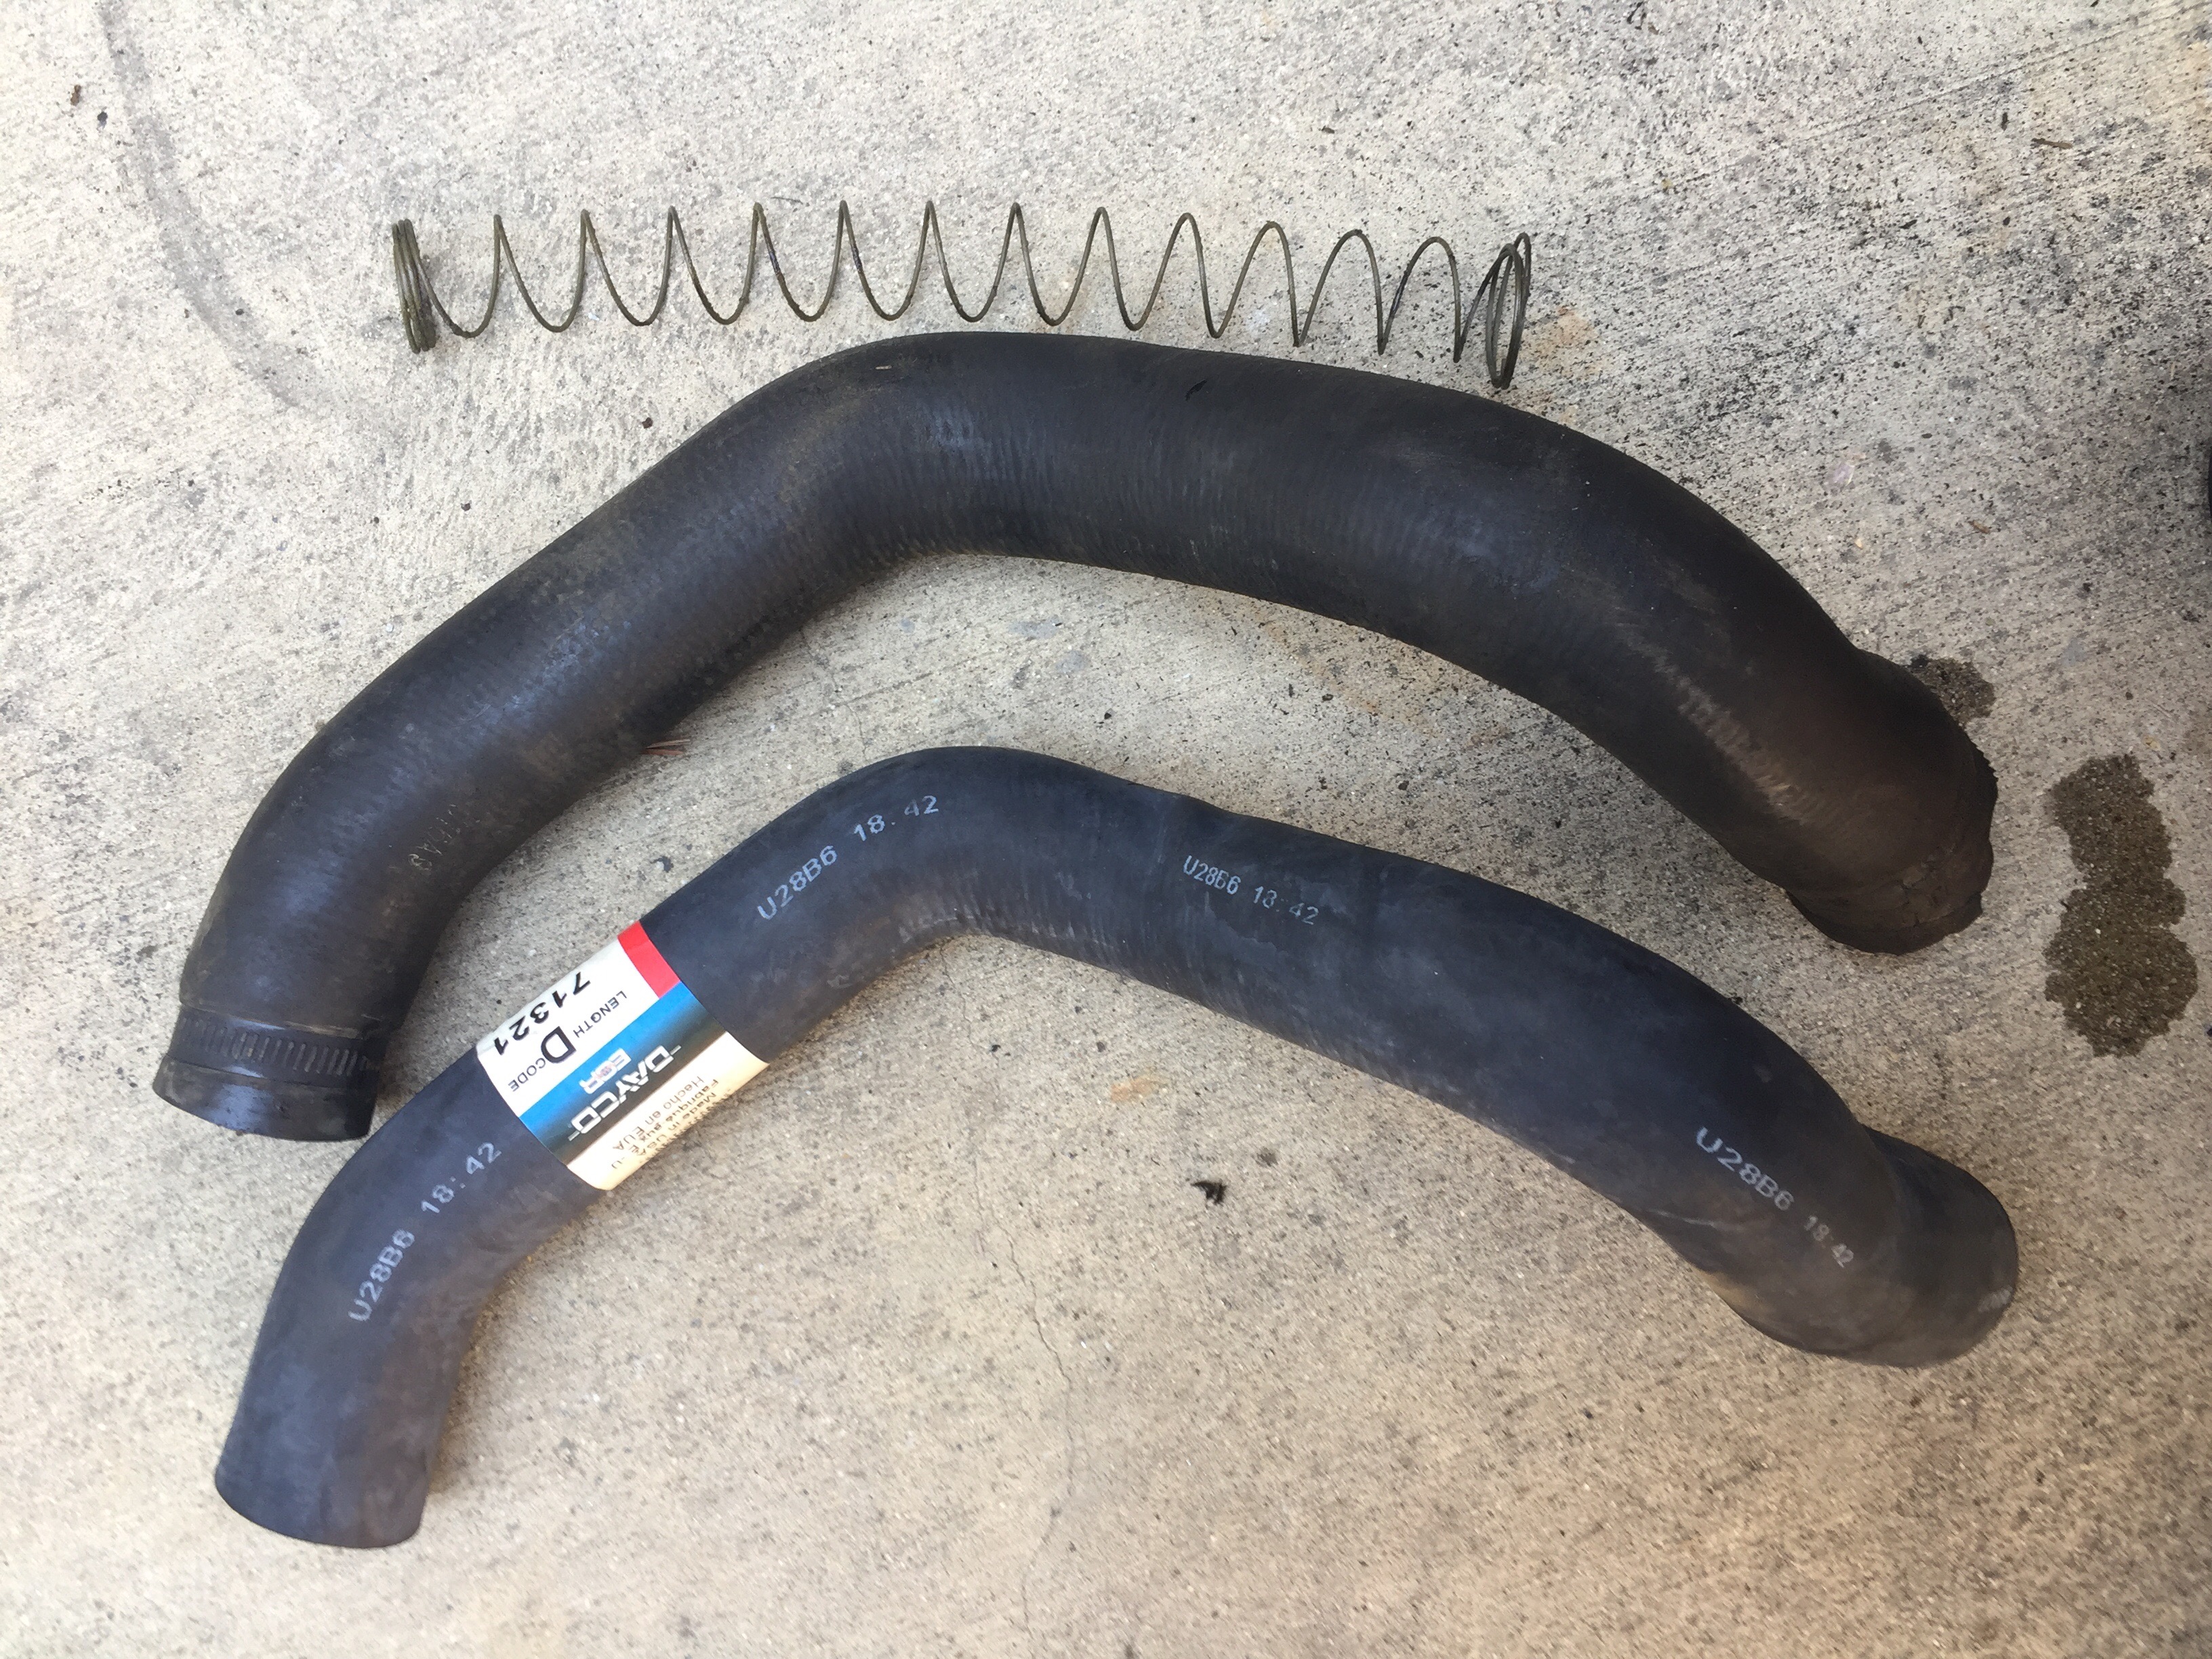
Once the radiator was installed, it was time to replace those worn out radiator hoses. The old hoses were bulging and seemed like they were paper thin.

I pulled the spring out of the lower hose and reinstalled it in the new lower hose. This is a very important step because the lower hose will collapse and cut off coolant to the engine once it get pressurized. Most replacement hoses do not come with the spring. A helpful tip on installing the spring in the new hose is once the spring get down the hose and meets a curve in the hose. If you twist the spring clockwise and push it in, it will aid in positioning the spring in the proper location in the hose.
I installed the new lower and upper hoses and had to convert the old male style transmission cooling line to a female style transmission cooler line. This can easily be done by buying the solid tubing from your auto parts store that is for a 1991 to 1996 Cherokee.
Now attaching the AC condenser to the radiator revealed a problem. First the original bolts were not long enough to reach the tinerman clips in the condenser. So some cheap custom modifications were done. First I removed the old clips and grabbed some new tinerman clips and screws from my elevator fixture bolt box for work. I attached the new tinerman clips to the condenser.
Now as you can see in the photo, there is a giant gap between the CSF installed mounting bracket and the condenser mounting bracket. So time for more custom cheap fixes. I took 12 – #10 machine screw washers, electrical tape them together and BAM!!! Condenser spacers.

I stuffed them between the CSF mounting bracket and the condenser mounting bracket and installed the machine screw through the mounts into the new tinerman clip. I know, I know. The screws are spanner security screws but hey, I work with what I got.
I installed the old top mounting bushings and slapped the radiator cover on and BOOM!!! Radiator conversion done son.
I decided that since I was replacing all the cooling components why not replace the fan clutch.


Simply unbolt the fan from the pulley. Once it’s off, turn the fan face down and take the 4 bolts off and remove the fan. PRO-TIP: When you remove the fan, pull it up and off and set it aside with the fan in the same direction you took it off. Do not flip the fan or you could inadvertently change the direction of the air flow into the engine bay from pulling air in through the radiator to pushing air out of the radiator. Bolt the fan to the new clutch and re-install. When reinstalling, don’t do what I did in the above photo. Another PRO-TIP: Install the fan shroud with the fan or you will have to unbolt the fan again to put it on.

I temporarily installed the overflow bottle where the pressure bottle use to be just to have it hooked up. It will be permanently mounted elsewhere later in the build.
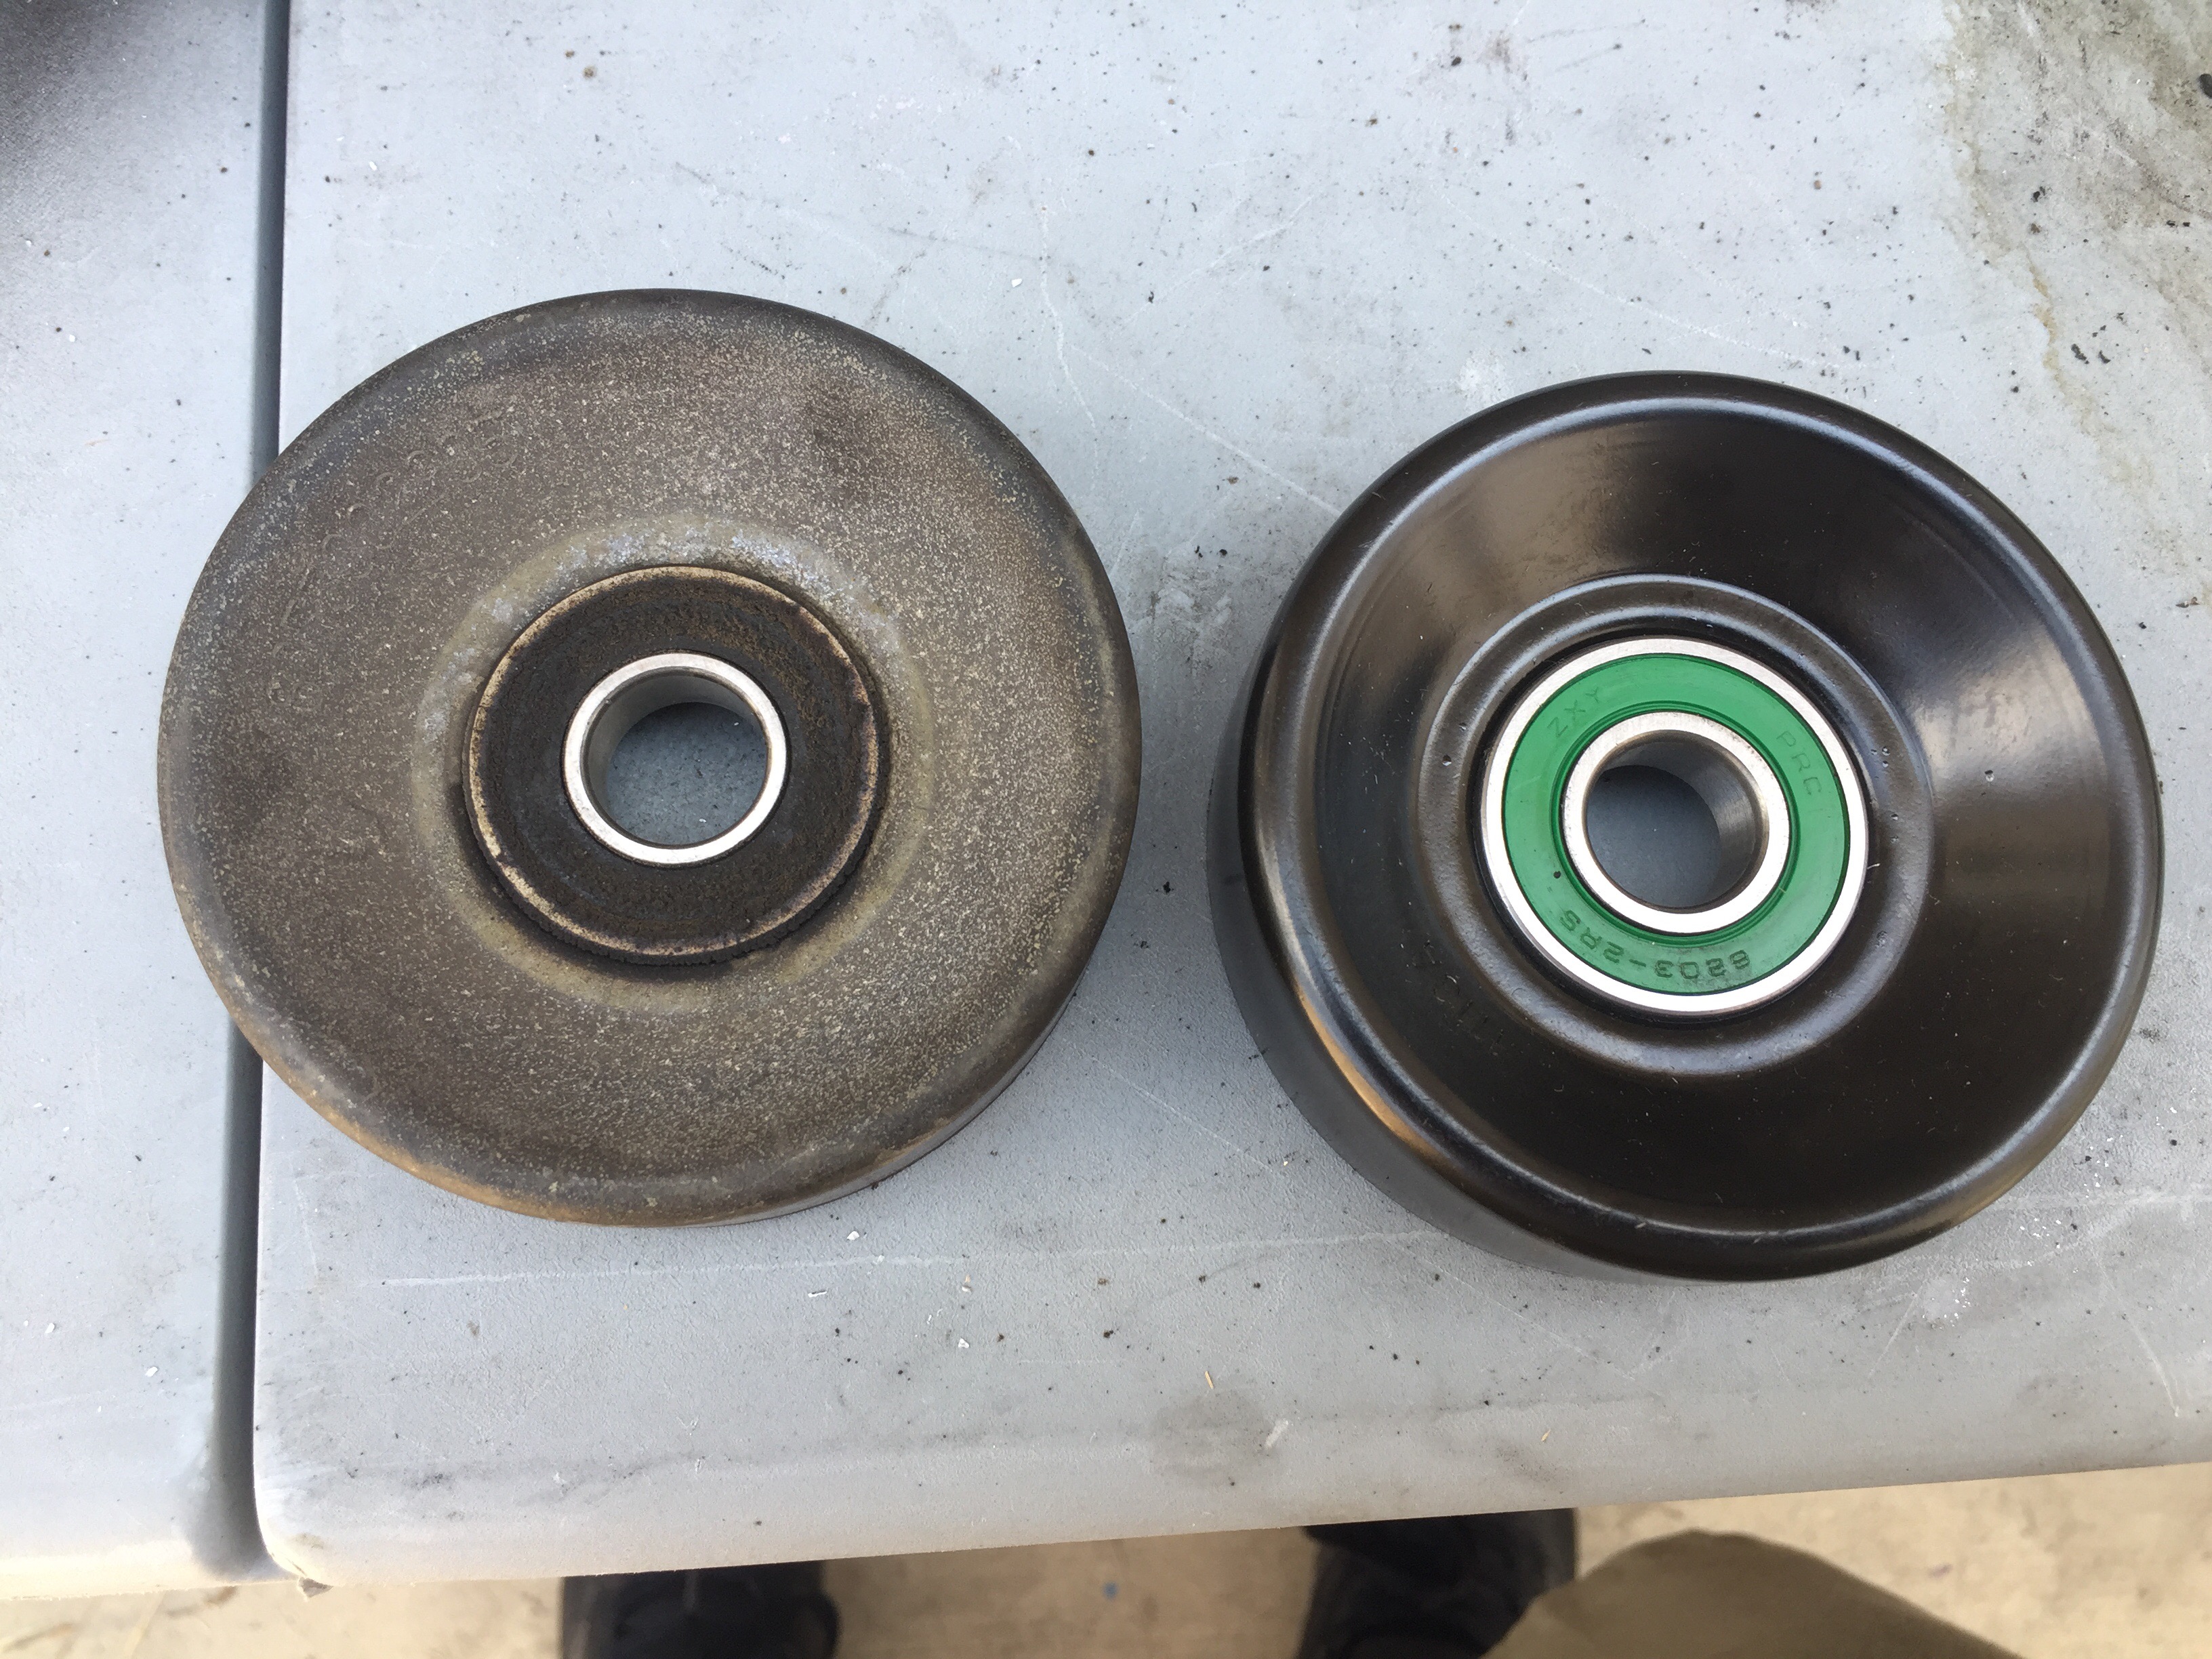
While I had the belt off, for my own assurance, I installed a new idler pulley. It’s cheap, it take two minutes. Why not.

Lastly I installed the new spark plugs, distributor cap and rotor, and spark plug wires. The spark plugs I have had the best results with on all my cherokees are the NGK – ZFR5N.
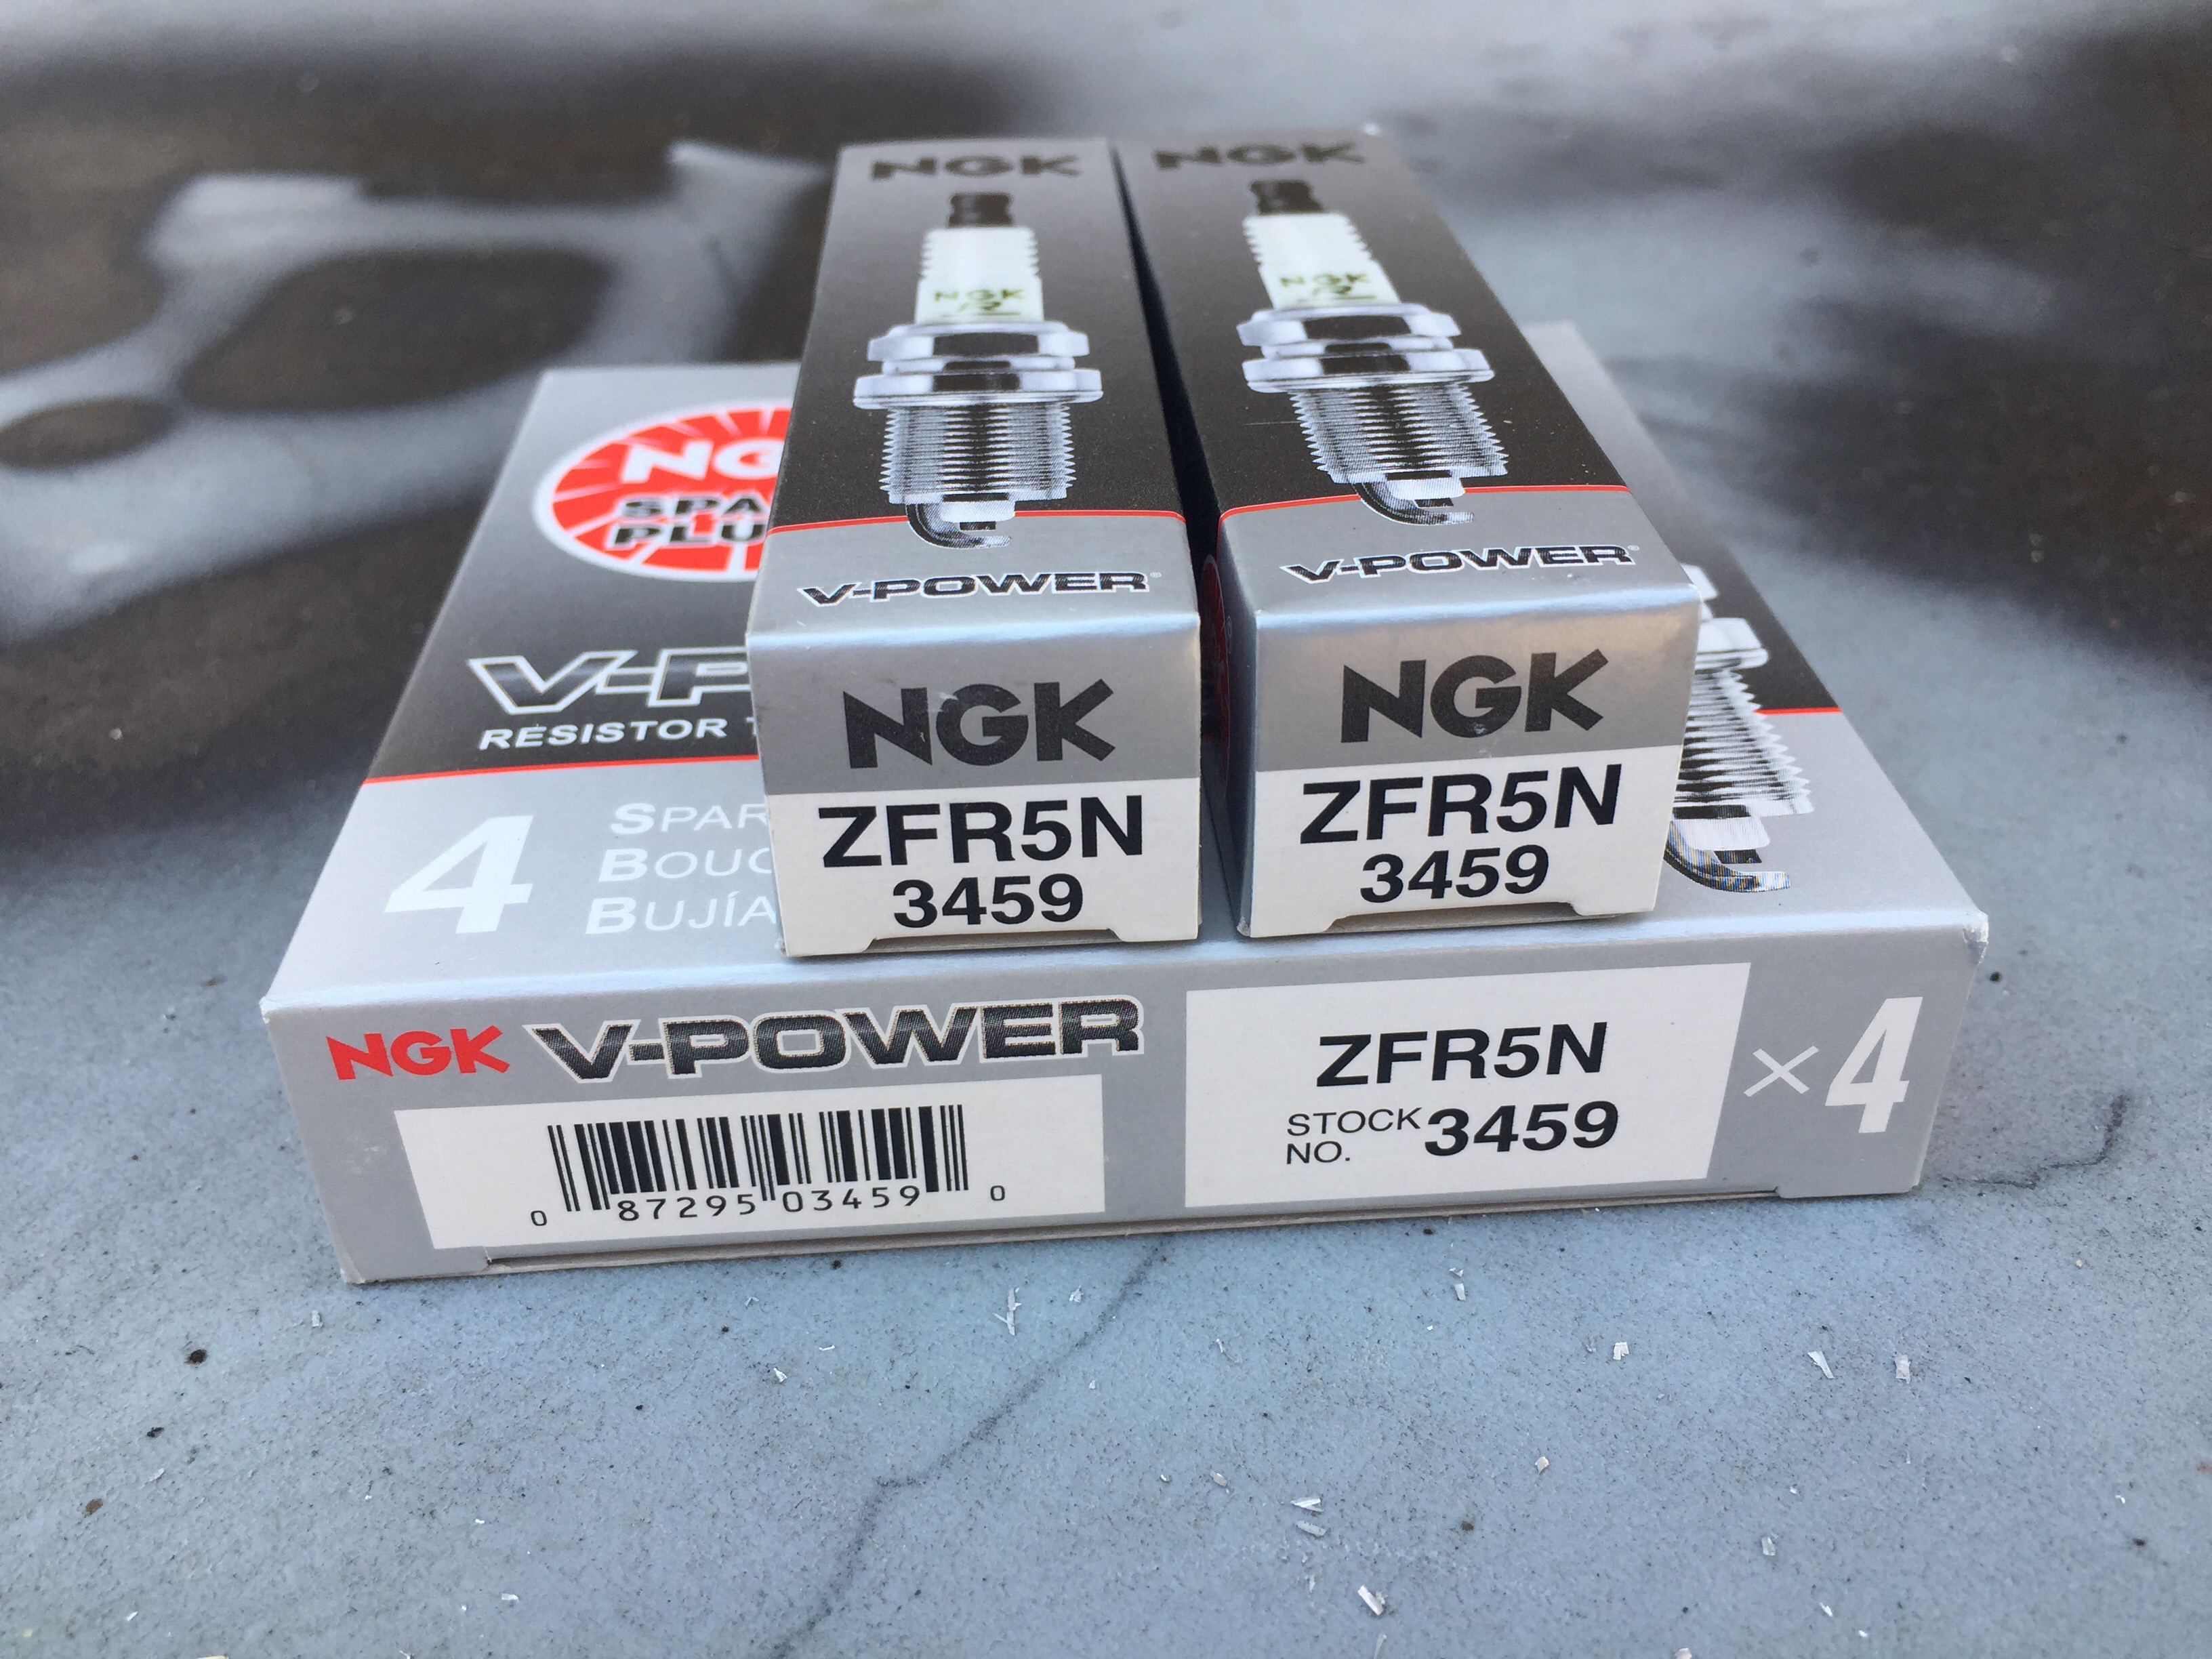
Now the plugs come pre-gapped and have a protective sleeve on them but I’m never convince that someone at the parts store didn’t pull the plug out of the box and accidentally dropped it in the floor and threw the gap off. So I always double check all my plug gaps.

Now I’m sure there is a torque spec for spark plugs but tight enough is good enough for me. Use Anti-seize for quicker removal on the next service.
Now this is where shopping at the junk yard can keep more money in your pocket. So the cheapest cap and rotor I could find for my Jeep was on RockAuto. The distributor cap is $3.45 and the rotor is $1.01. Not very expensive but add in the cheapest shipping option and your grand total is $8.45. Now here is another PRO-TIP: While at the junk yard check for common maintenance parts that look new. People will throw parts at a problem then when they can’t fix it themselves the sell or scrap the car to the junk yard. So why not grab those good parts for trail spares or for your next maintenance service. Below are picture of my current cap and rotor and some I picked up at the junk yard. For both, I paid $1.00.
My current parts:
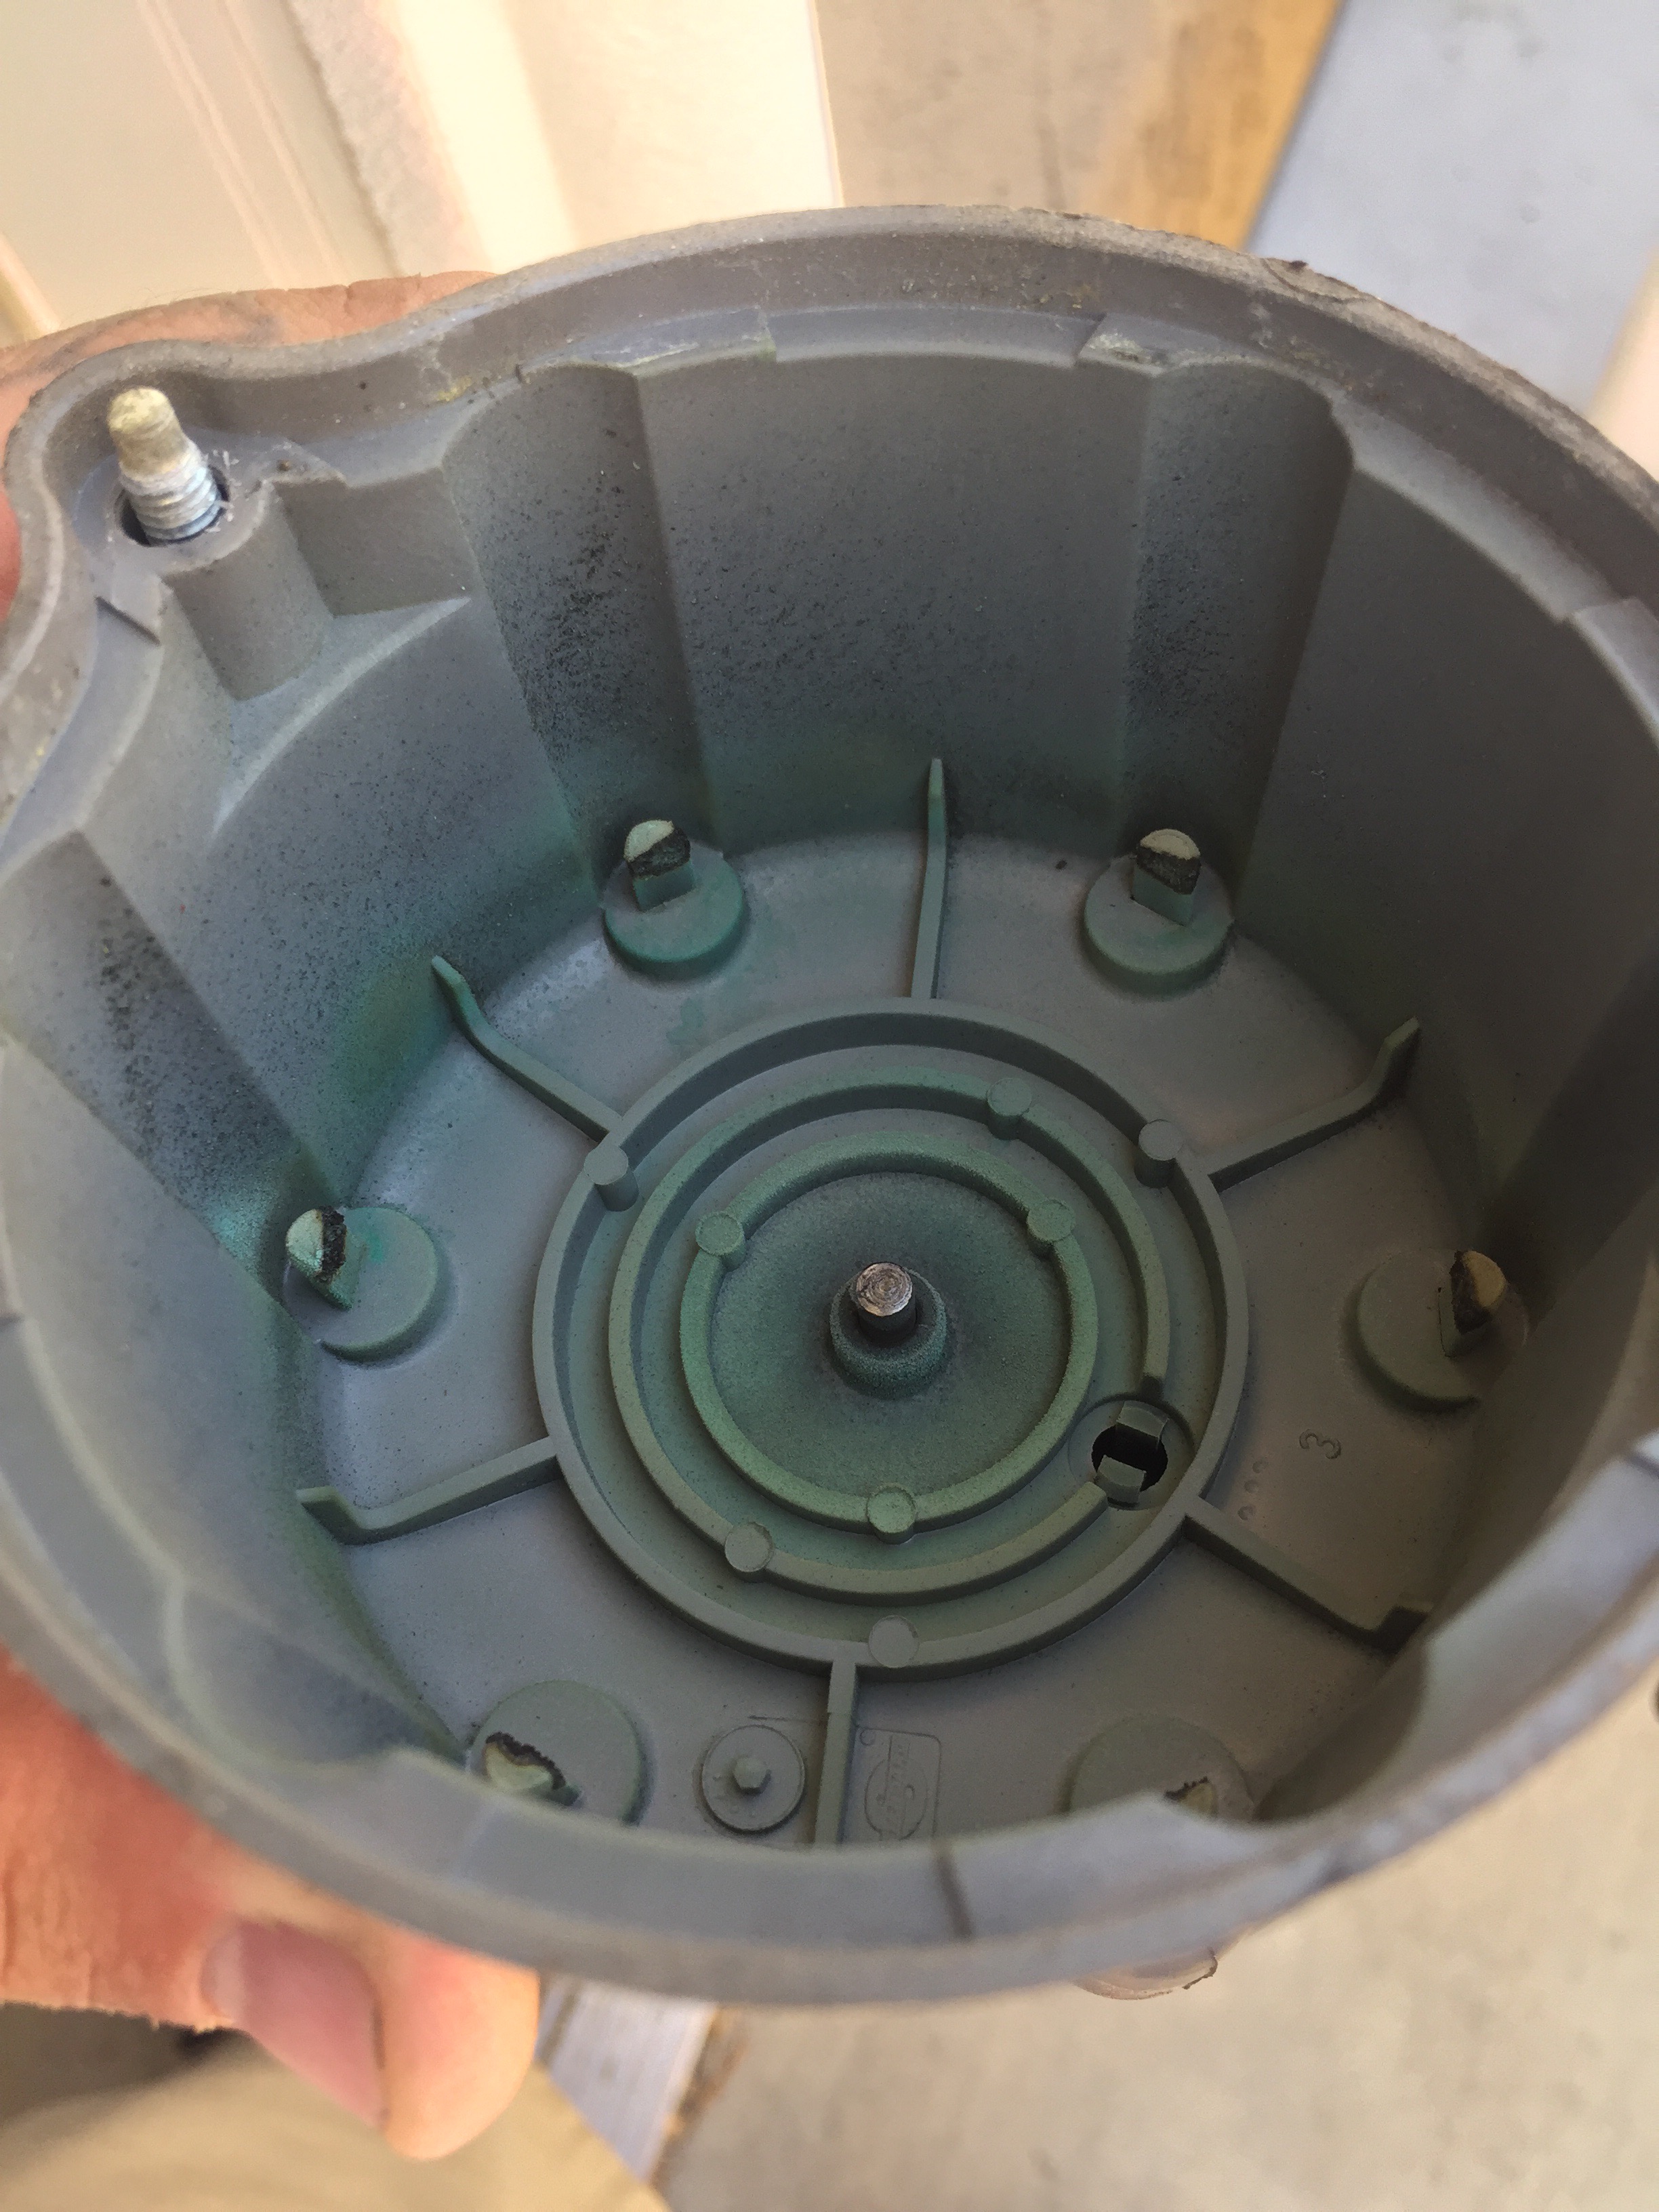
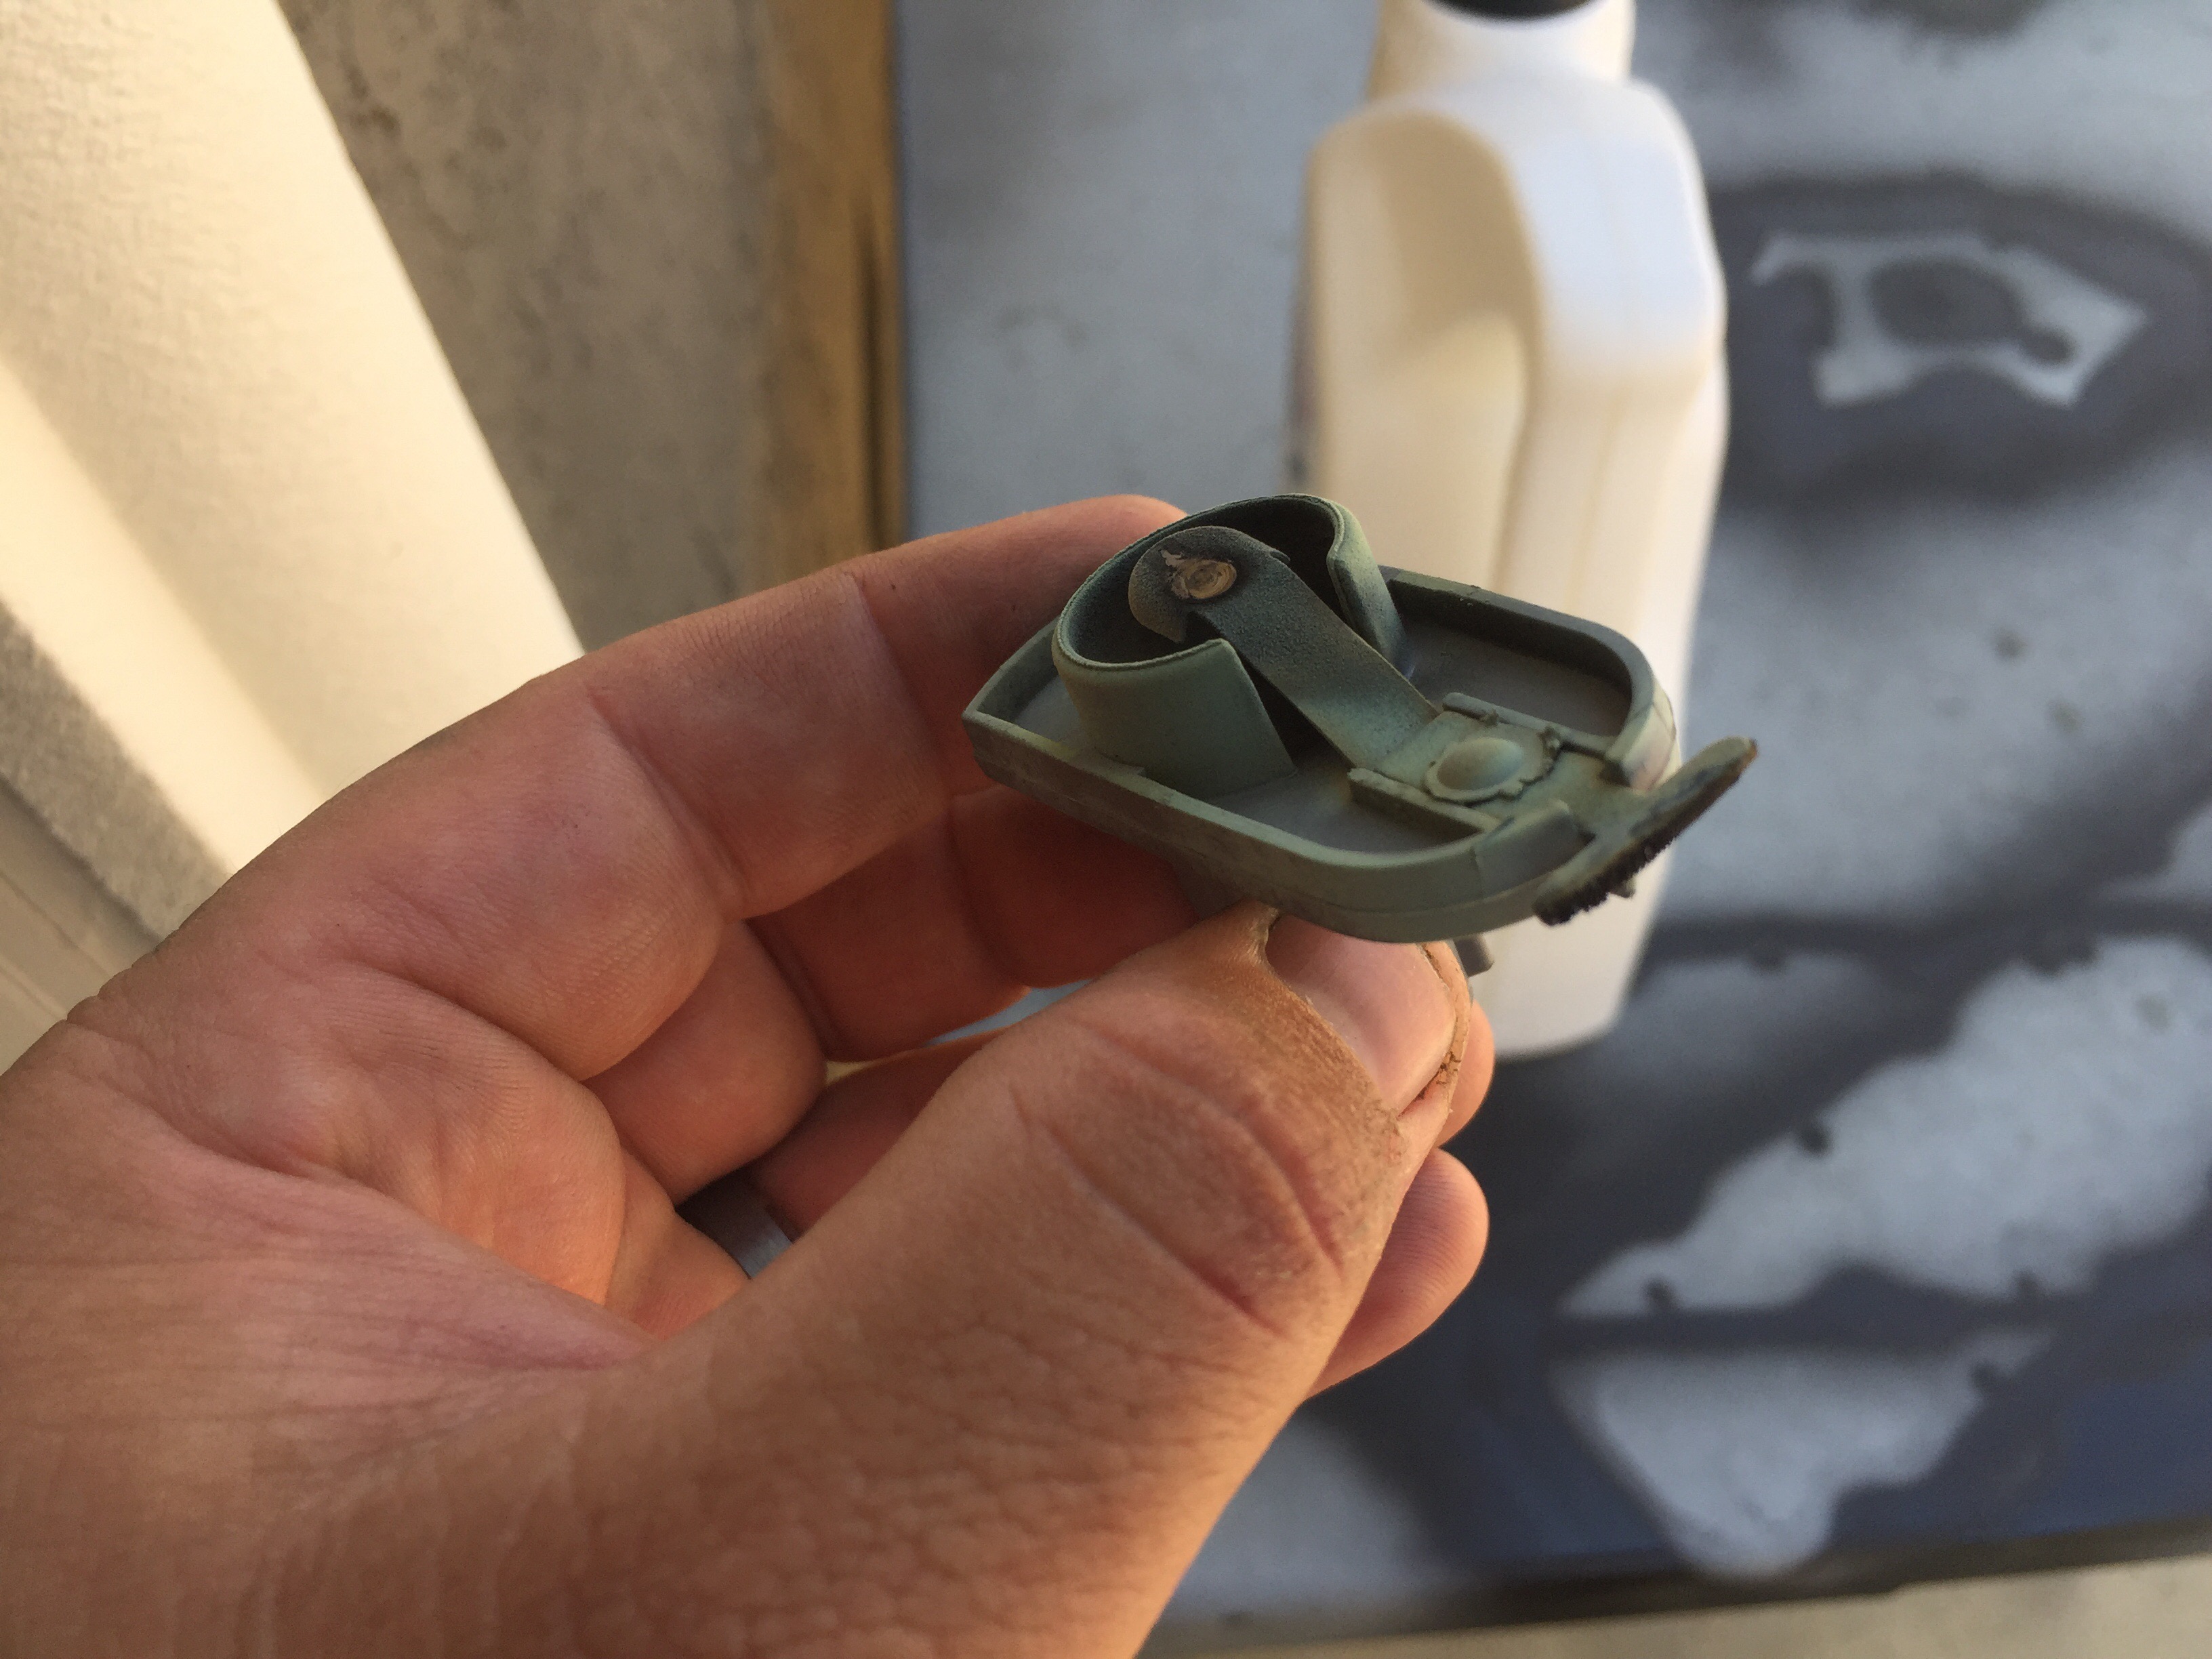
My $1.00 Junk yard parts:


I installed my junk yard parts, bought and installed some new spark plug wires.
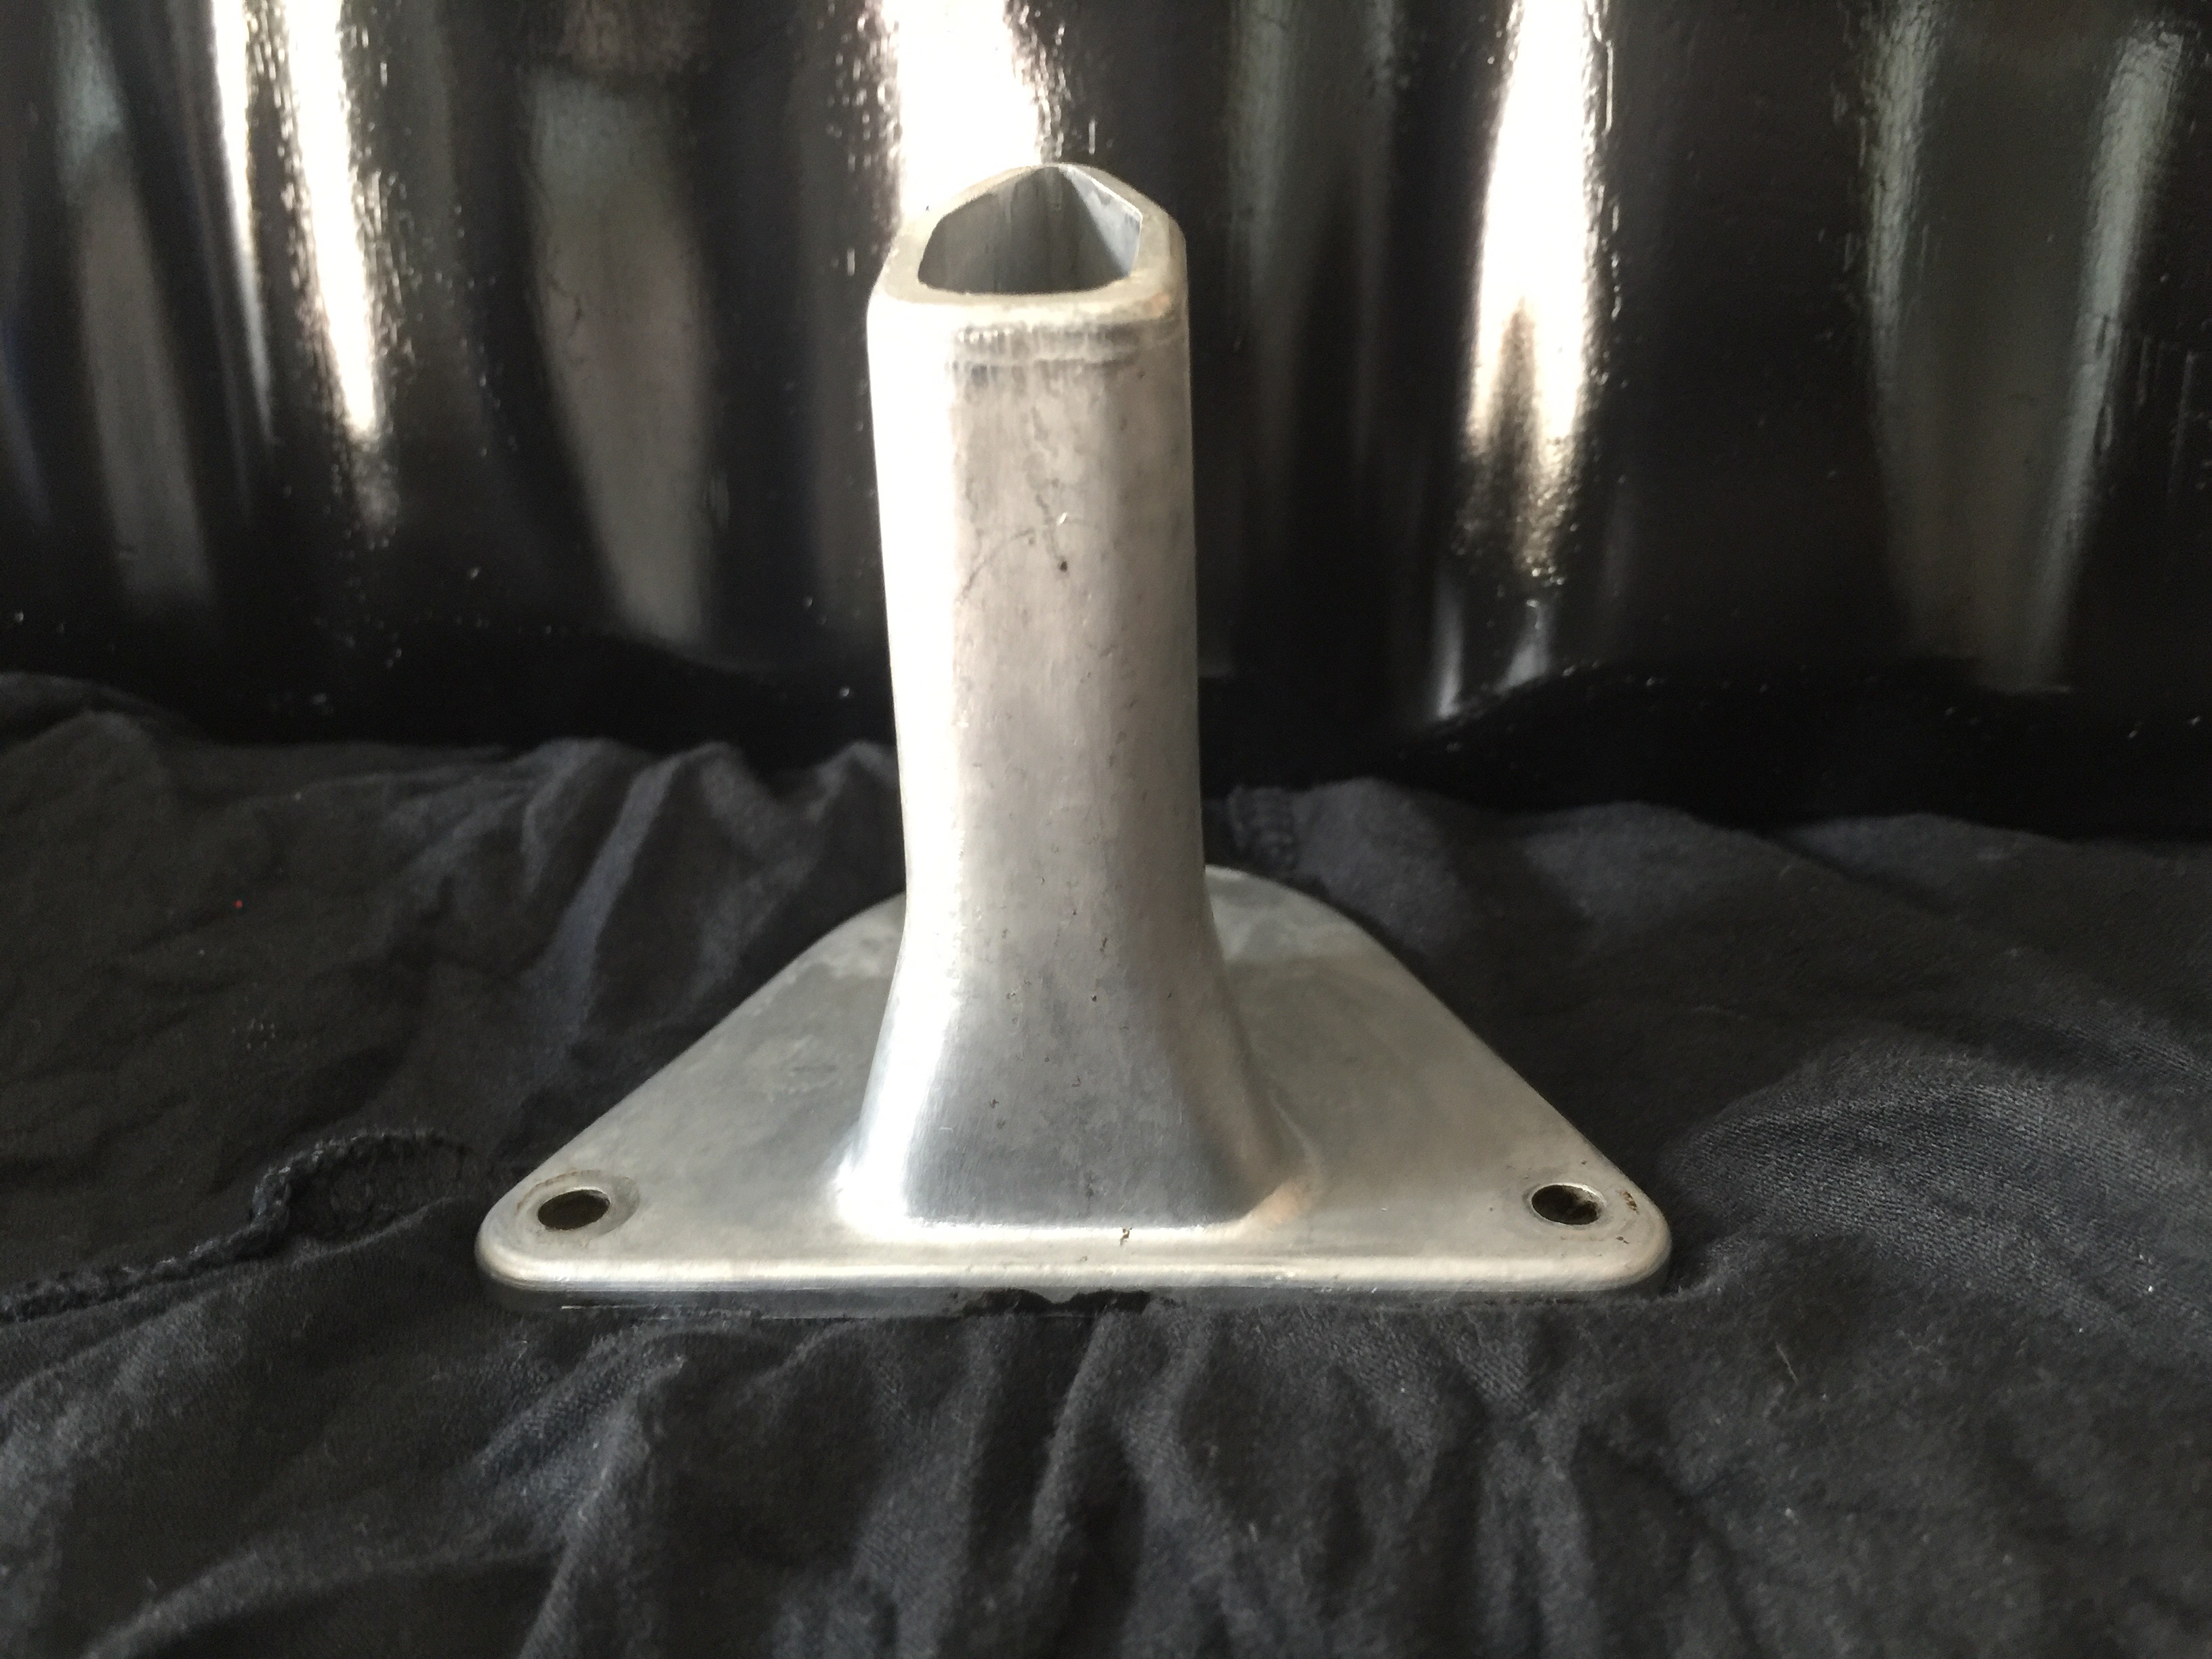
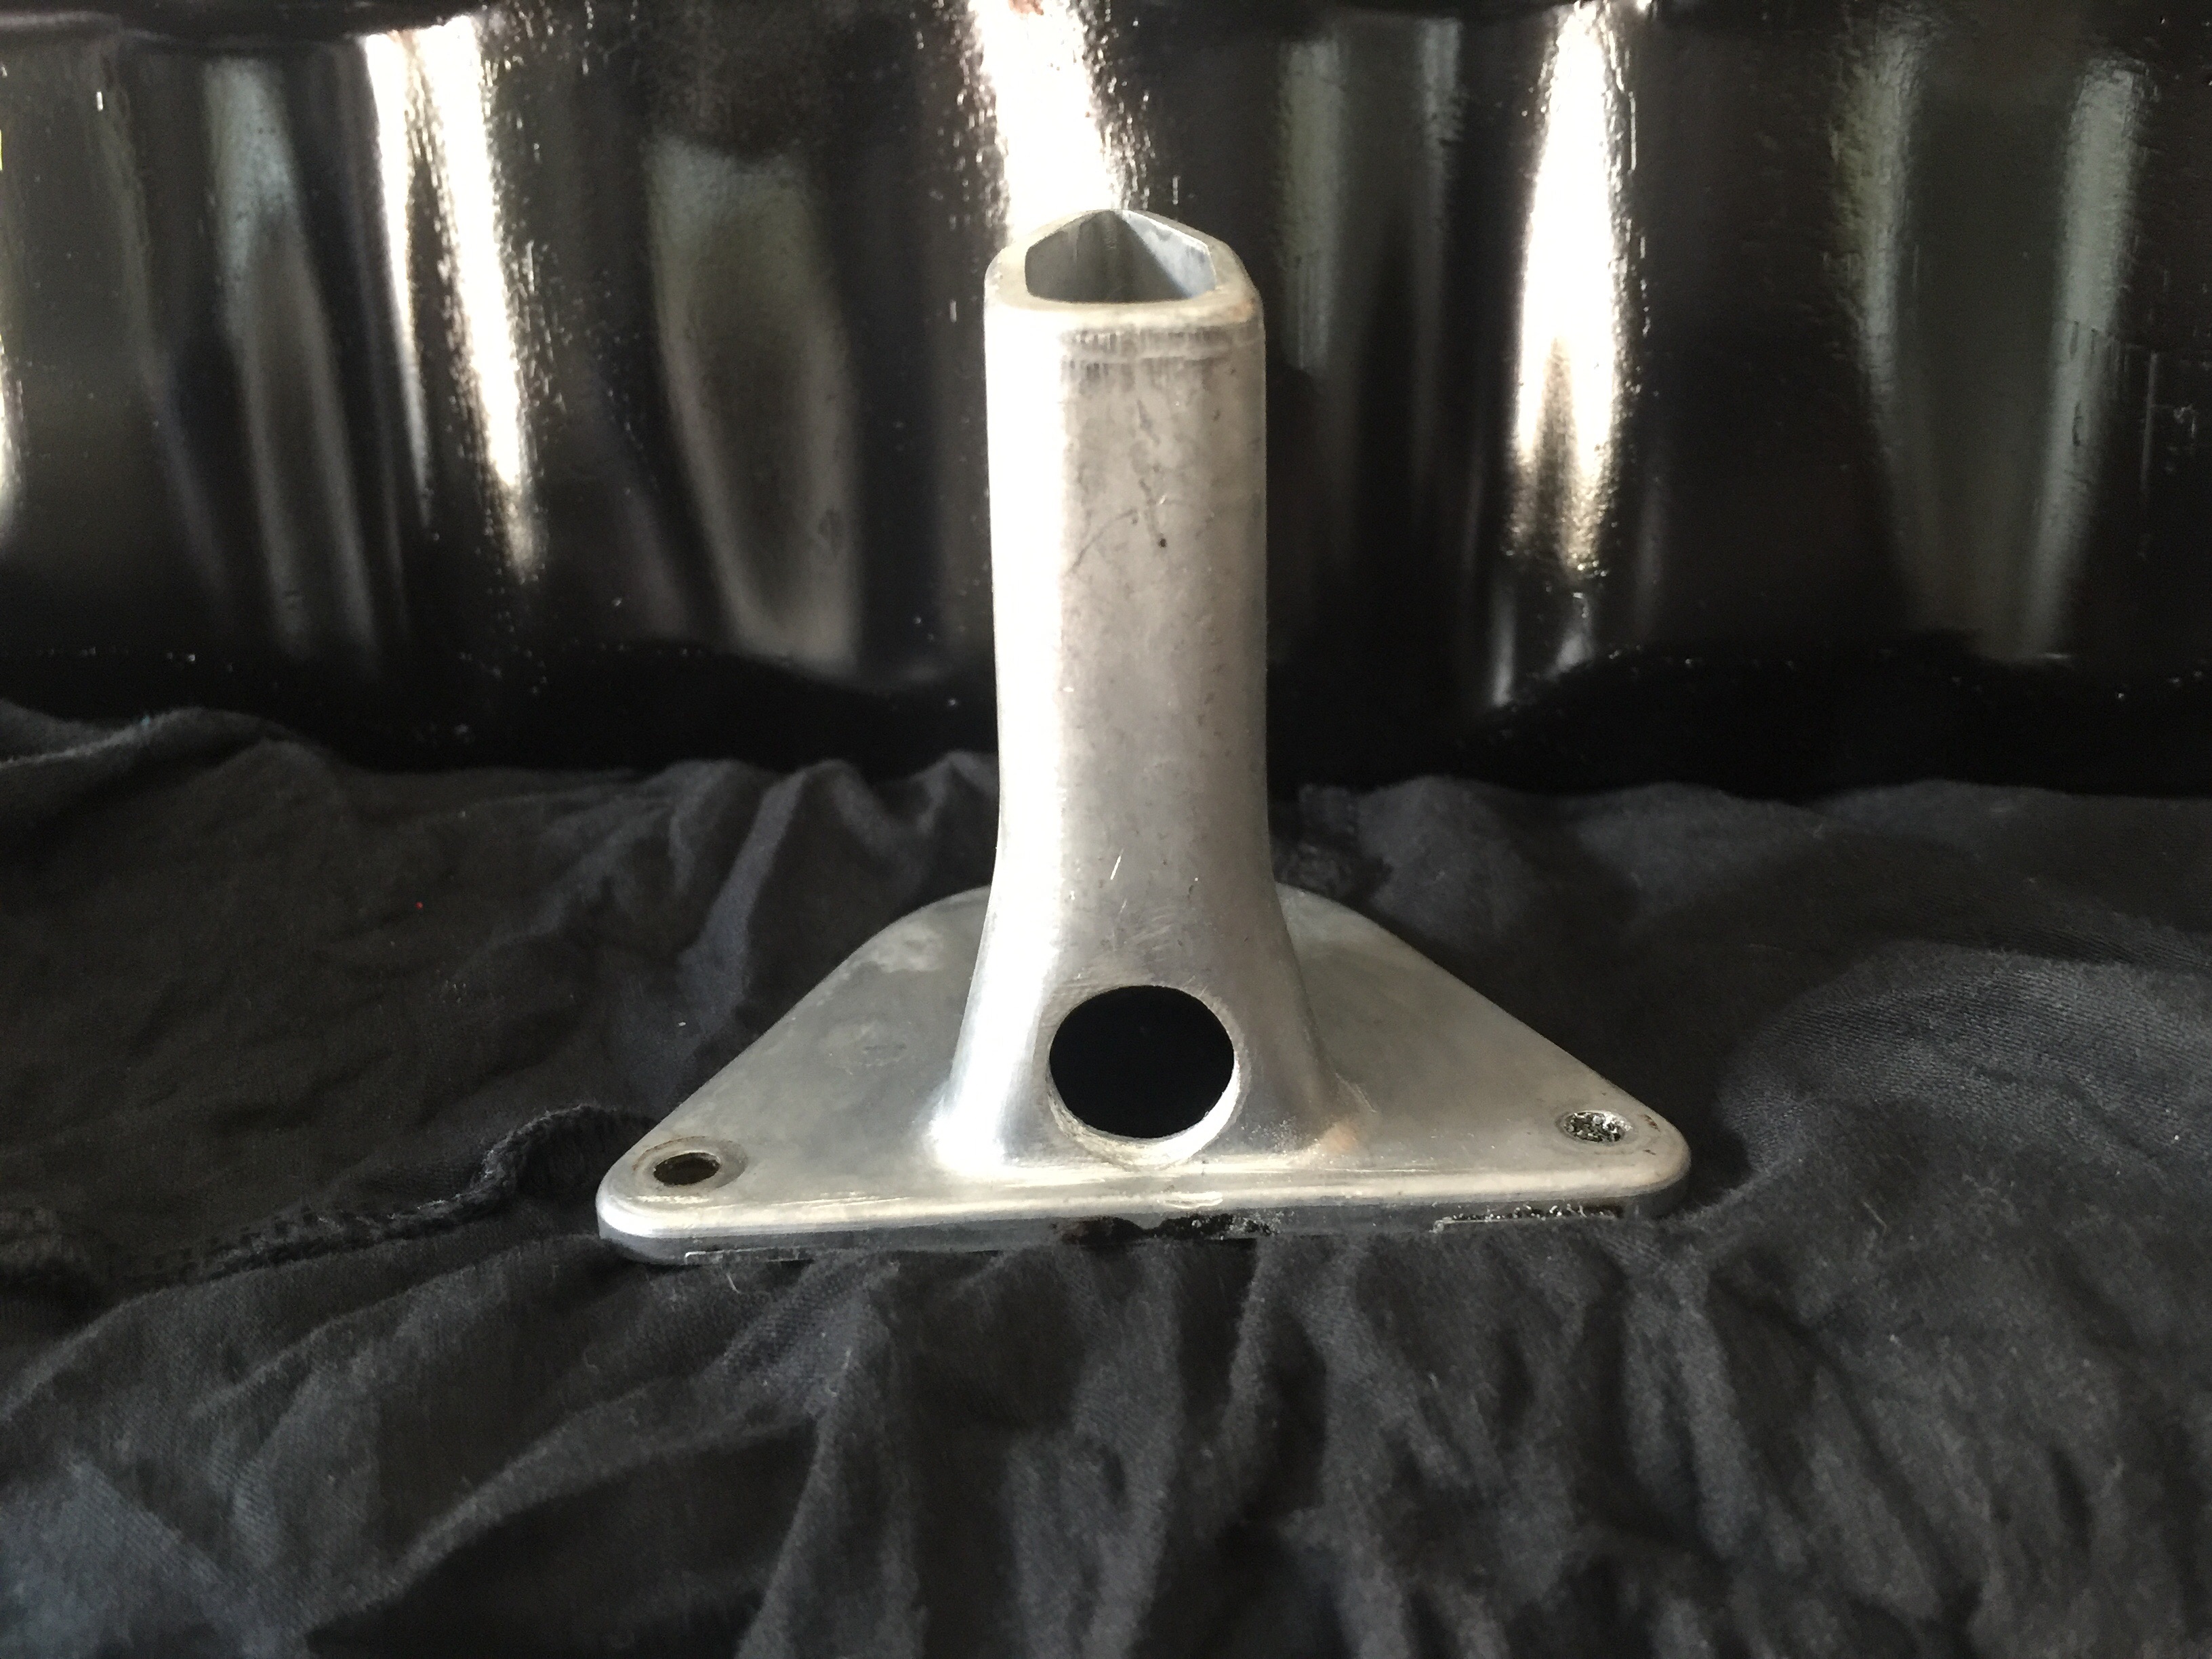
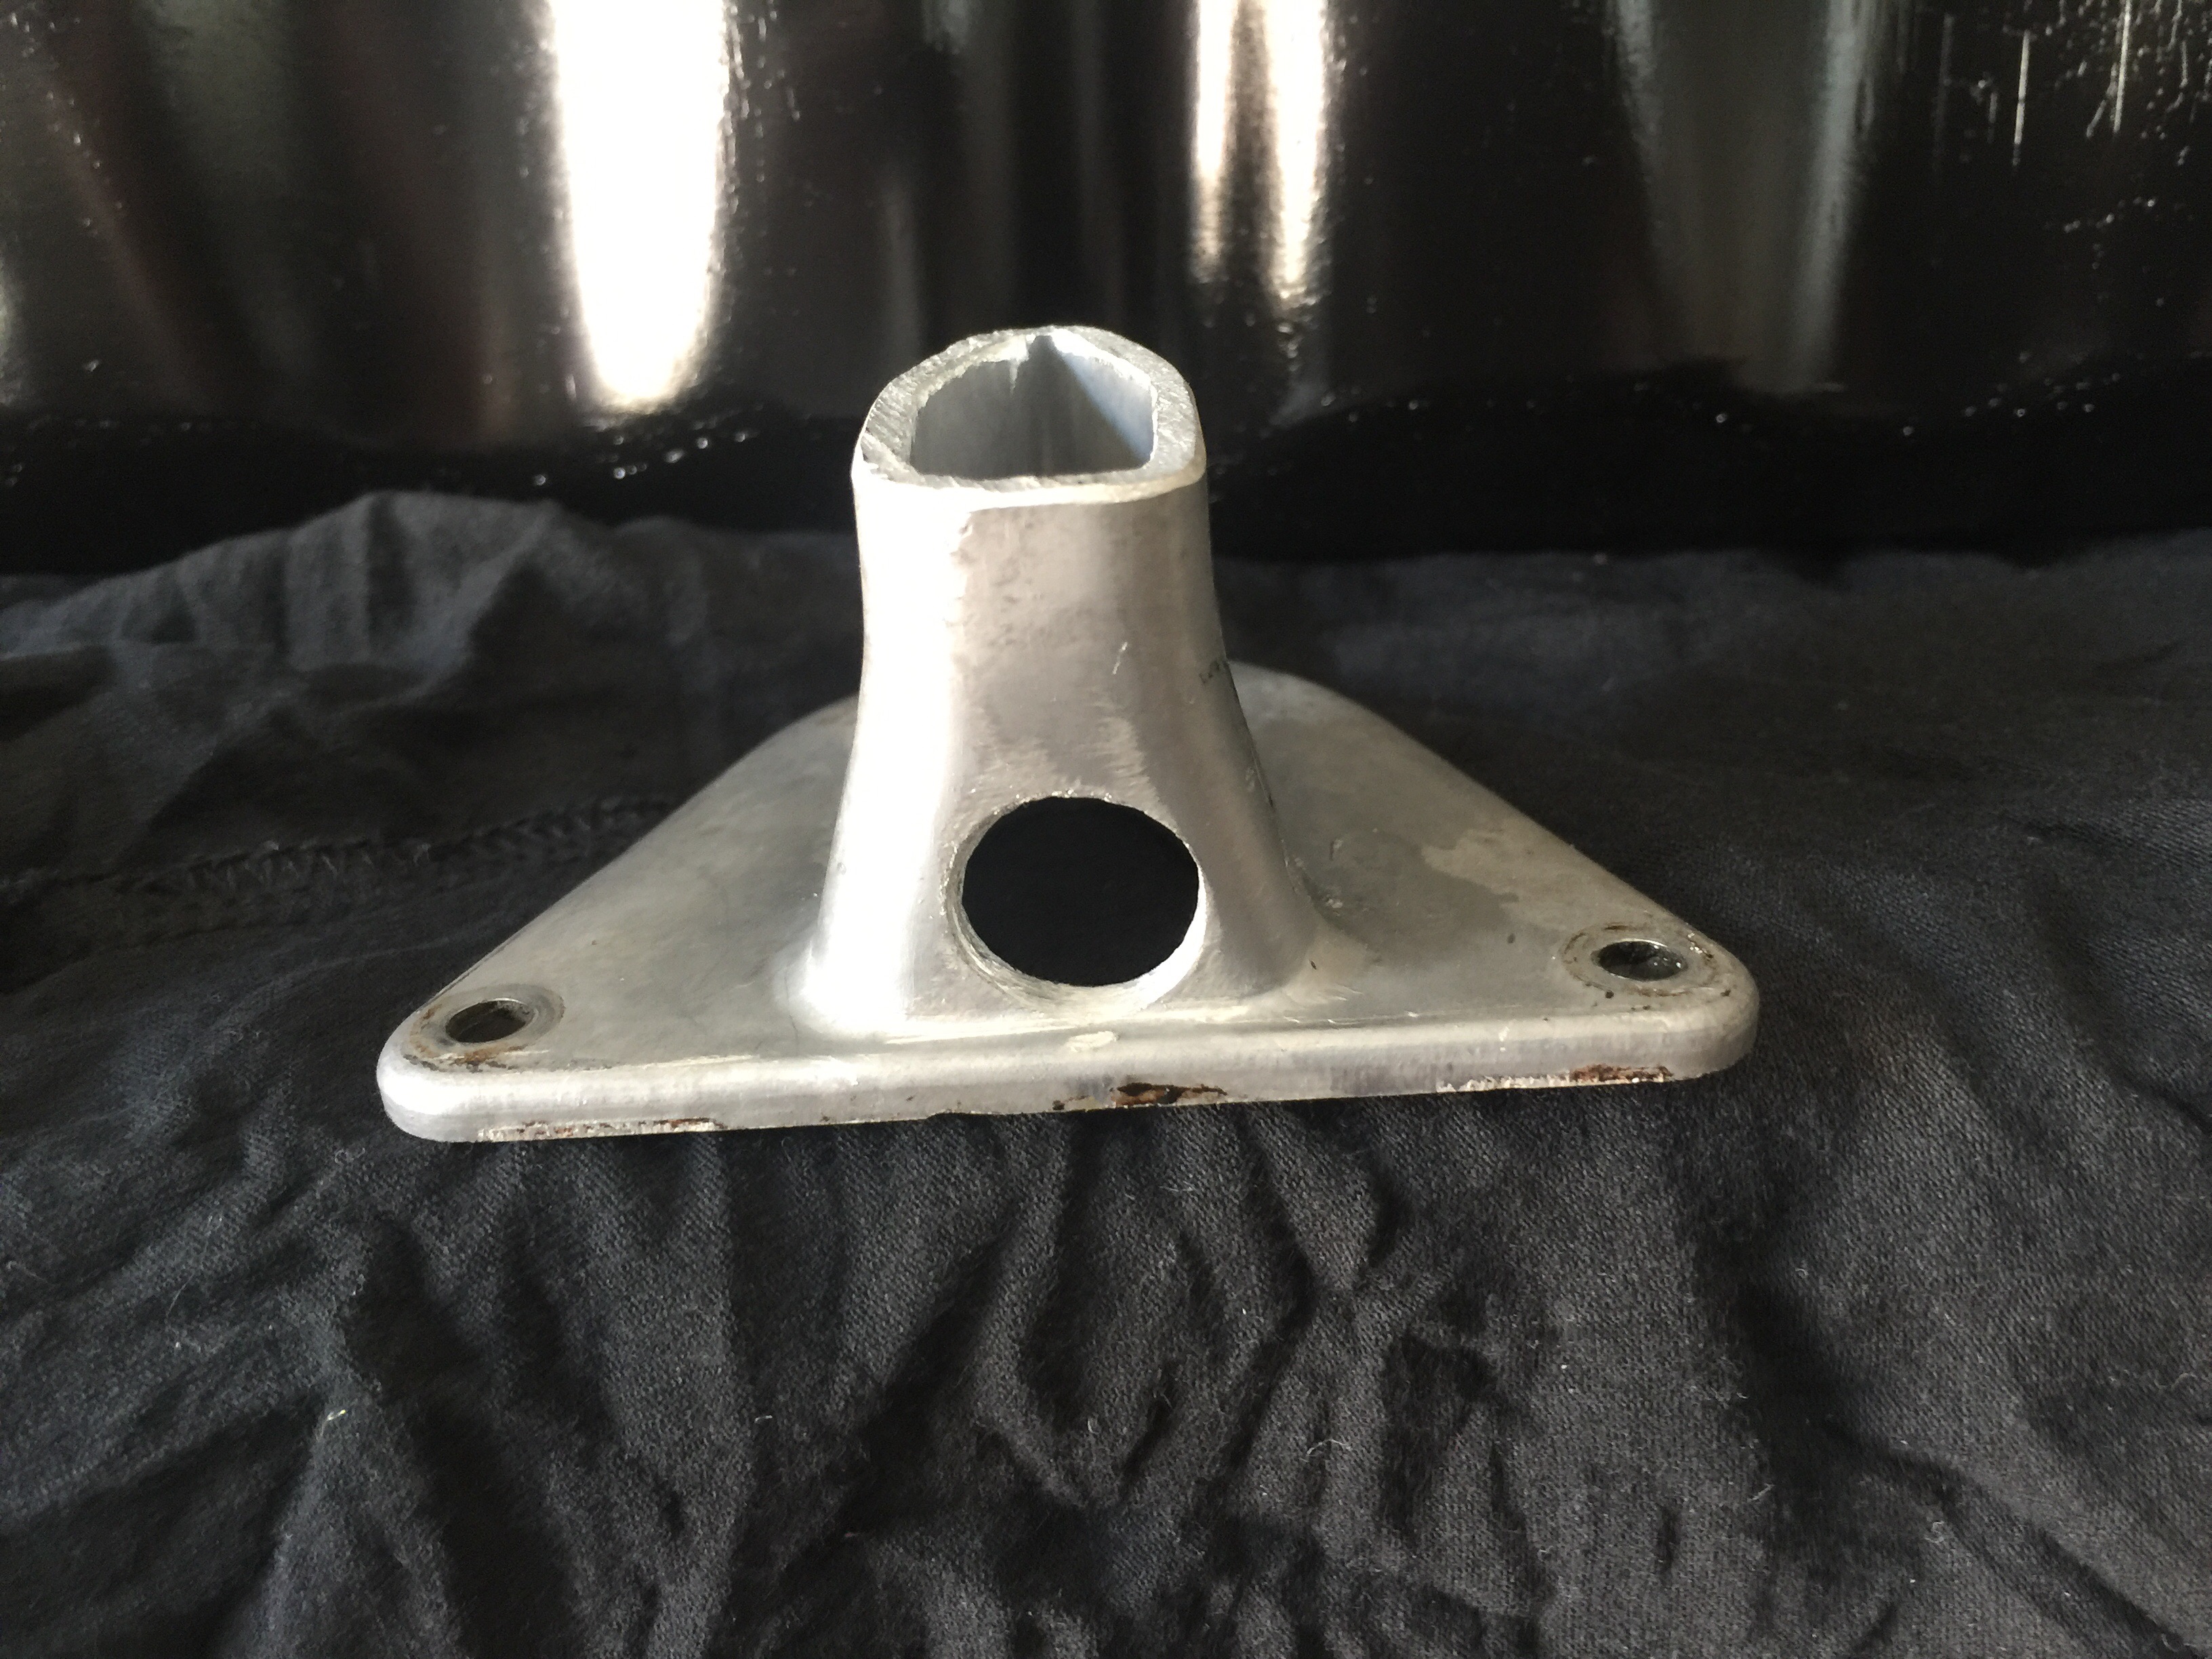
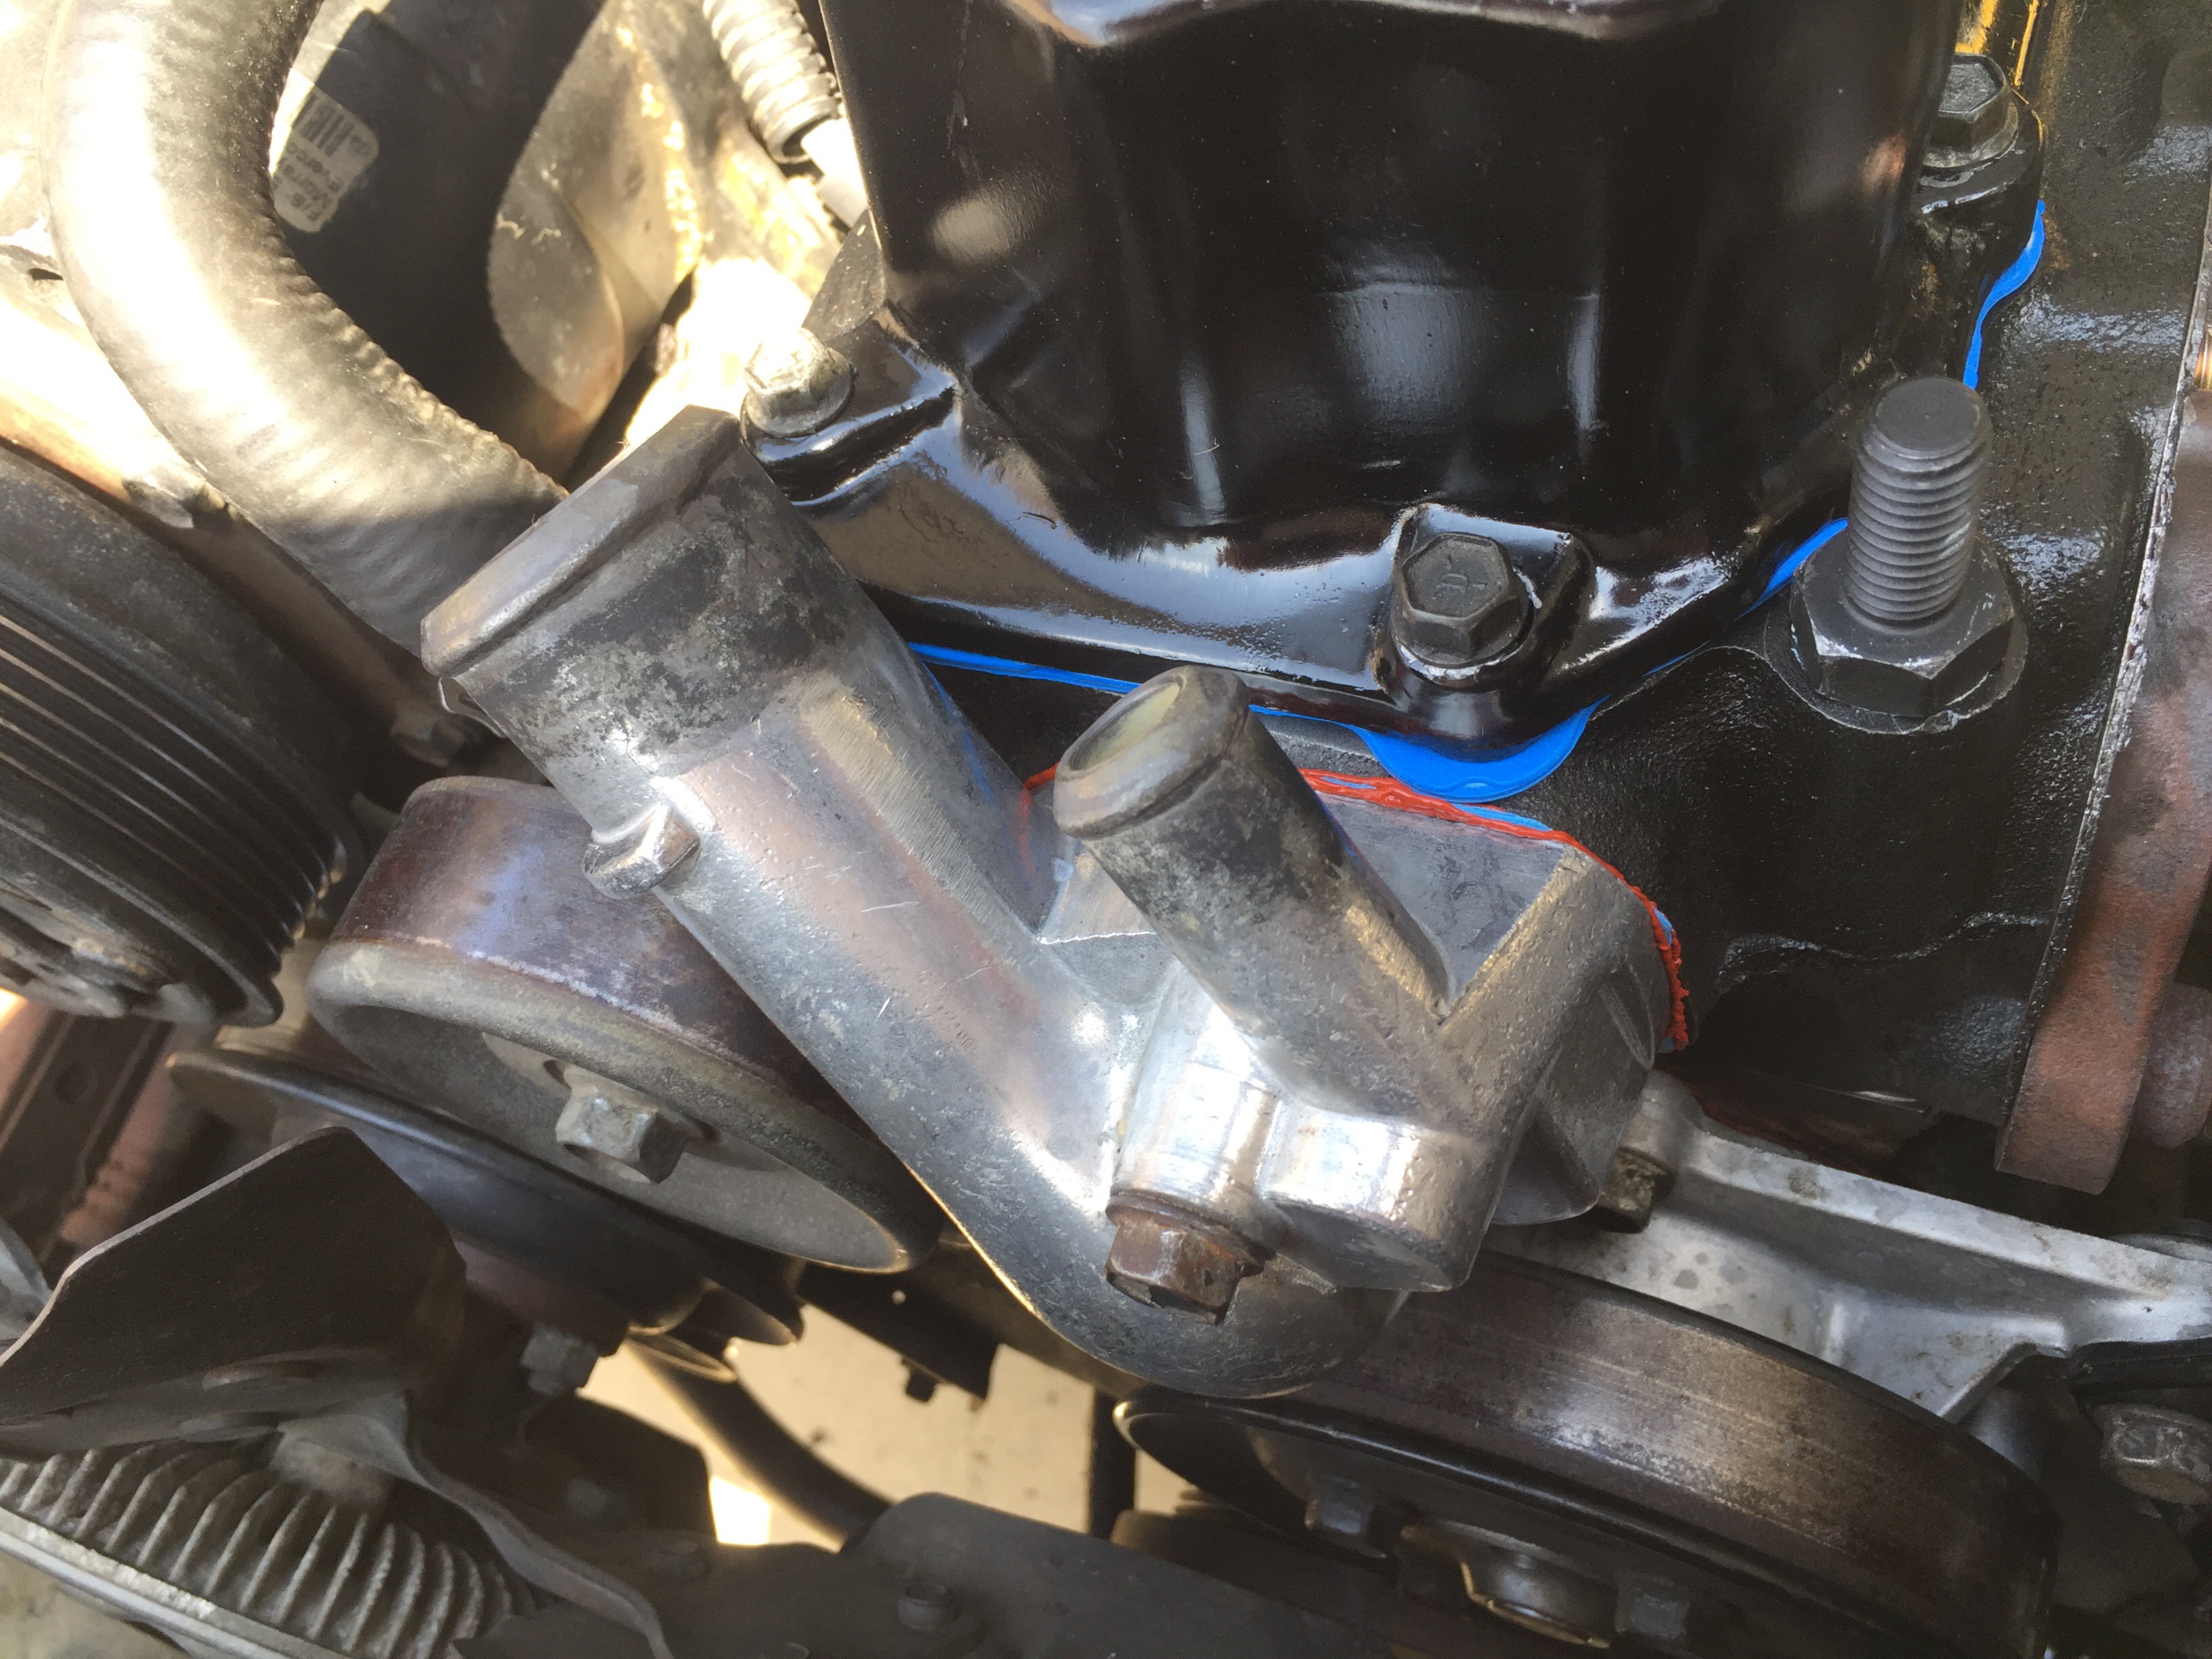
 Almost ready to fire up. I got my new EGR valve and installed it along with the throttle/cruise control/kickdown cable bracket.

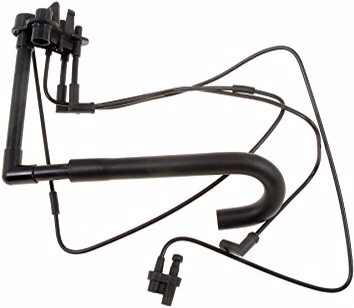
To finish up the repairs I took all doubt out of having vacuum leaks and replaced the entire vacuum harness. When you buy them new they come in two pieces. A front and rear harness.
Front Part #: Dorman 46003
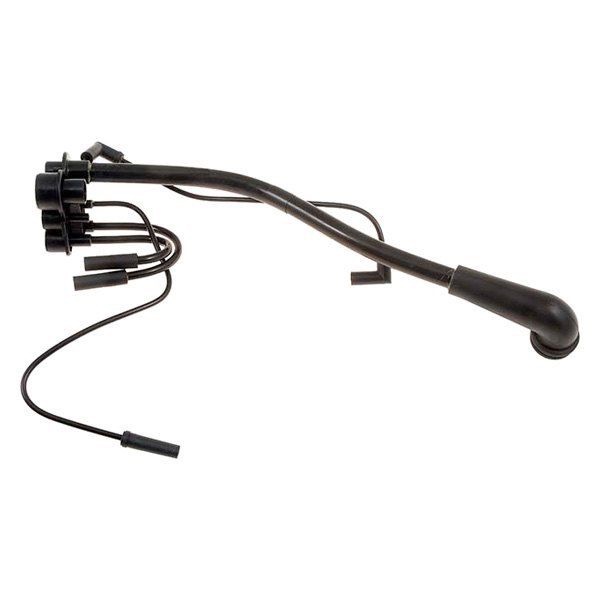
Rear Part #: Dorman 46004
Once the vacuum harness was installed, I put the air cleaner tube on. I double checked that all my sensors and electrical connectors were connected and finally.
