
This was an upgrade I did while cylinder head was at the machine shop getting some much needed work. The process of swapping gauge clusters is rather easy upgrade. Let’s go back to the beginning. When I purchased this project, I can only guess that the previous owner installed an aftermarket oil pressure gauge which still didn’t work.

This was a direct pressure line gauge which I had to get rid of. The line itself was broken so it really wasn’t doing anything. Luckily, the original sender plug was still intact in the engine bay.

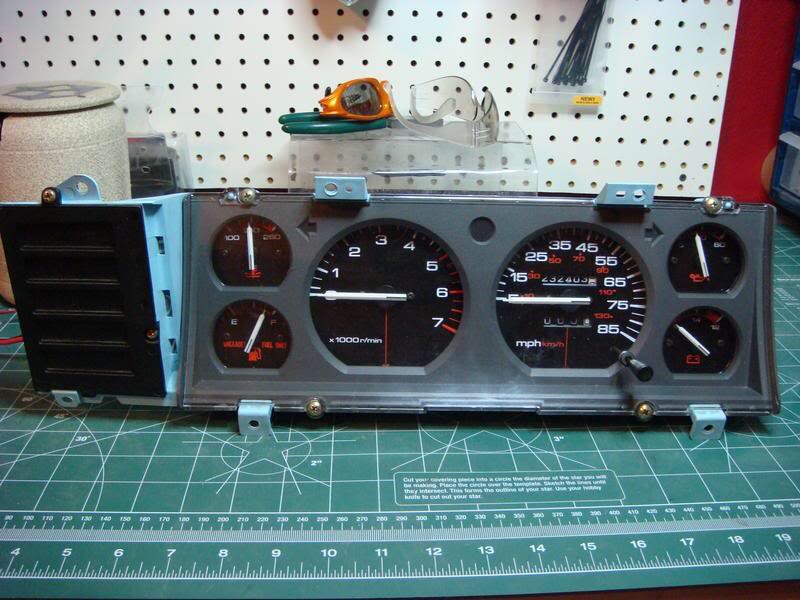
Seeing that this was the way it was installed, it gave me the opportunity to upgrade the whole instrument cluster to a full set of gauges. Now there are some different variations on these clusters. Base models are full dummy lights with only a speedometer and a fuel gauge. Mid-level sets have an oil pressure gauge, temperature gauge, charge gauge, fuel level gauge and speedometer. The full set has everything the mid-level comes with but also includes a tachometer.


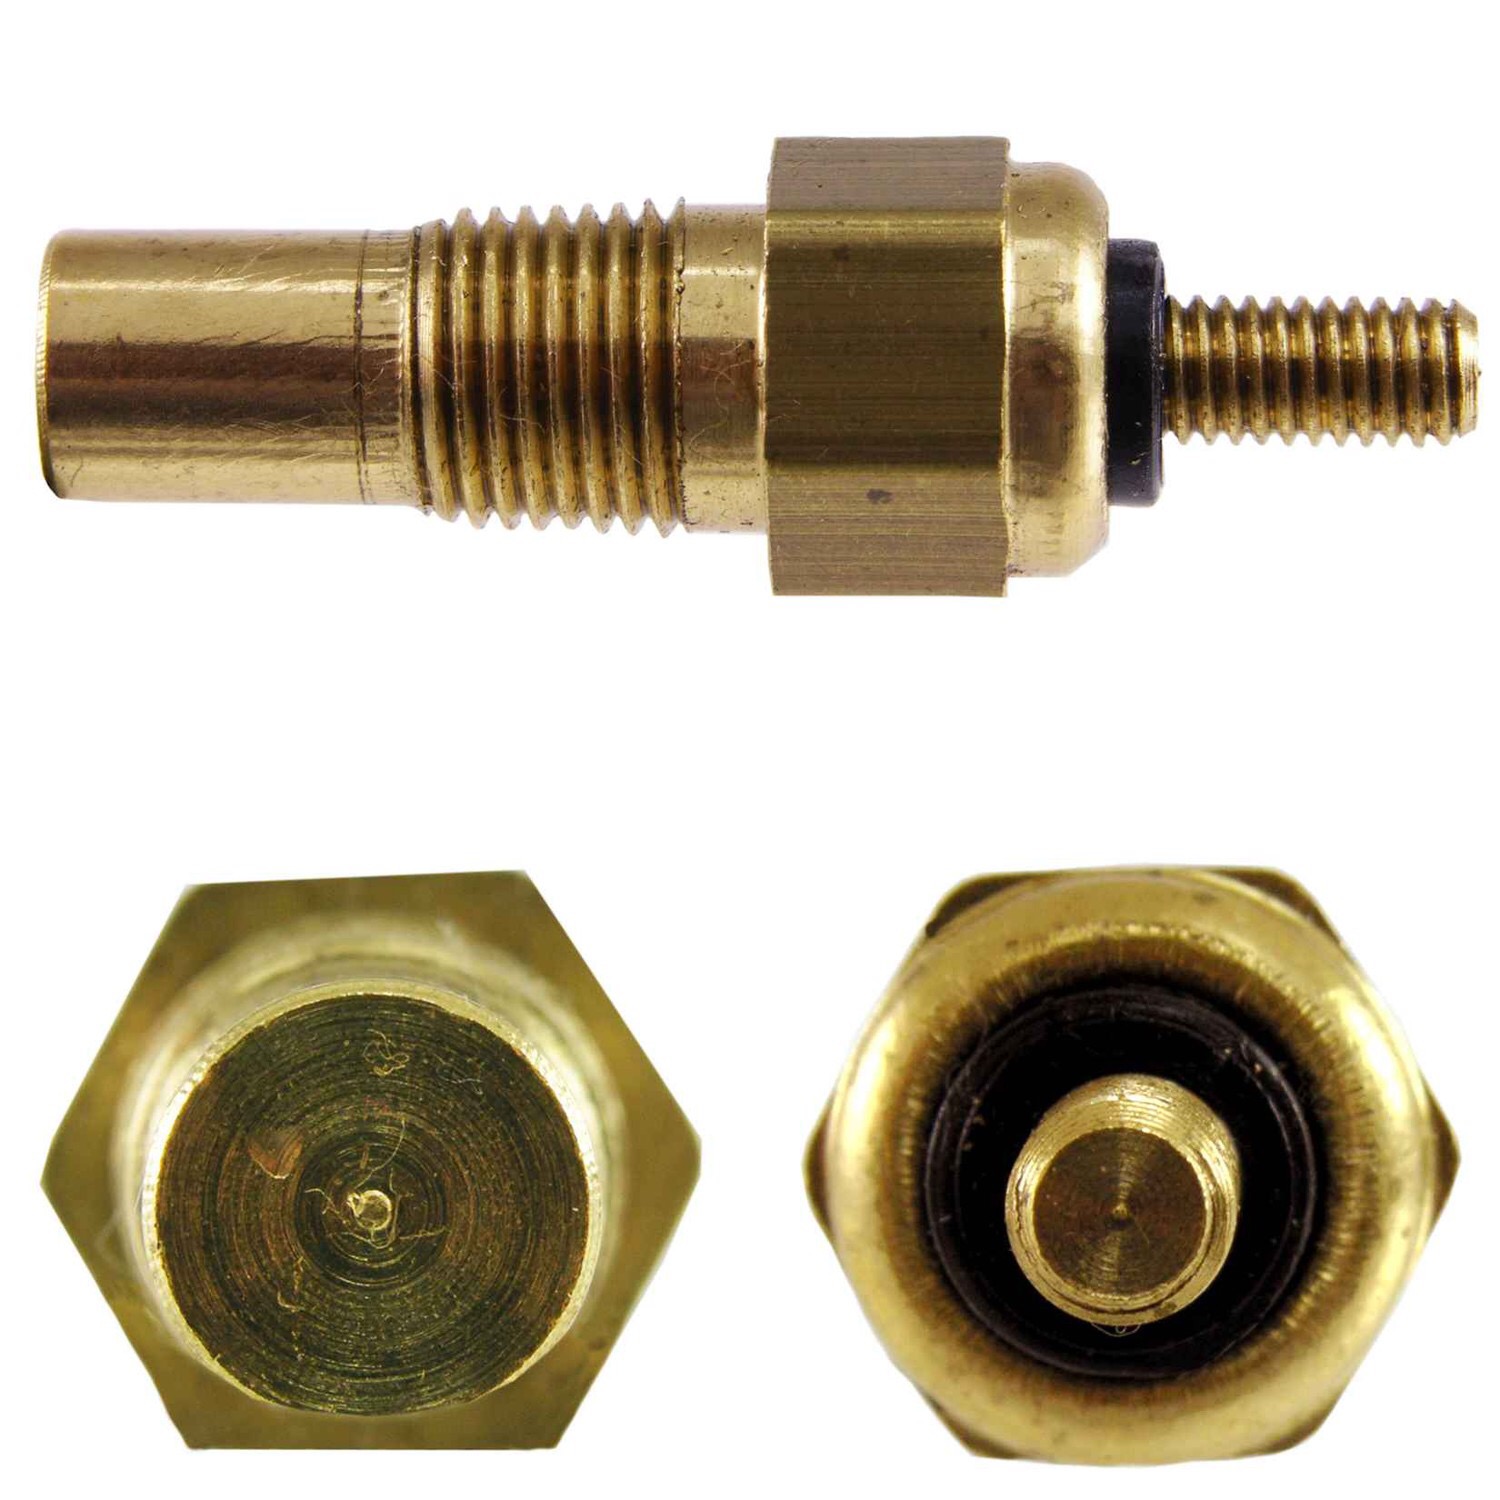
Depending on which set you have will cause you to have to upgrade different senders from switch senders to gauge senders. For full dummy light clusters you will need to purchase a new oil pressure sender for a gauge and a new temperature sender for a gauge.
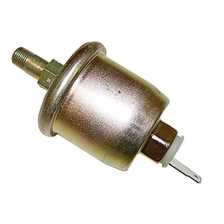
Simply unscrew the old units and install the new ones. PRO-TIP: Don’t put teflon tape or any other thread sealer on the sending units. Just screw them in with a mild amount of torque. Don’t crank them to death or you chance breaking the sender or messing up the threads. The oil pressure sender is on the passenger side with a single wire coming off it.

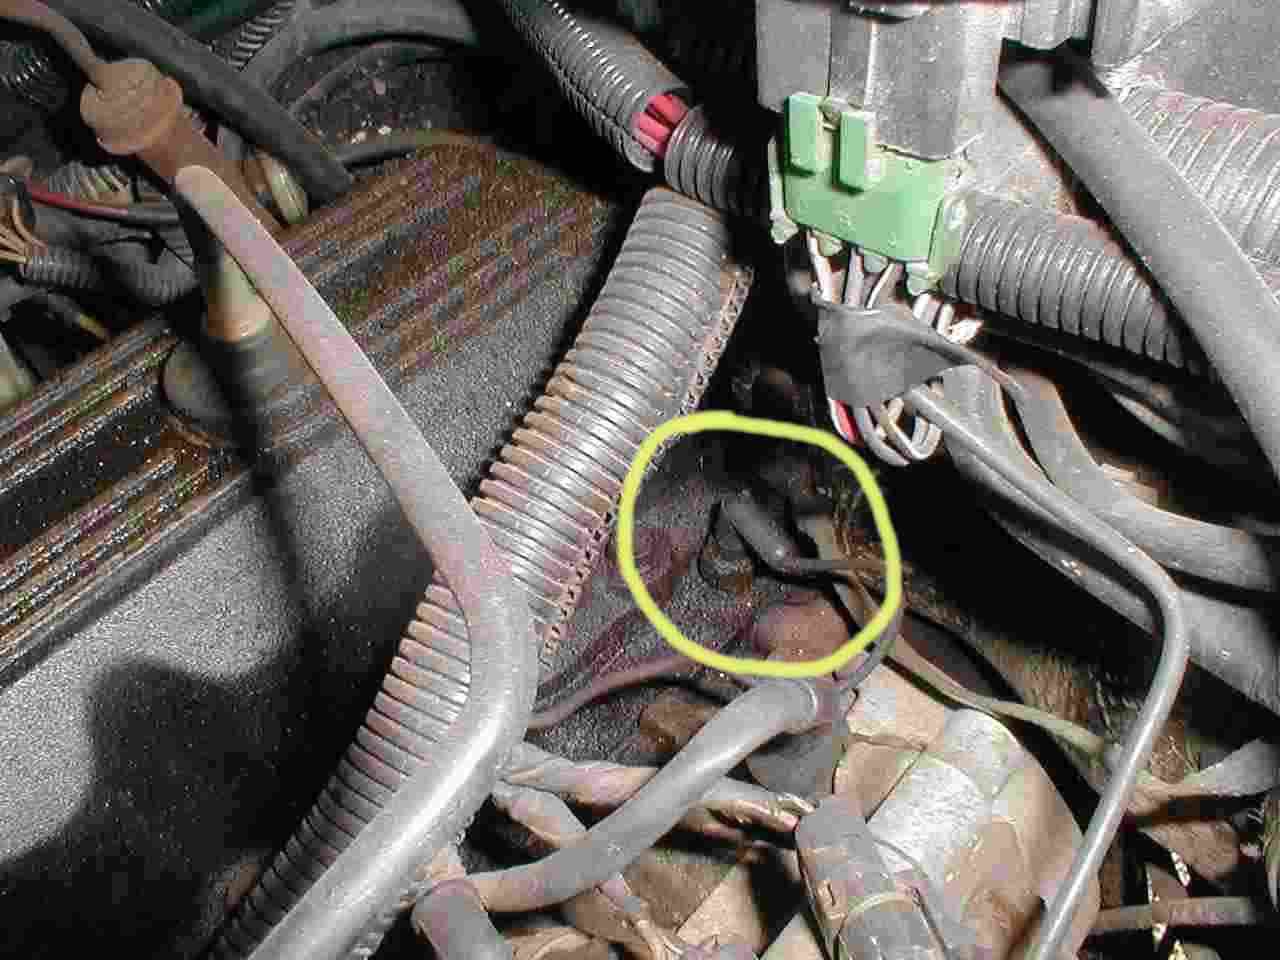
On Renix heads and some models of the H.O. heads, the temperature sender is on the back of the cylinder head on the driver side.
For the mid-level clusters with the oil pressure gauge and temperature gauge already in the cluster. You don’t have to change any senders. Mine required installing a new oil pressure sender due to the previous owner installing an aftermarket gauge in the cluster. I went to the junk yard and found three Renix era Cherokees with full gauges. I snag all three in the event one of the gauges didn’t work mechanically, I could easily swap in a different gauge to make them all work.

When you pull one from the junk yard, make sure you take the upper speedometer cable with it in case your retainer clip on the back of the speedometer is broken.
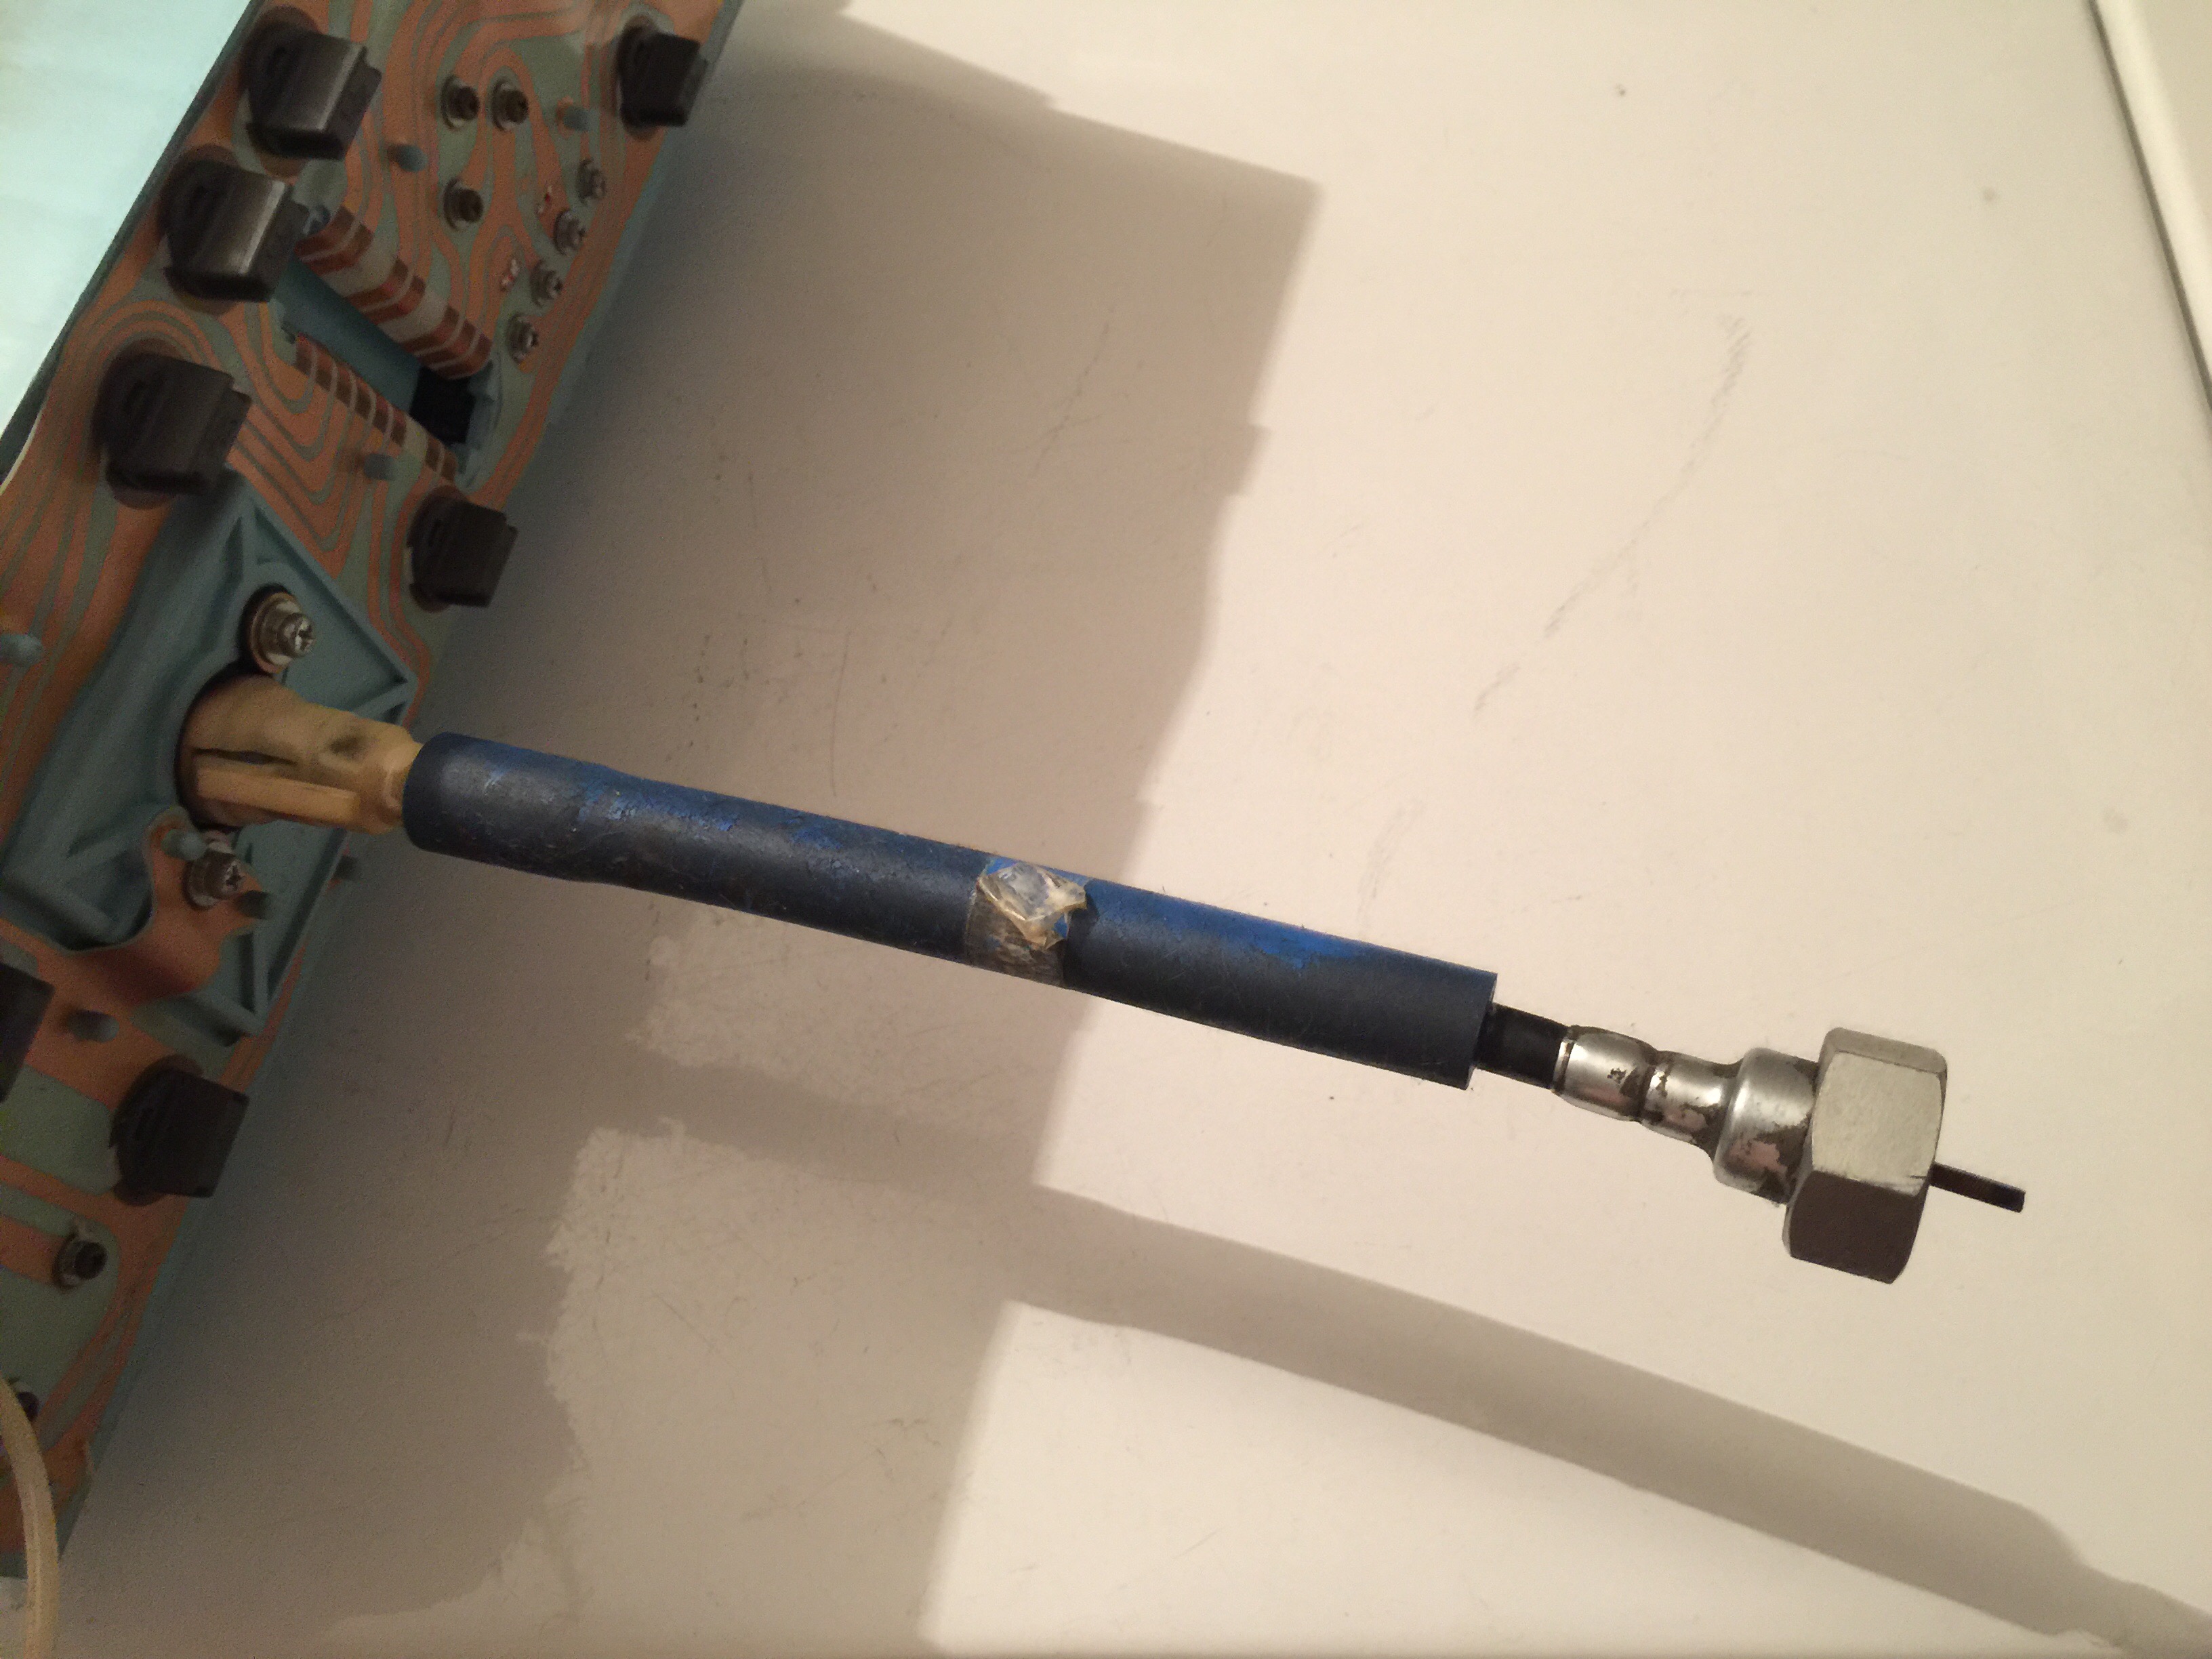
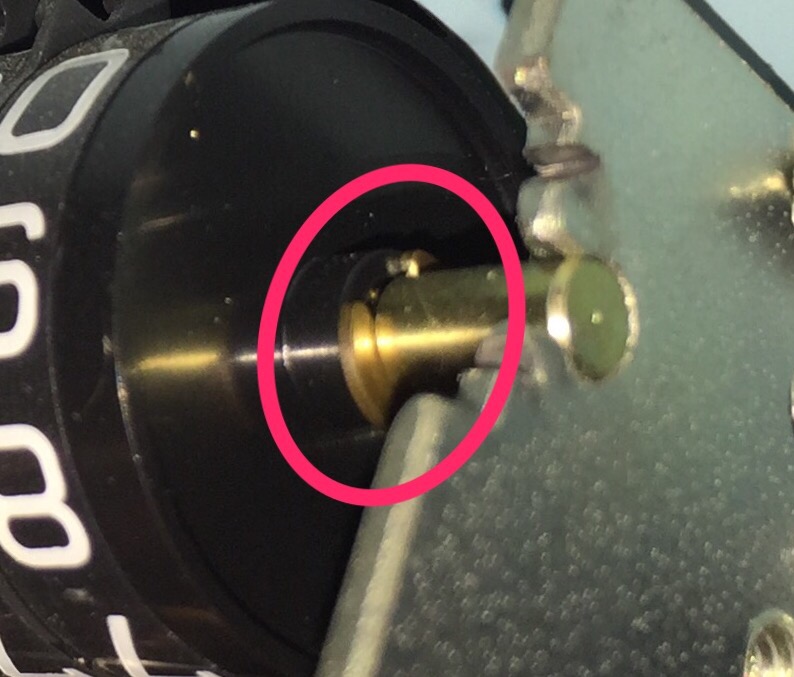
Now depending on if the vehicle you pull the cluster from has cruiser control or not, you may see a difference in the upper cable you have from the one you pulled from the junk yard. If your upper cable is in good shape just re-use yours but if not, here’s a little PRO-TIP: Remove the plastic adapter in the upper cable, that is in the end that attaches to your cruise control speed sensor.
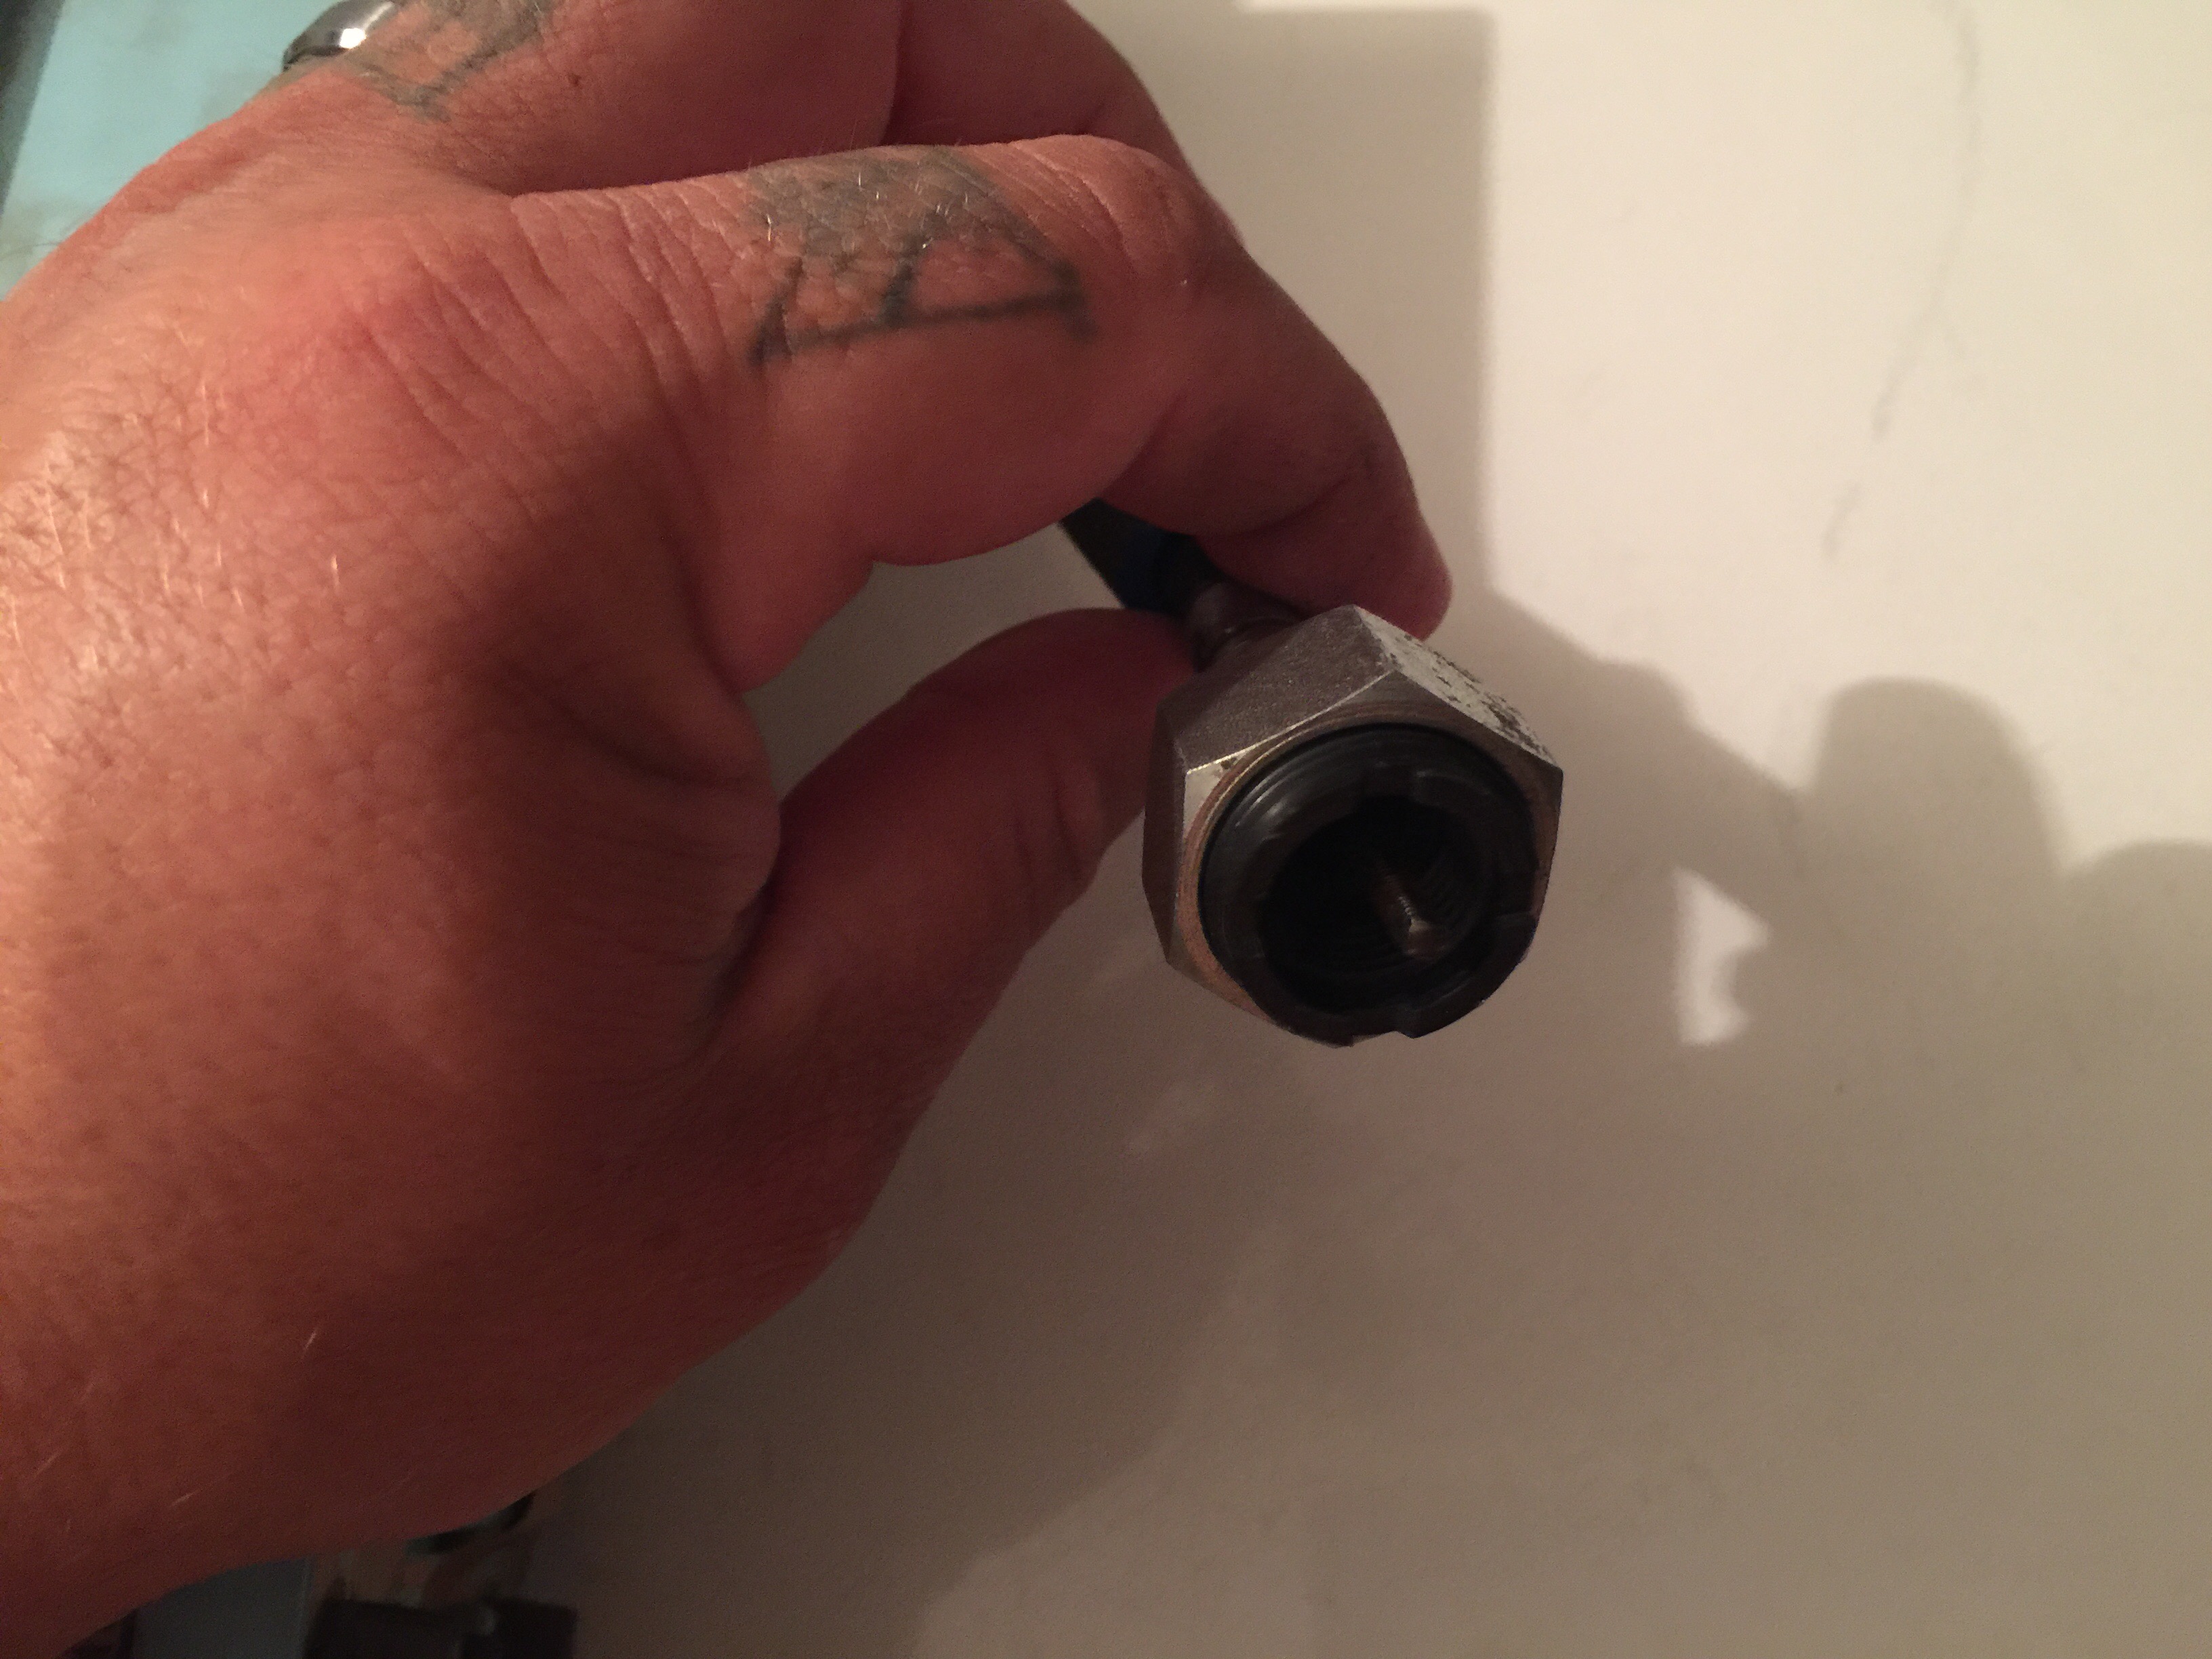
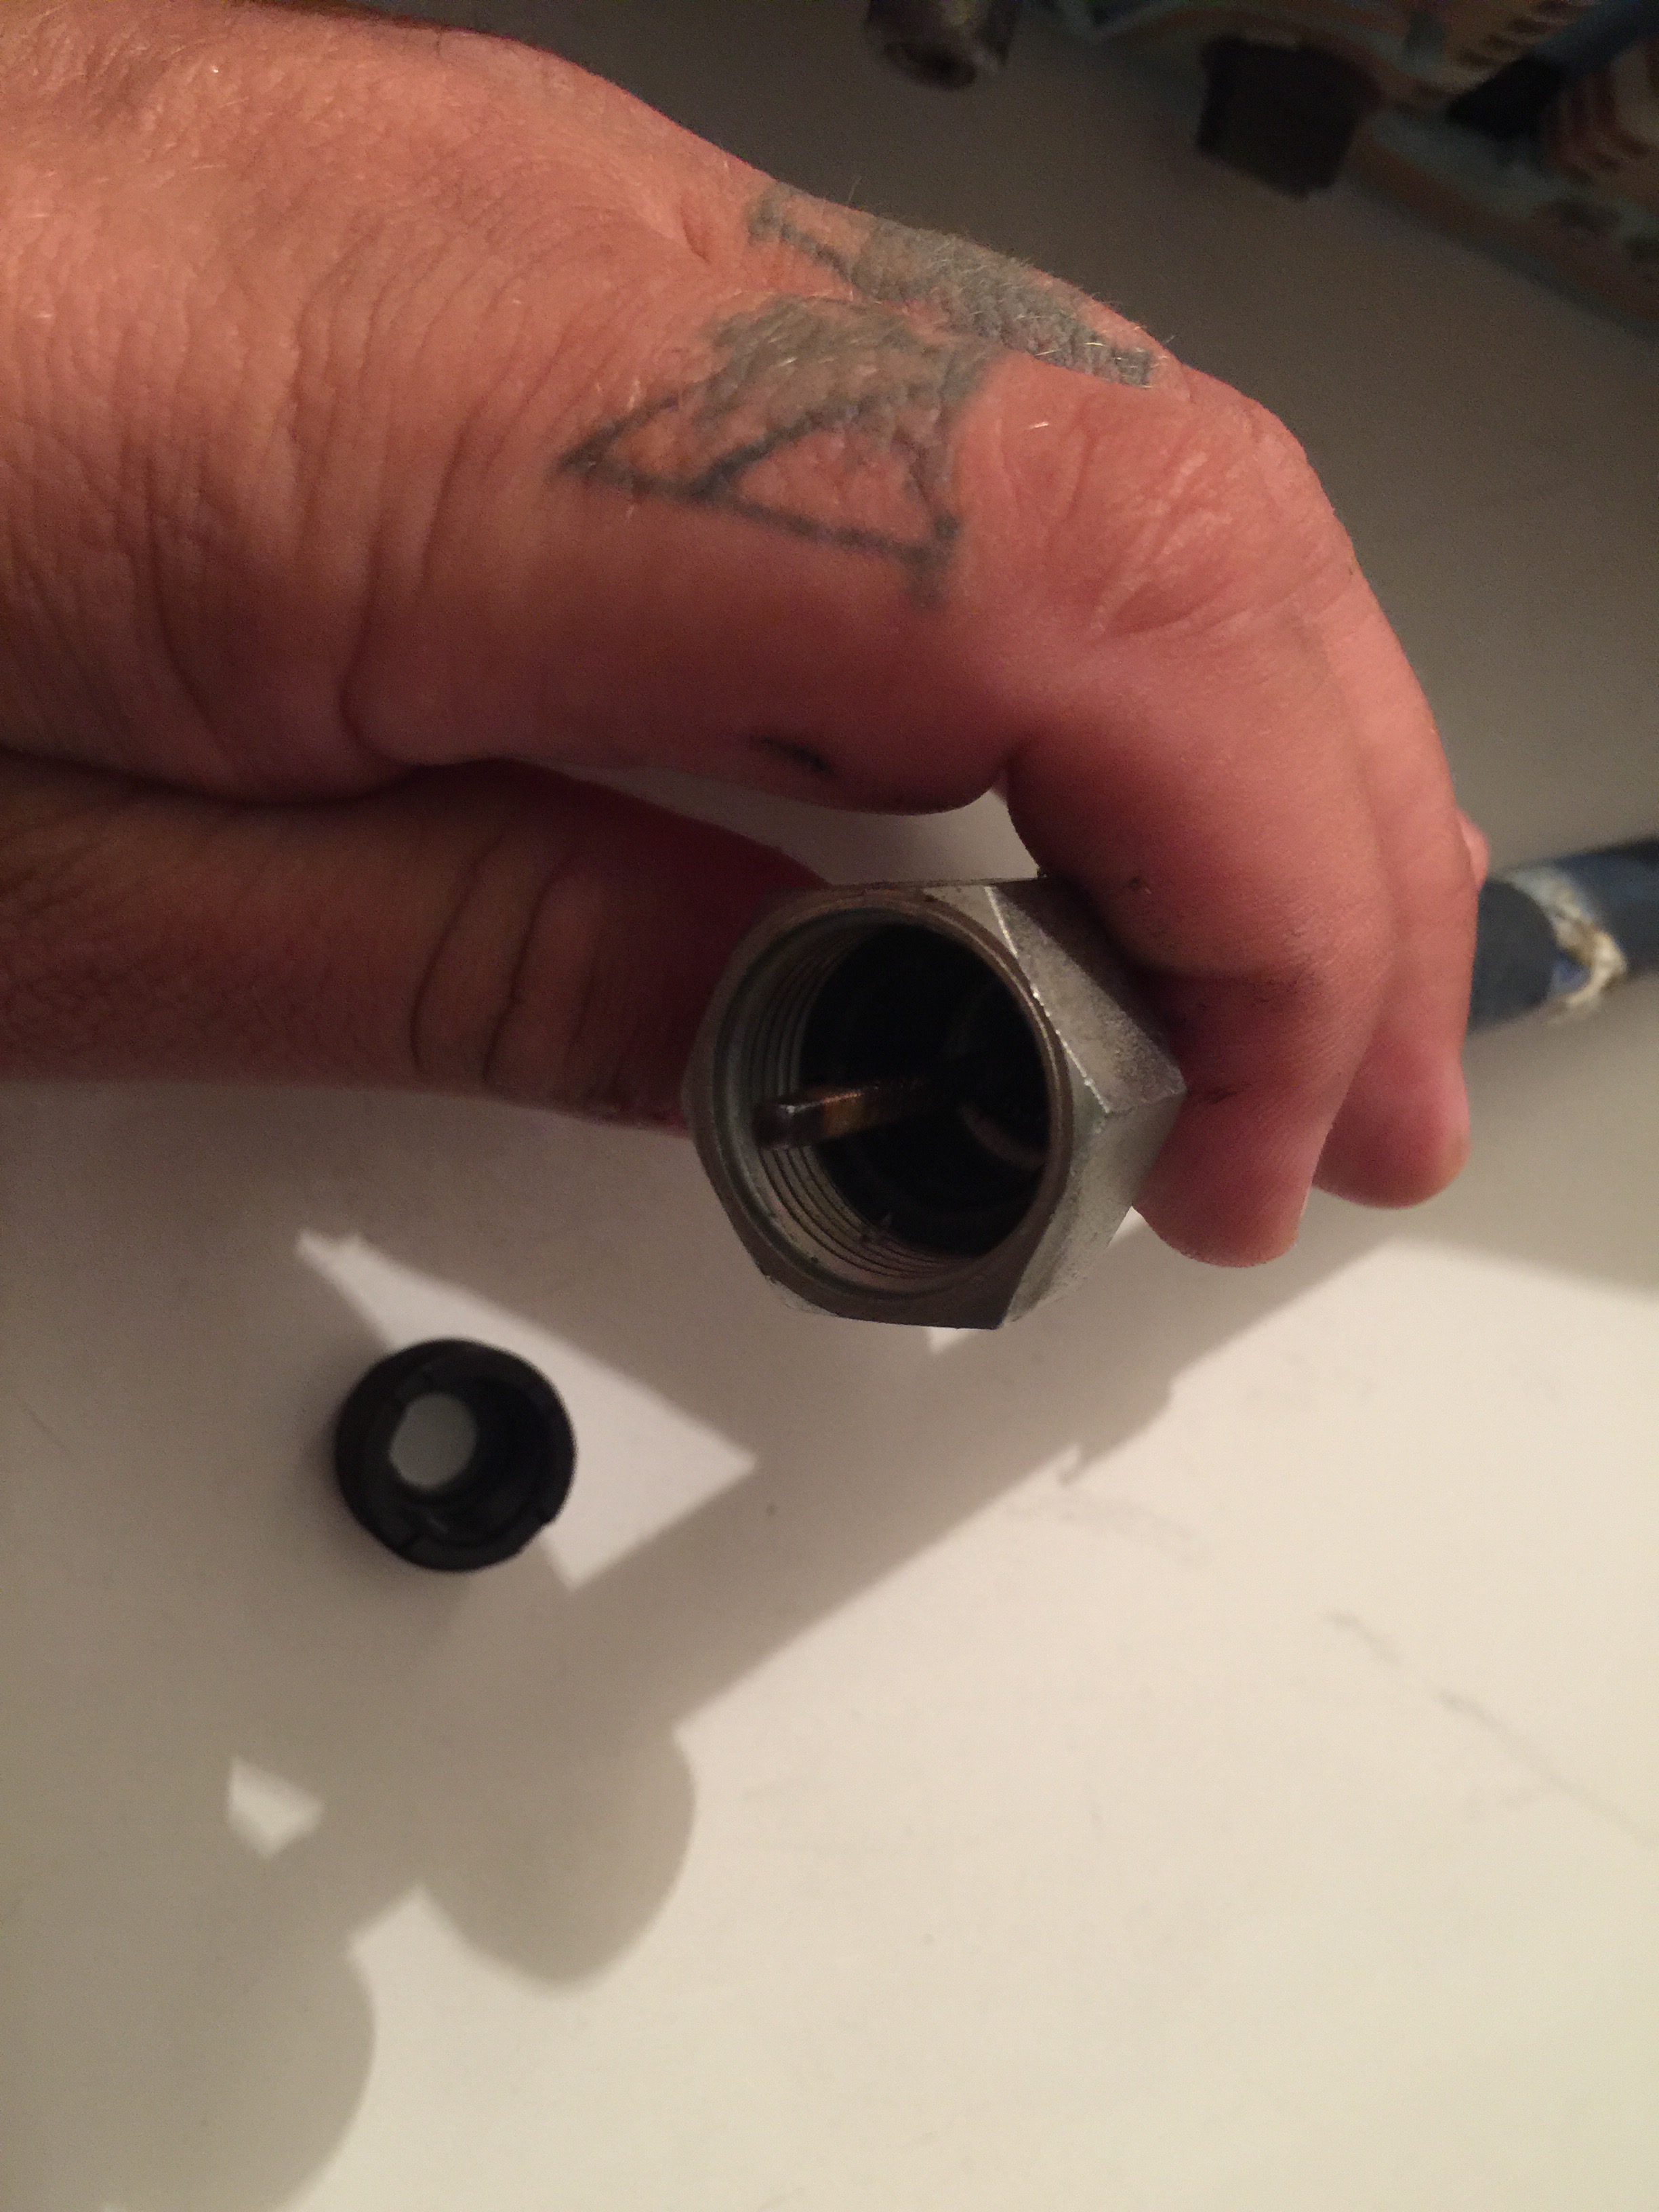
Simply grab some pliers and hold the black plastic inner piece and unscrew the large nut it’s threaded into. Now it should attach to your cruise control speed sensor.
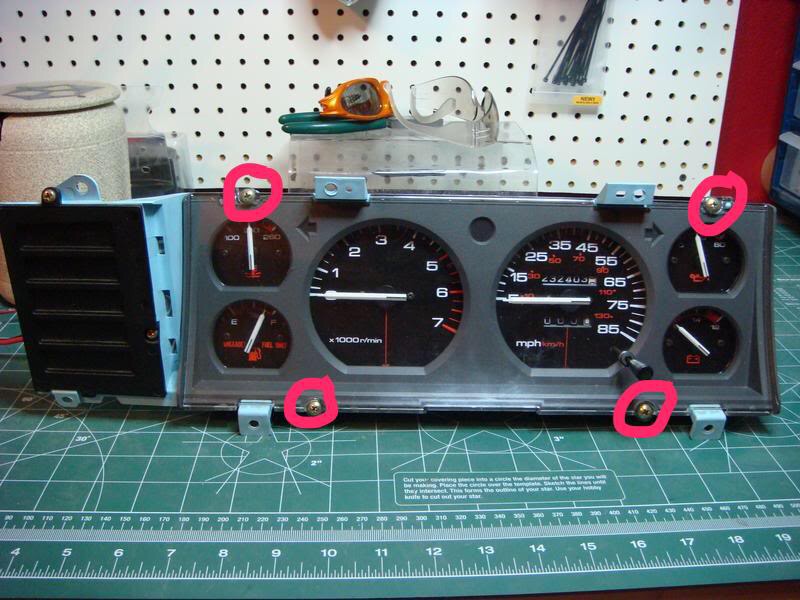
Now installing the new cluster will require removing the dash bezel. Disconnect the negative battery terminal. Pull the four screws out holding the bezel on and gentle pull it back. Carefully maneuver the bezel out and you’re almost ready to pull the old cluster out. If I remember right, there are six screws holding the cluster in the dash. You may have to remove some of the switch panels below the cluster and the 12 volt cigarette plug plate to get to one of the screws. Once all the screws are out don’t just pull the cluster out. Now get ready to lay on your back and unscrew the upper speedometer cable from the lower cable that goes to the transfer case. If you skip this step you won’t be able to pull the old cluster out. You should have figured this step out at the junk yard.
Once the speedometer upper cable is detached from the lower cable, gently pull the cluster out and use a small flat blade screw driver to assist you in unplugging cluster harnesses. I marked mine to assure proper orientation when I plugged them back in. Once both harnesses are unplugged gently pull the cluster completely out.
Now if your not converting the backlighting bulbs to LEDs, skip this step. I decided to convert all my interior and dash lights over to LEDs. I purchased a full set for the dash lights and interior lights from OneWayLight.com. They give you all the LEDs you need for converting your Gauge Cluster Backlight LEDs (10pcs), High Beam Indicator LEDs (1pc), Turn Signal Indicator LEDs (2pcs), Climate Control LED (1pc – white), Rocker Switch LEDs (4pcs),Transmission / Transfer Case LEDs (2pcs), Replacement Diffusion Film – Transmission (1pc – opaque) to LEDs. I chose white for increased visibility of my gauges. Just pull the LEDs from the individually labeled packages and install them accordingly in the back out the cluster.

Just twist the sockets counterclockwise and pull to remove the sockets. Now this is where it’s will take some time to get them all right. Before you install the cluster. Put the LEDs in and twist them clockwise. Once you put the sockets back in the hole you pulled it from, finish the rest of the sockets. These LEDs are not bi-directional meaning they have to be oriented correctly to turn on. Once you have the LEDs all installed take the cluster back to your Jeep and plug the gauge harness back in. Reconnect your battery and turn on your parking light and check for any LEDs that are not lit. If there are any that are not lit, simply twist that socket out, rotate it 180° degrees and reinstall and it should light up. Once all the LEDs are lit, turn off the parking lights.
Now again this next part is also optional but I wanted my odometer on the new cluster to match my old cluster. It you don’t care about matching the odometers, just reinstall in the reverse order you removed it. If you want to match the odometers, disconnect the battery again and unplug the harness. Take the cluster to your work bench and remove the the four screws holding the plastic cover on.
Remove the clear plastic and grey shroud to reveal the gauges. There are four screws holding the speedometer in. Gently remove the rear screws first, then the front two.


Gently pull the speedometer out and set it aside.

Now turn the speedometer over to see all the workings of the odometer and trip function.

Now this part should be done with care. If you muscle it, you will damage the 30+ year old parts and be S.O.L. There is a little C-clip that holds the odometer wheels in place. GENTLY, remove it with a small pick. The nickname for these clips are “Jesus Clips” and for good reason. If you don’t gently remove it, it will pop off, fly across your work area on to the floor and you’ll be praying to Jesus that you find it again so be careful.
Once you get the C-clip off, gently move the odometer wheels to the right just slightly to disengage them from the cogs they are on. Roll the numbers to match your old odometer read out. Once you match all the number. Move the wheels back on to their cogs and hold the wheels in place. Now this can be hard but reinstall the C-clip. Once it’s on and securing the wheels, reinsert the speedometer back in the cluster and reassemble in the reverse order you disassembled it. Now reinstall the cluster into your dash in the reverse you took it out. Don’t forget to reattach your speedometer cable.
For the other dash lights just remove the sockets and install the LEDs. Before you bolt the dash back together, turn on your parking lights to make sure they function. Bolt the dash back together in the reverse order you disassembled it.
Pop the transfer case cover and shifter cover off if you have an automatic transmission and 4 wheel drive and pull the bulbs out and replace them as well. Pop the cover back on and your done. Turn your lights on, start the engine and take it for a test drive to make sure all gauges function as they should. If all is good then call it done.


Do you have any of those plastic adaptors for the cruise sensor?
LikeLike
I’ll go through my piles of parts and see if I have an extra one.
LikeLike