So I’m back at it again with the HVAC system. Everything works fine, system wise, except I can’t enjoy it now. Why? A bad blower motor. This presented a minor inconvenient problem. In a previous post, I chopped up my relay and data port bracket and relocated everything so I could mount my overflow bottle where it goes on the 91+ Cherokees.
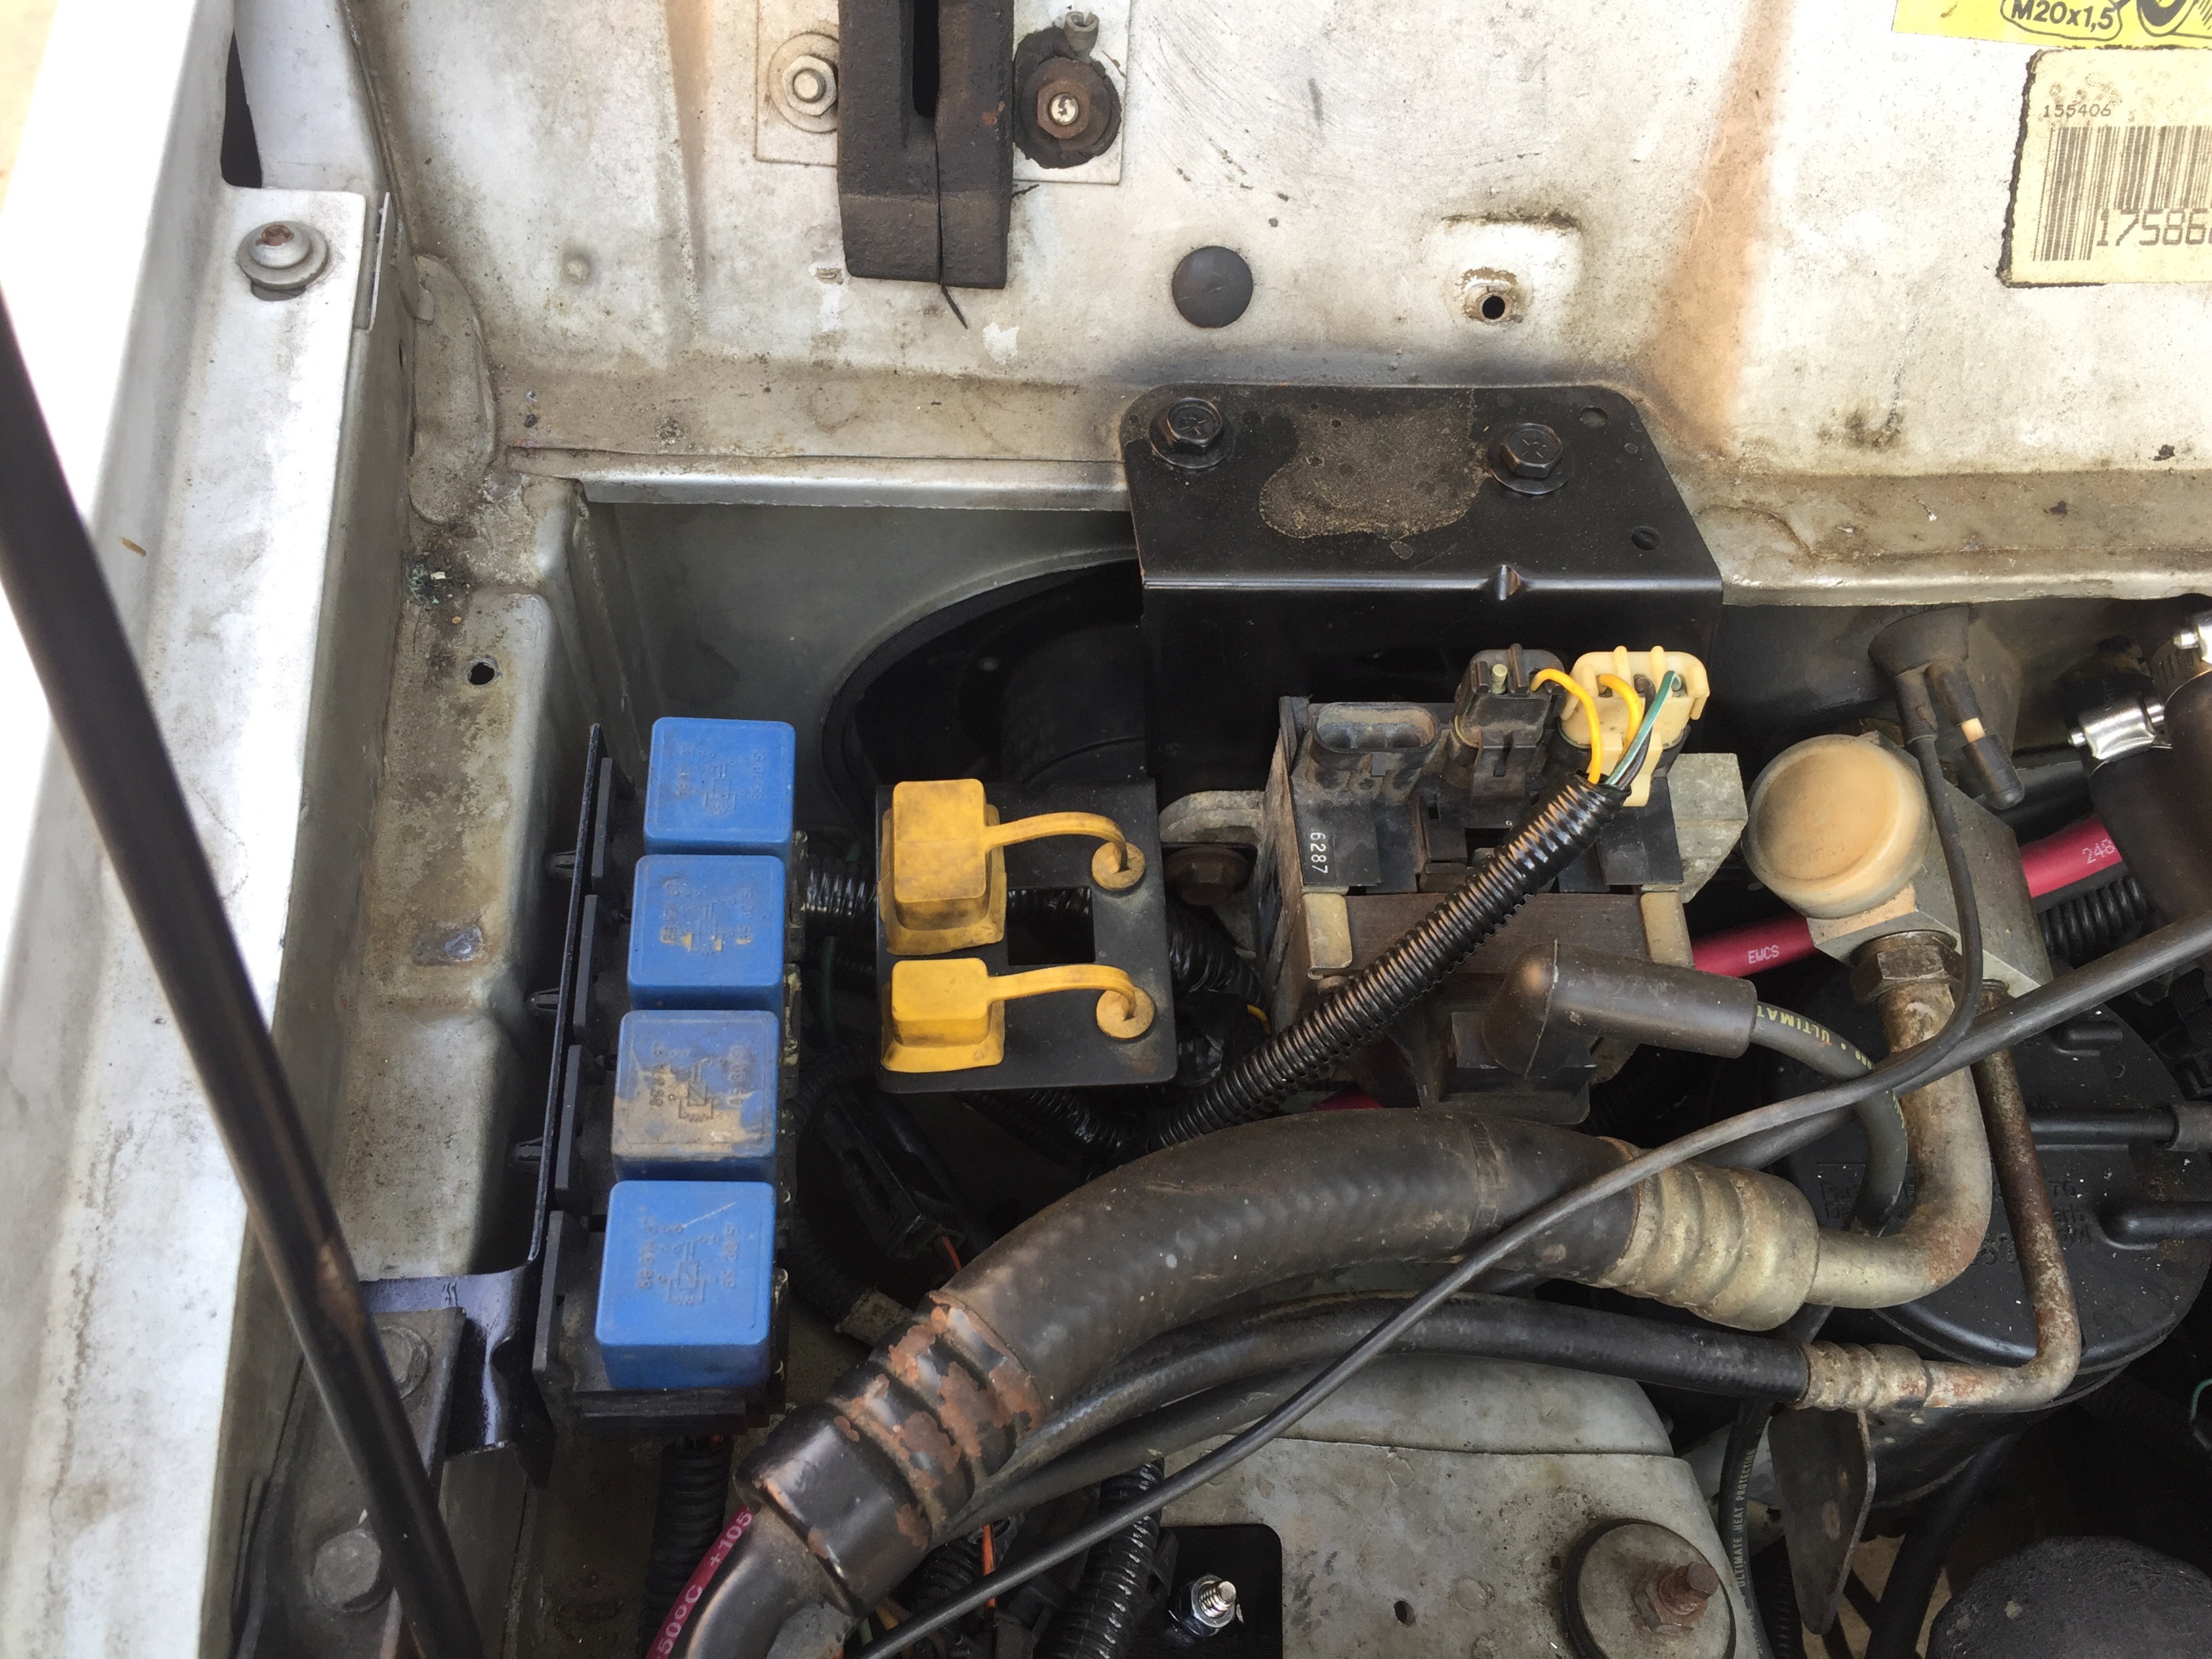
As you can see, all the relocated crap is now in the way. So, time to remove it again to get the blower motor out. I just unplugged everything and laid it all over the AC lines.
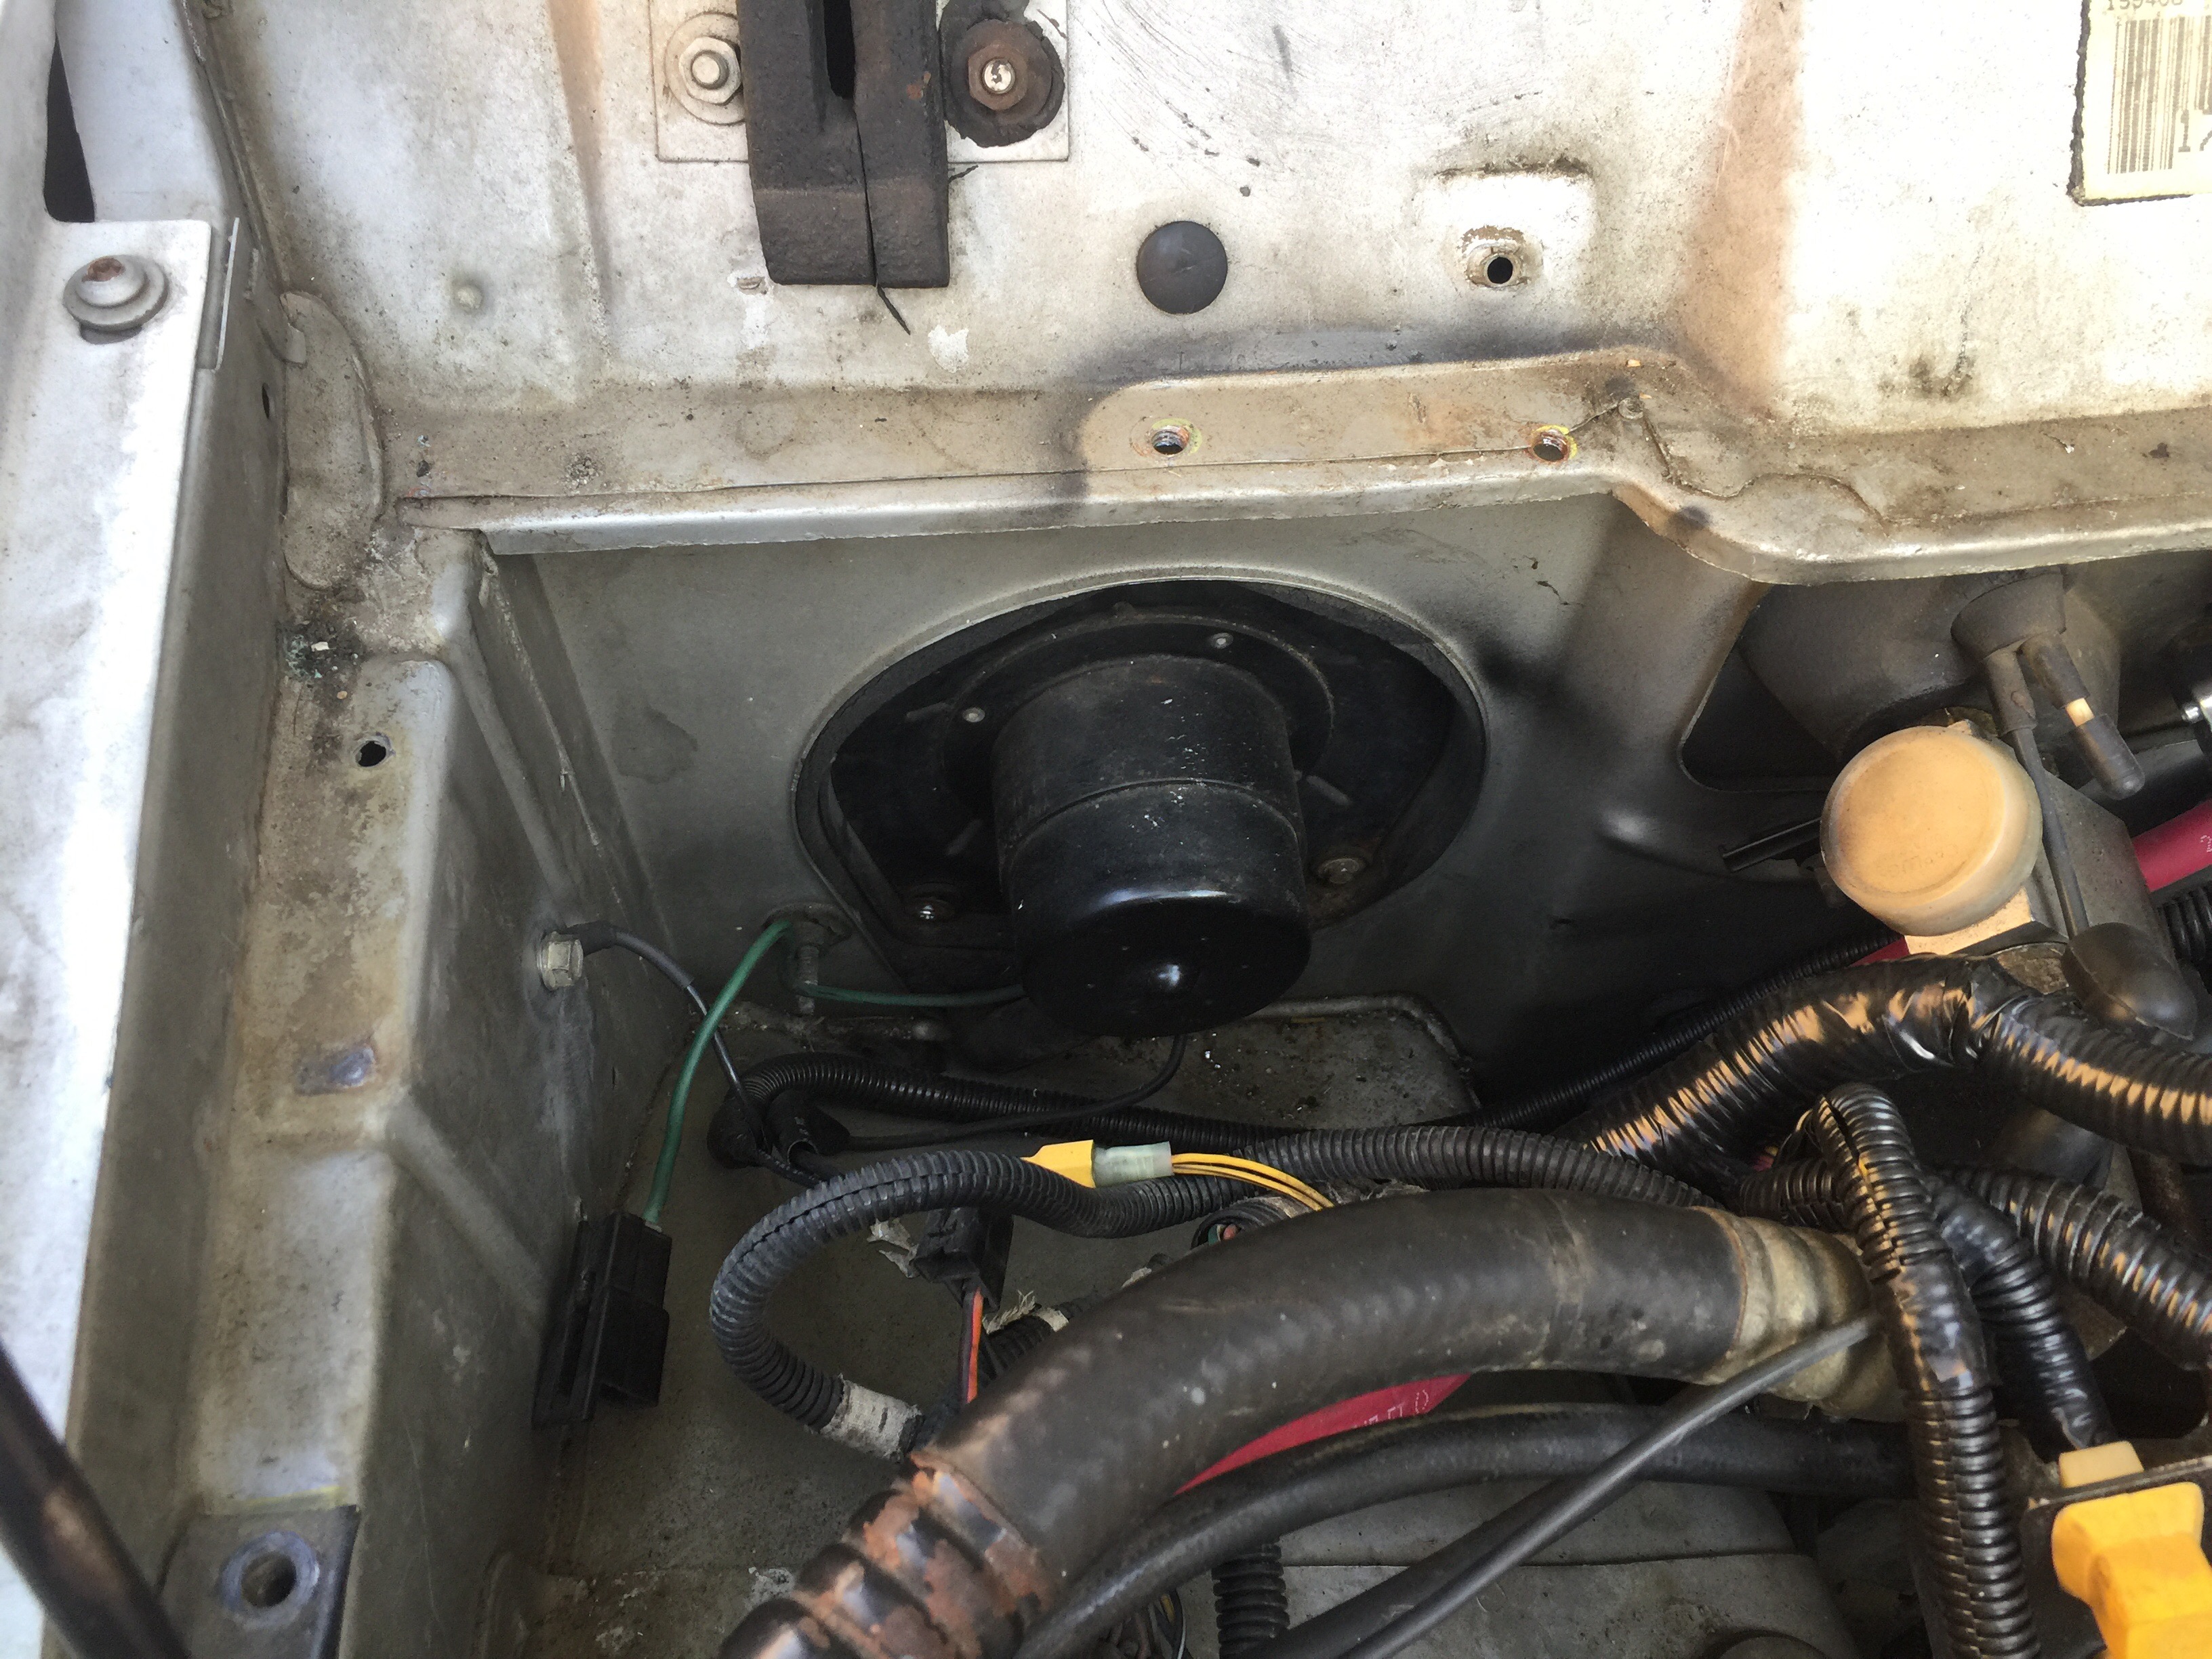
Now, with everything out of the way, I simply cut the two wires for the motor and removed the three screws holding the motor in the HVAC box. The lower screws can be a pain but not impossible to remove. With the mounting screws out, I finagled it out of its tight quarters.
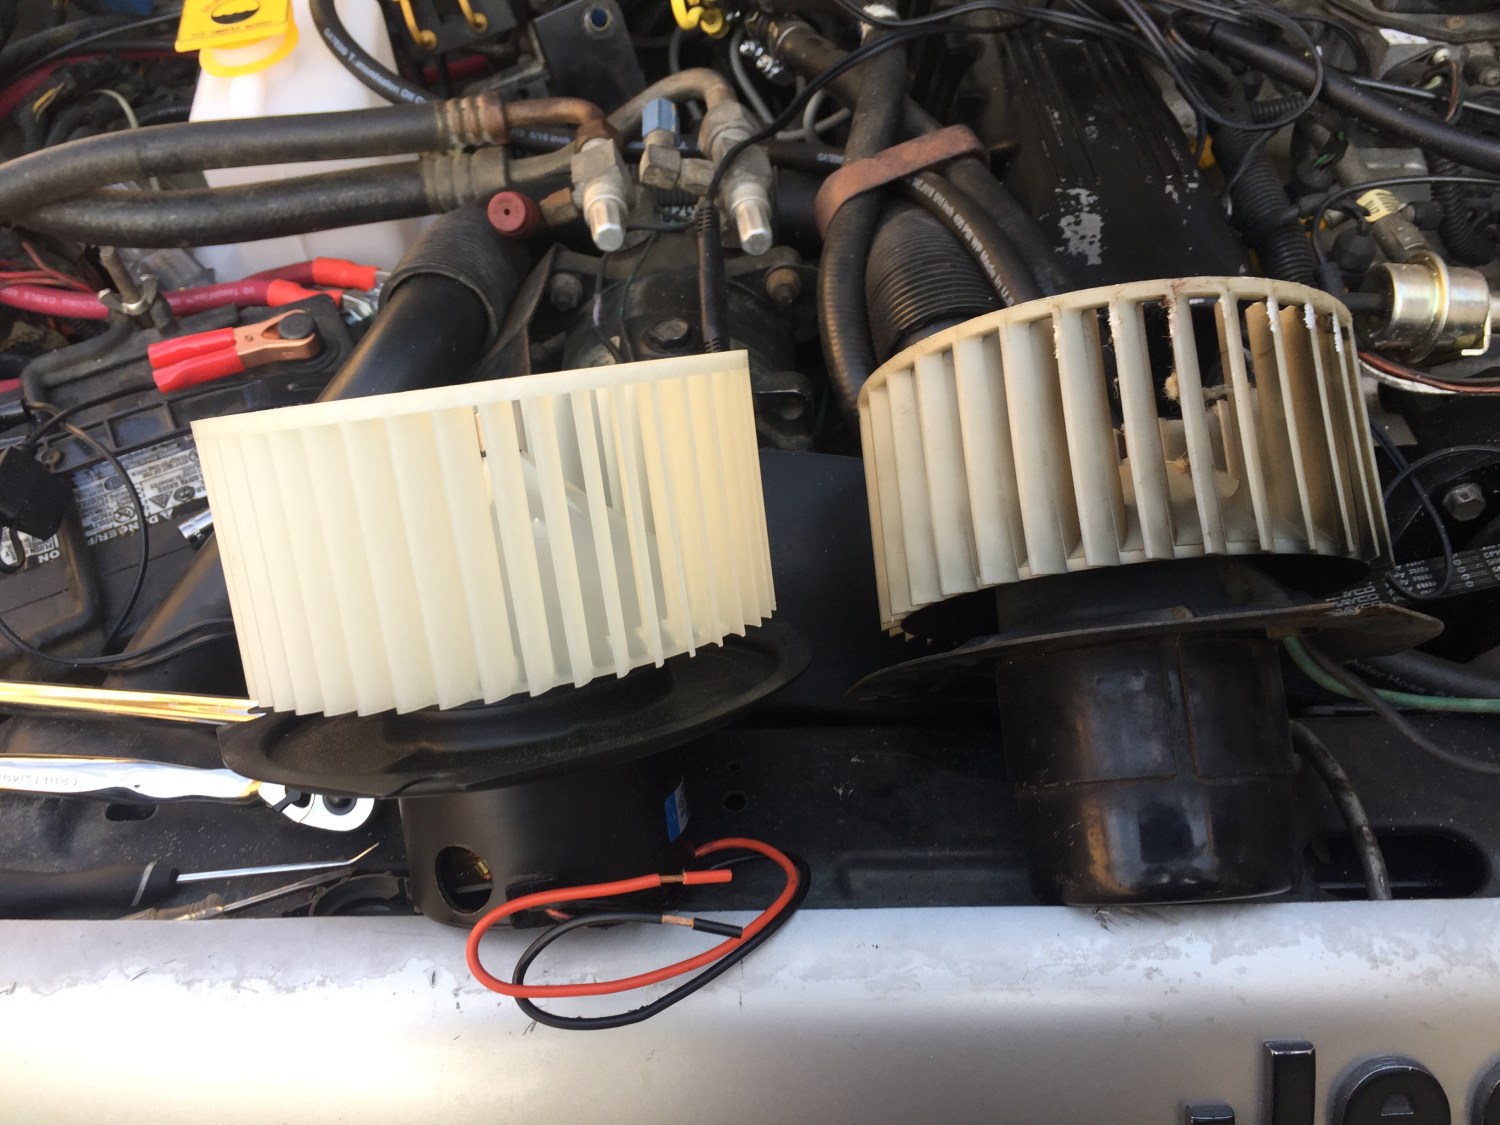
I bought the new motor and blower wheel from rock auto. It’s not necessary to buy the blower wheel, but removing the old wheel turned out to be a pain in the ass and ended with me cracking the 30 year old plastic, so I just bought a new one.

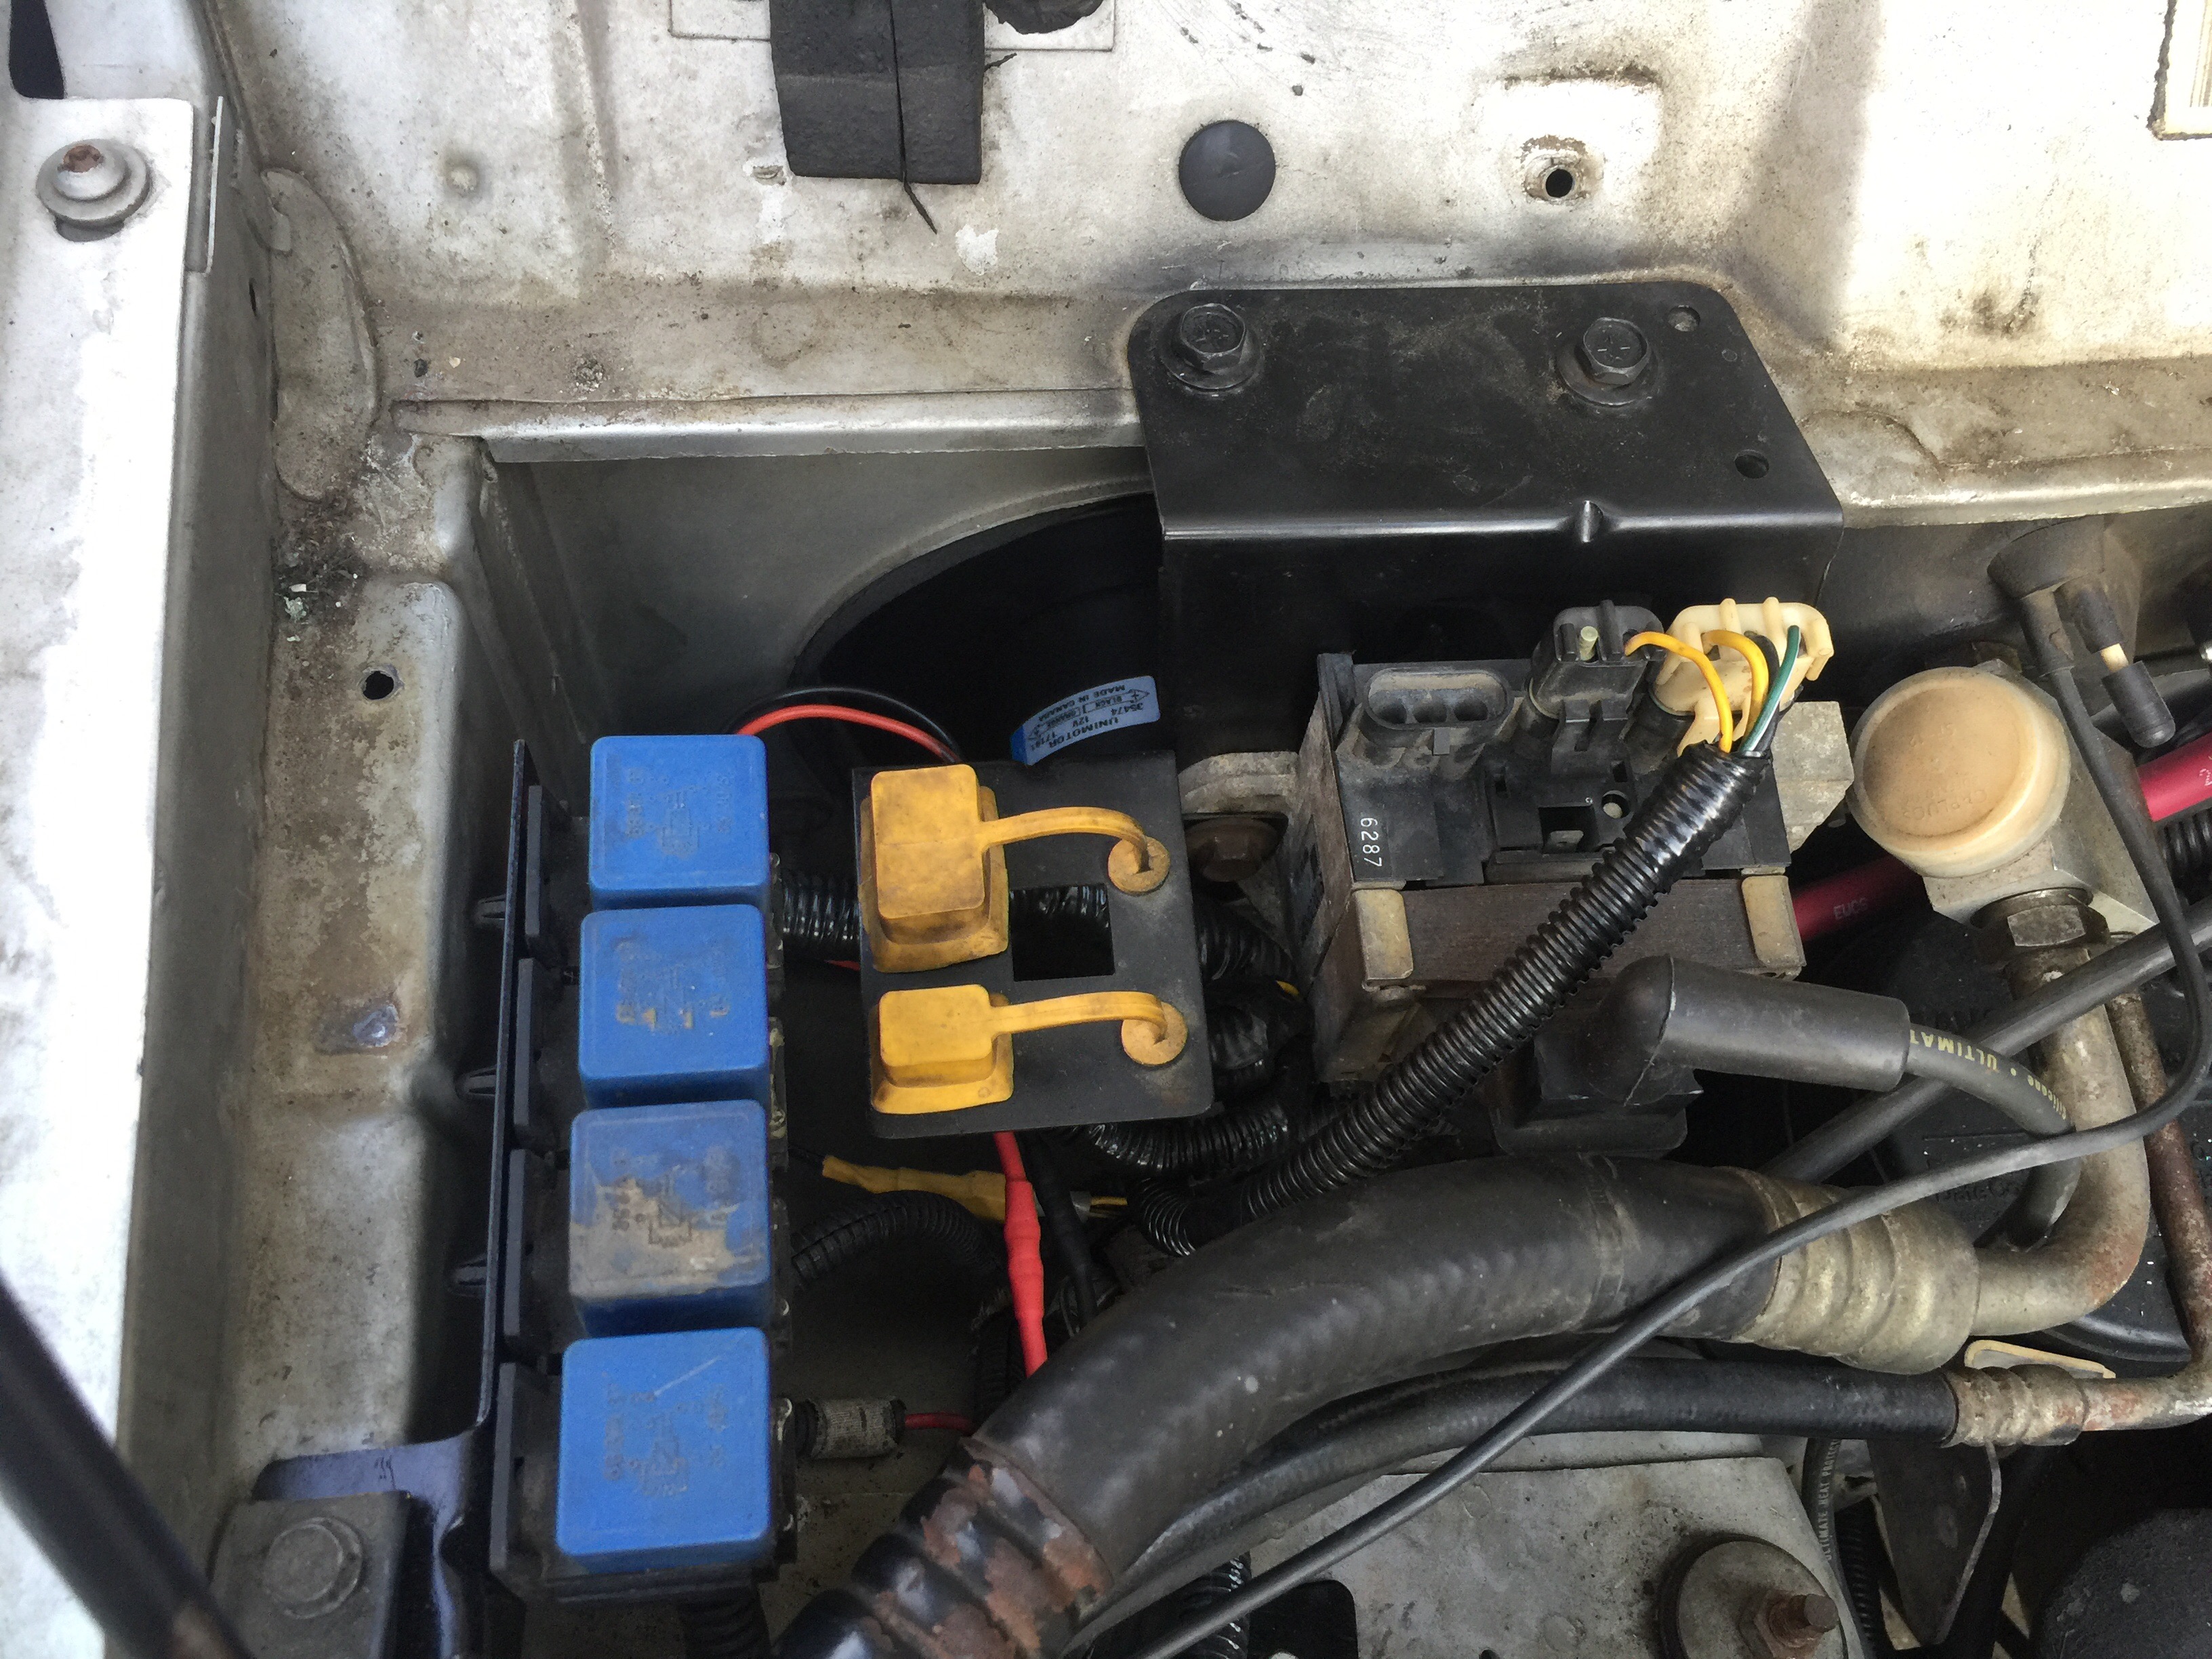
Luckily, the newer motor was a bit more shallow than the old motor, so installing it was going to be much easier. I transferred the old motor seal to the new motor, then installed it in the reverse order. I reinstalled the ICM, Data Ports and Relays in the new location again and moved on to the Blower Motor Control Resistor.
Accessing it requires a bit of work; the Resistor is located on the passenger side, under the dash. You can access it from the floor.
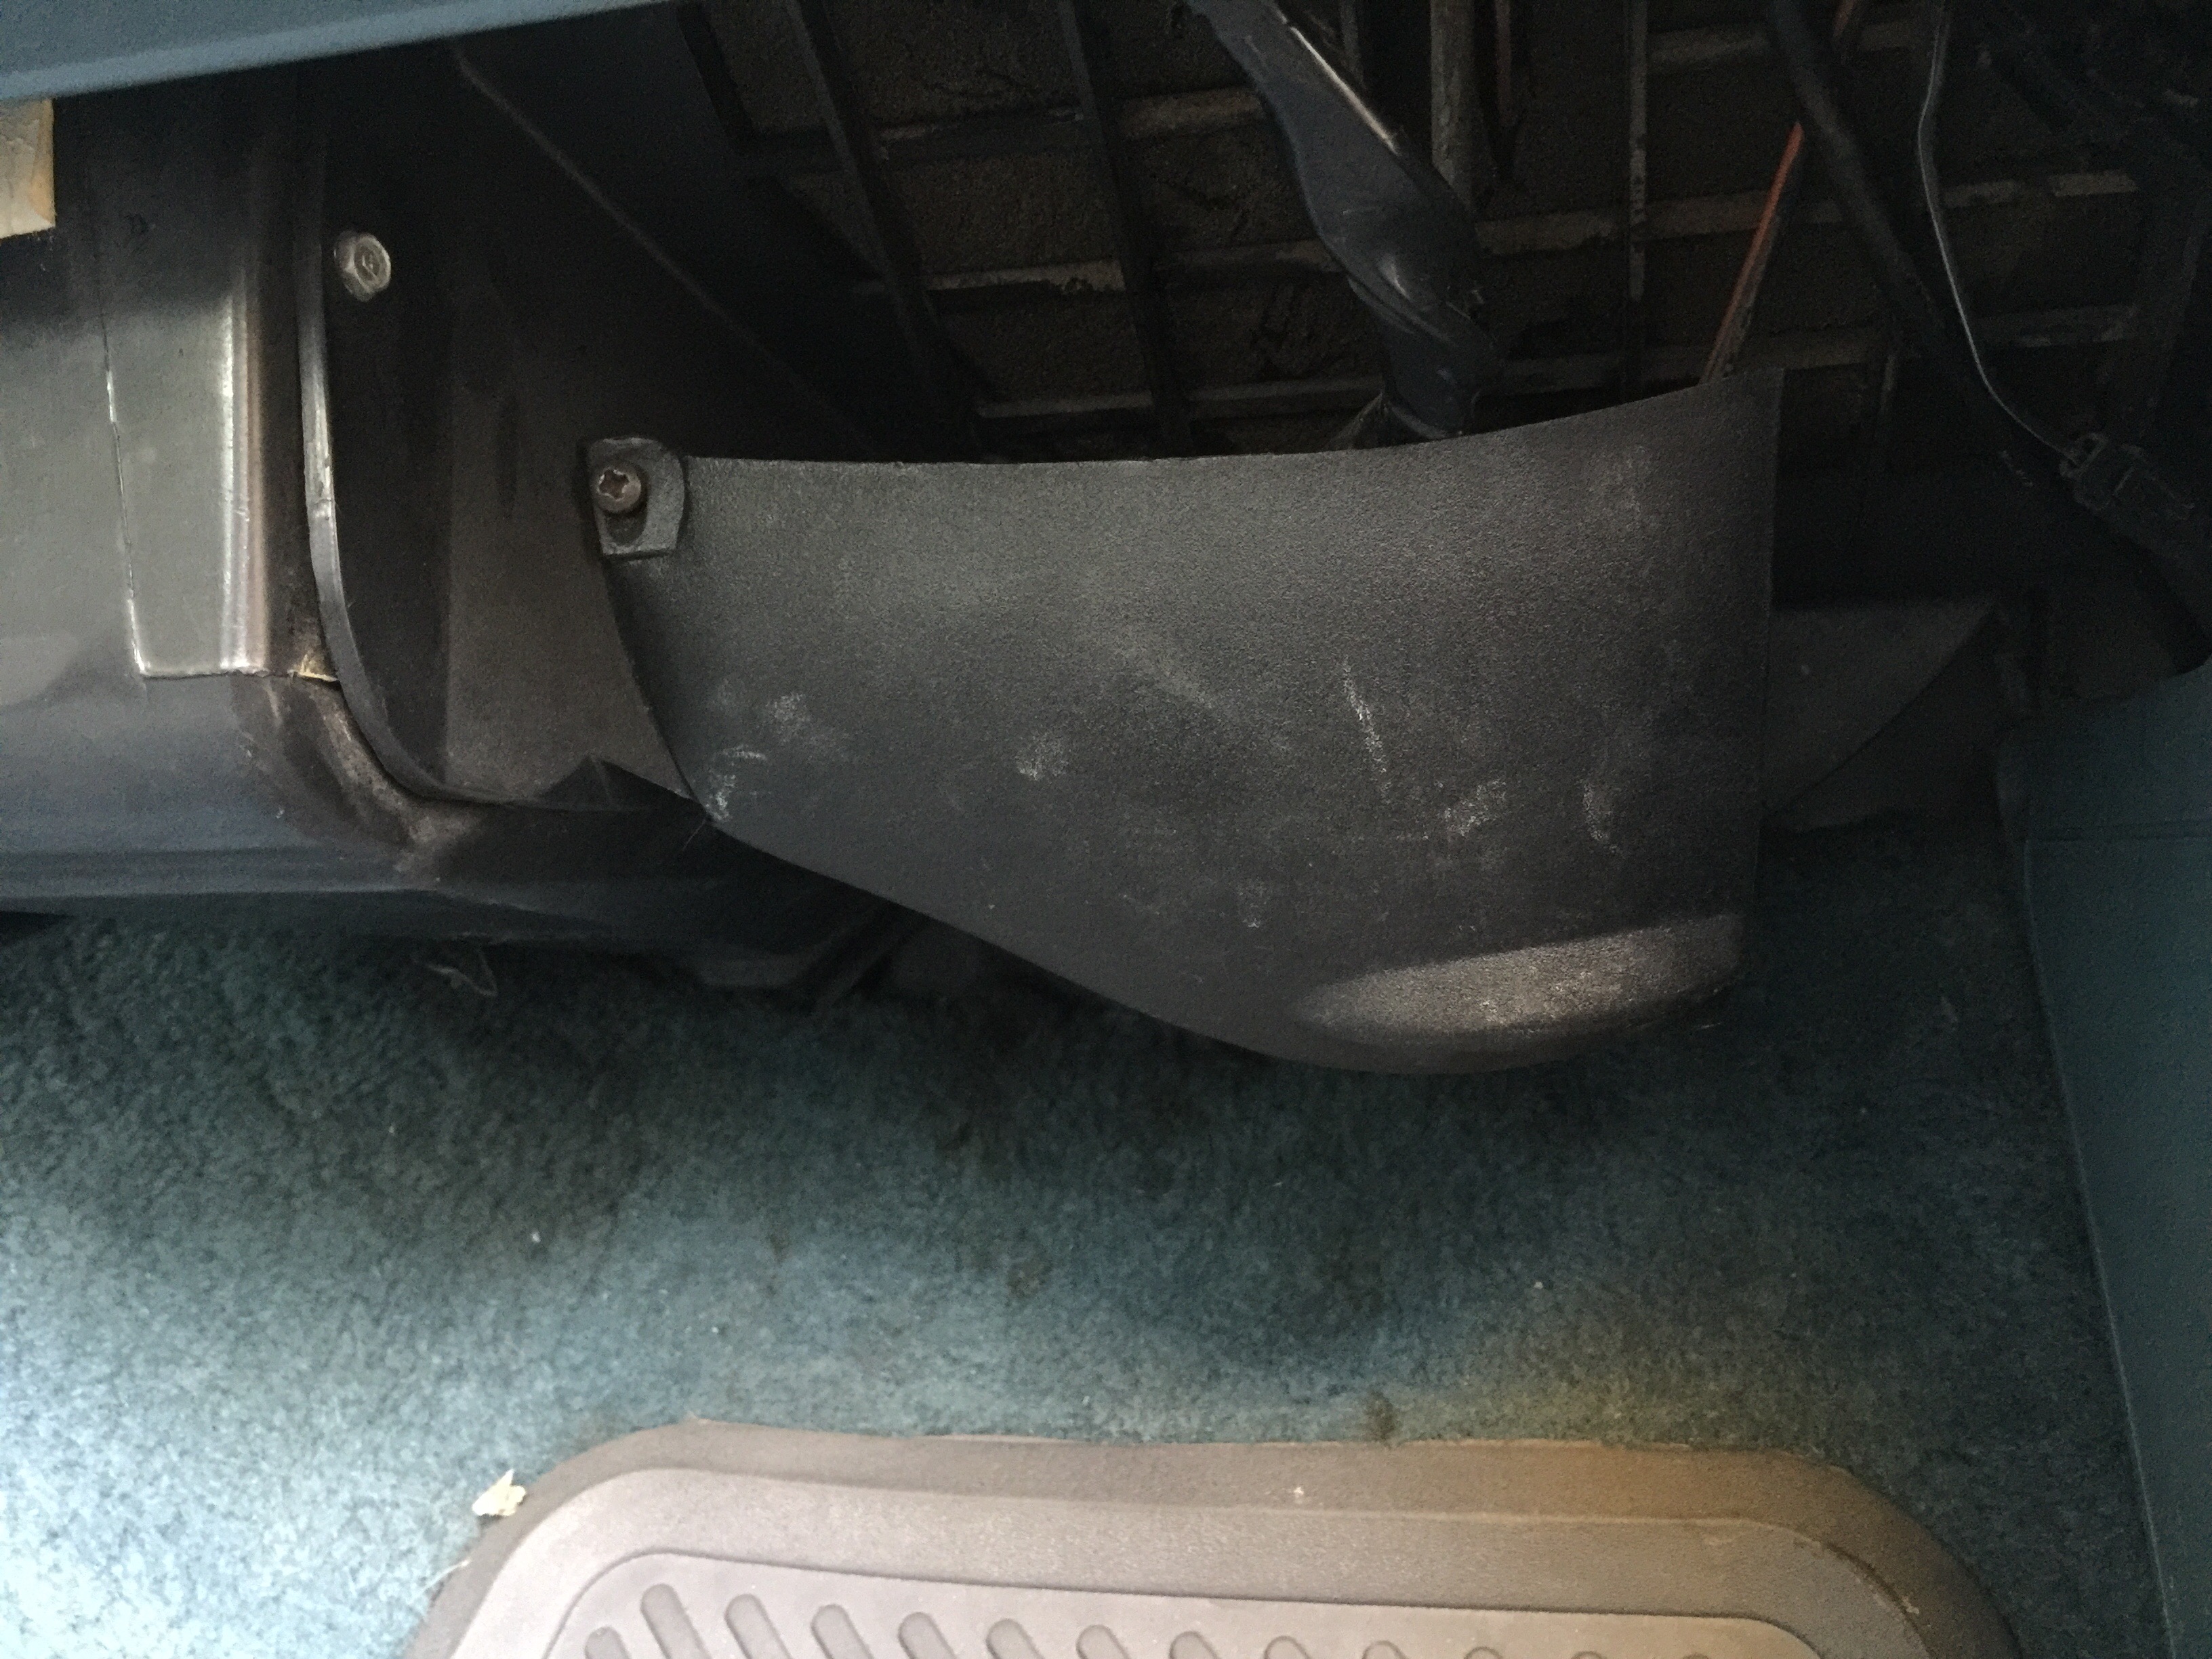
The first thing I had to do to access it was to remove the resistor and vent vacuum diaphragm cover.
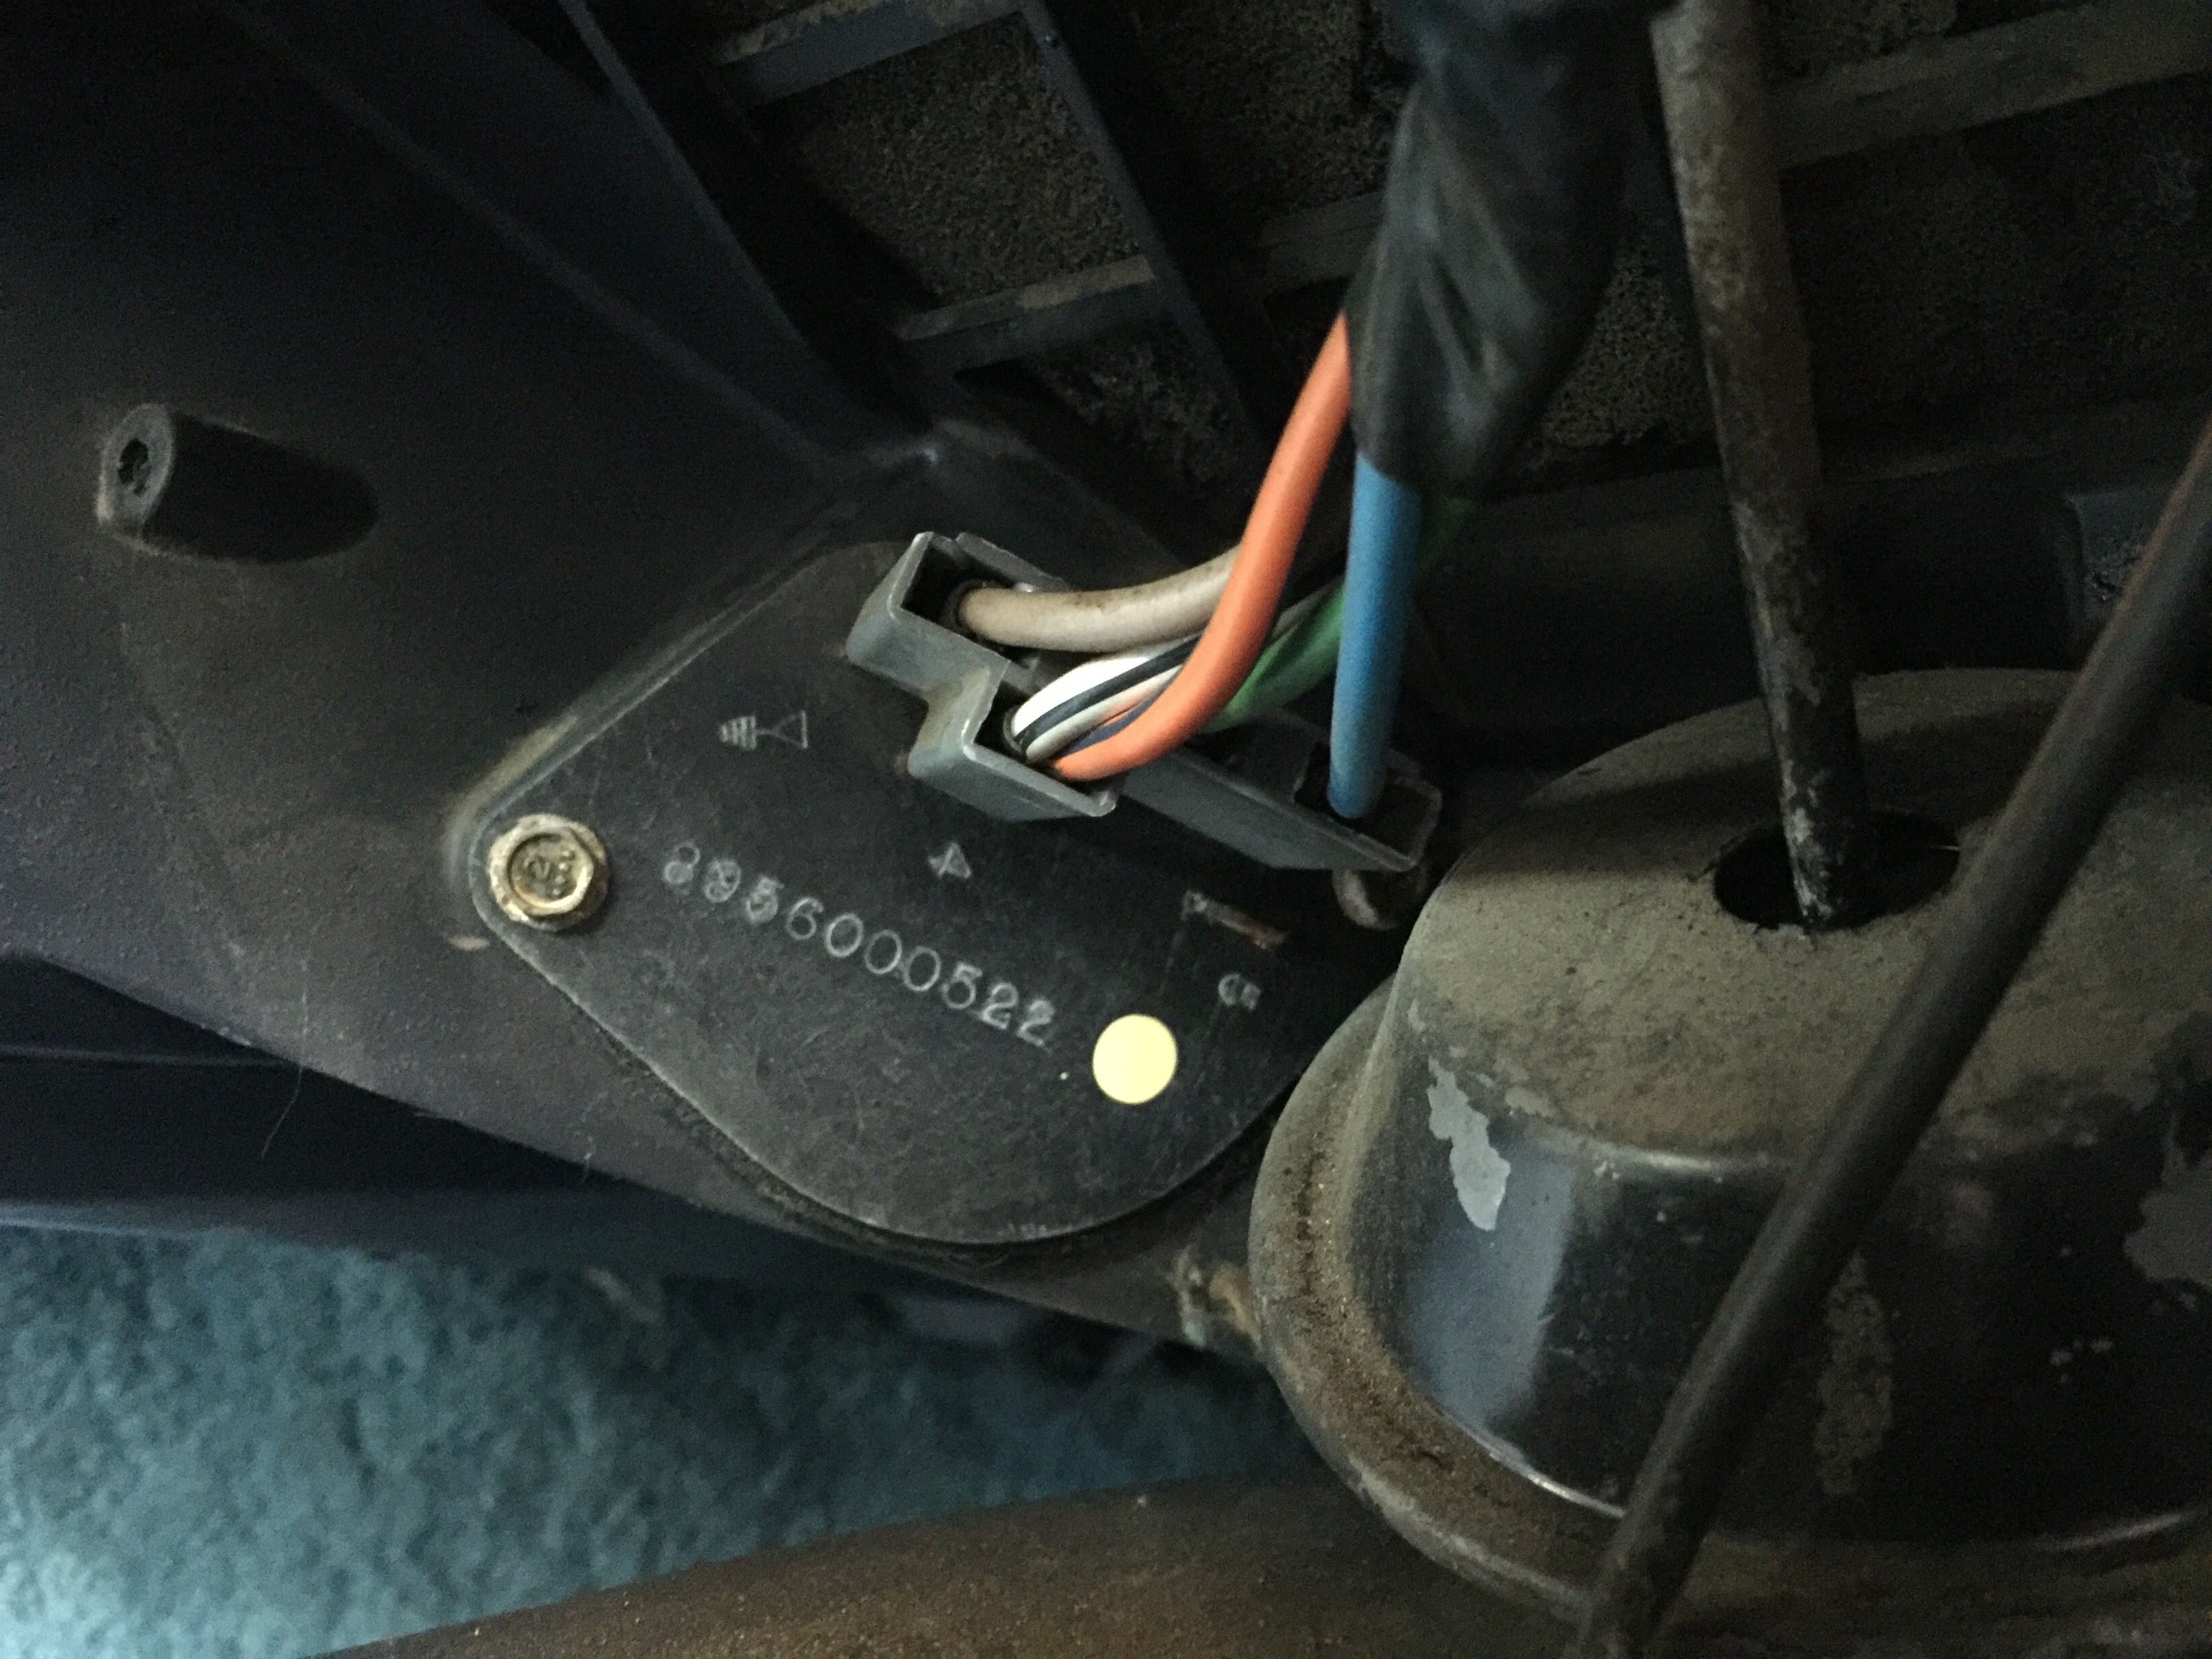
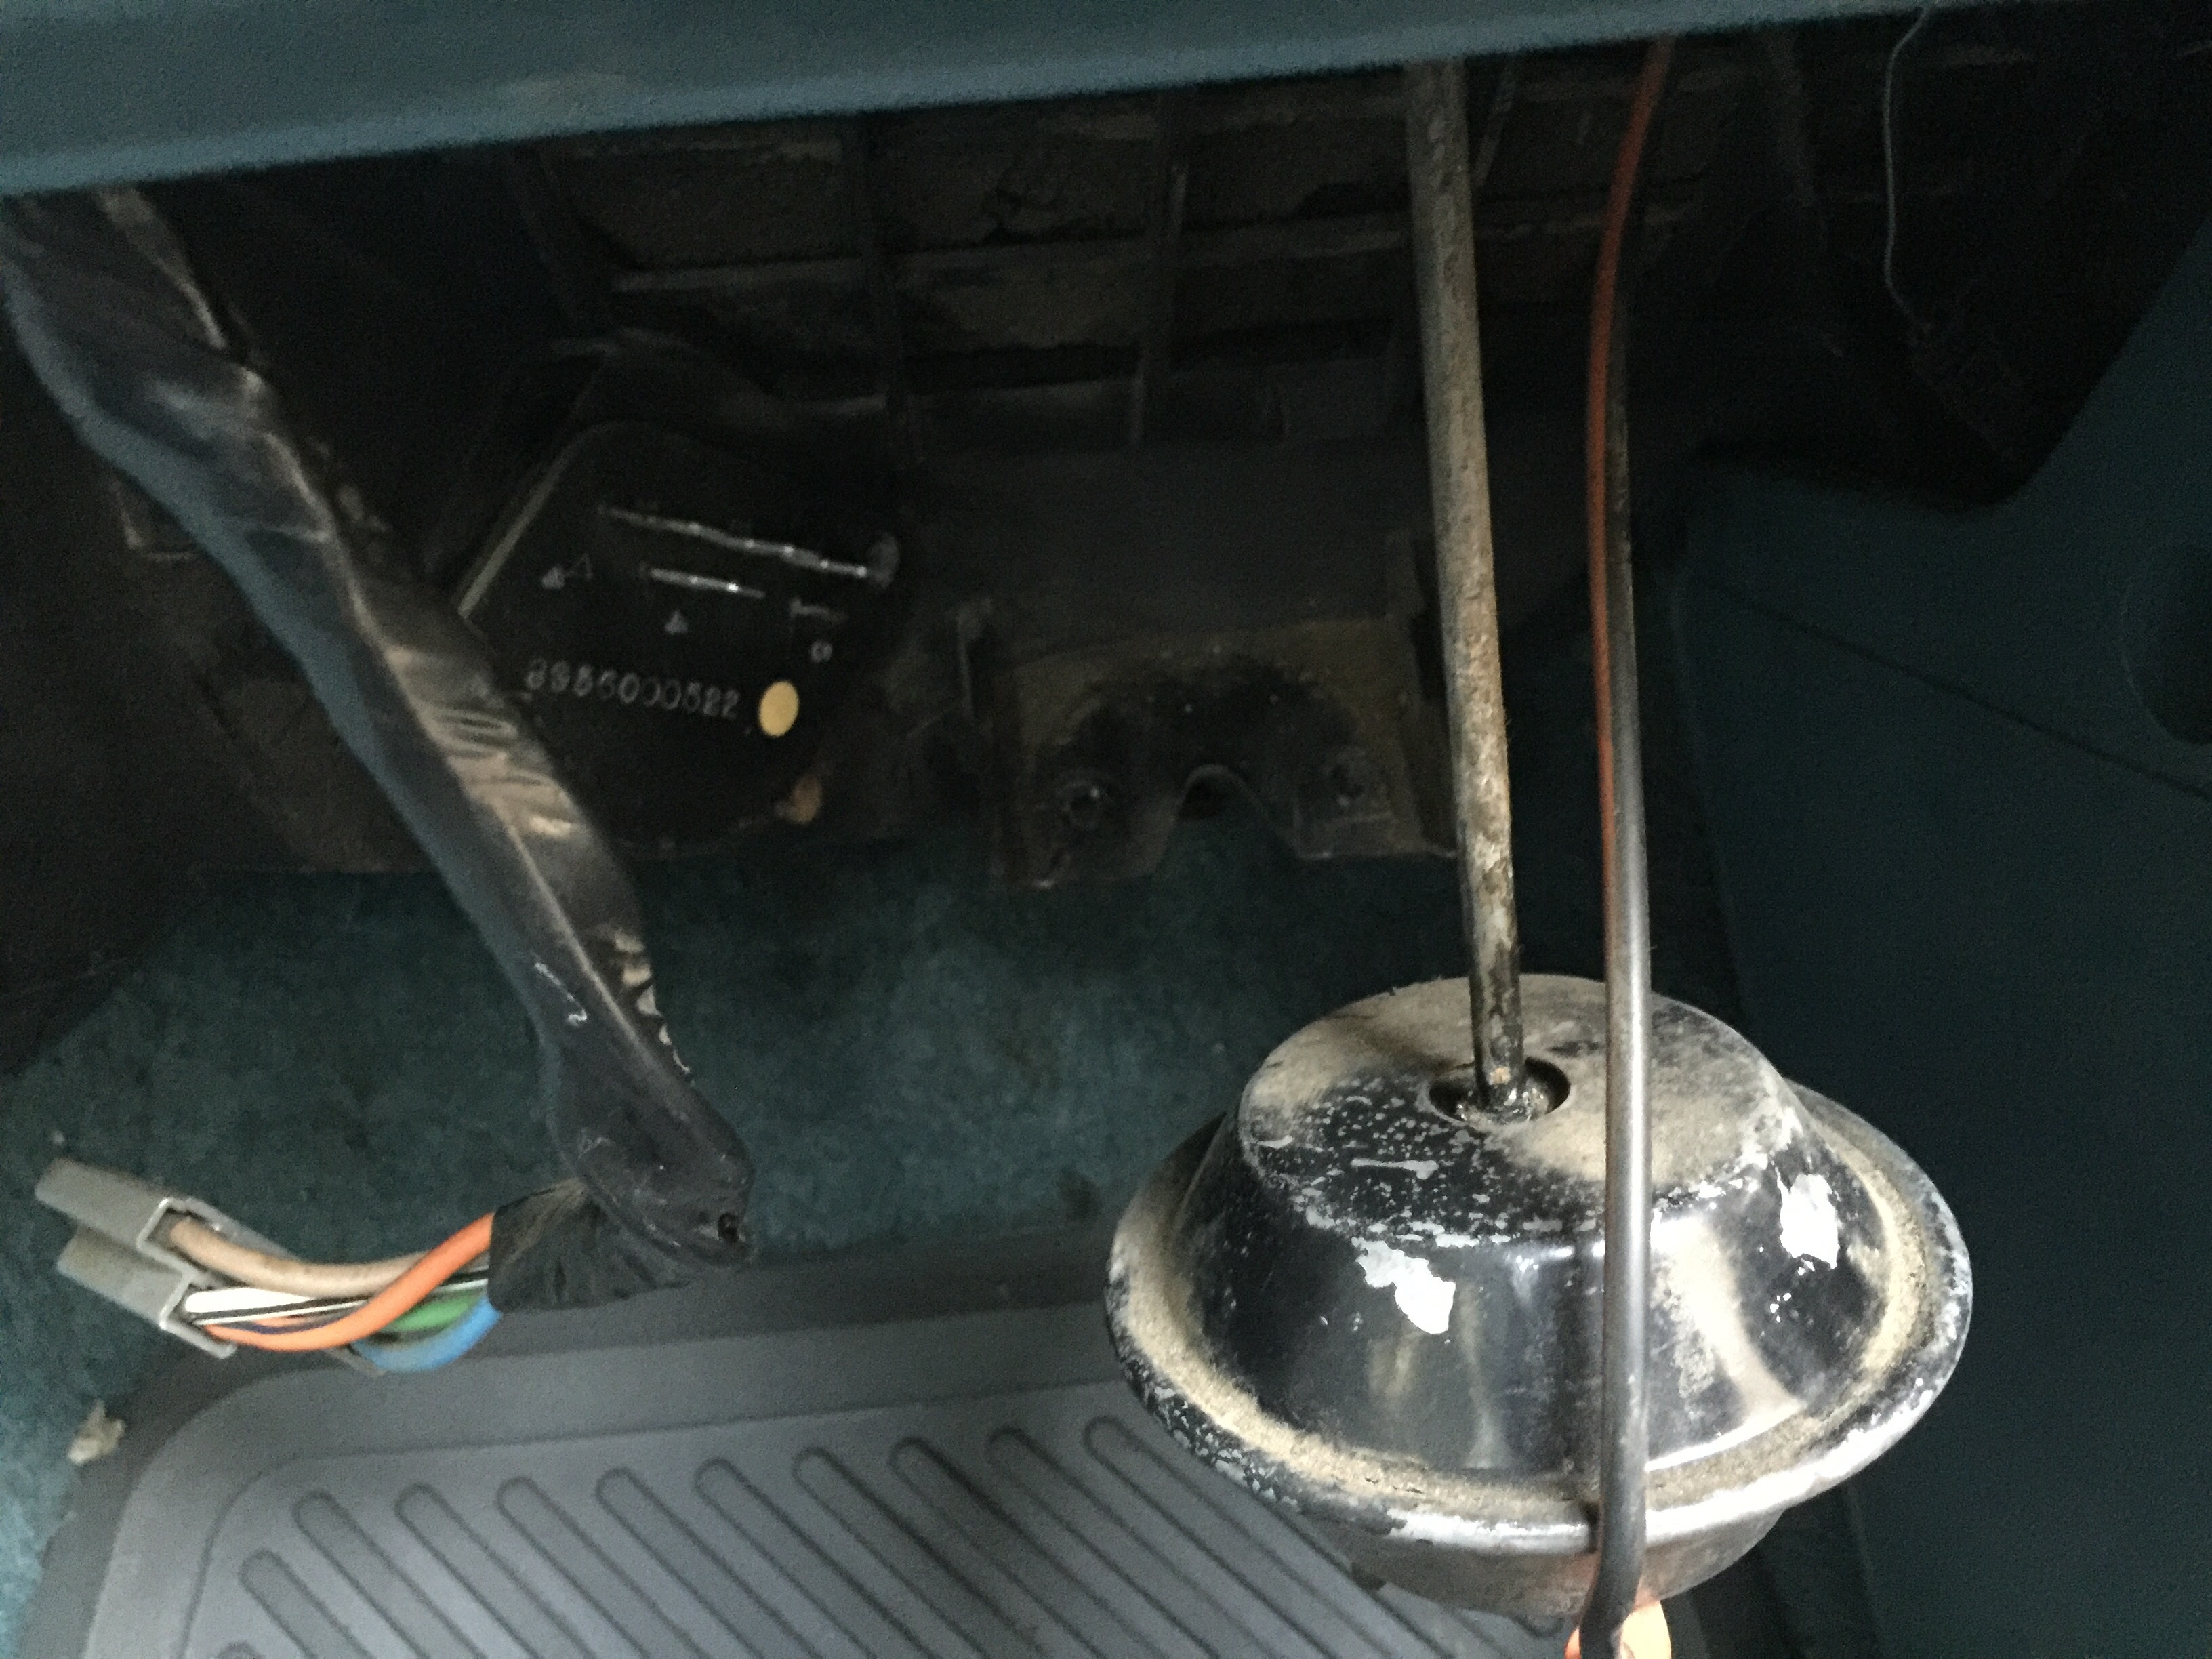
Next, I unplugged the resistor connector then had to remove the vent vacuum diaphragm in order to acces the back bolt of the resistor. The diaphragm is held in by two nuts that require a 10mm socket to remove. With the nuts off, I lifted the diaphragm up and tilted it slightly to get it out. PRO TIP: Save yourself the hassle of destroying the diaphragm and be extra careful – don’t force it out when trying to remove it.
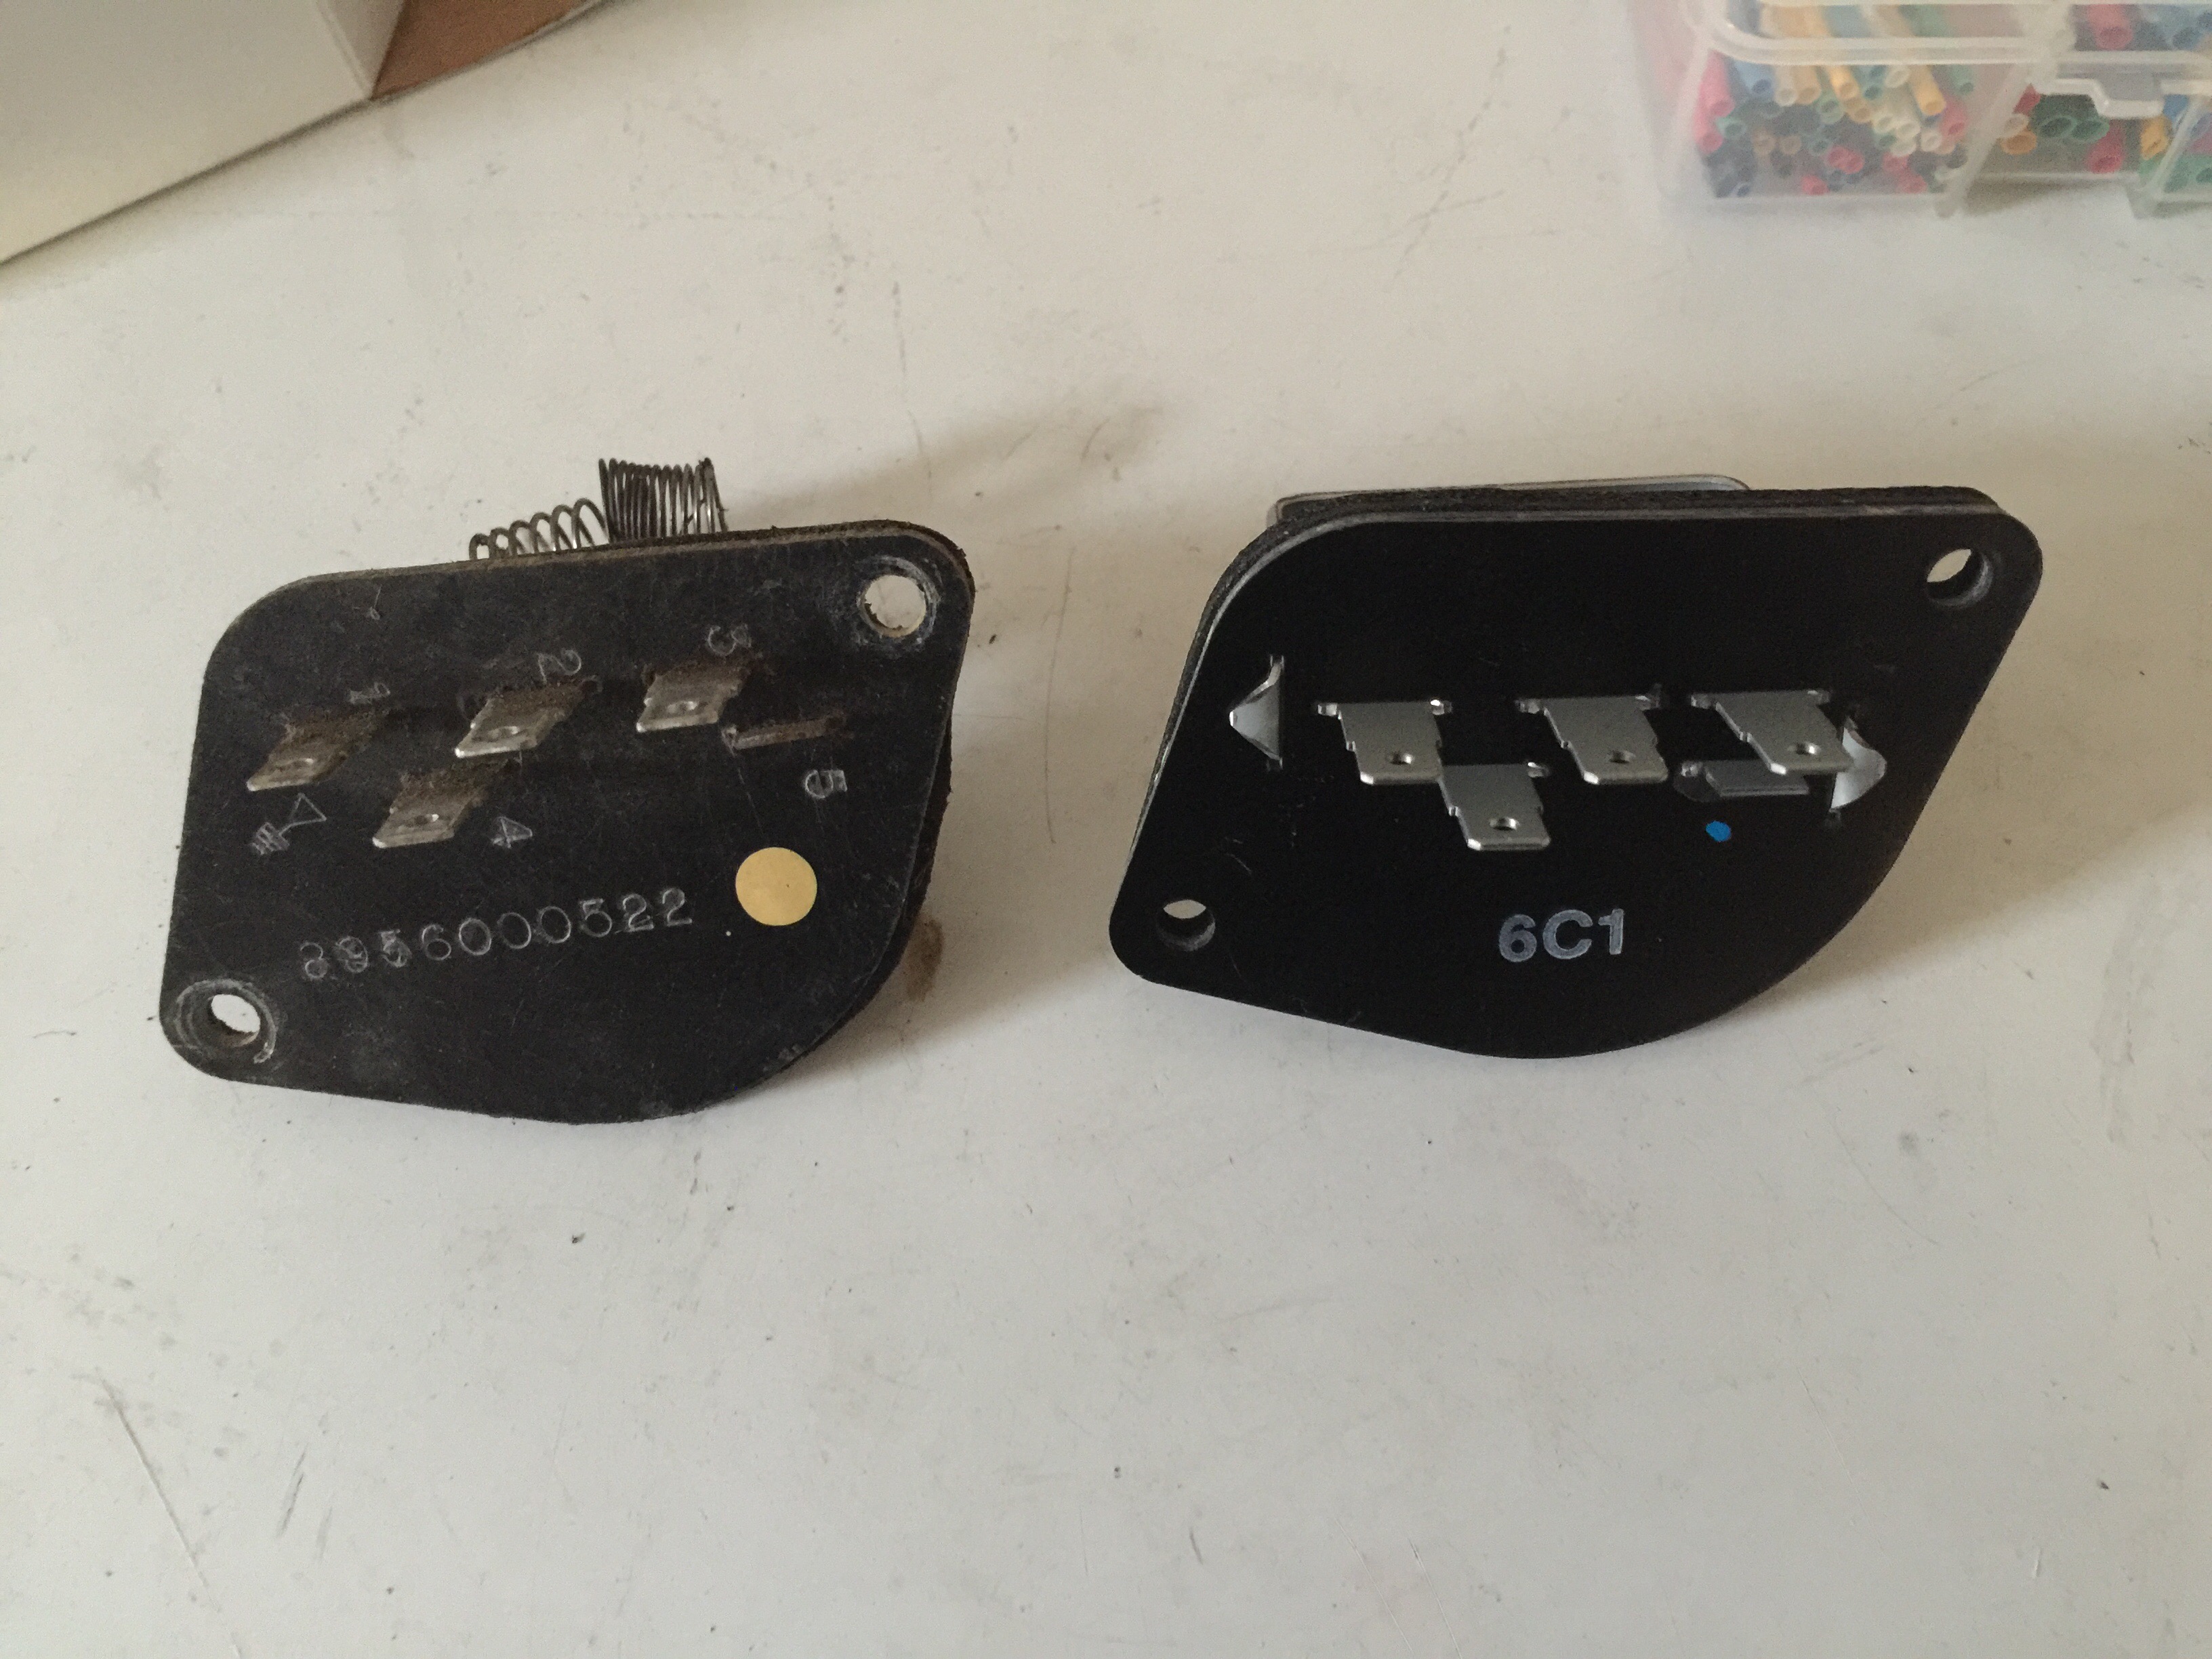
I removed the two screws holding the resistor in then pulled it out. I compared the two to ensure I purchased the correct one.

I just reinstalled everything in the reverse order and tested the motor on every speed mode. The new motor is quiet and I noticed a dramatic increase in the pressure of air coming through the vents.

Just curious Aaron, my heater has been acting up as sometimes it would blow and most of the time it wouldn’t and has finally bit the dust, I’m starting to think that this is what I need to do… Thoughts?? Thanks.
LikeLike
If you are having intermittent or now constant failure of the blower motor and suspect it’s the motor, one test you can do is disconnect the blower motor wires in the engine bay and jump the wires directly to the battery terminals. If the motor is good, it should start turning at high speed. At that point I’d look at my ground connections. Make sure they are clean and making a good connection and coated with some Ox-Gard. If still having problems after that, I’d move on to the fan speed resistor in the HVAC unit. If the motor works intermittently or does not turn on at all when jumped to the battery, I’d replace the motor assembly.
LikeLike