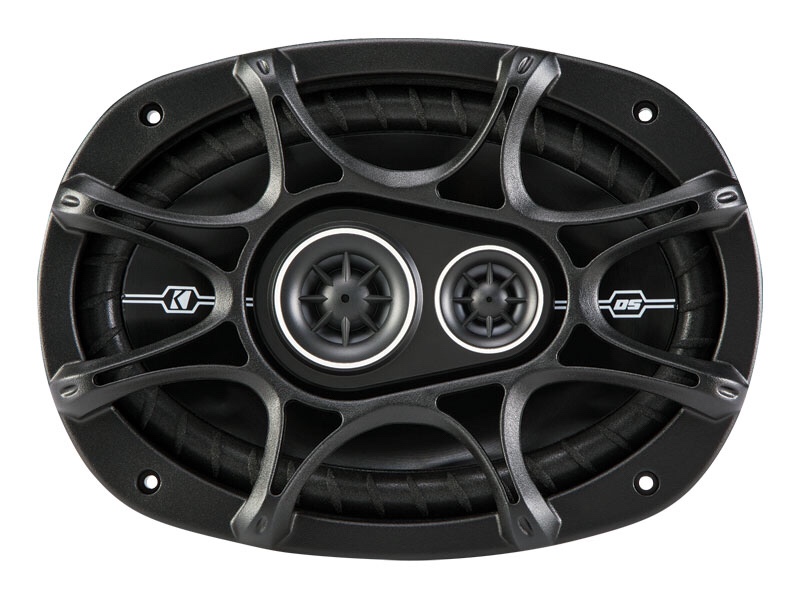
I love listening to my music while I’m on a trail ride. It’s no secret that the stock speakers in the older Cherokees are not up to par with today’s technology. After putting an aftermarket radio in my jeep, I couldn’t turn the stereo past 20 without the speakers popping and distorting. It’s mainly due to the size of the stock speakers. The 5-1/2″ speakers are not made for heavy metal (or country music when the wife is with me). I’d have to adjust the low range levels all the way down just to get clear audio at higher levels. What’s the solution? Bigger speakers that can handle the low range double bass from metal music. I went with 5-1/2″ Kicker DS series speakers for the front doors but for the rear hatch, I had to upgrade to something a little bigger. Kicker 6″ x 9″ DS speakers was the choice.
There’s only one problem, the rear hatch is fiberglass and was never meant to fit anything bigger then the stock 5-1/2″ speakers. It was time to retrofit. To start, I removed the interior panel on the hatch. Mine had four screws holding it on but I can’t say that’s what was there originally.
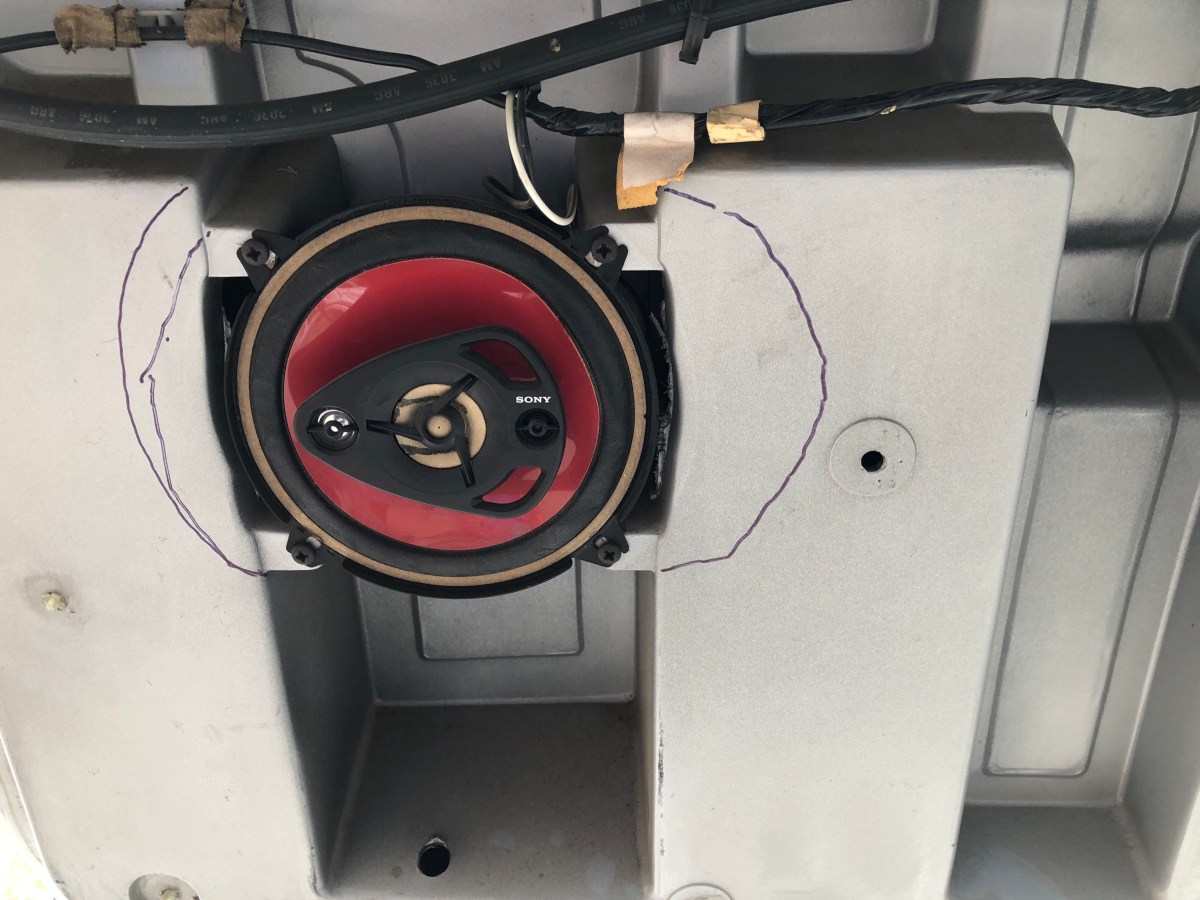
Once I got the panel off, I could see someone had been in here before. They replaced the stock speakers with some cheap Sony speakers that didn’t really help much but it was a good effort.

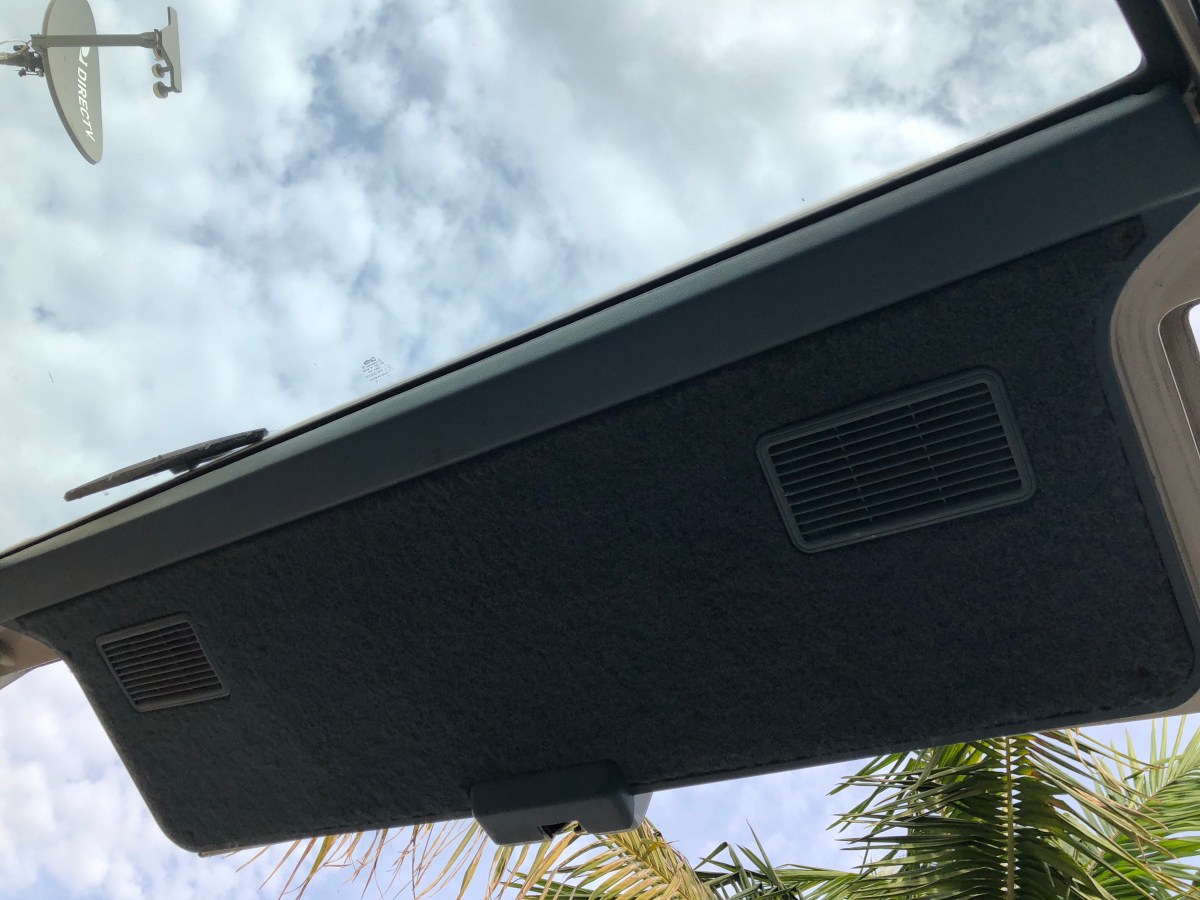
I knew some cutting was needed to fit the 6×9’s so my first step was to make a template. I popped of the retainer clips on the back of the hatch cover that held the speaker vents on the panel. I then placed the new speakers on the back of the hatch panel and traces around the speaker. I removed the speaker and made another line a 1/4″ inside the speaker line I traced. This was to be my cutting line. I used a Dremel tool to cut through the plastic and carpet on the front. I test fit the speakers to make sure they had enough surface area to bite down on without the speaker falling through.

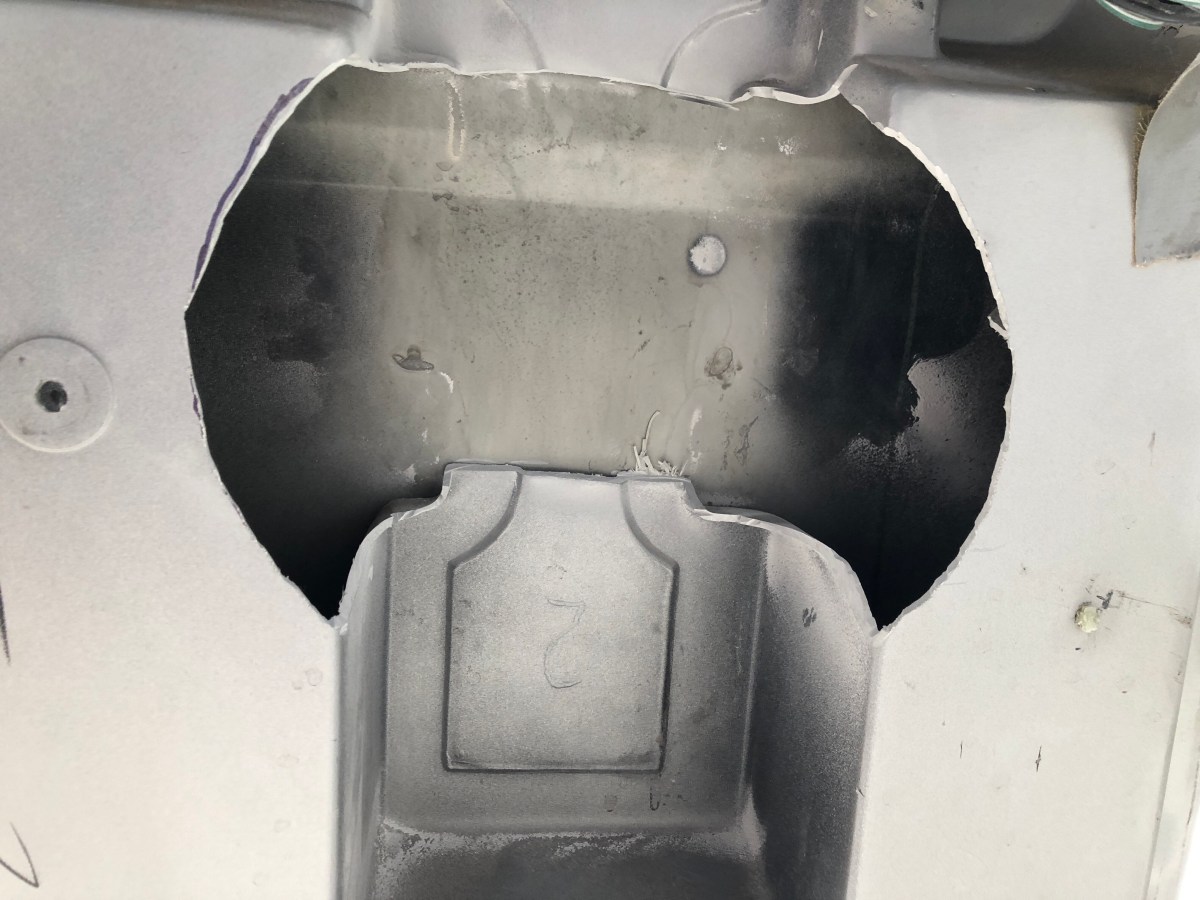
Now that the speaker fit the panel, I had some trimming to do on the rear hatch itself. I installed the panel on the rear hatch again and traced the holes I cut in the panel onto the rear hatch. I removed the panel again and verified there wasn’t anything critical I was going to cut.
Everything looked clear on both side so it was time to cut. WARNING: When cutting the fiberglass hatch, wear a respirator or a dusk mask at a minimum. You don’t want to breathe the fiberglass dust in while you’re cutting the hatch. It’s just not good for your health. I cut along my lines until I could remove all the pieces.

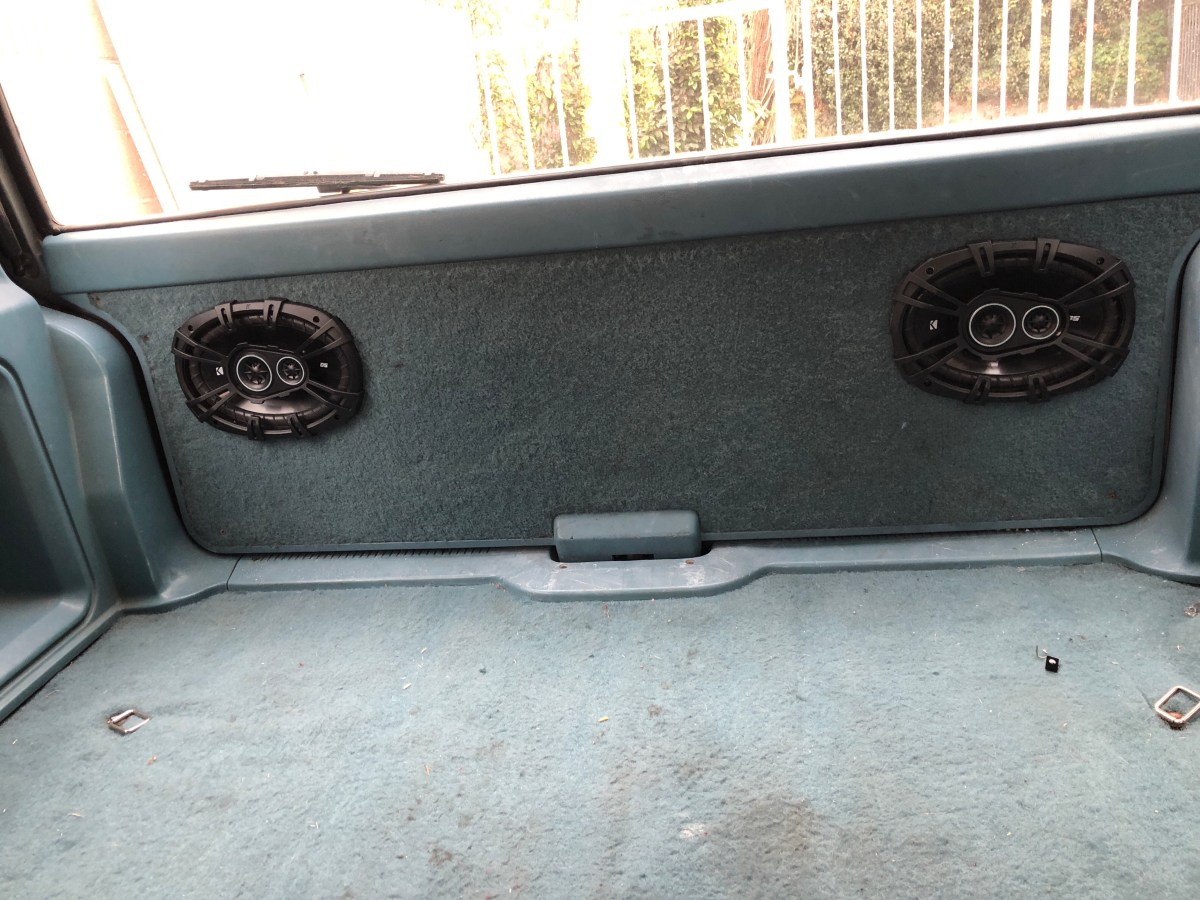
Now that I had the clearance I needed for the speakers, I screwed the rear hatch panel back on and installed the speakers. I used drywall screws when installing them because the fiberglass hatch wouldn’t hold the speakers in with the screw Kicker provides. The drywall screws have thicker blades and wouldn’t make it easy to pull out the speakers from the fiberglass. Now I can enjoy my music at an level I choose.