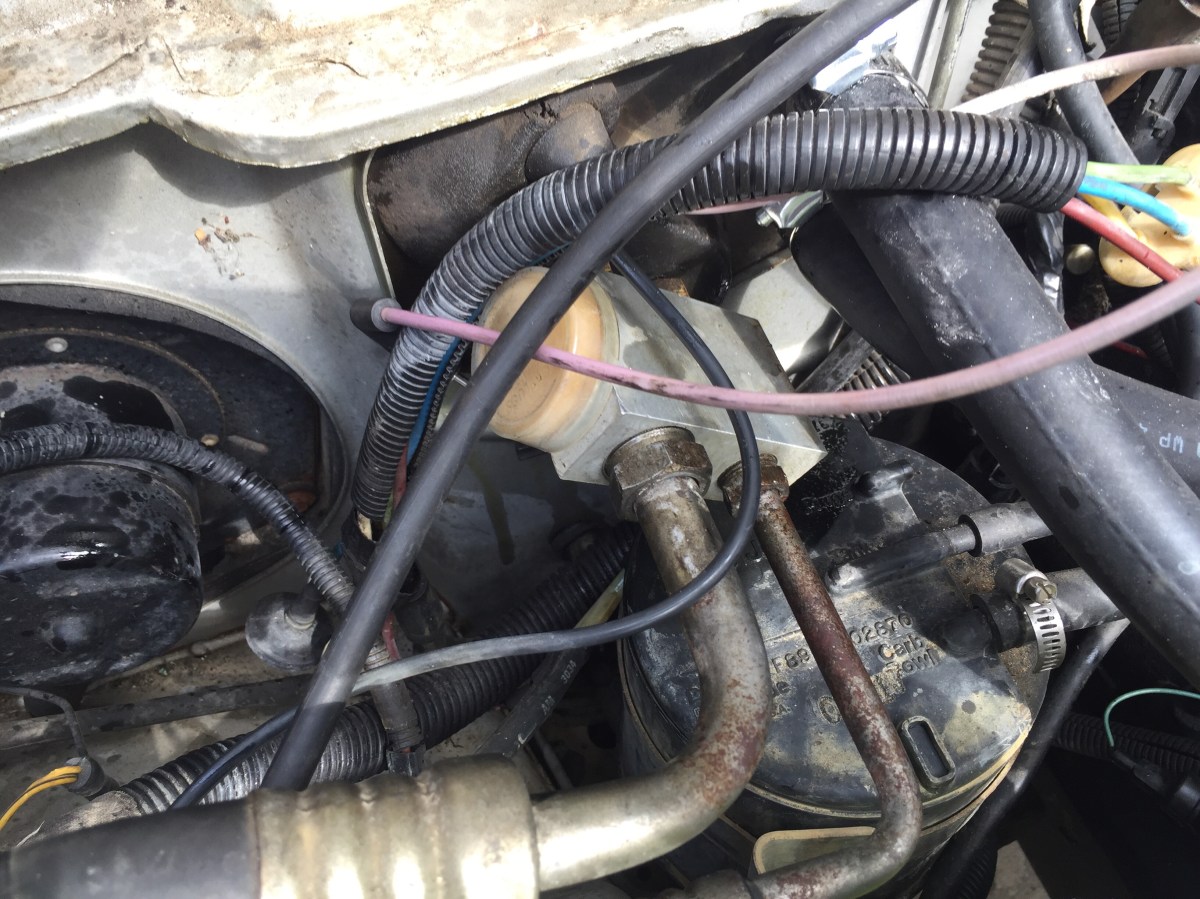
The vacuum system of Renix era Cherokees plays an essential role. The EGR system, HVAC, Cruise Control, Power Brakes and other essential engine sensors use the vacuum created by the engine to keep the engine operating as efficiently as intended. If you want to keep the cruise control and HVAC controls, the system can’t handle all the vacuum demand without a reservoir. The reservoir stores vacuum for accessories that require larger amounts of constant vacuum. On my Cherokee, the factory vacuum reservoir is located behind the front bumper on the passenger side. It’s either pill shaped or round ball shaped. When I replaced my front bumper with the one I made, I was left with no where to mount my reservoir.
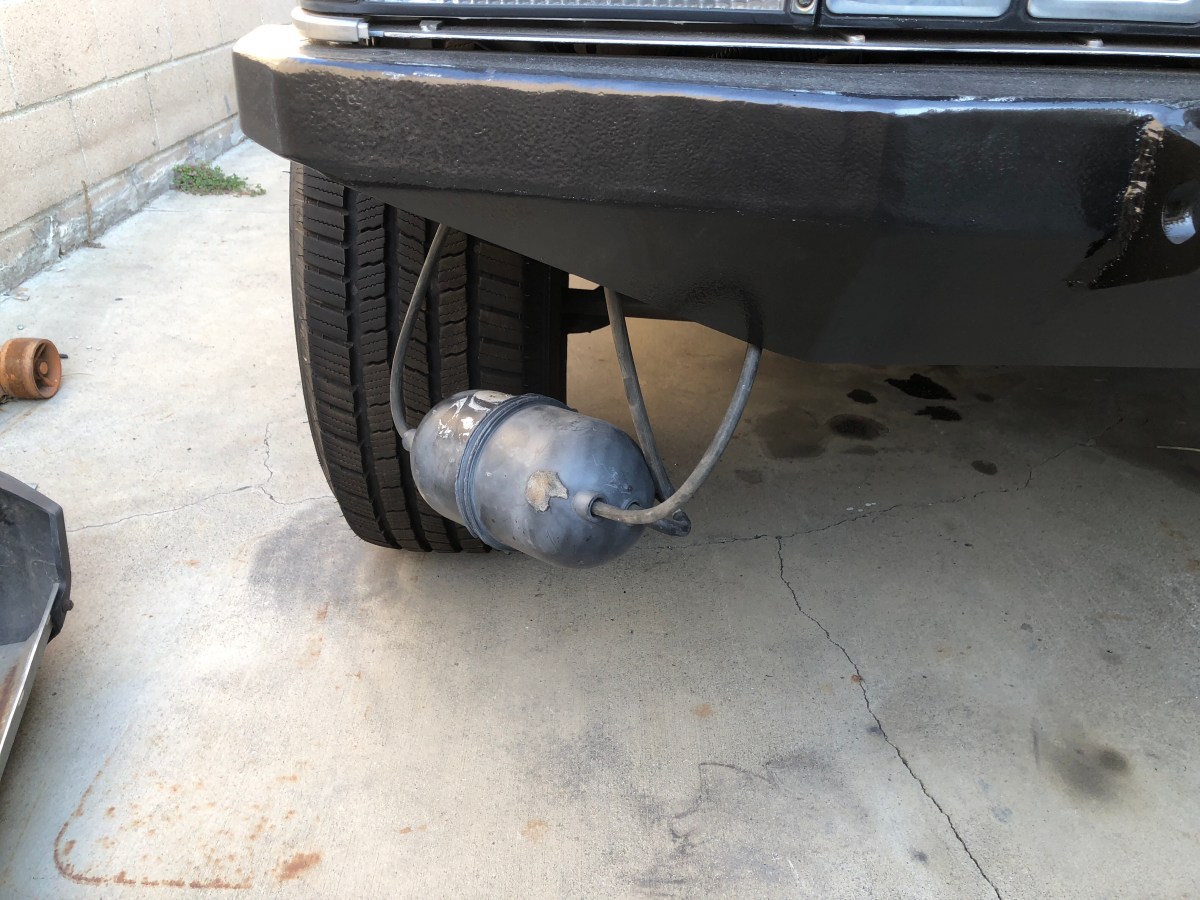
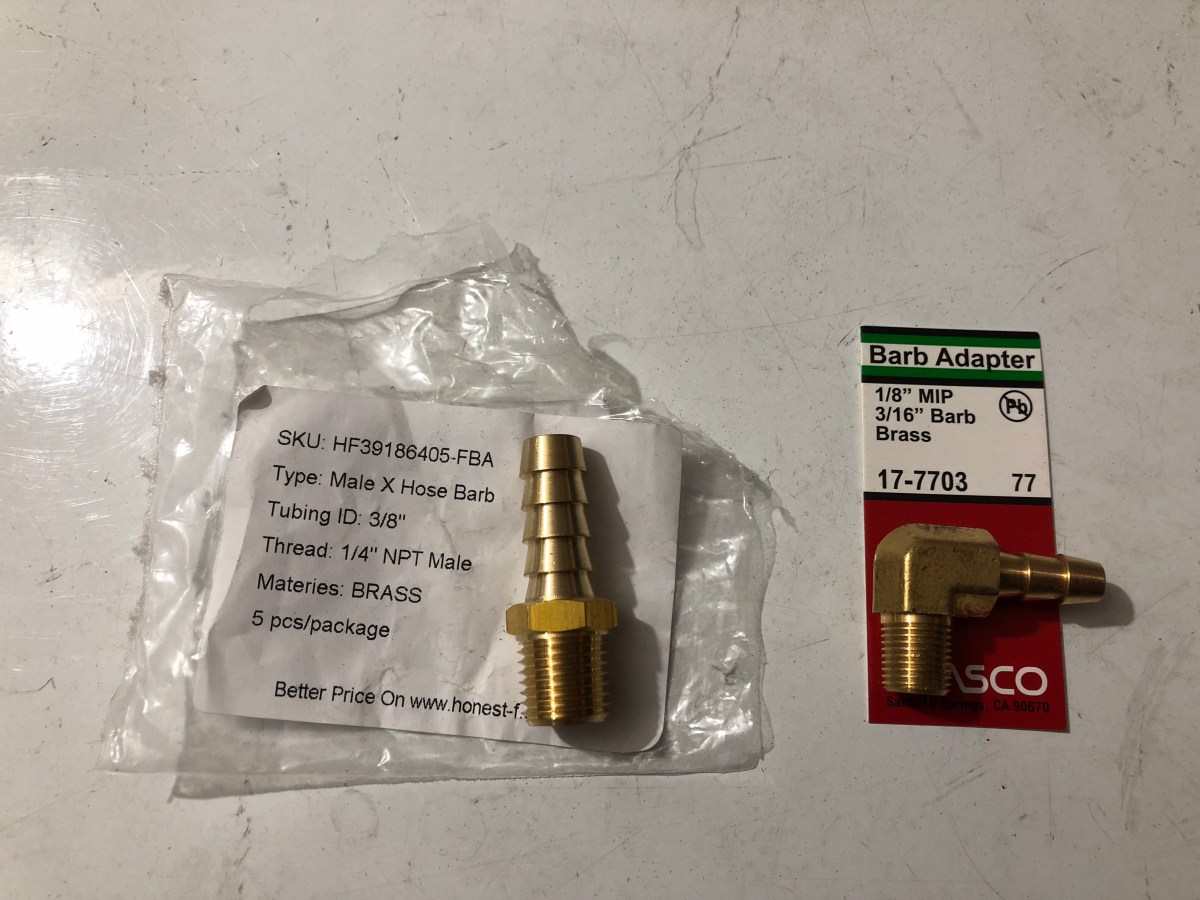
My only option was to relocate it to the engine bay. A lot of people suggested to just move the factory reservoir, but I decided to buy a new one all together. I didn’t like the idea of a plastic one so on to Amazon I searched and ended up purchasing a Mr. Gasket Vacuum Canister. It came with a vacuum check valve, a barbed elbow, and a plug. I wasn’t able to use the elbow because the barb was too big for my vacuum line so I bought a few fittings from ACE Hardware and Amazon.
1 – 1/8″ MIP x 3/16″ Barb fitting
1 – 1/4″ MIP x 3/8″ Barb fitting
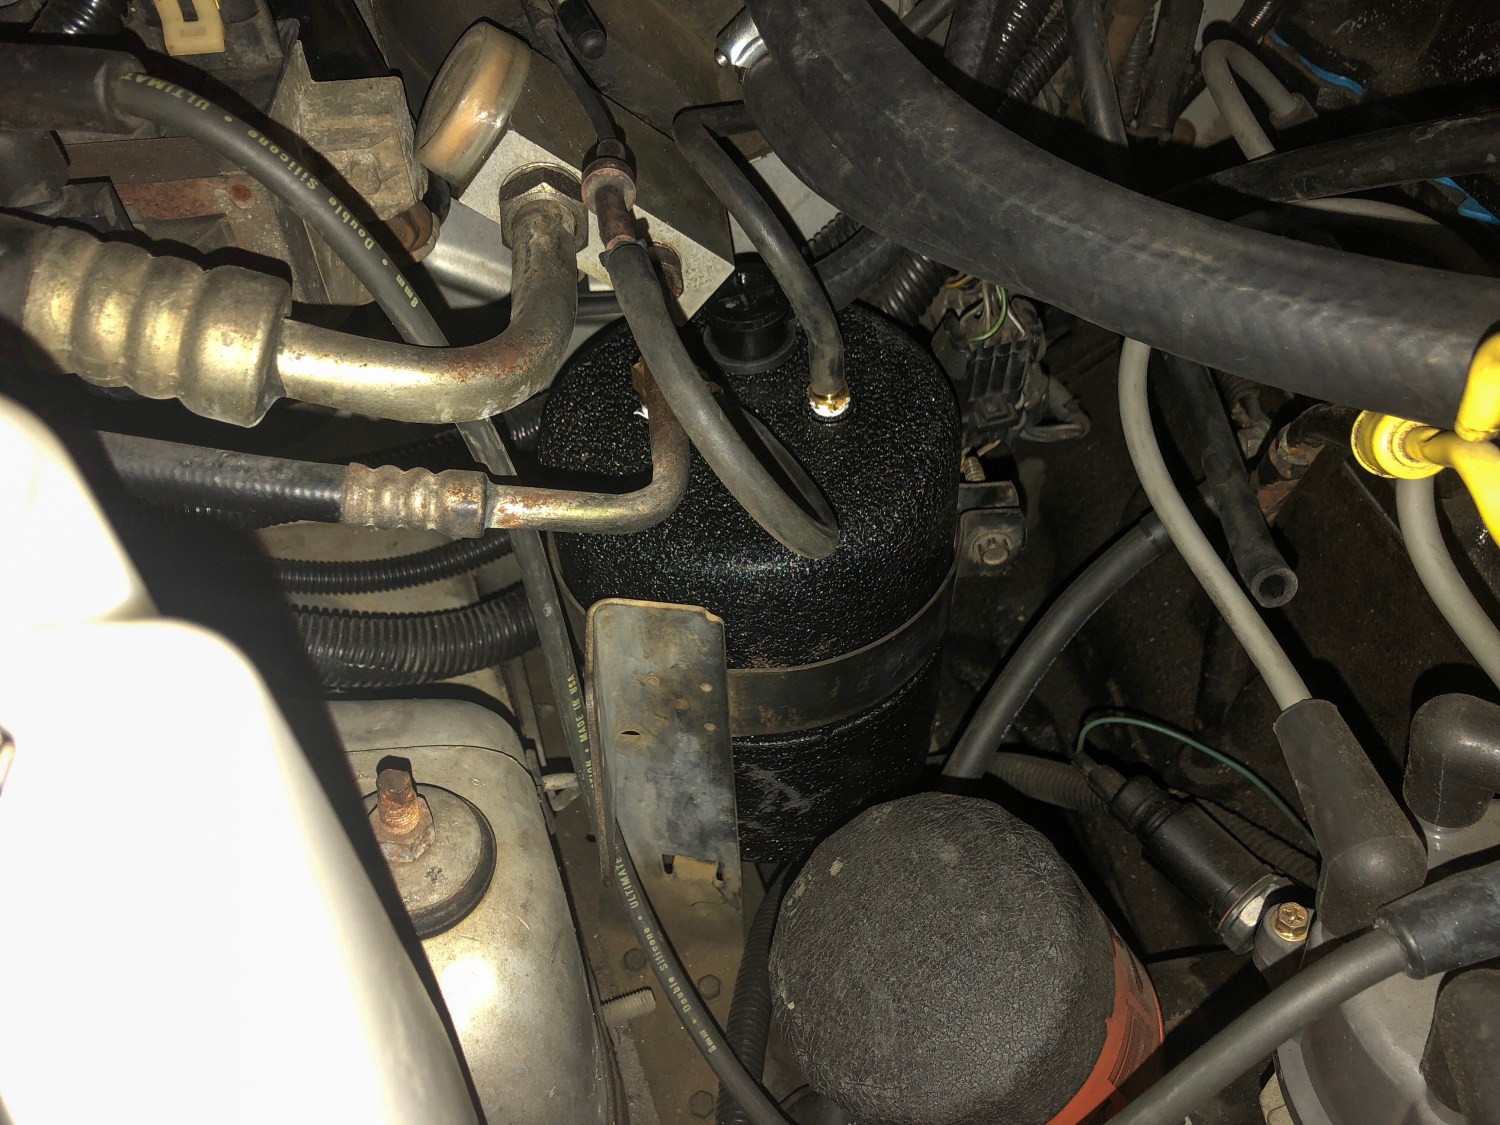
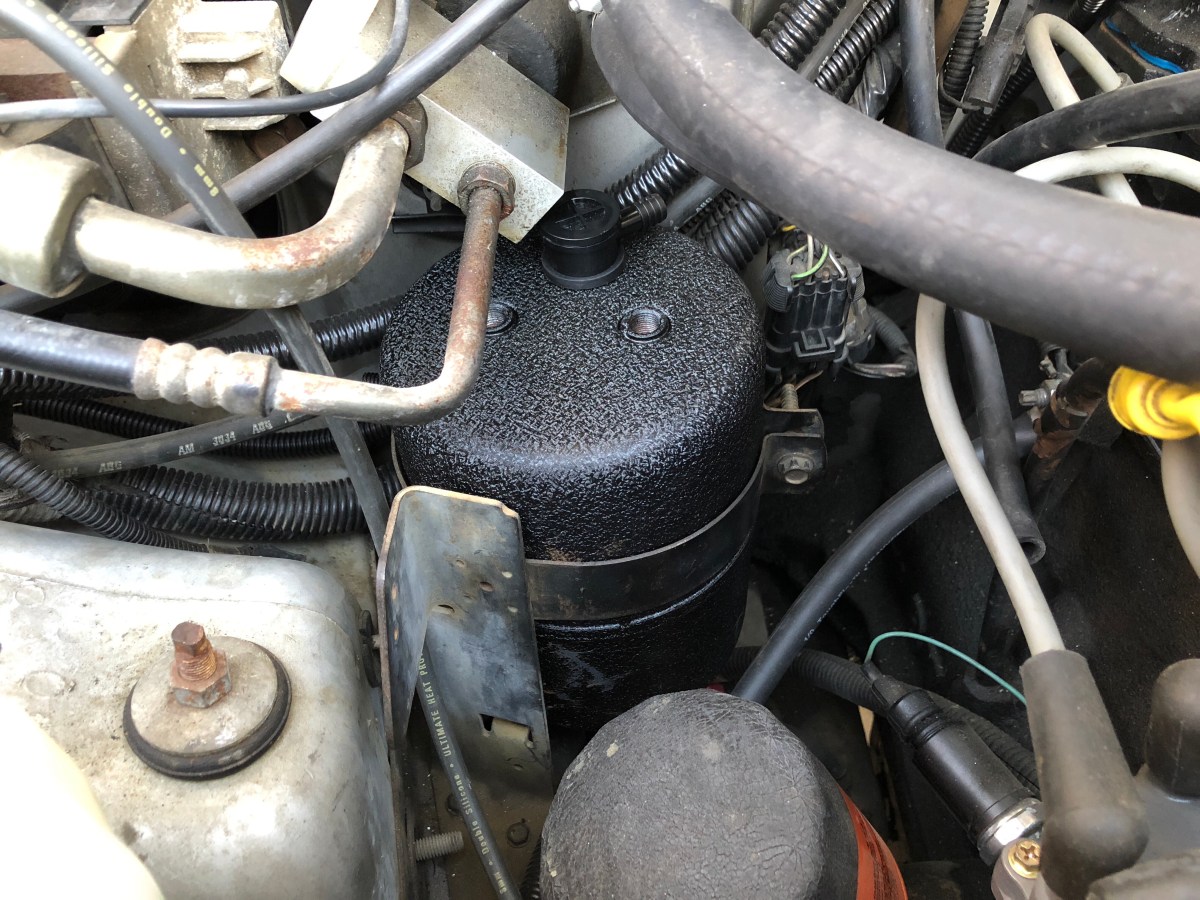
The elbow fitting was for the HVAC controls and the straight fitting was for the Cruise Control. I threaded everything in on the new vacuum reservoir and set it aside. The next step was location. I opted to remove the vapor canister since it wasn’t being use. The line from the tank was still hooked up but did not have the line going to the intake tube since I deleted it when I installed my THOR intake system.
I disconnected the fuel take vent tube and set it aside for now. I have plans for that which I’ll explain later. I loosened the clamp screw holding the vapor canister in and removed it.

Thank you Jerry. The vapor canister is part of your smog equipment. During you vehicle inspection or SMOG test like here in California, they will look to make sure it is there and in tact. If it’s not there, you WILL fail. So if your going to remove it, do it at your own risk. Legal obligations fulfilled, let’s continue.
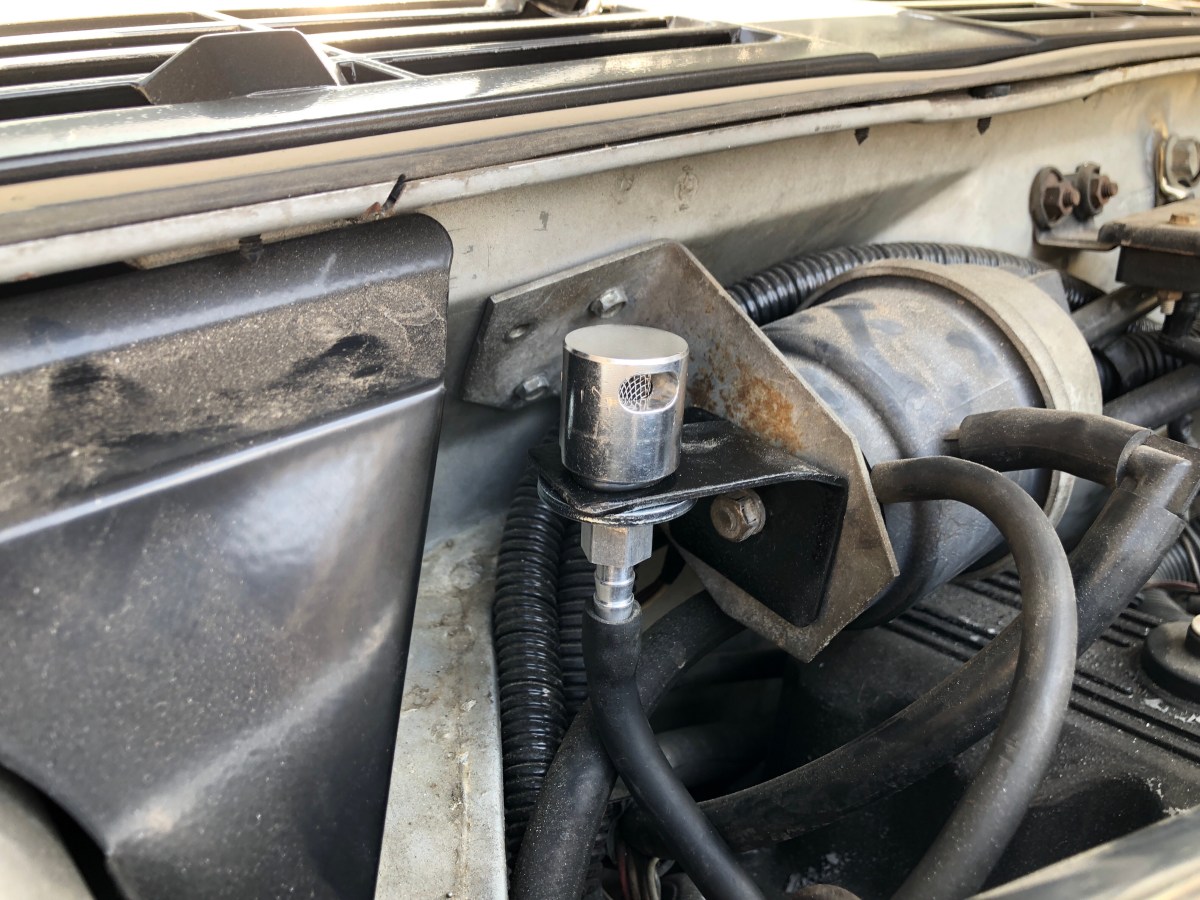
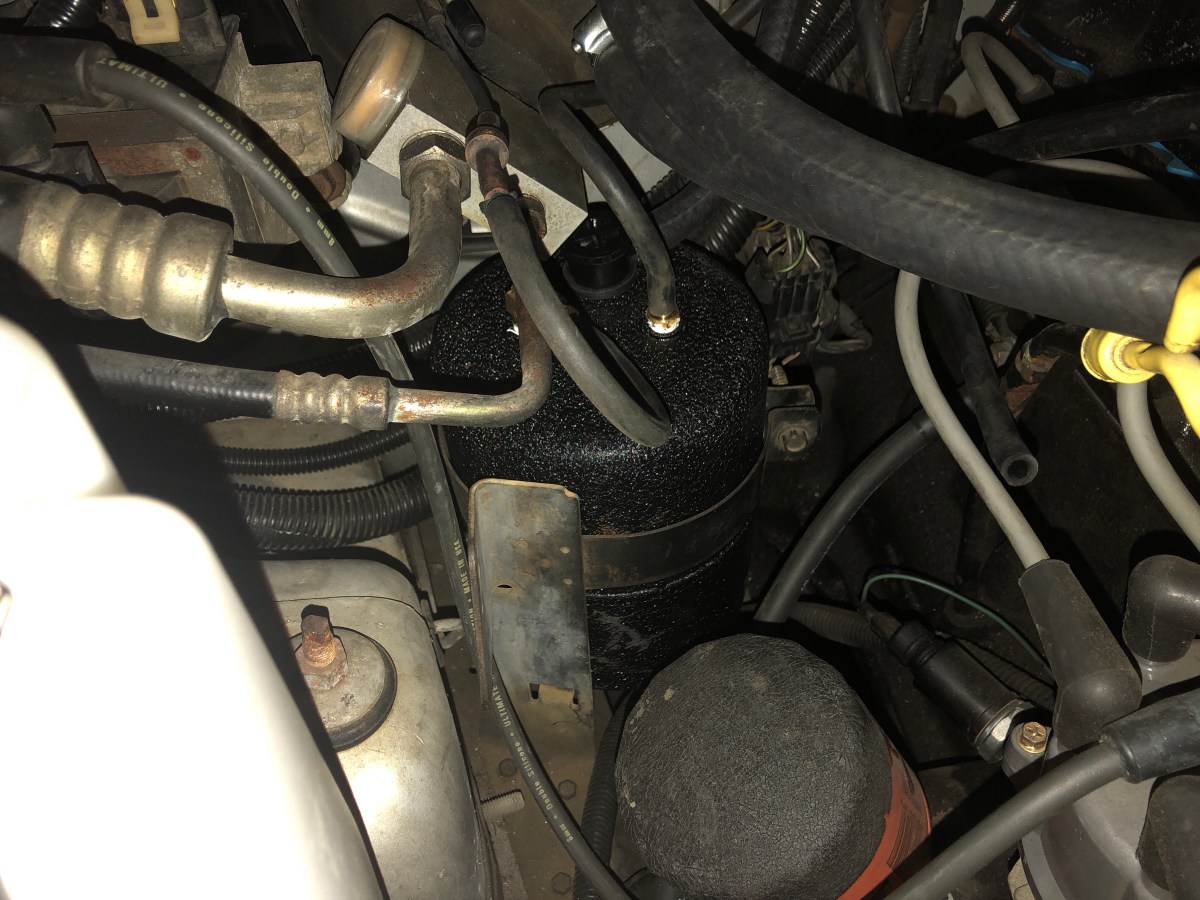
I installed the new vacuum reservoir in its spot and clamped it down. I pulled the old vacuum lines out from under the hood and and cut them down to the proper length so they don’t kink.
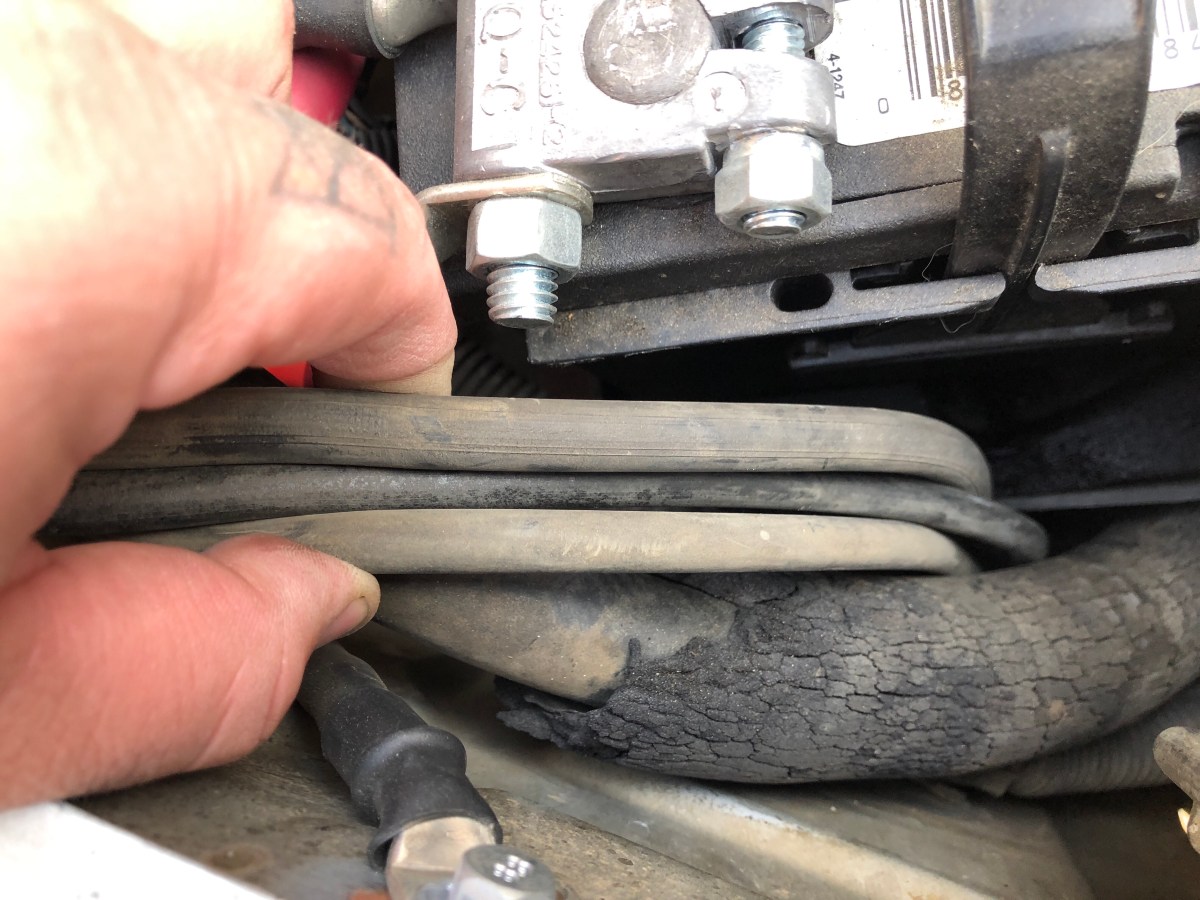
The last step before hooking everything up was to remove the old vacuum fitting from the intake manifold that supplies the vacuum to the reservoir. I used another 1/4″ NPT x 3/8″ Barb fitting and ran new 3/8″ vacuum hose from the manifold to the reservoir.
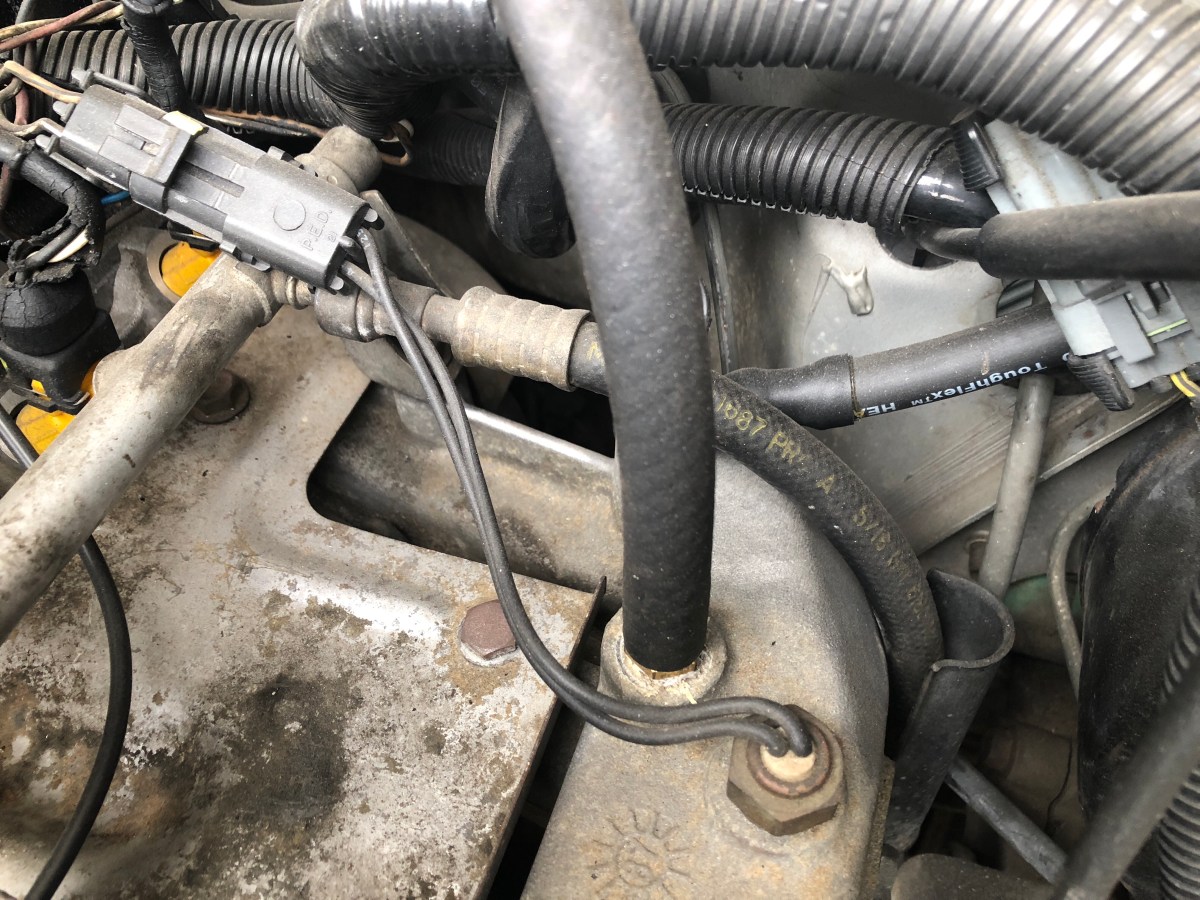
Now that everything was shortened and ran to the new vacuum reservoir location, I hooked everything up and tested the HVAC controls and Cruise Controls at the same time. It might just be me but the HVAC blend door seemed to respond much quicker now. There always seemed to be a slight delay when switching between vents.
With everything working properly, the last thing to do was the tank vent line. I picked up a roll over valve from Tanks Inc. I made a bracket for it and attached it to the mounting stud for the cruise control unit. Lastly, I hooked the vent line from the tank to the roll over valve.