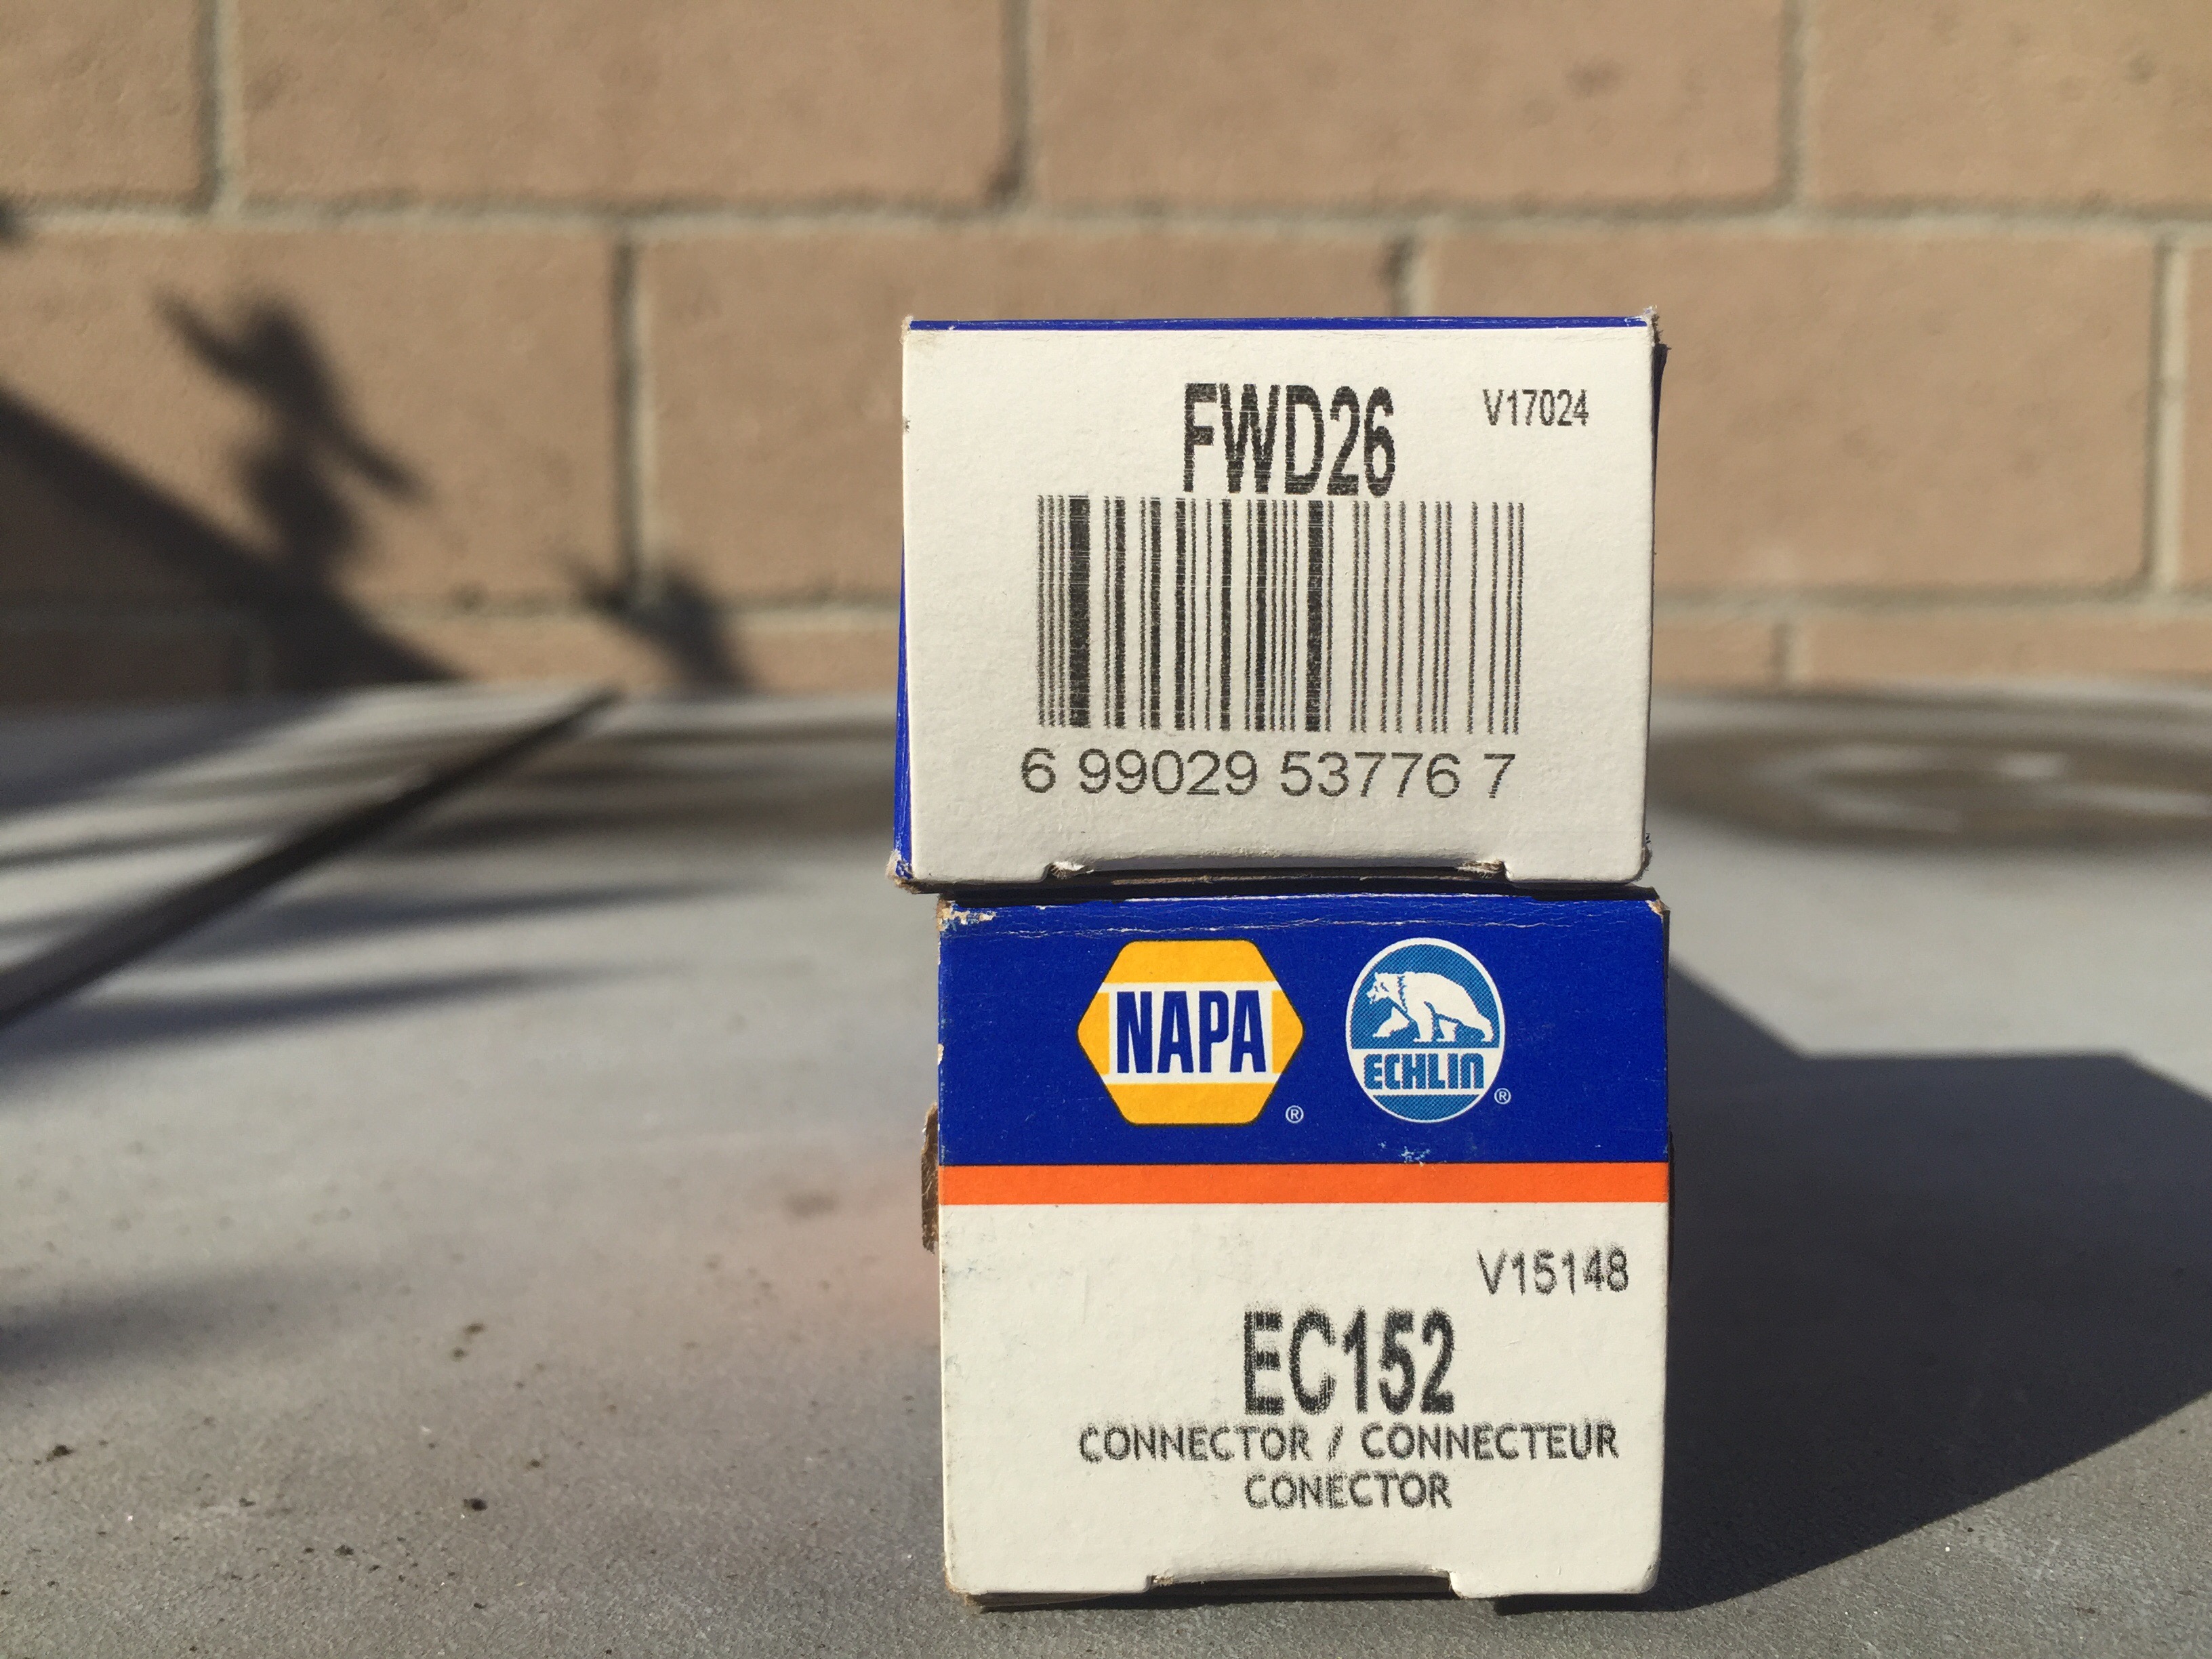
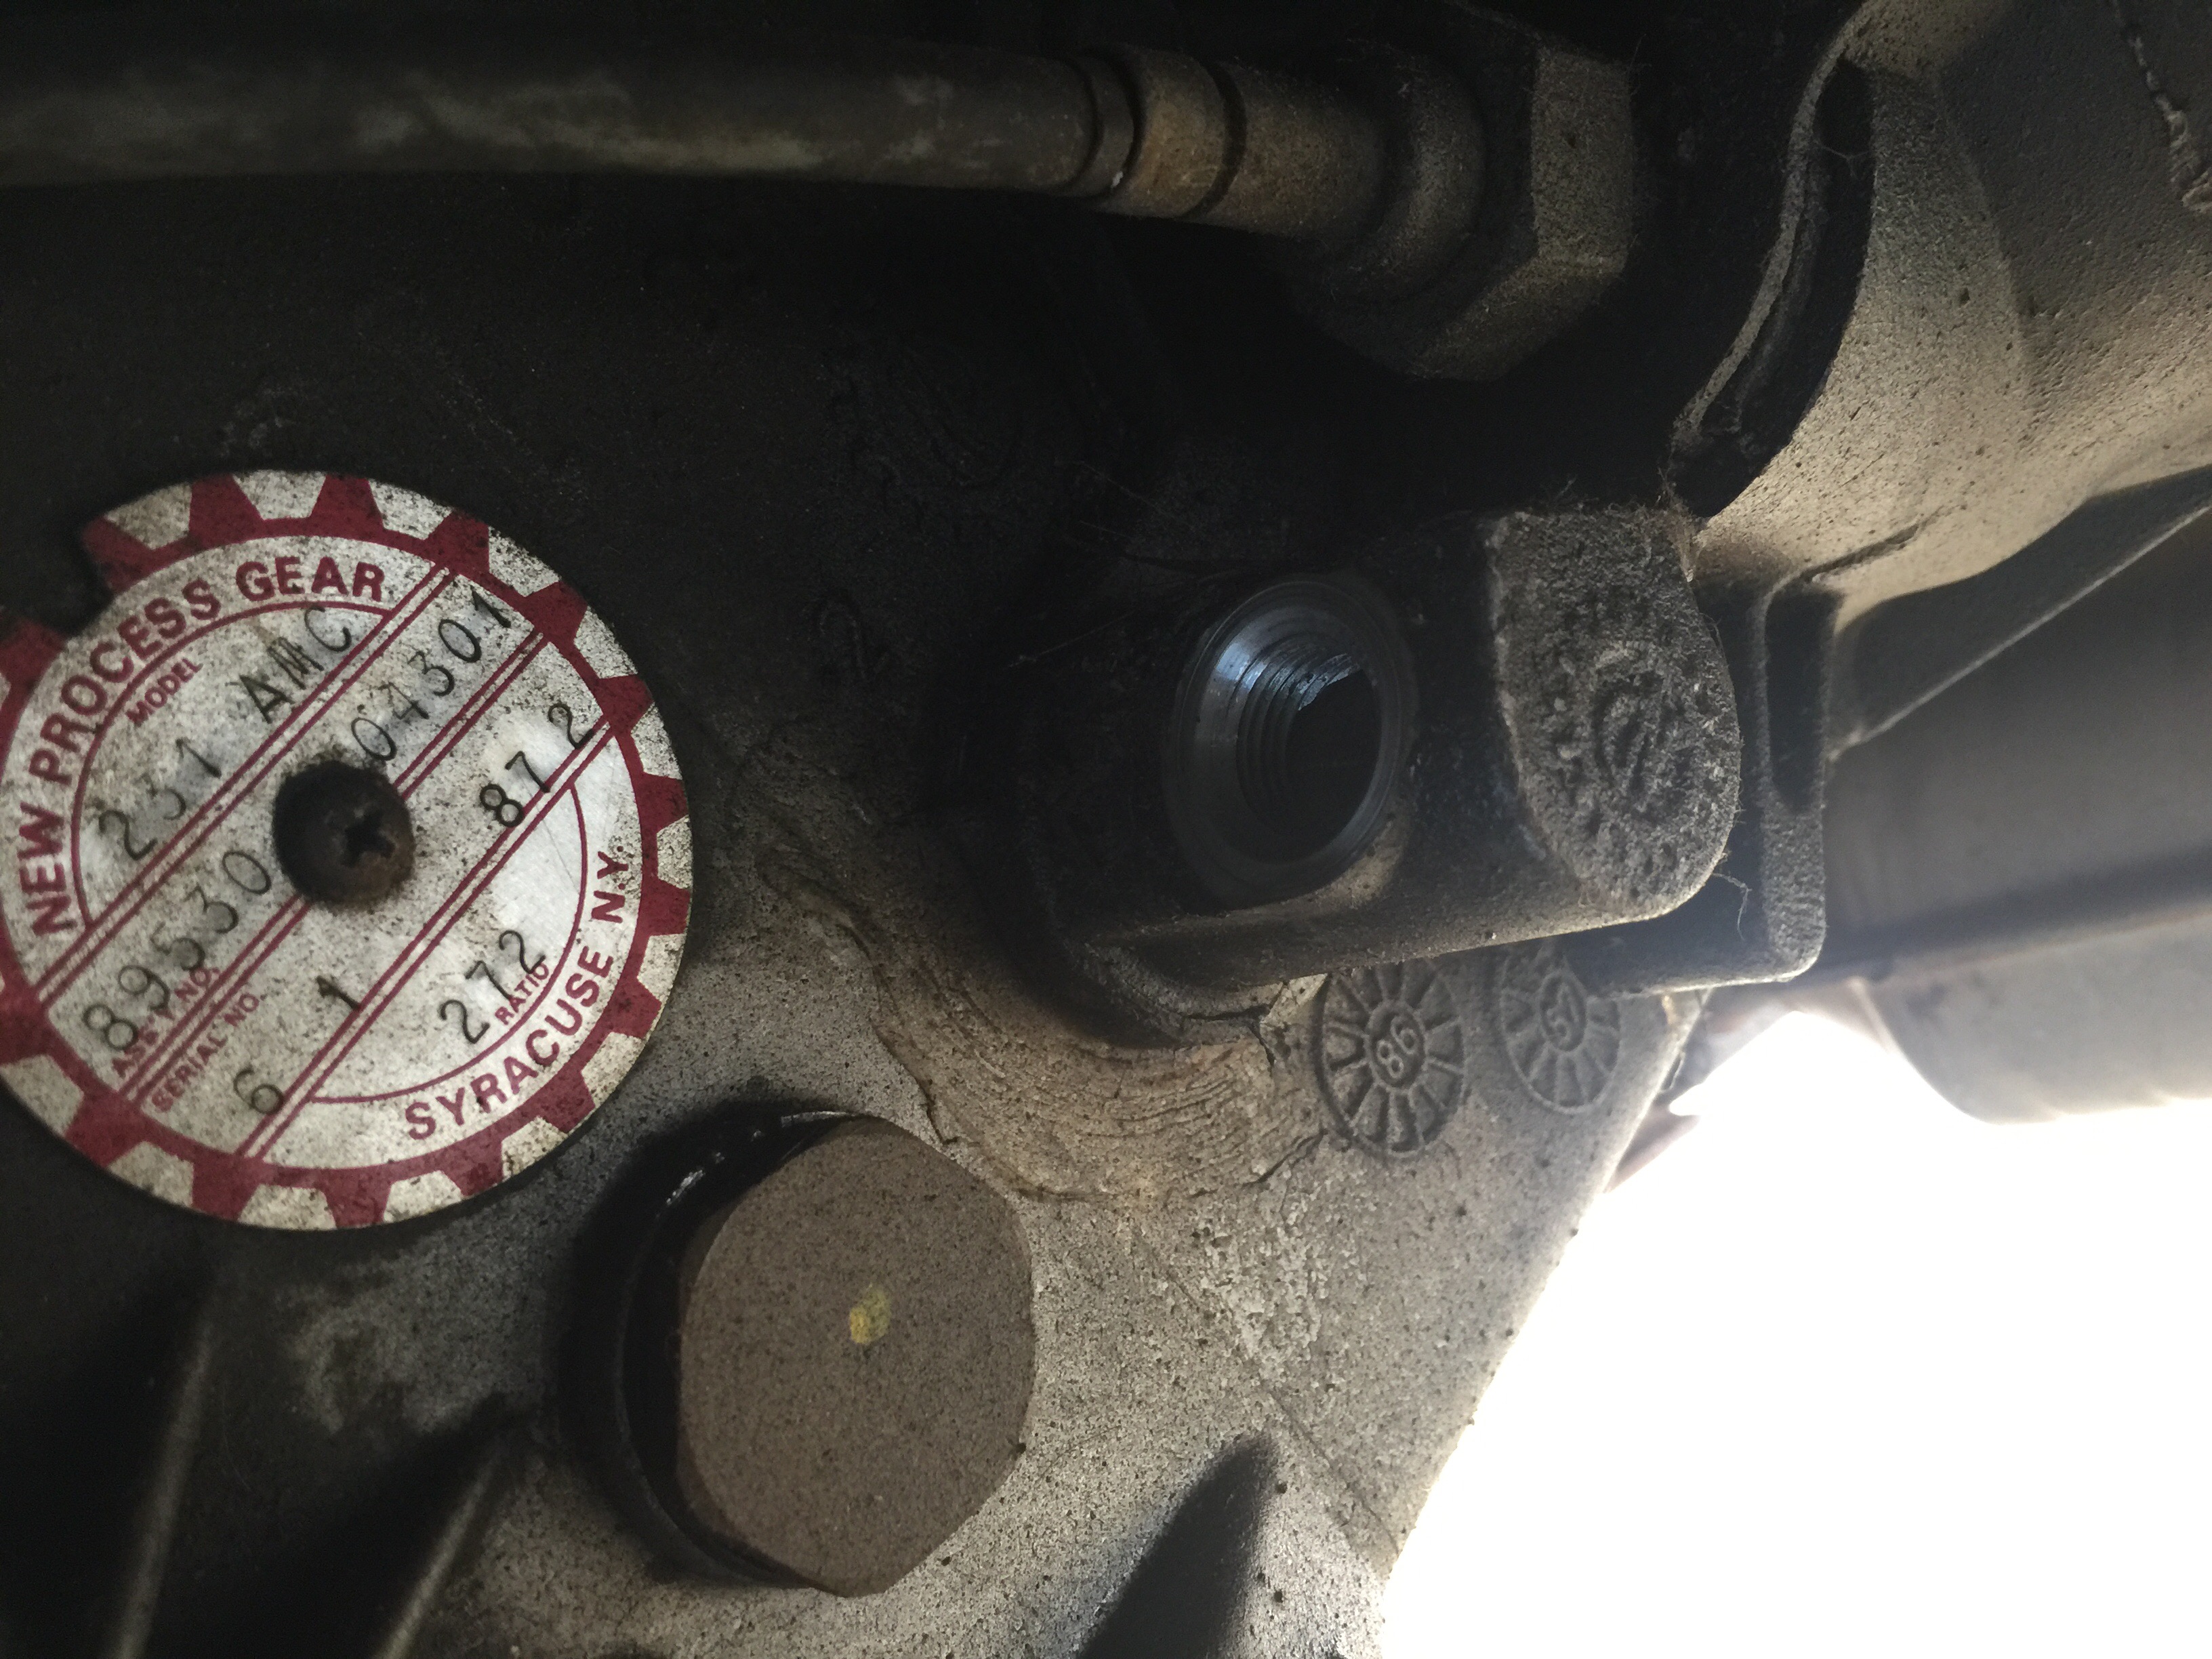
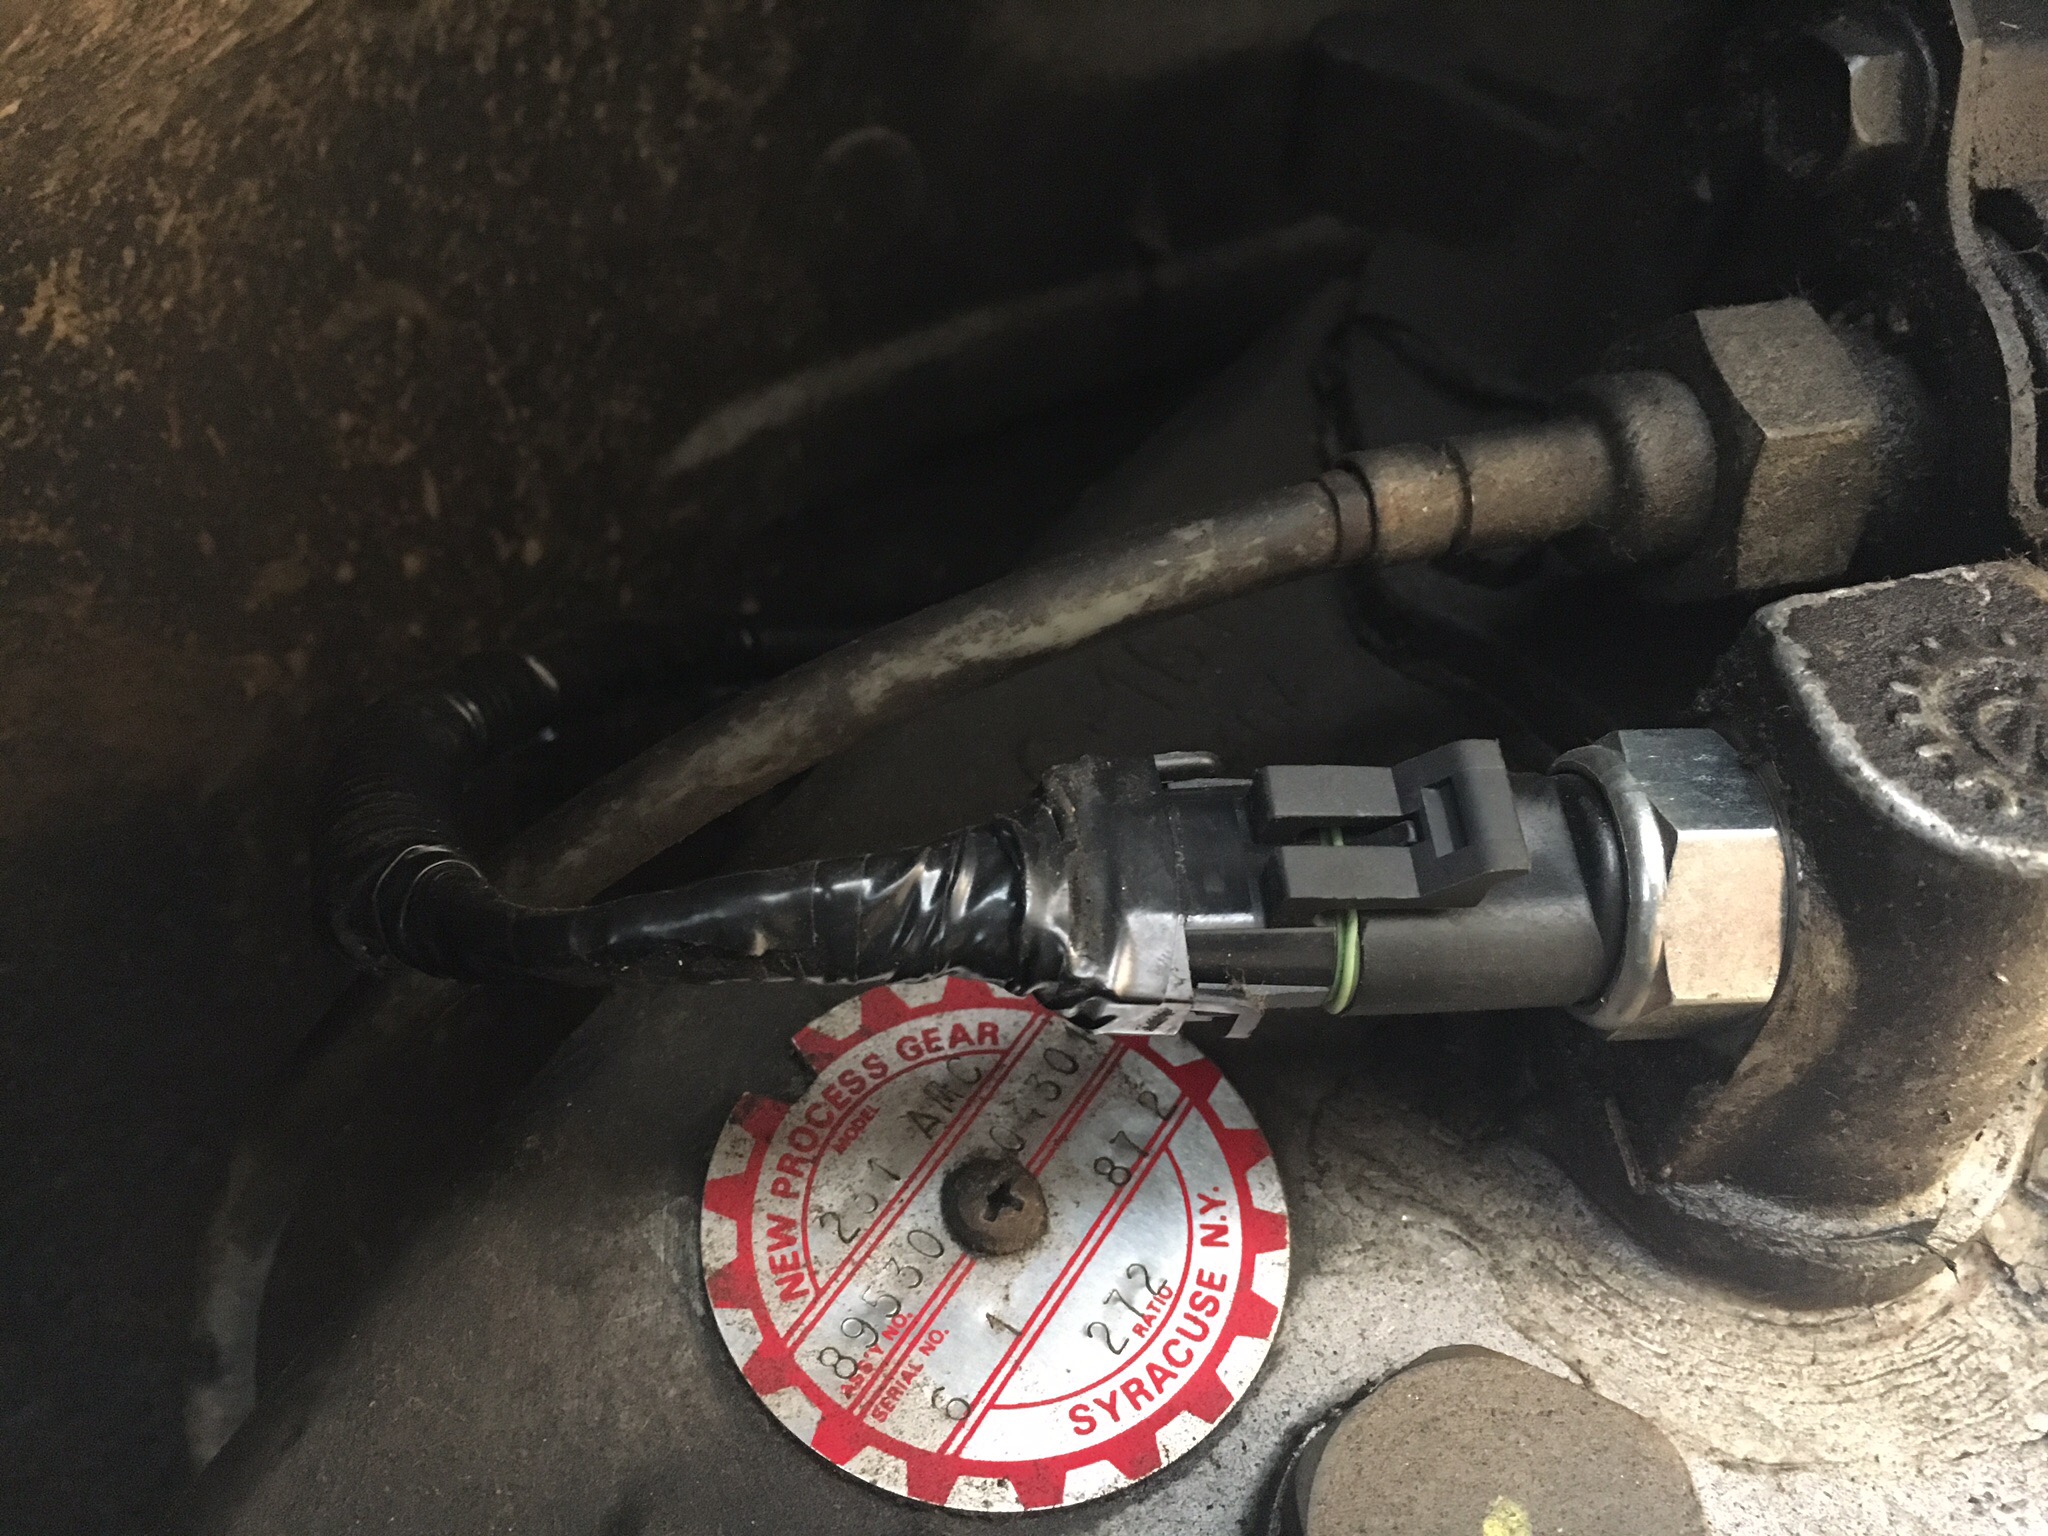
Ok, this will be a quick and simple article to top off the CAD Delete. Doing this part was totally optional but I like all my lights to work. So to start, I had to track down the right parts. The new switch is from a ‘96 Cherokee with a NP231 transfer case. I ordered the switch and a pig tail from Napa. Electric switch is Napa part #: FWD26 the new pig tail is Napa part #: EC152.
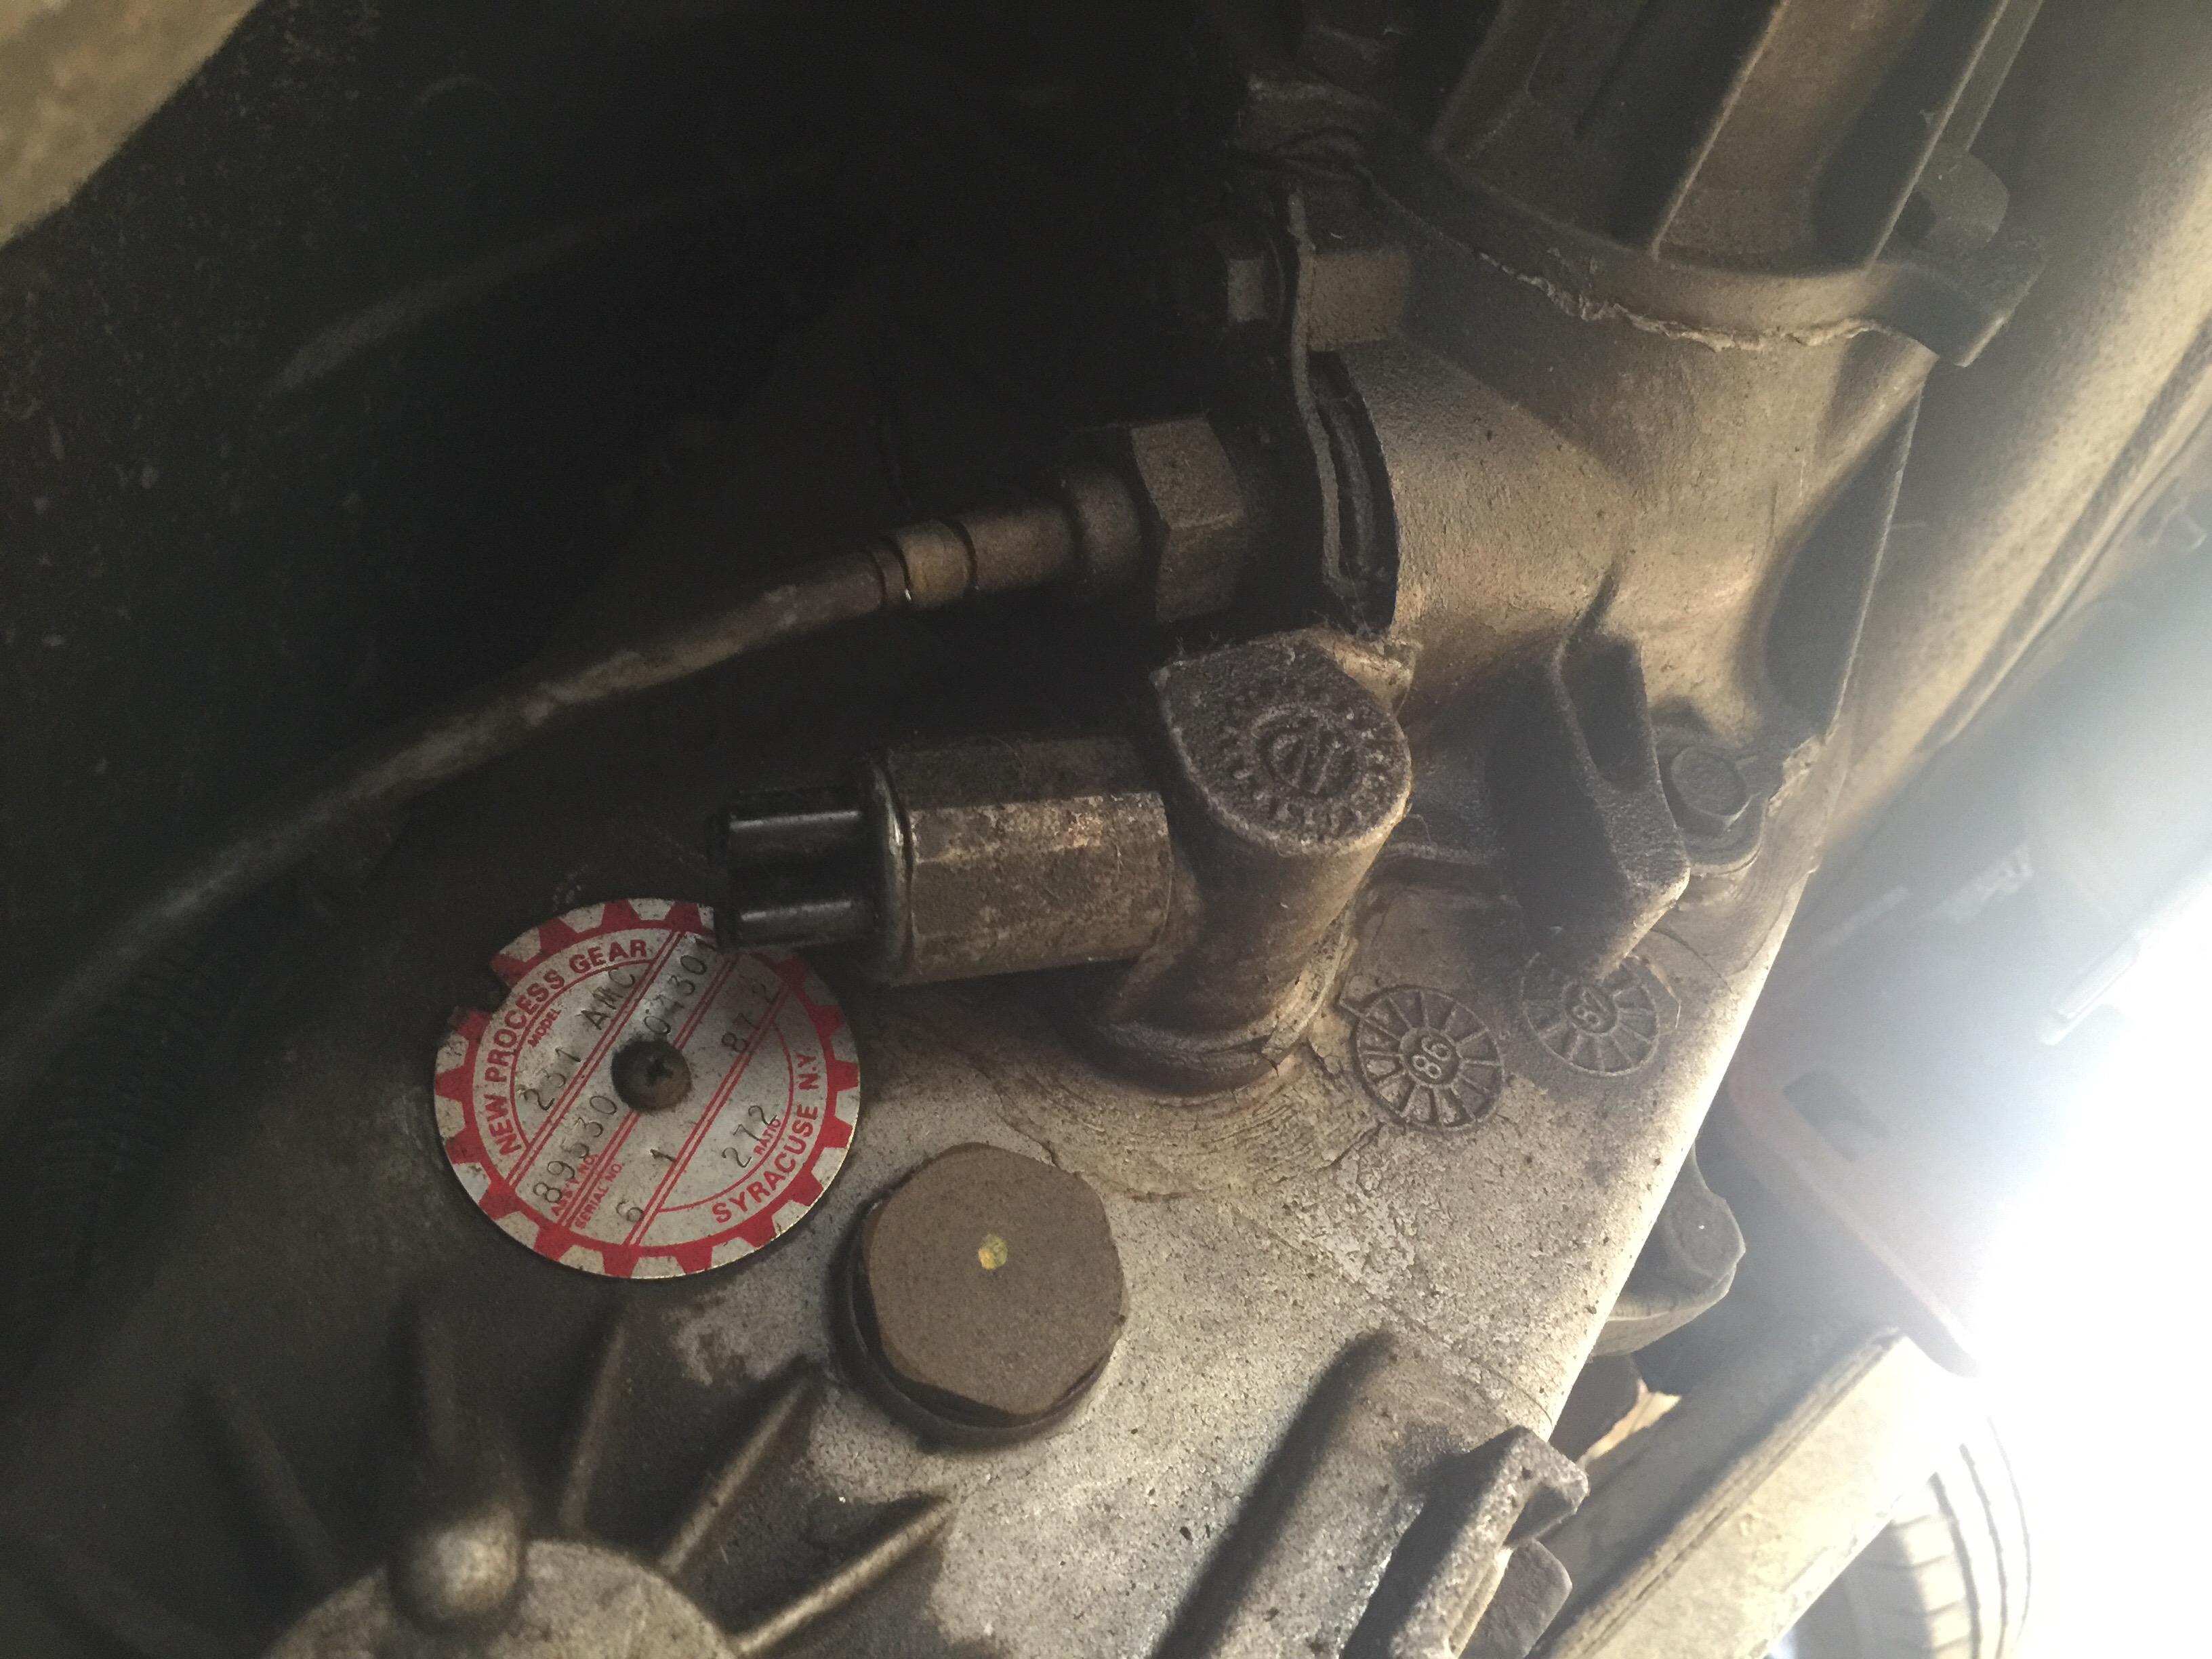
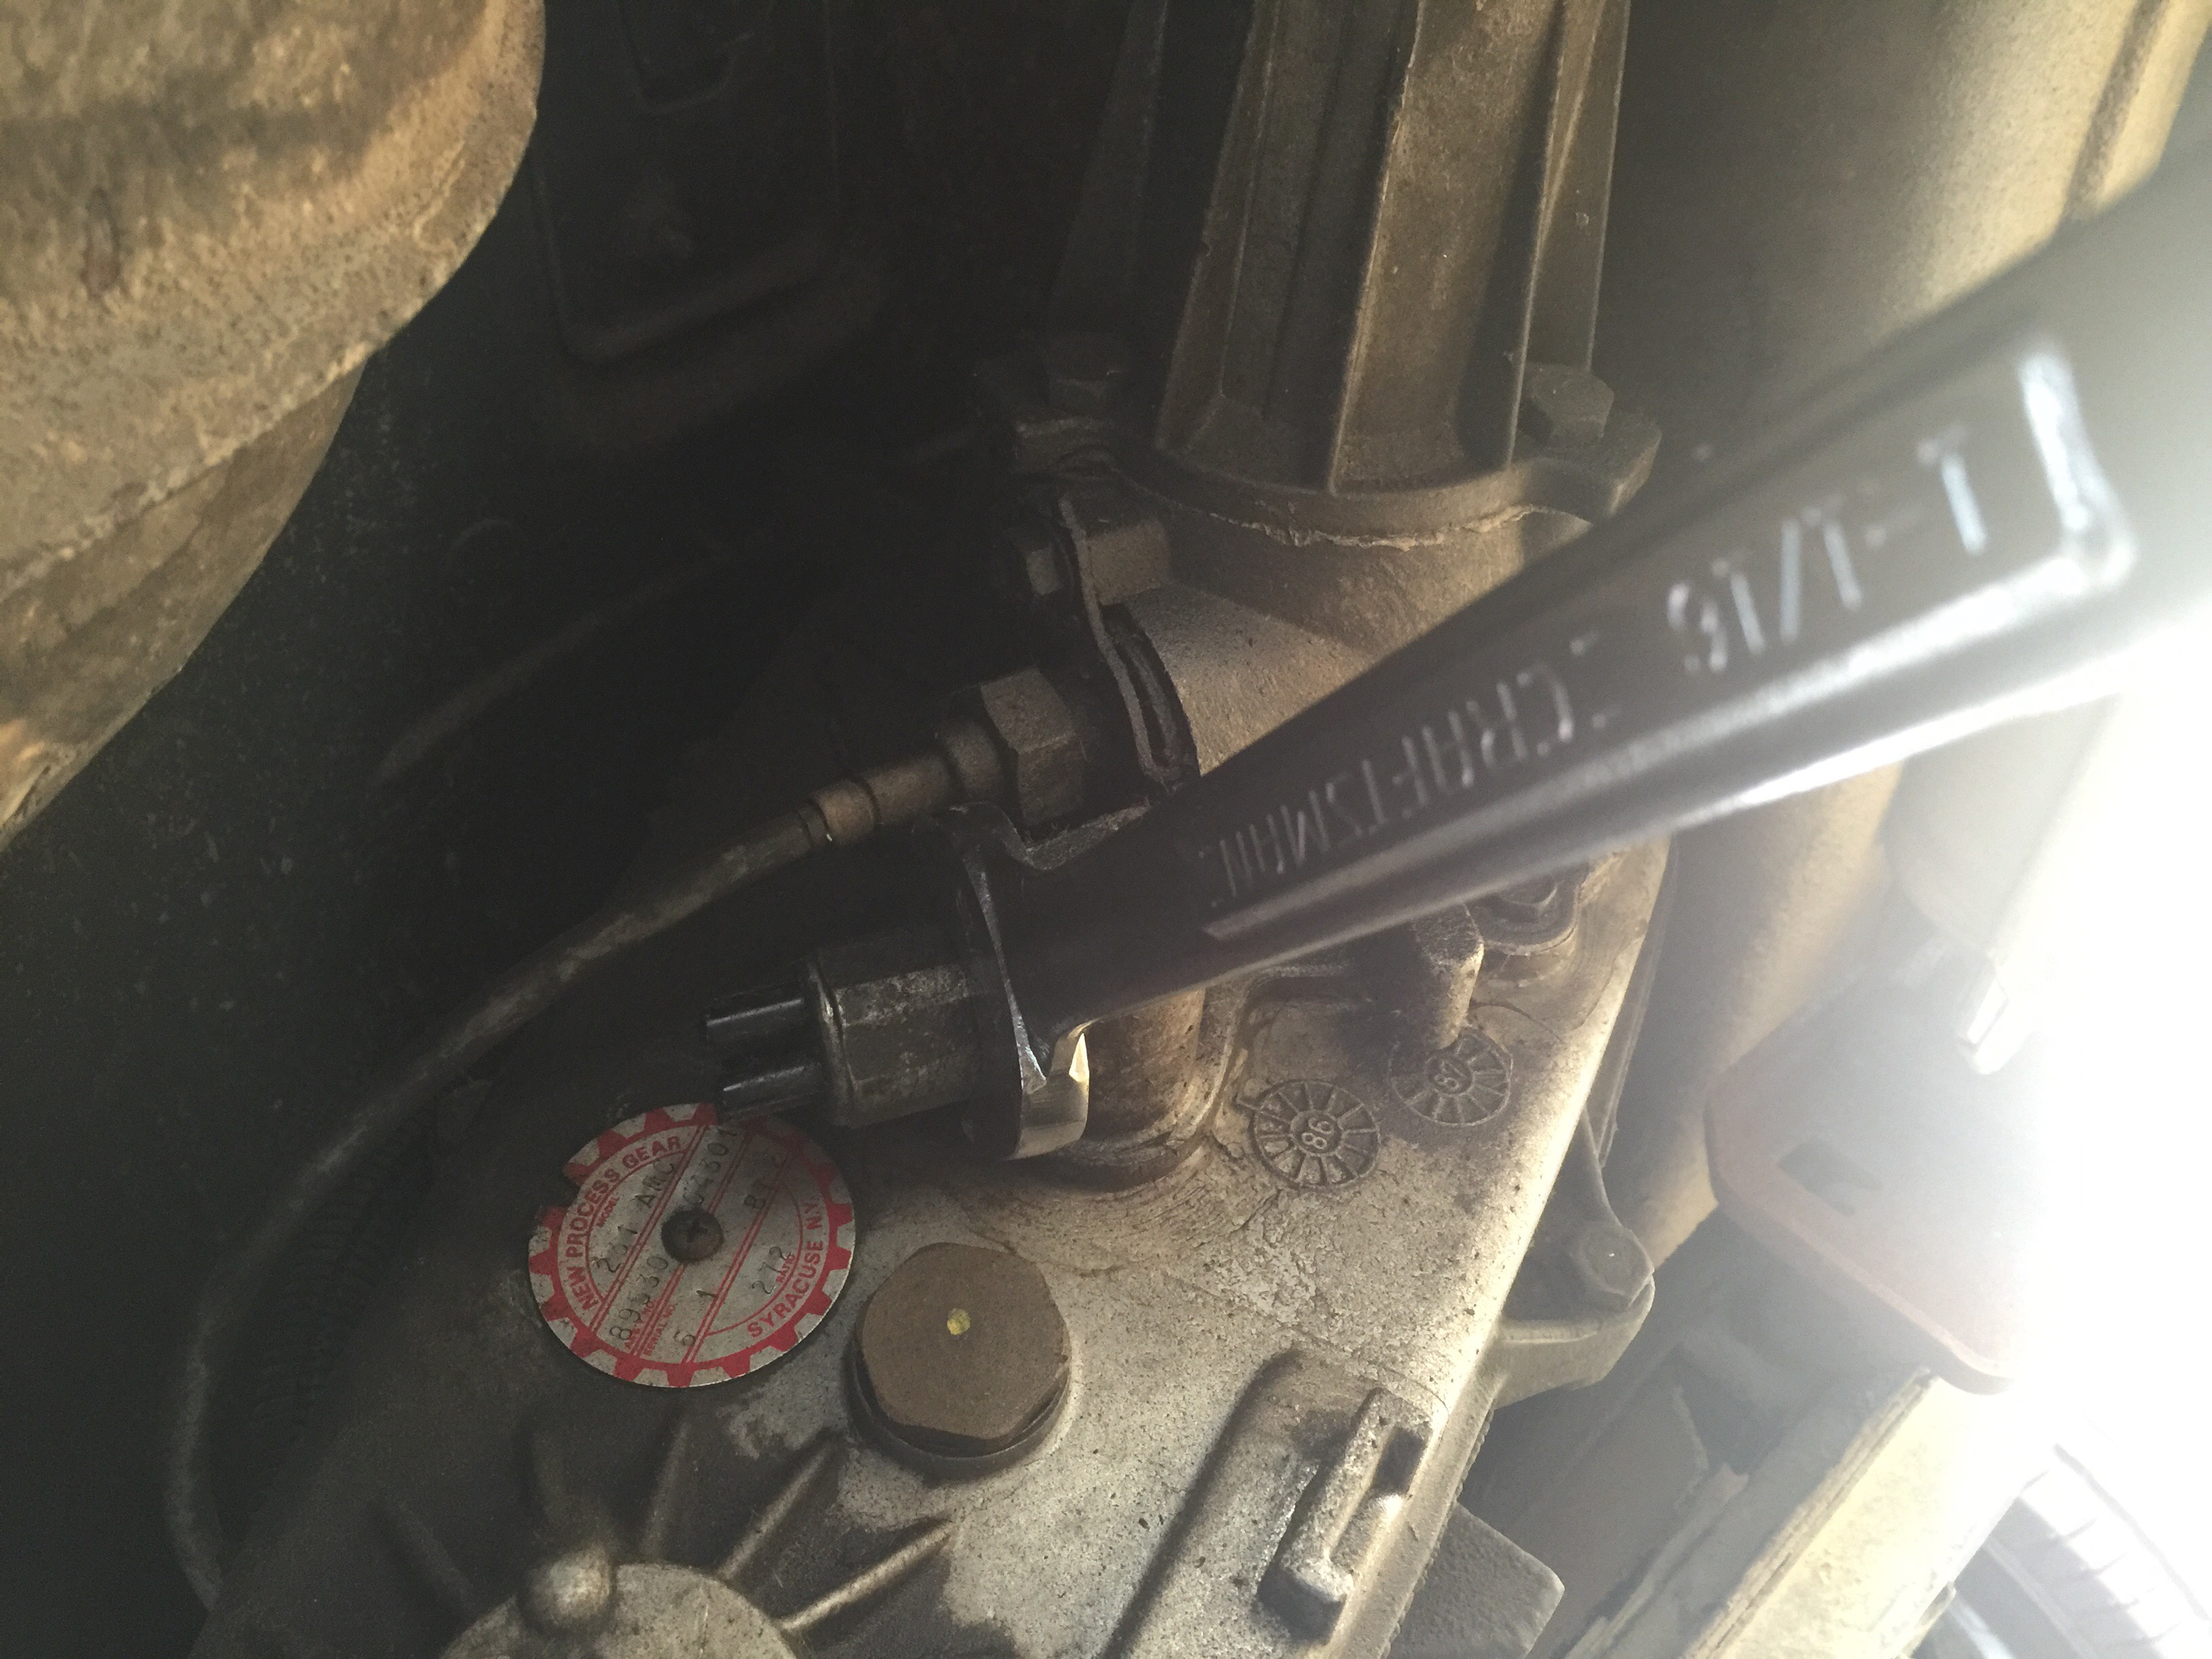
Now it’s time to remove the old vacuum switch. With an 1-1/16” wrench, I crawled under the Jeep and loosen the old vacuum switch out. Don’t worry about losing transfer case fluid. The switch is above the oil line.
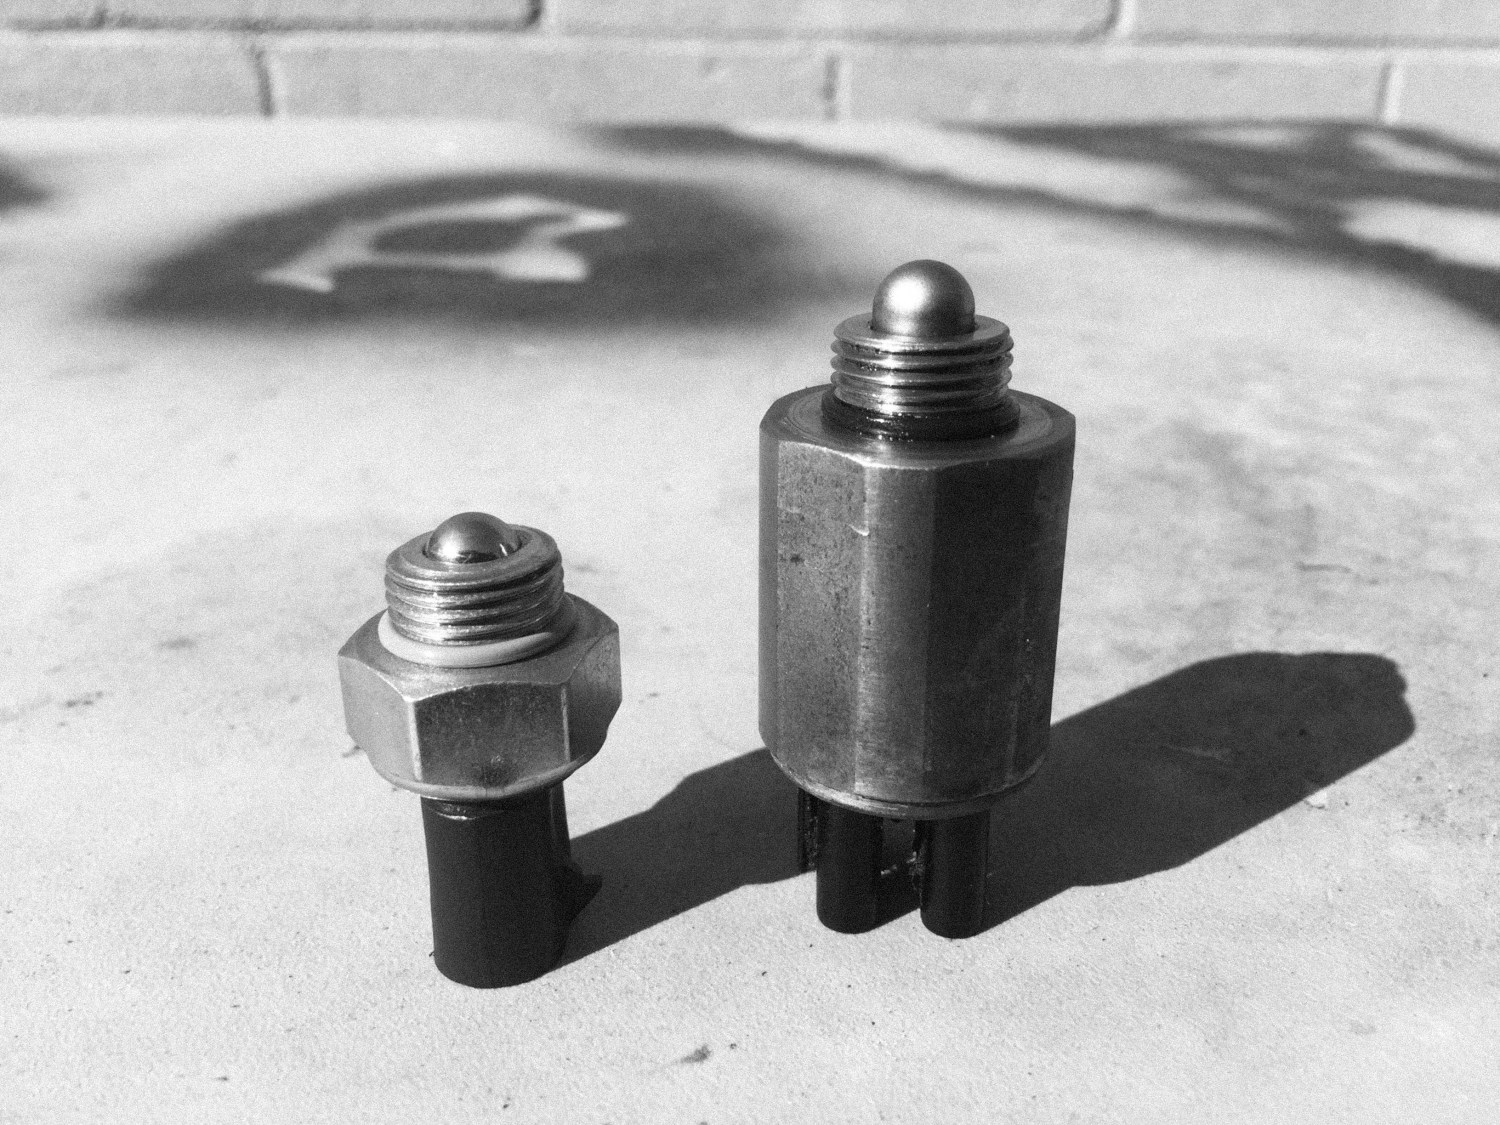
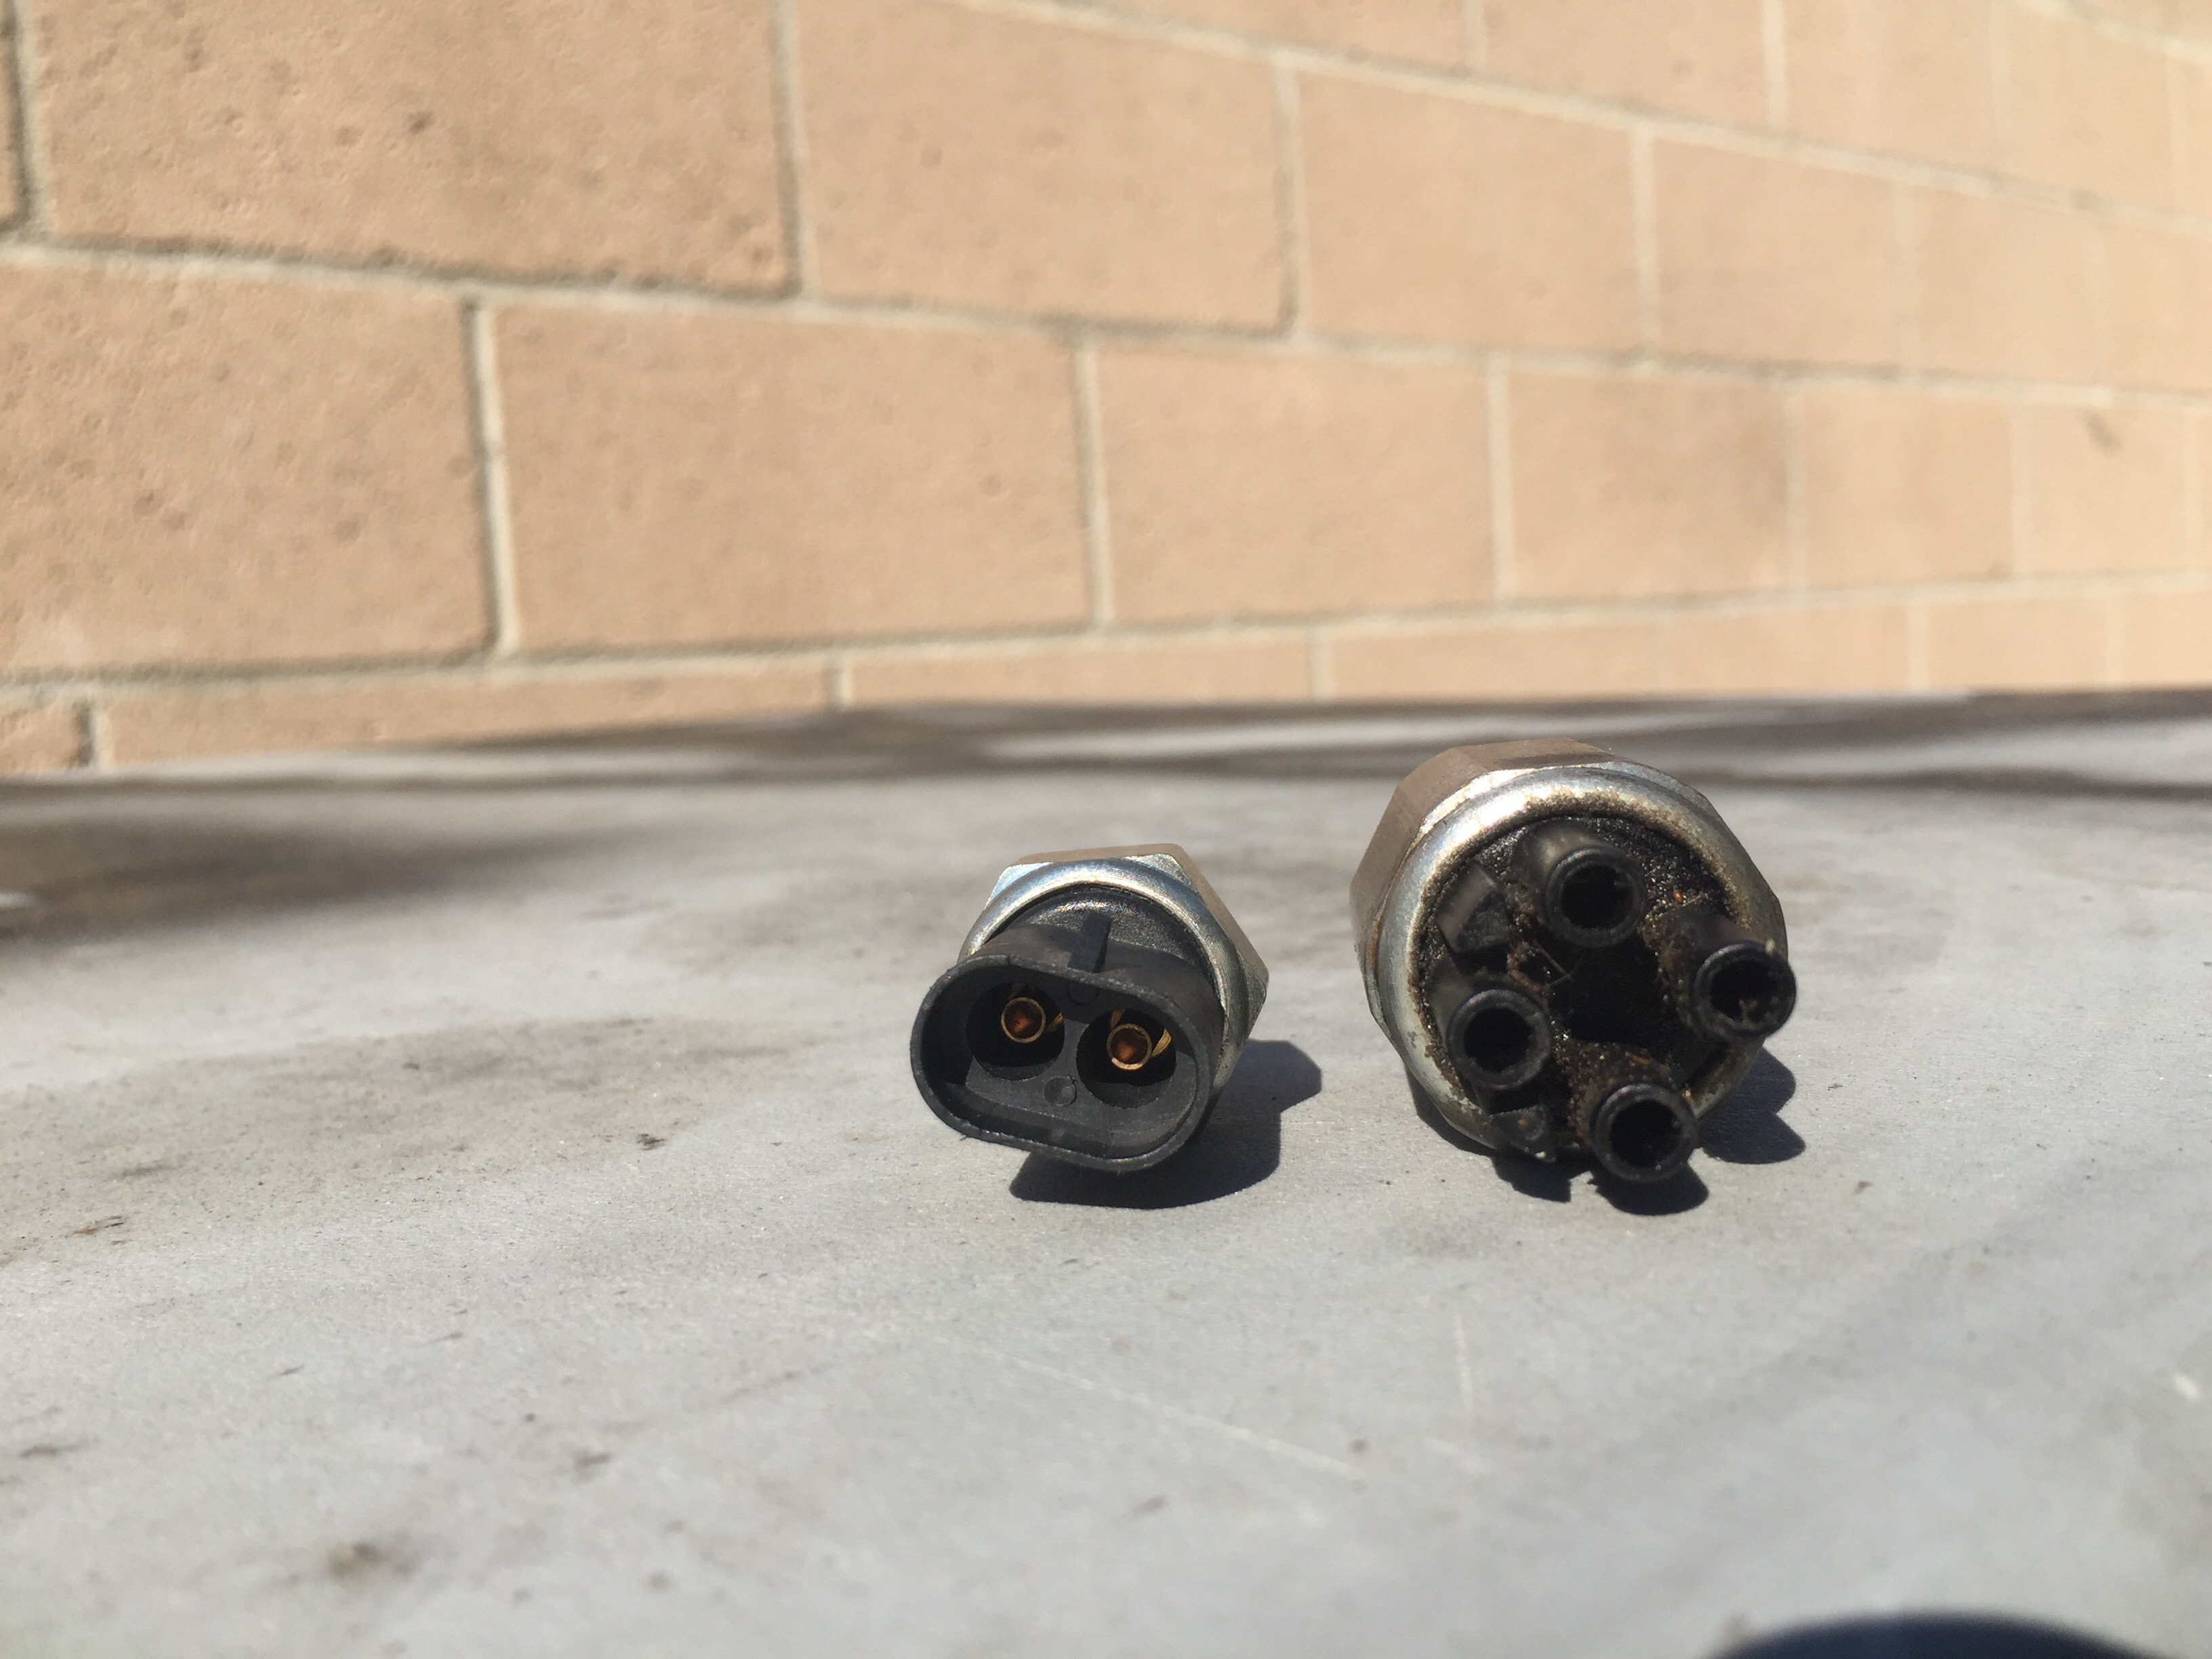
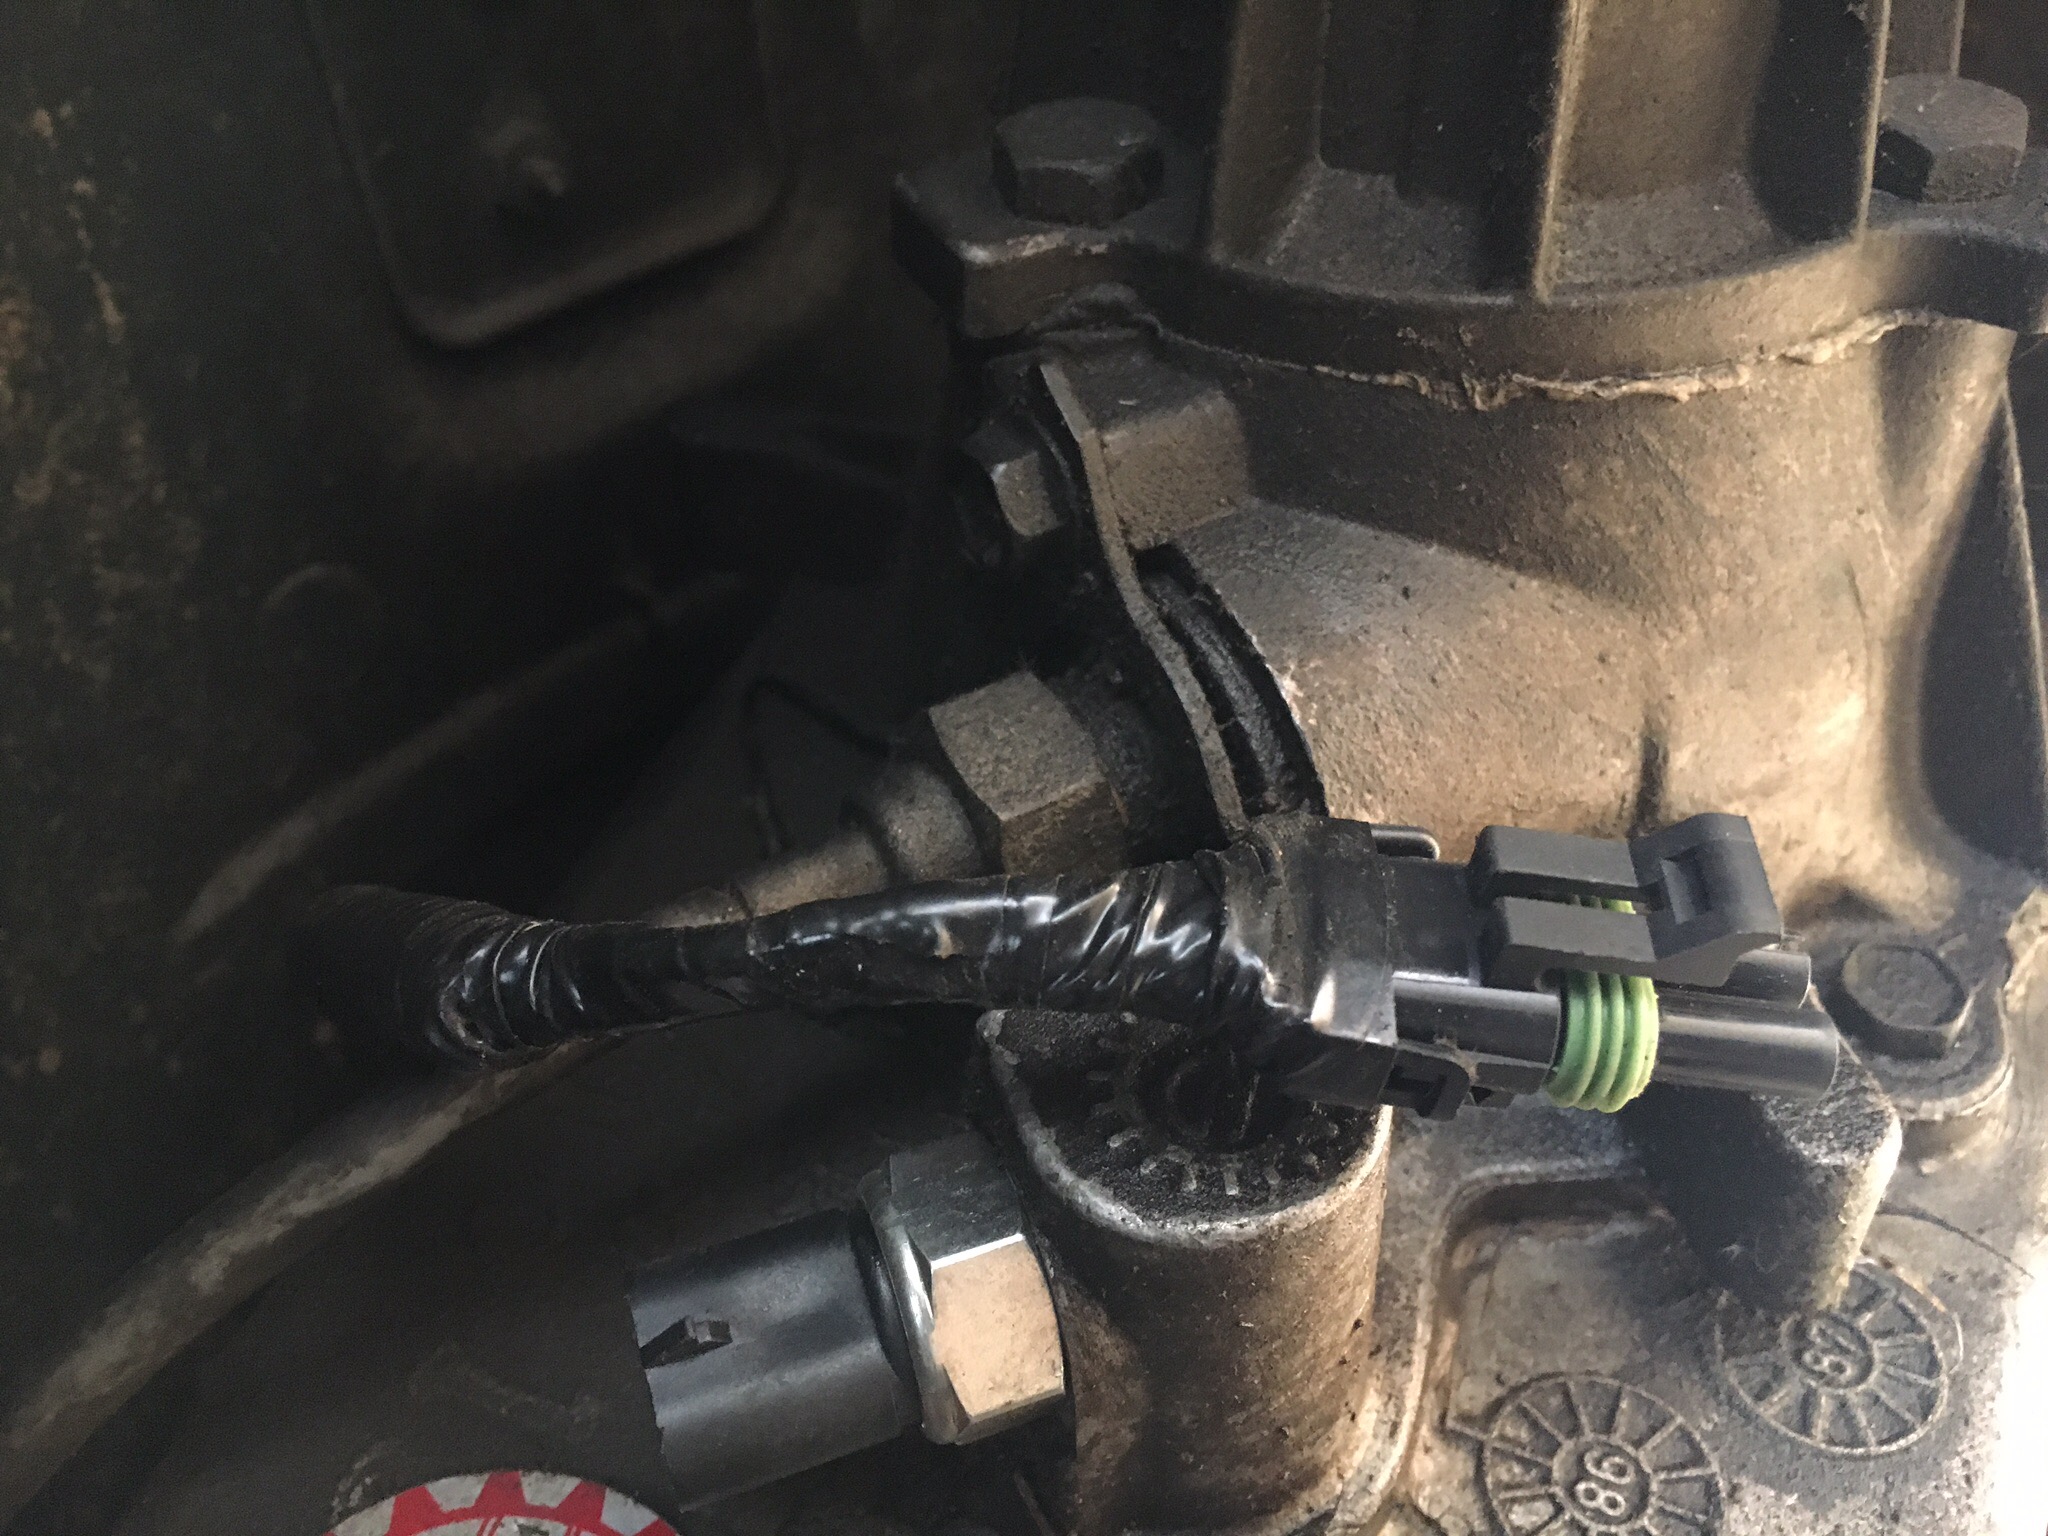
Before crawling out from under the Jeep, I cleaned the debris from the threads. After comparing both threads to ensure the new electric switch would go right in, I noticed the old switch had an O-Ring on it. The O-Ring was used to seal the threads once it was installed into the transfer case; the new one did not have one, so I used any O-Ring I could find. You can see there is a slight difference in the height of the ball bearing in the new switch compared to the little nipple on the old switch.
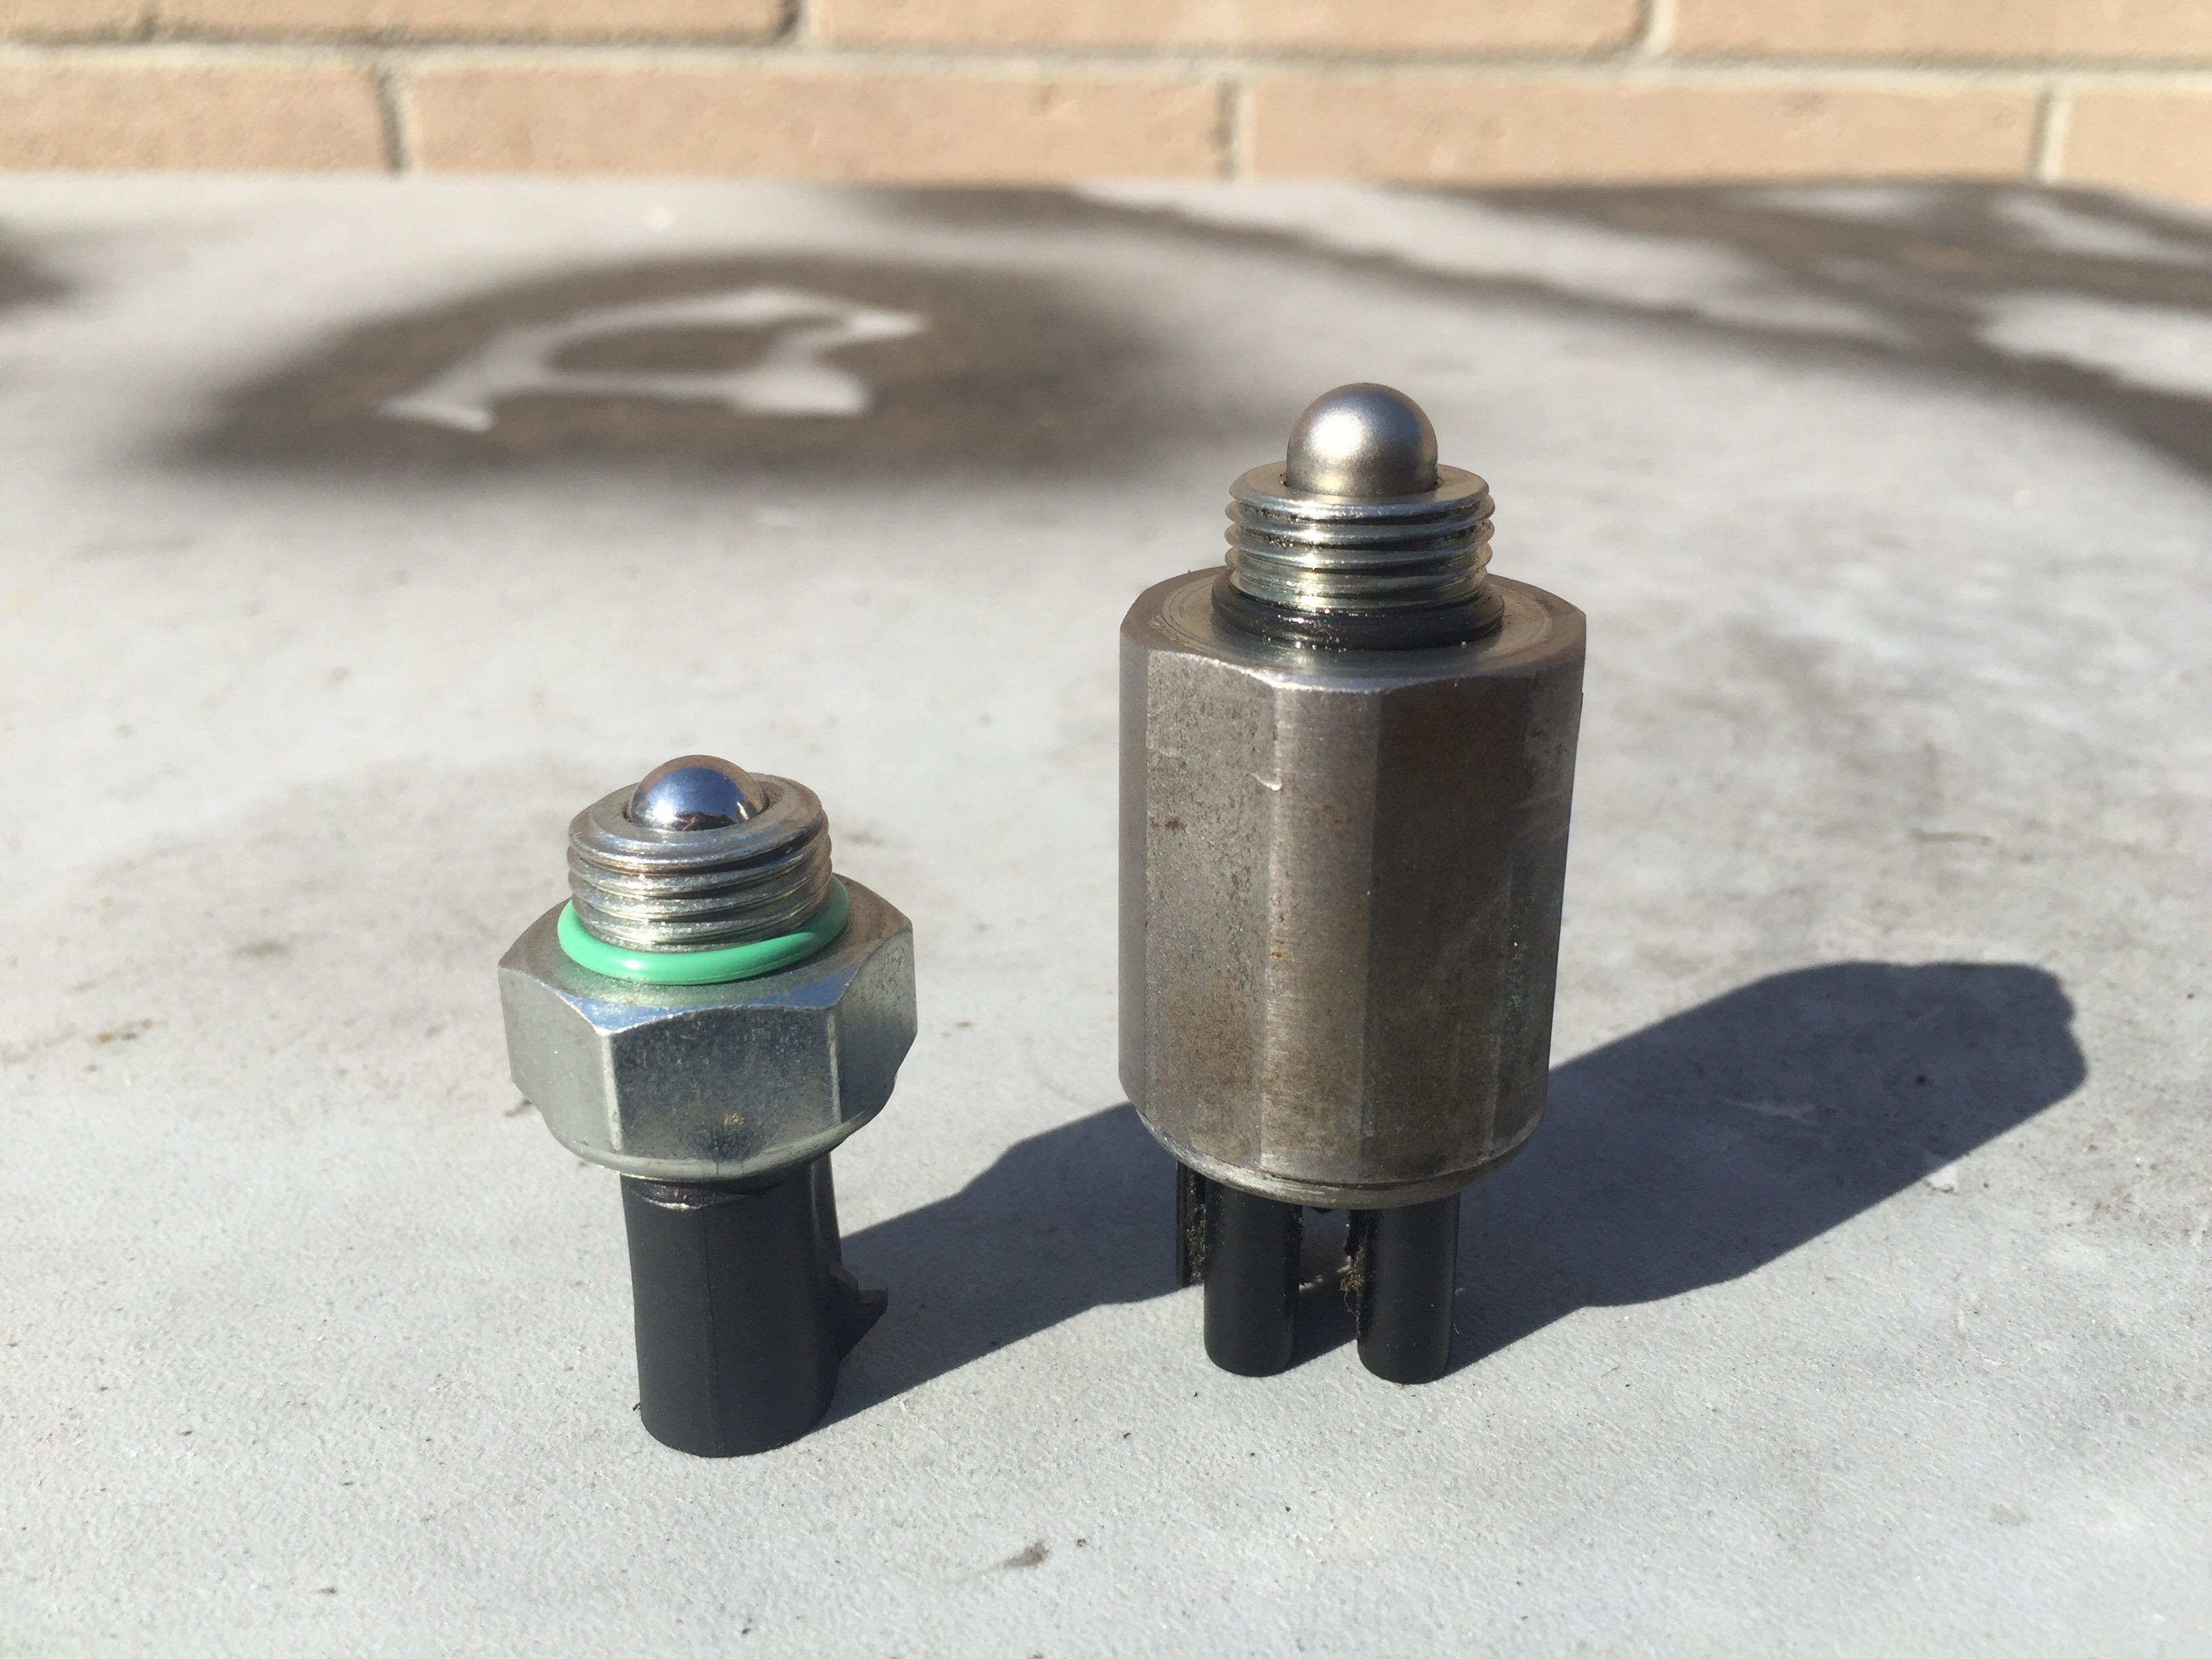
I wasn’t sure this would be a problem, but it after installation it was fine. After installing the switch, it was time to test it in all positions on the transfer case to make sure it would work correctly.
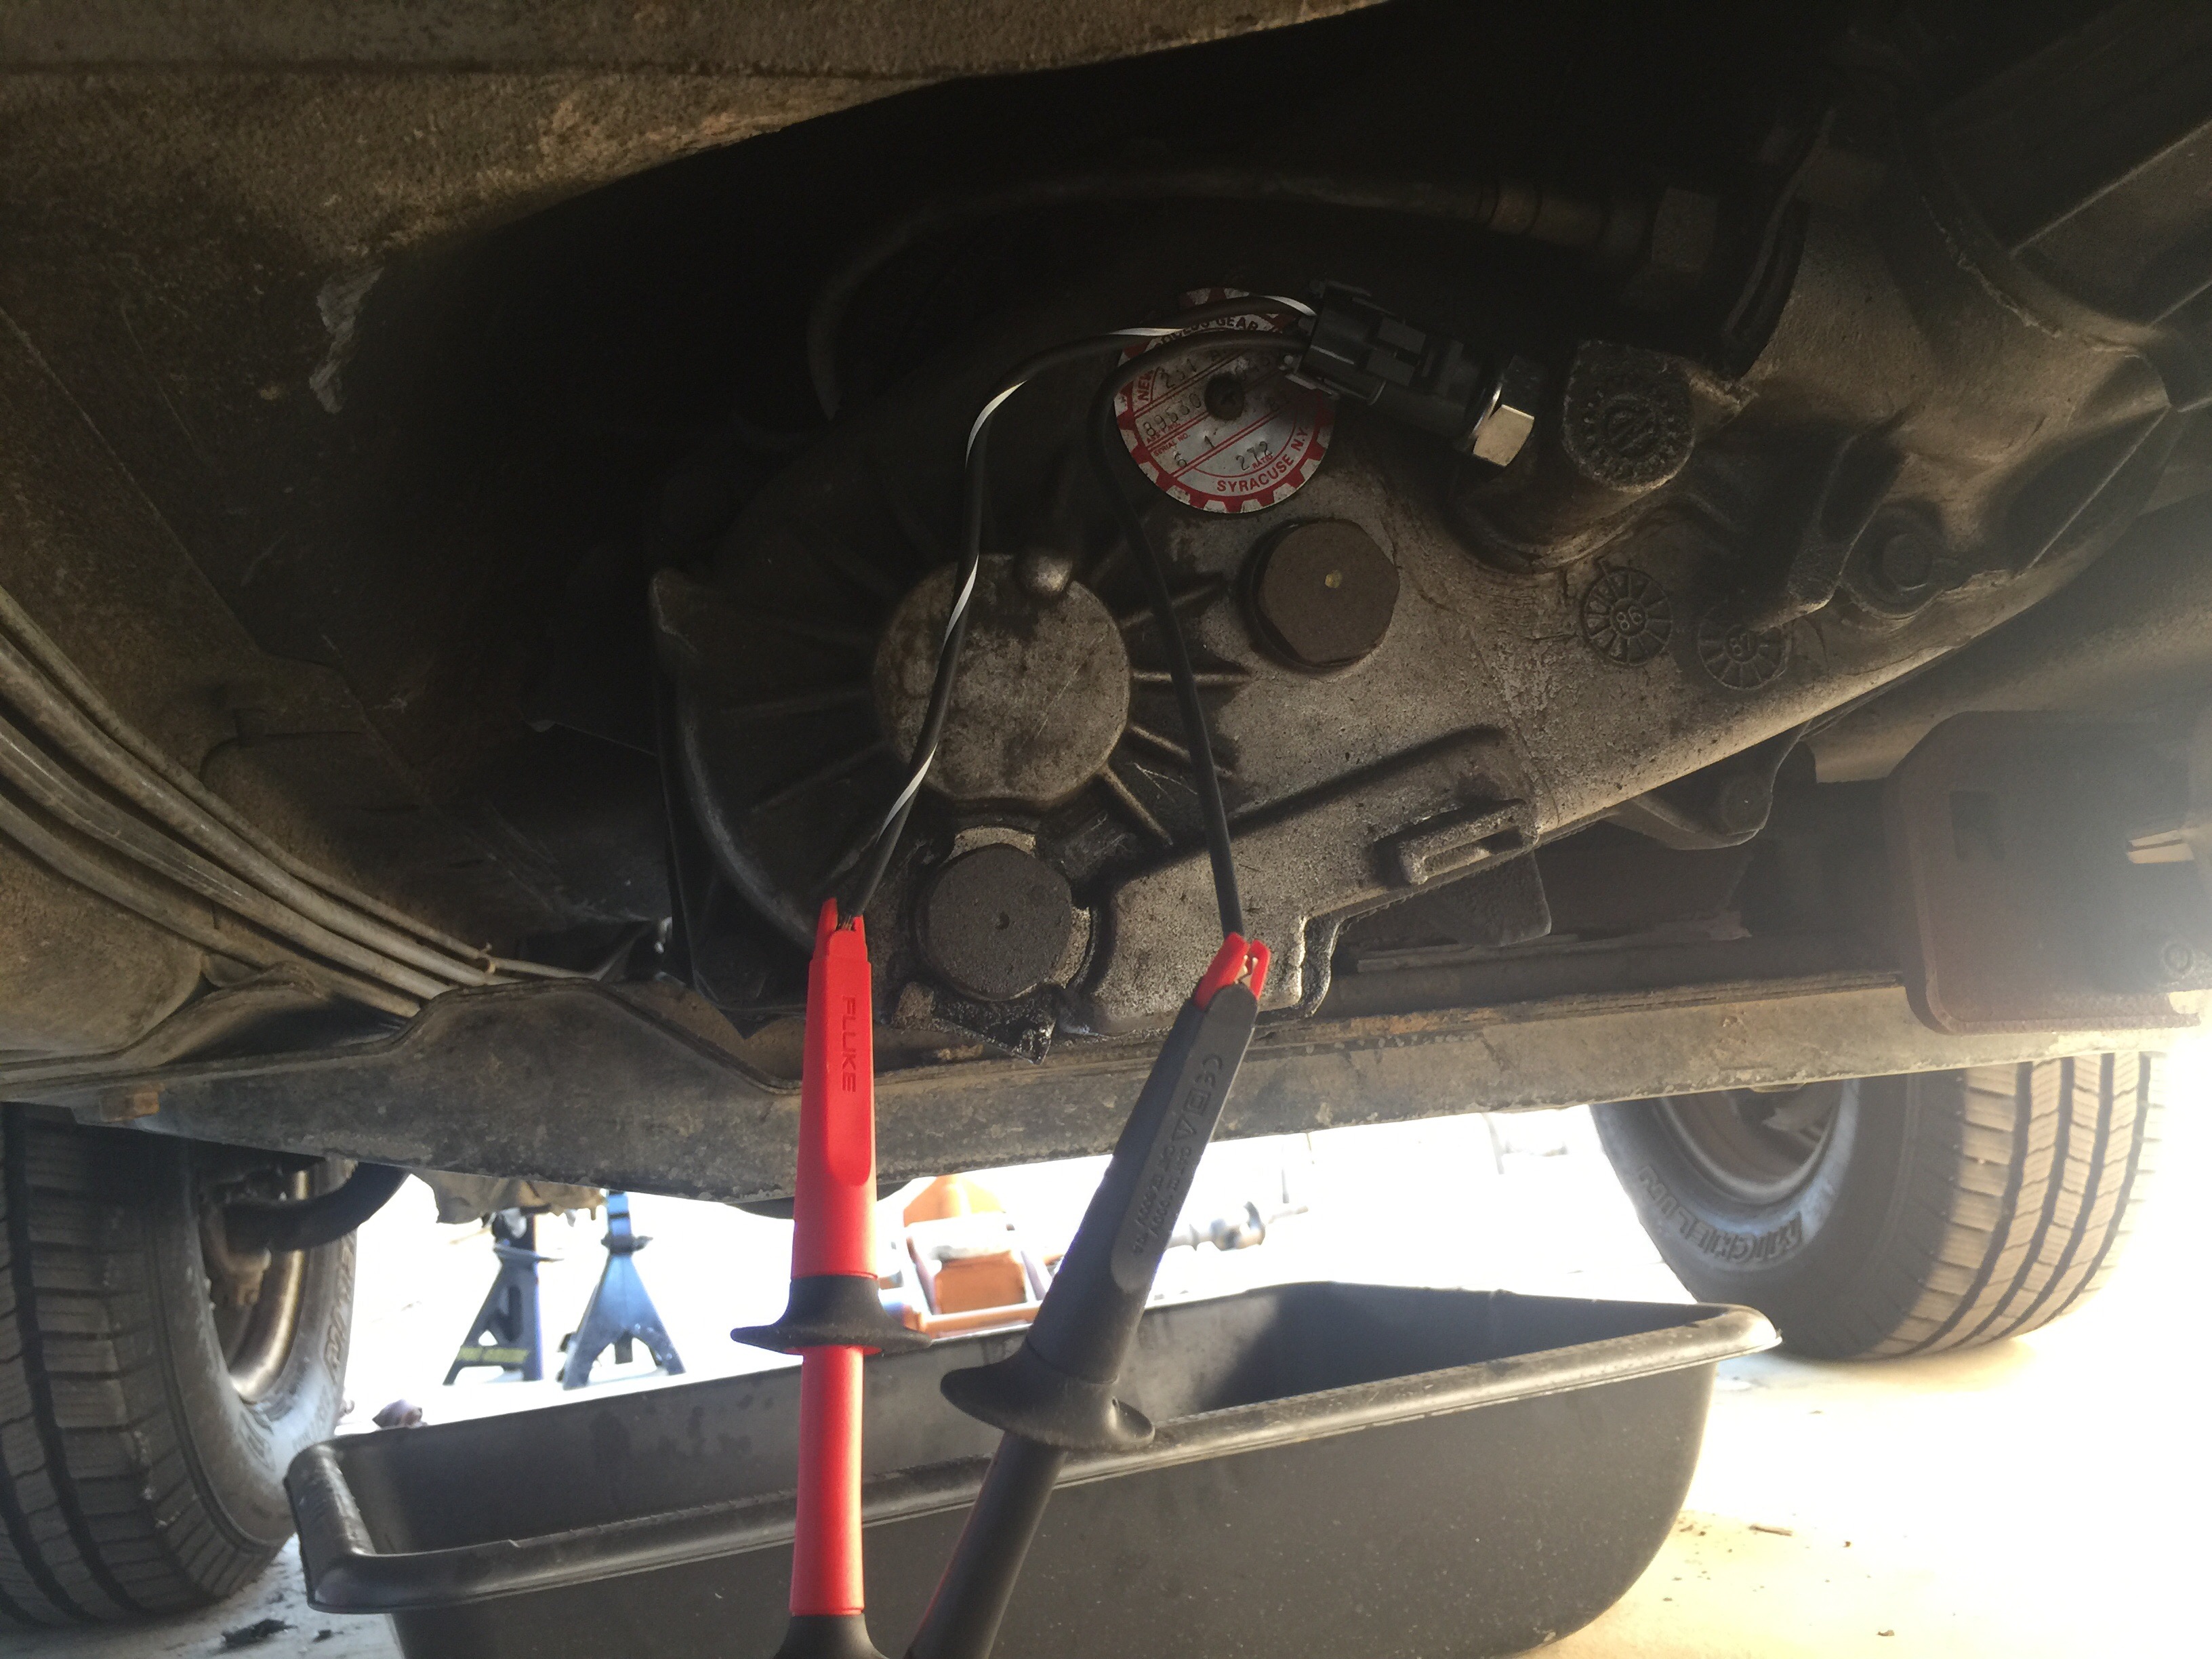
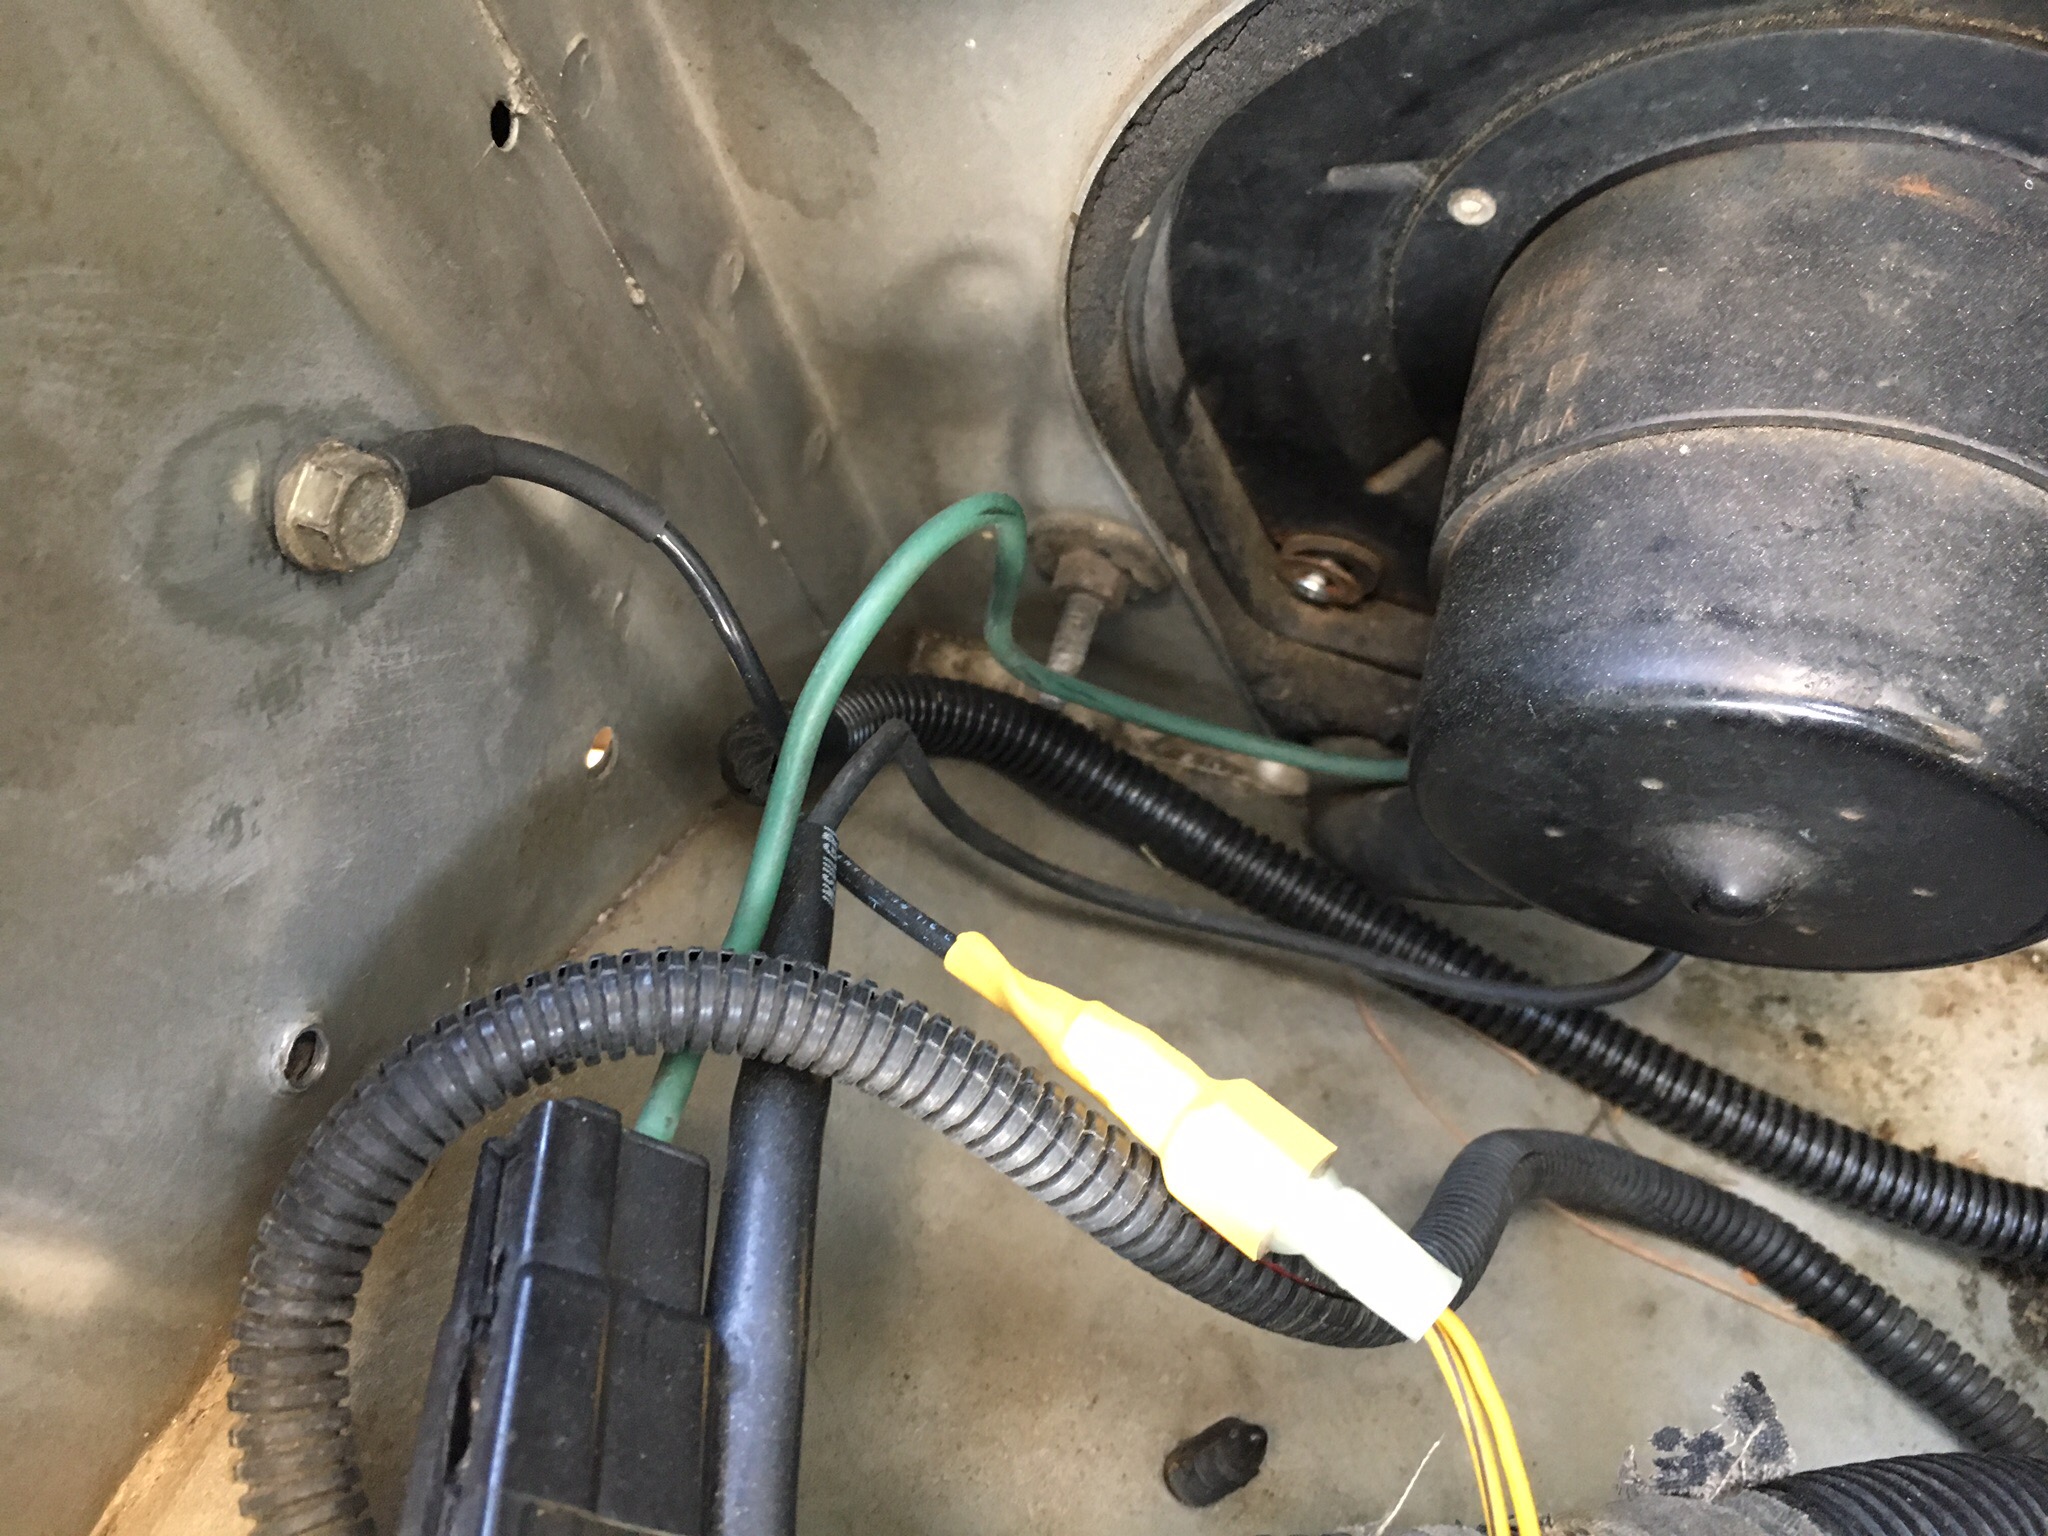
As you see in the video, the switch works great. Now it was time to start getting the pig tail done and wiring the light back up. The wires that connect to the switch do not have voltage running through them. When the switch closes, it just completes the path to ground for the bulb. Instead of running one wire, from the switch to the engine bay wire, and connecting the other side of the pig tail to a ground near the transfer case, I ran two wires so all terminations were in the engine bay. I used oil resistant wire and split loom to complete the run from the switch to the engine bay.
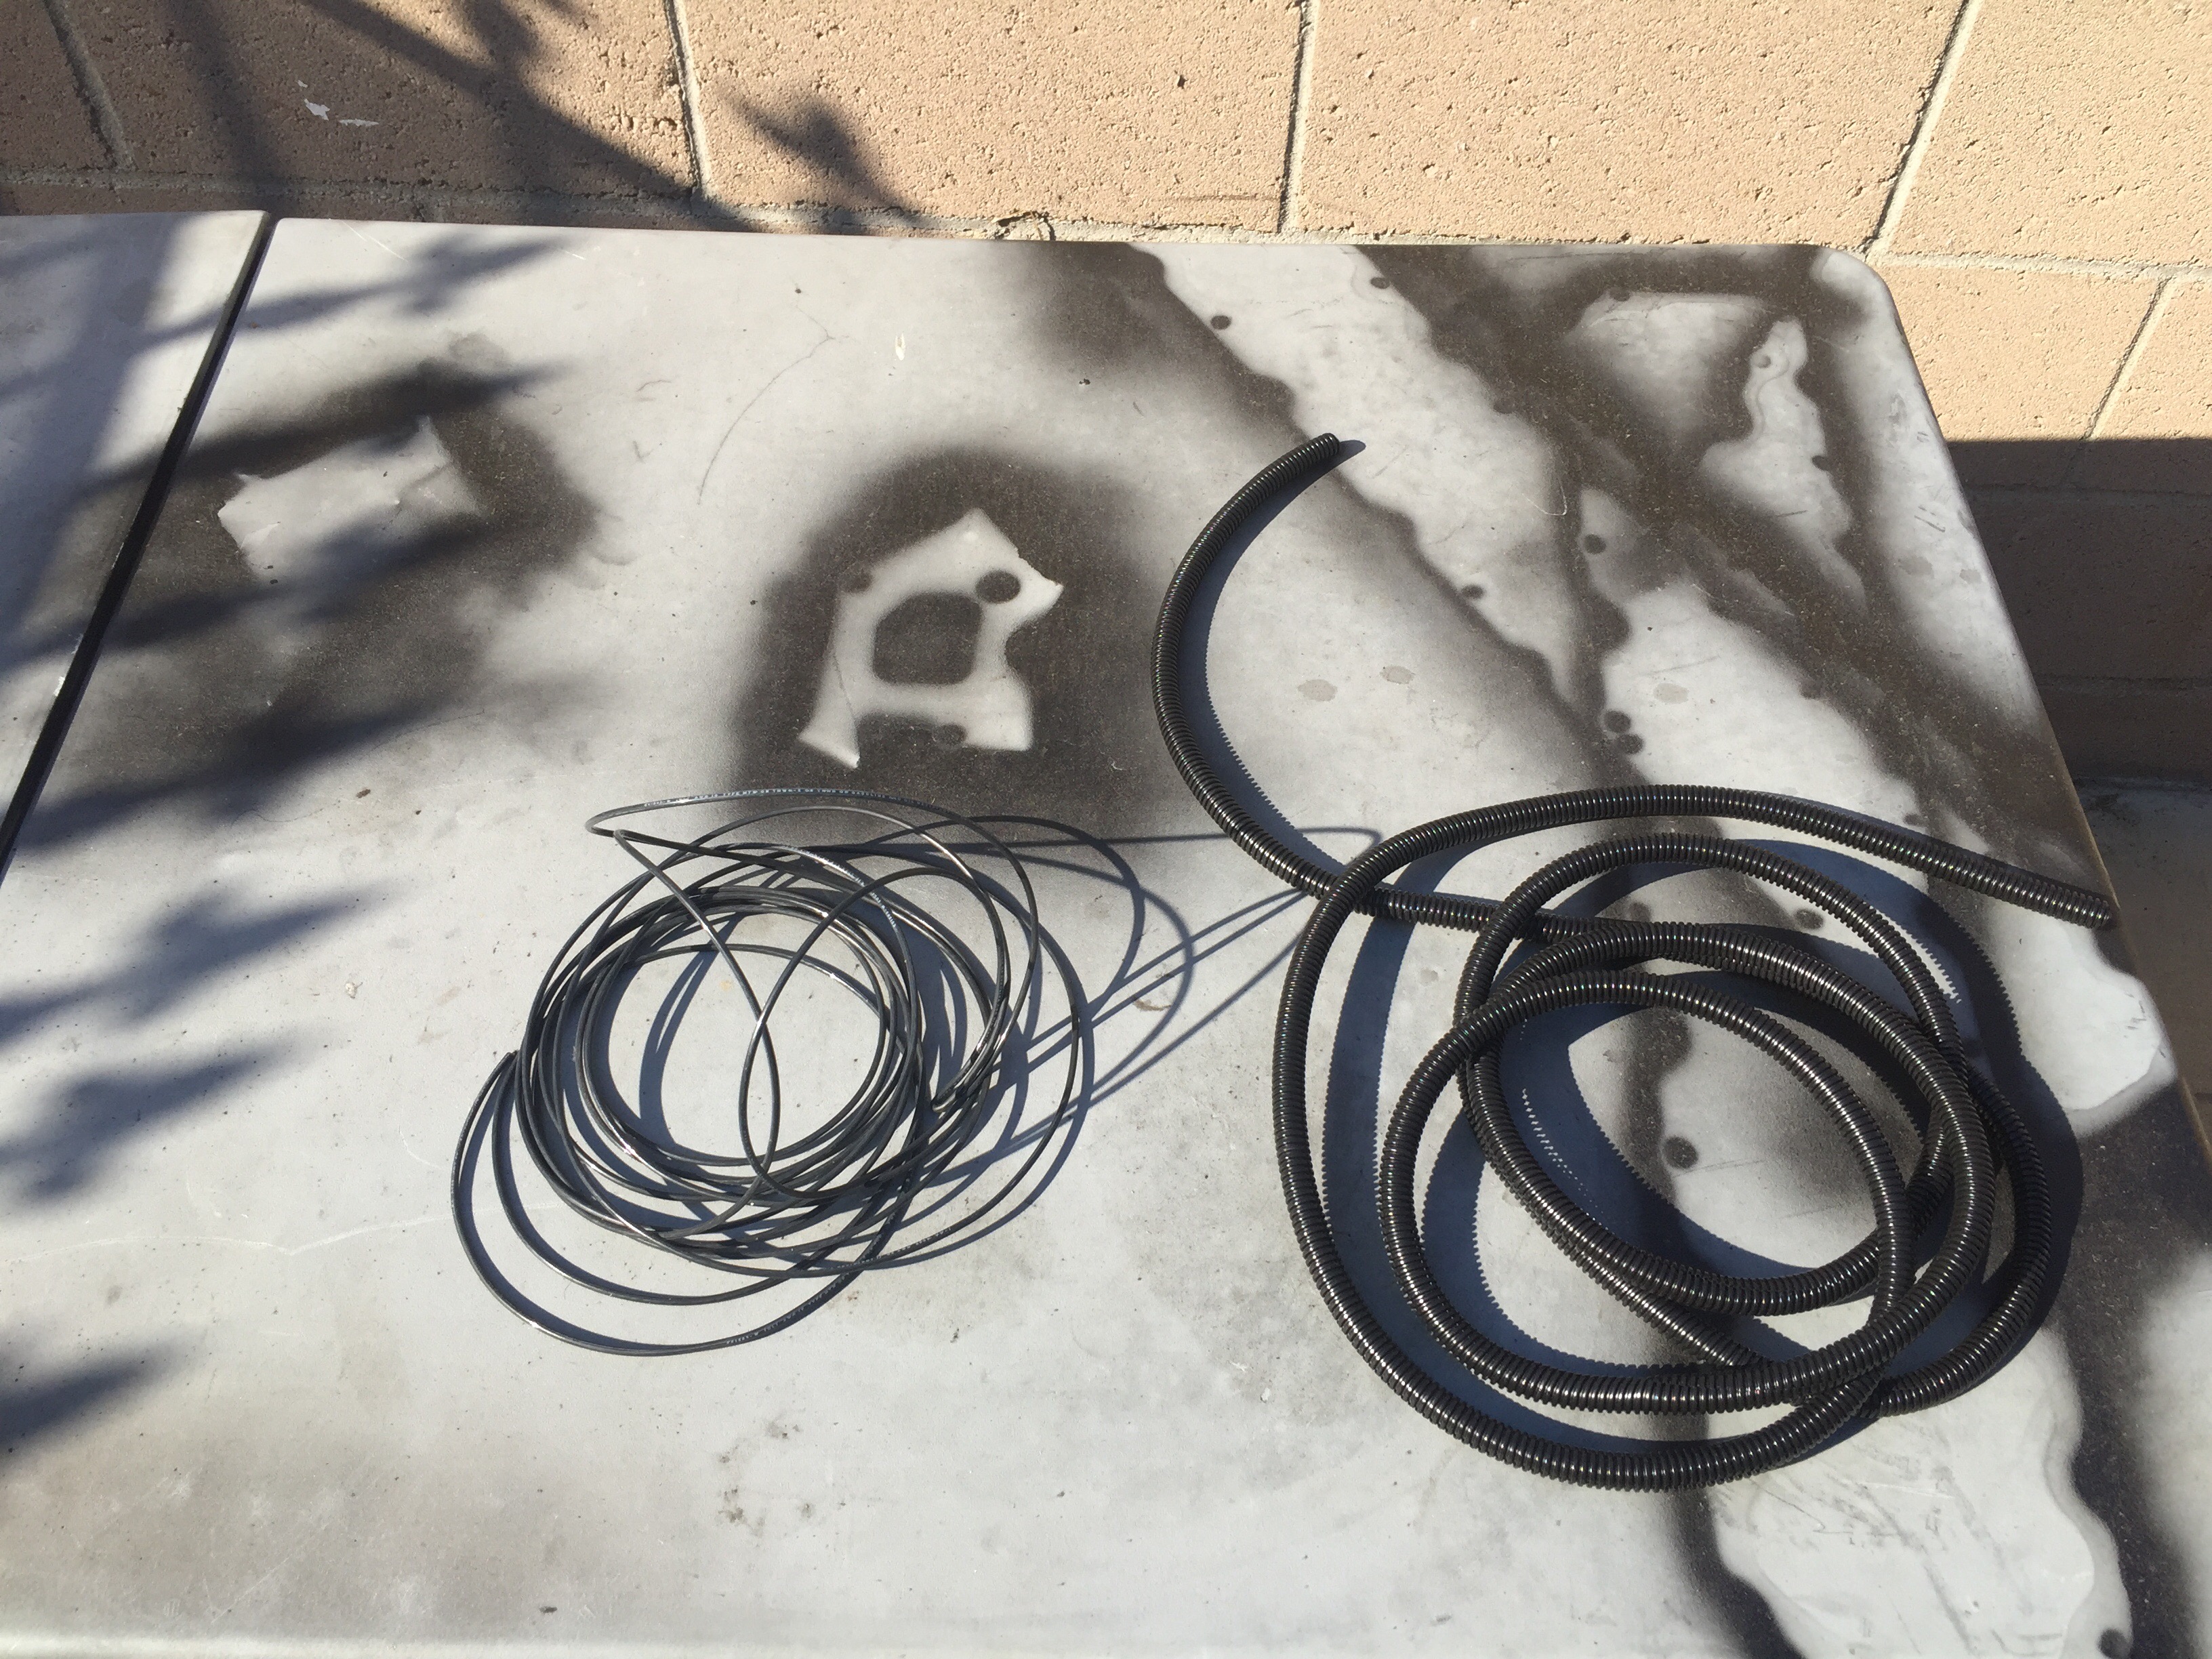
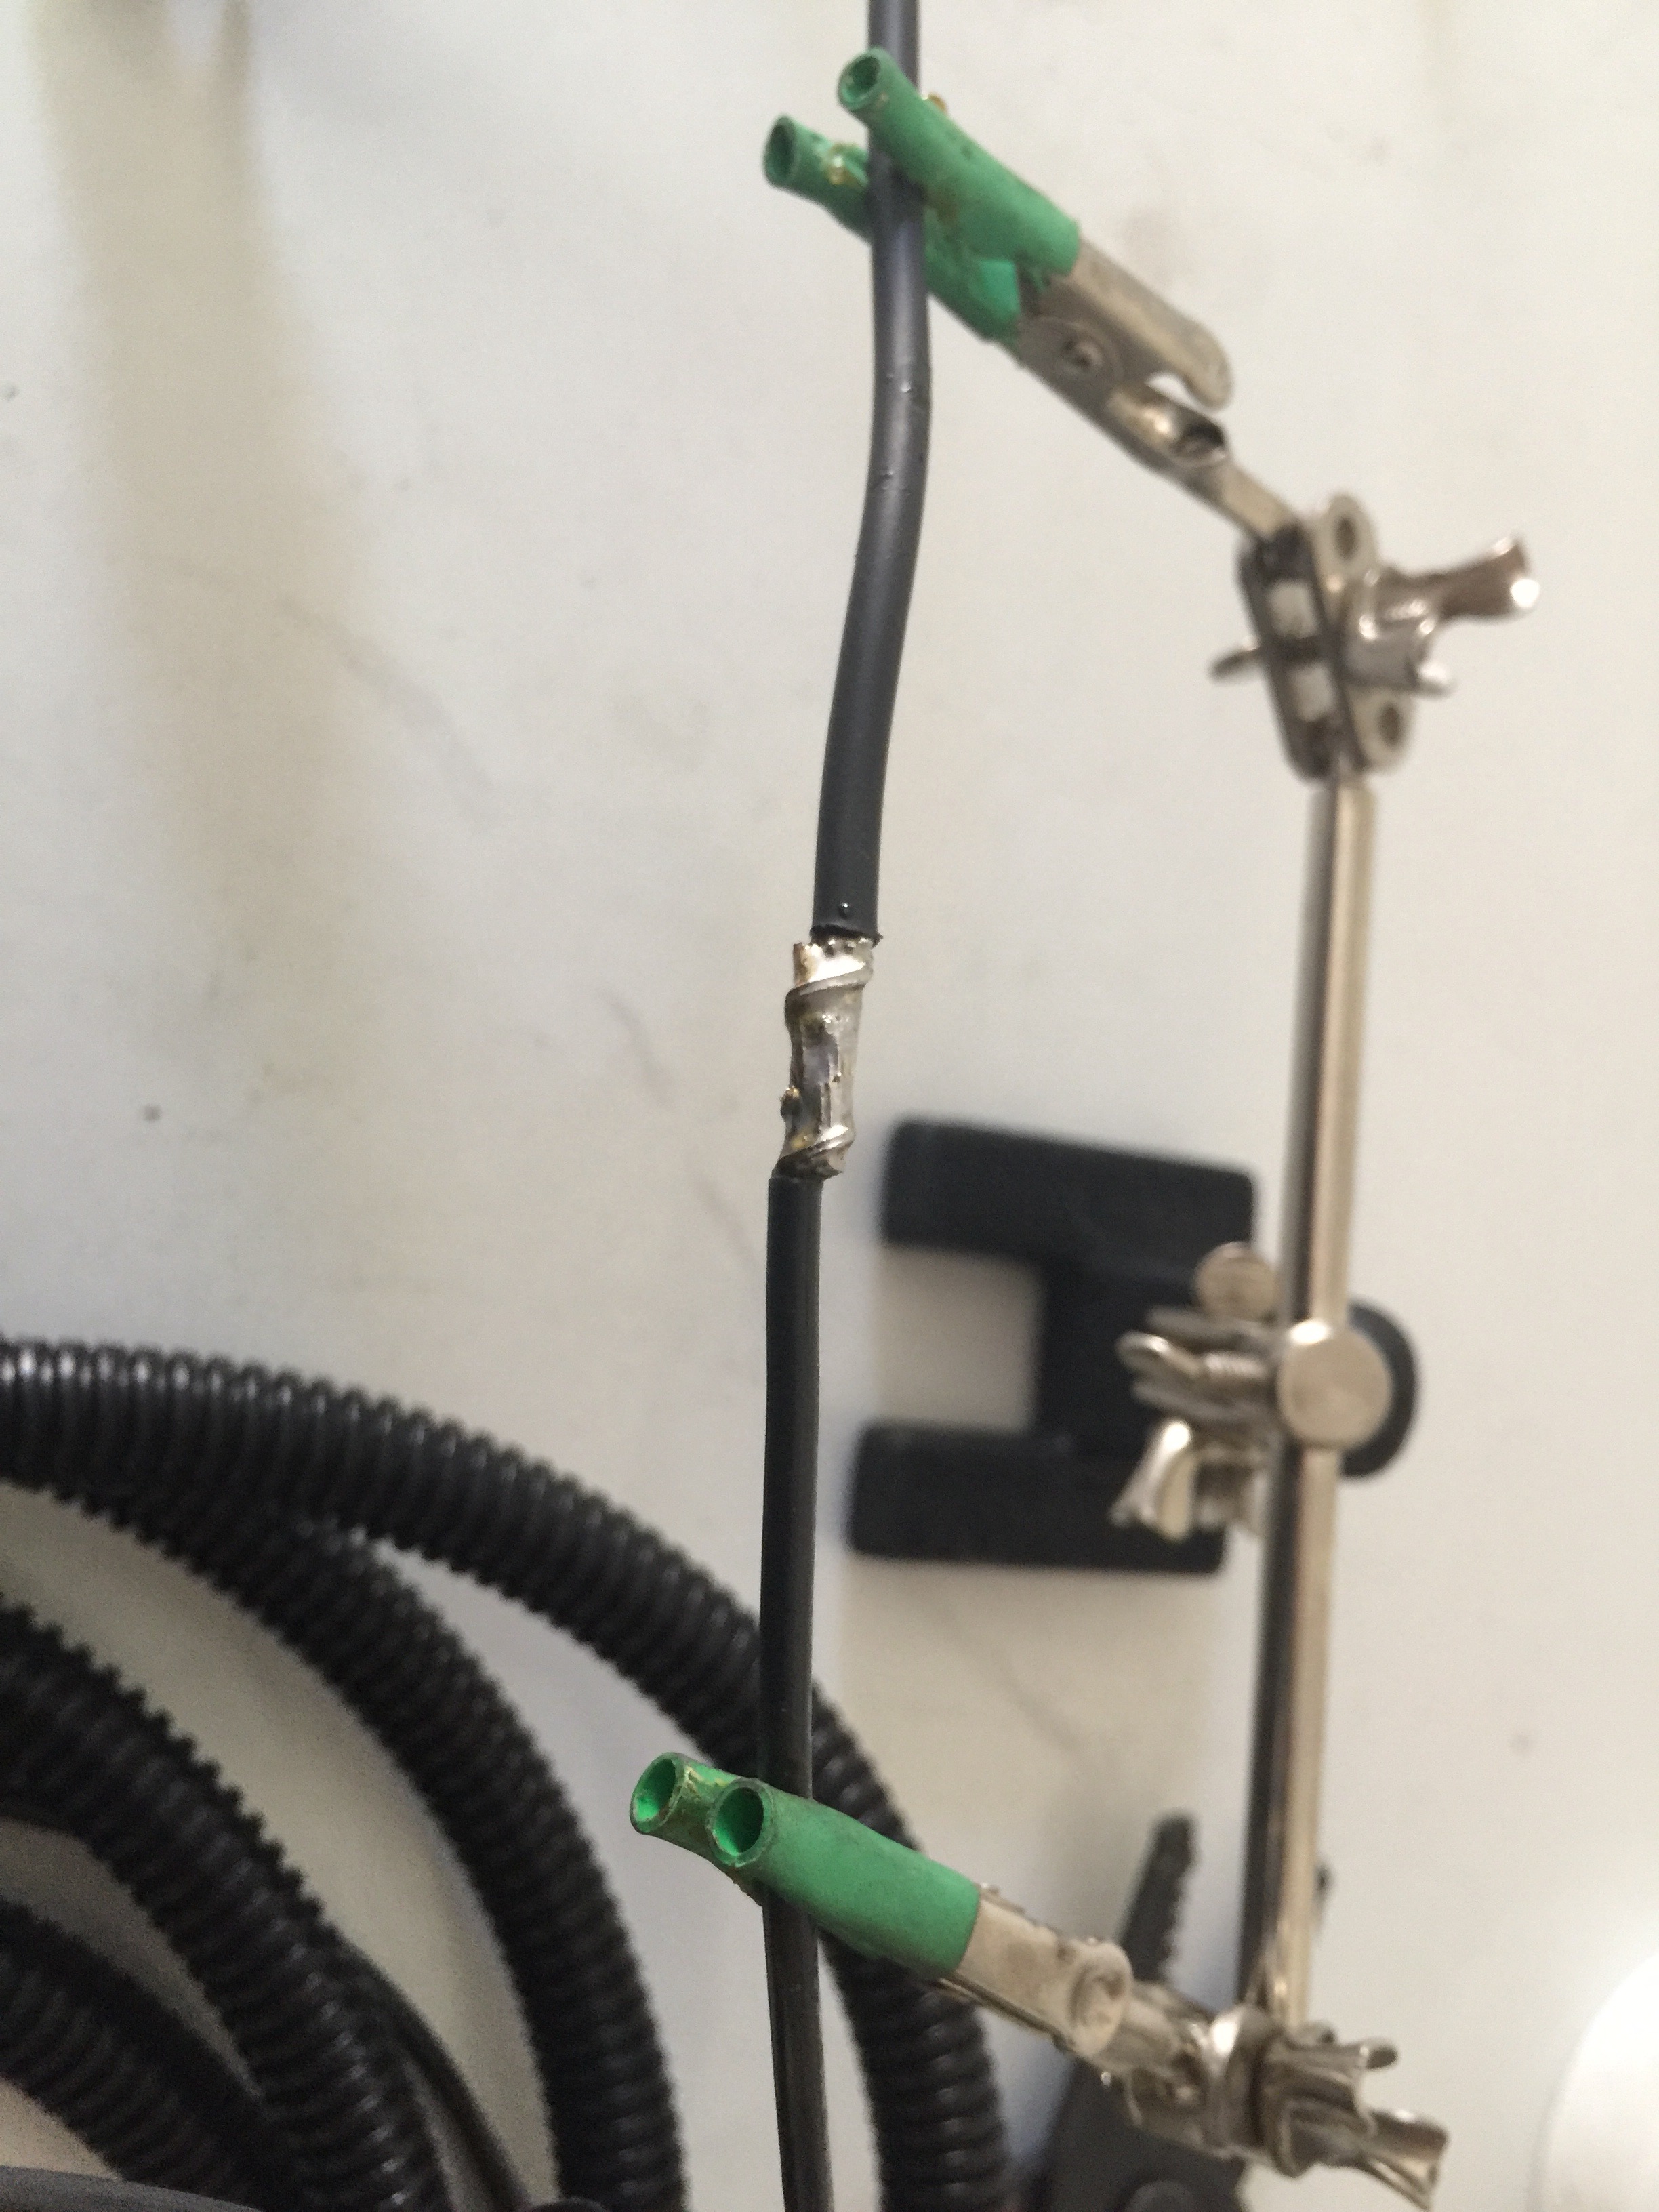
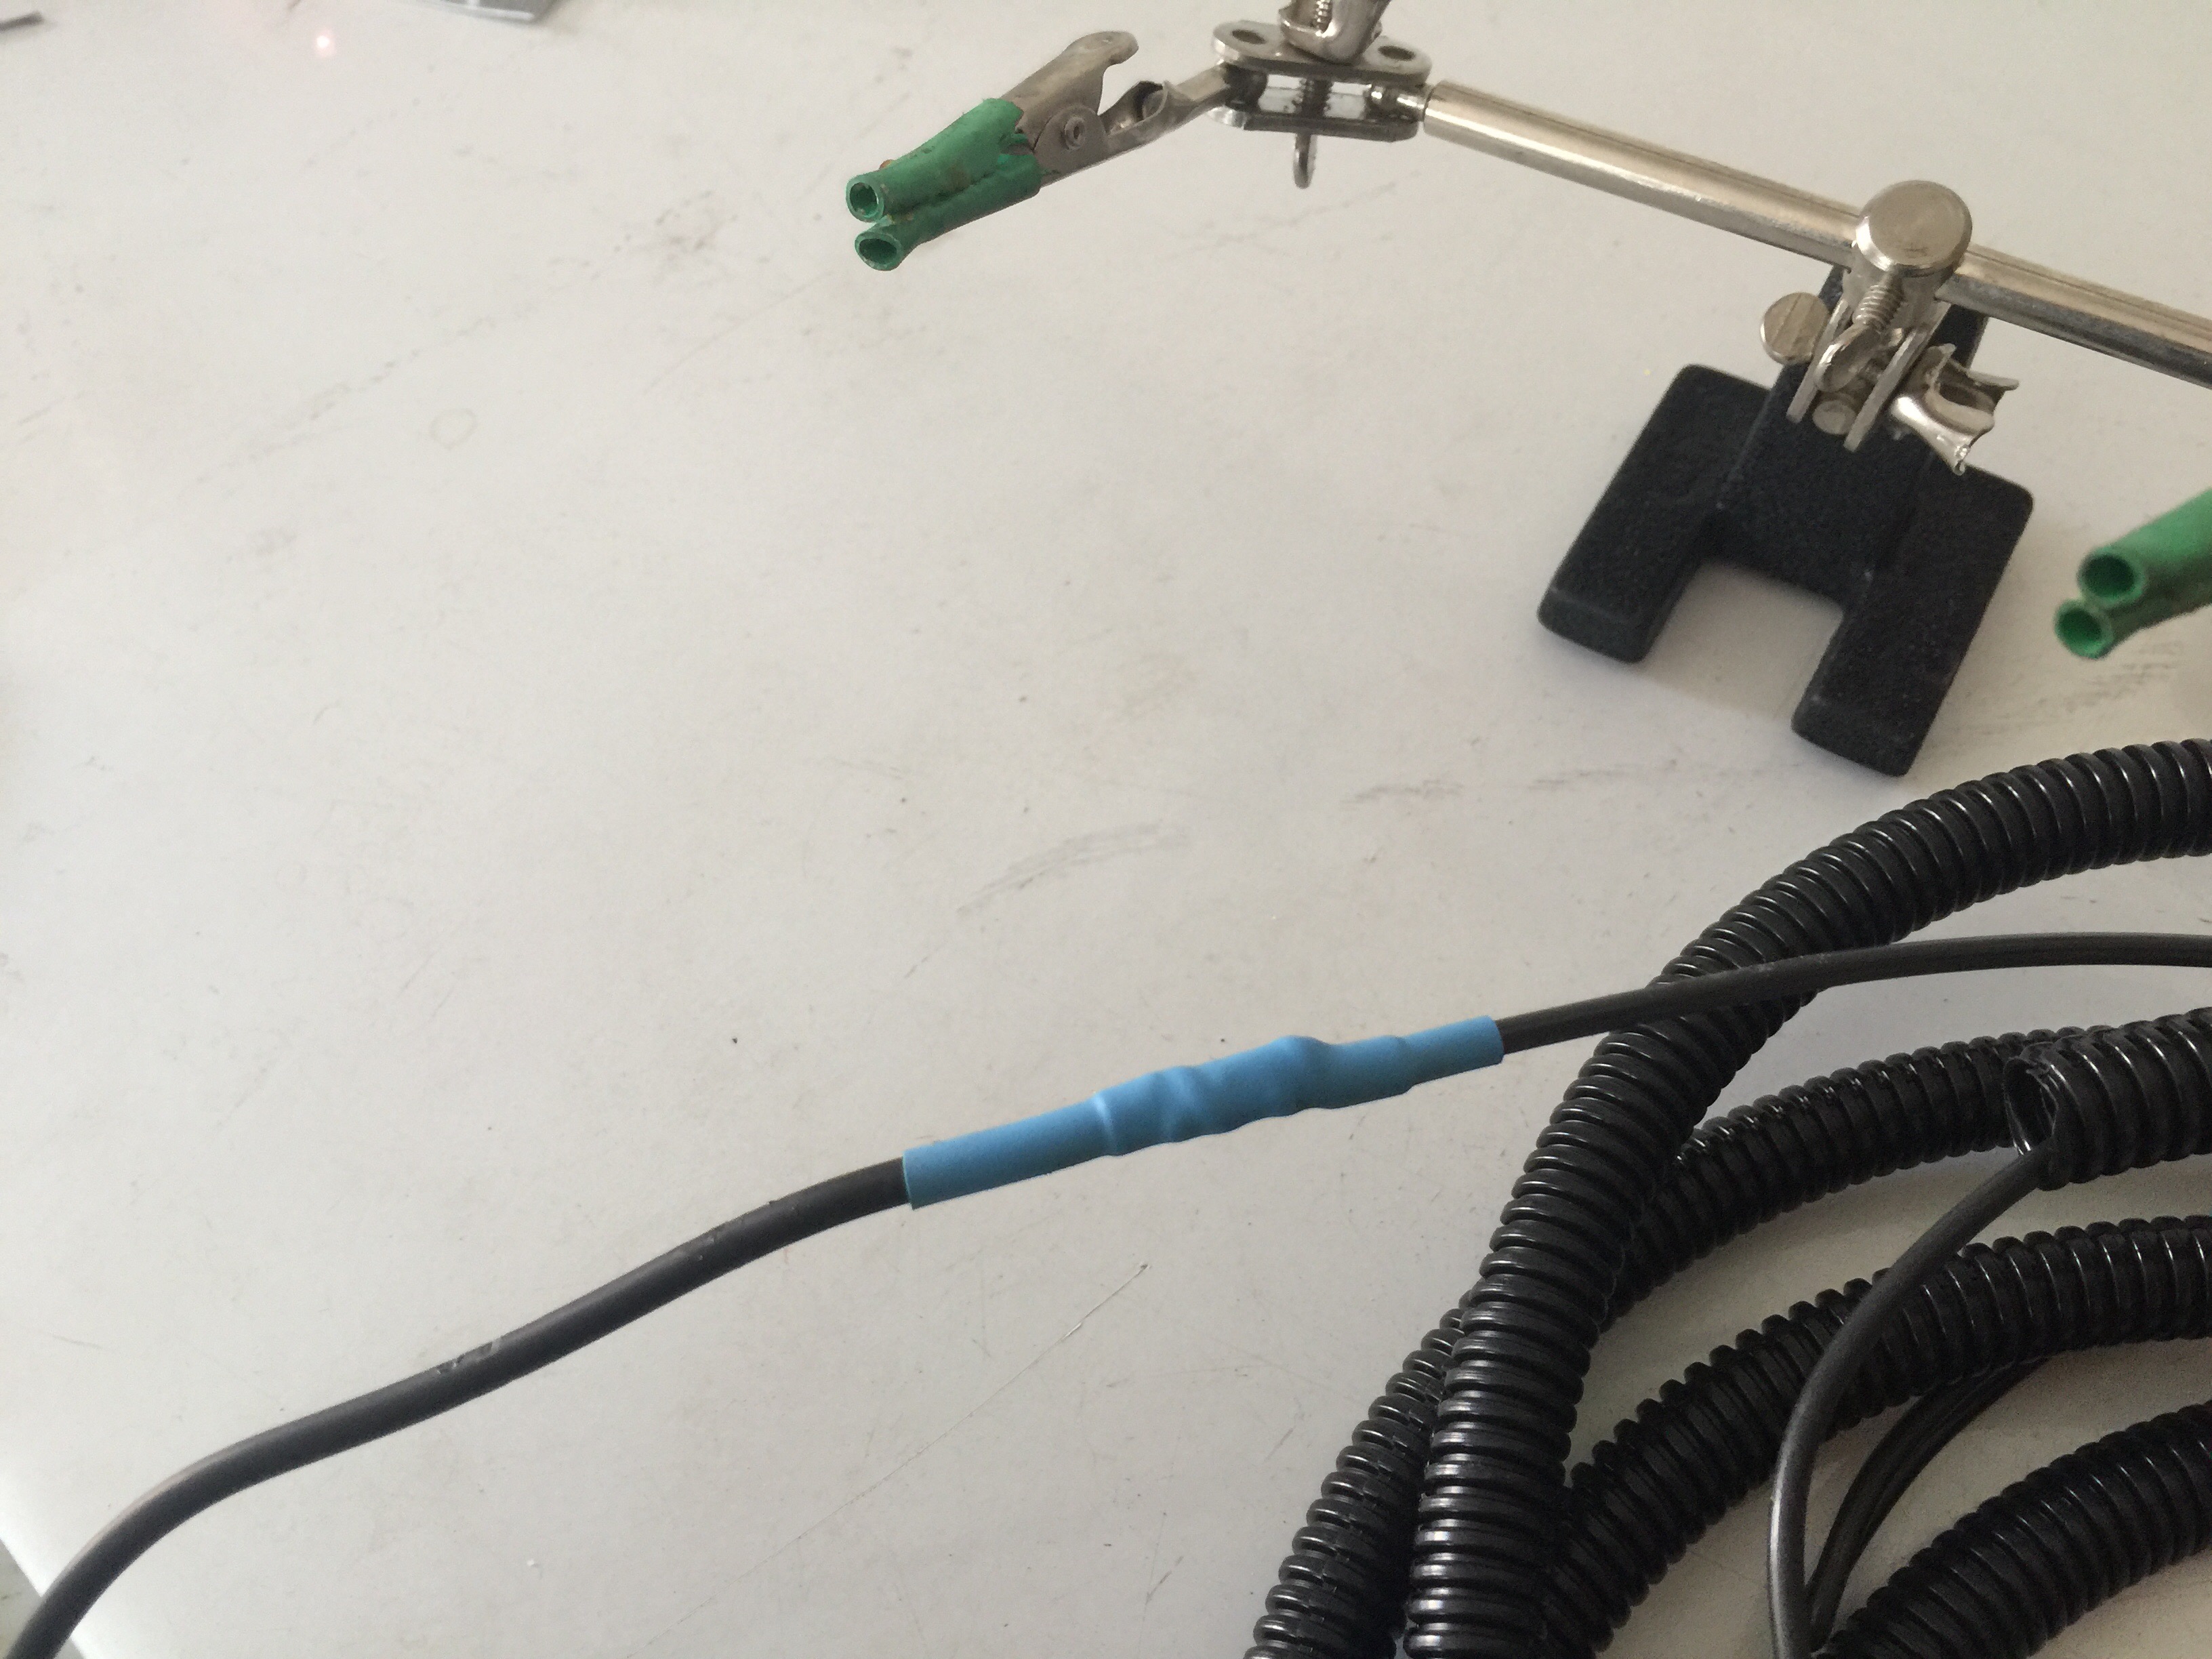
I slipped the wire into the loom and soldered the pigtail to each wire. .
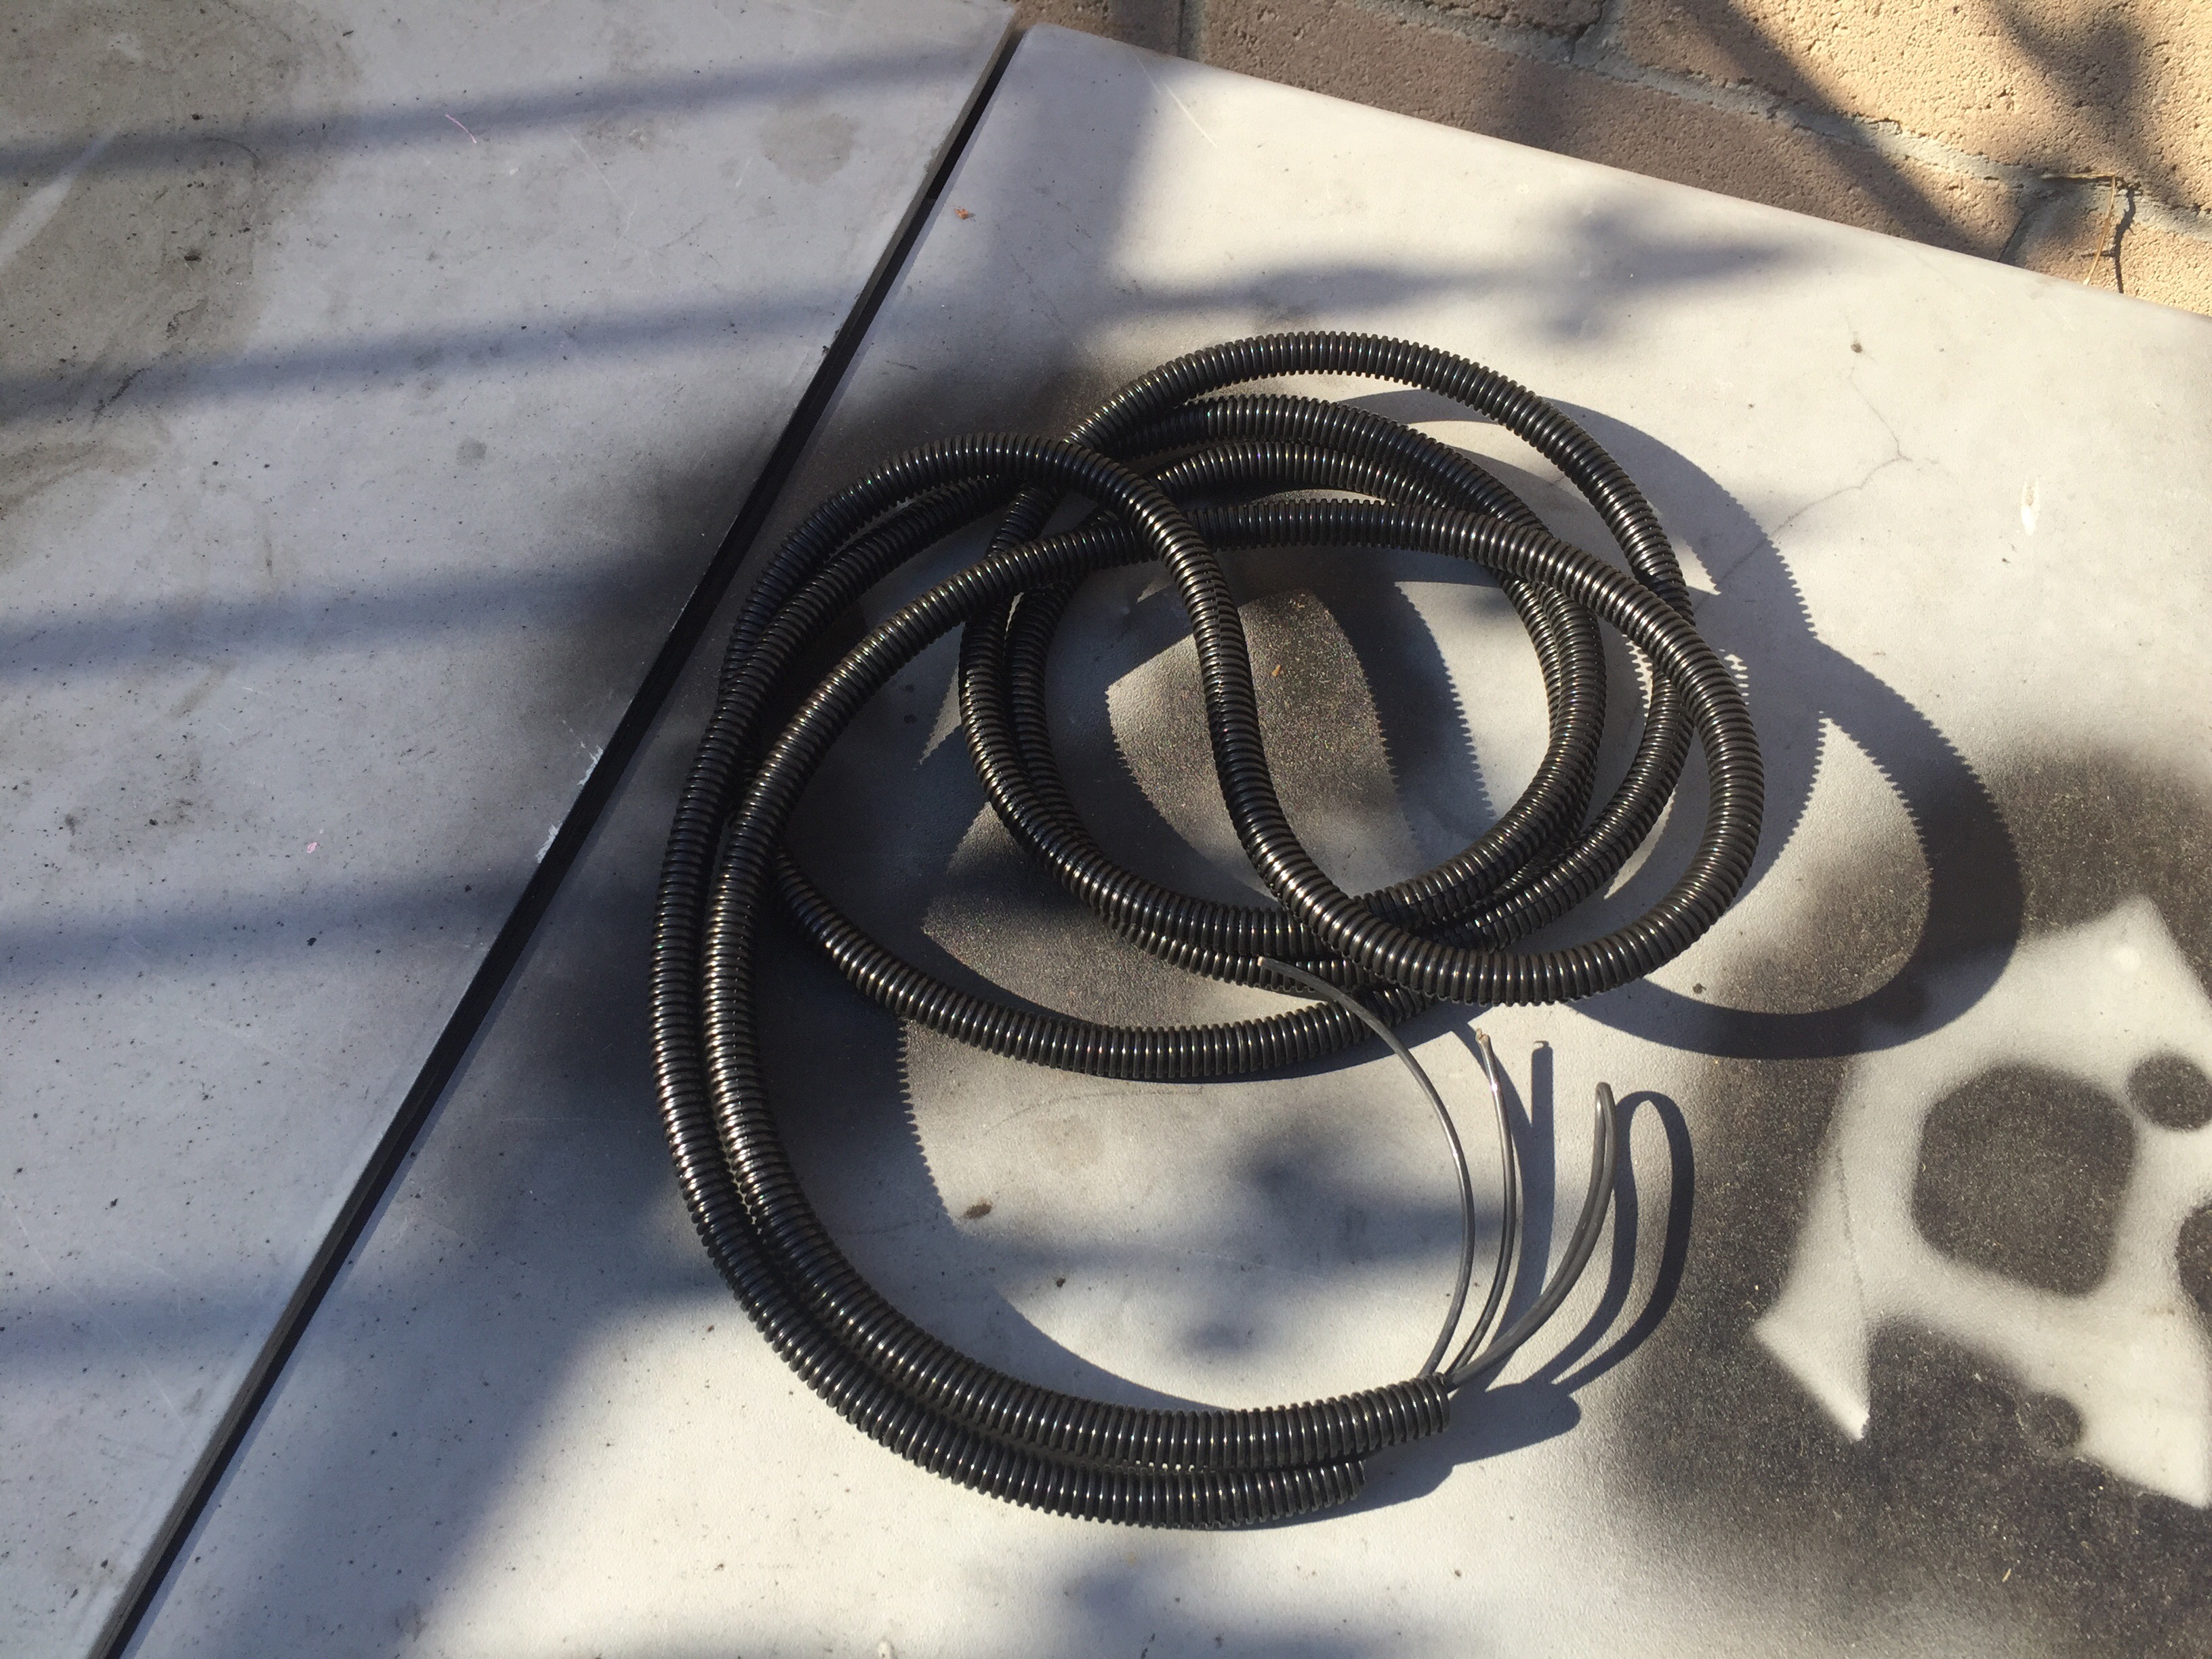
I taped every 12” of the split loom and got ready to feed it up to the engine bay. Although there are many other ways to feed the wire, my preferred way is using a fish tape.
I soldered one wire from the switch to the main harness wires (in the engine bay) and mounted the other wire on a clean, ground on the fender.
I plugged the pigtail into the switch and tested the transfer case to ensure the light did come on.
All in all, this entire swap was not very hard at all. Just take your time and make sure to torque everything to the proper specification.
